How to Use Microsoft Lists For Work Management and Tracking

Microsoft Lists is a new application that was created as an evolution of SharePoint lists. It helps users in the corporate and consumer markets to track, share and organize their work in an online platform that is available on the web and mobile devices. In this article, we’ll explain how to get started with Microsoft Lists and explore the different options to create and view your different lists.
How to use Microsoft Lists
If you have never used SharePoint lists before, you can think about this new platform as a lightweight database where anyone can create, customize, and adjust tables as work requirements change over time. Microsoft Lists not only stores data but also formats it and allows you to apply conditions to easily see what is more relevant at any given time.
In your life, I am sure you have used a lot of lists, from simple things like a to-do list on paper to more complex lists assembled in a spreadsheet using Excel. With Microsoft Lists and its free table schema, you will be able to create and migrate all these lists to an online and always-available platform.
Accessing Microsoft Lists
Before getting started with the app, you need to know how to access it. The app is available from several locations in the Microsoft 365 ecosystem and it can be accessed from a web browser, SharePoint, Microsoft Teams, or from a mobile device using the dedicated application.
The Lists application acts as an aggregator of all the lists you have in Microsoft 365. And the app helps you to get started with 8 different templates that cover a lot of scenarios common to several industries.
The easiest way to access the app in Microsoft 365 is by clicking on the waffle icon in the Office portal and from there locating the colorful app icon.
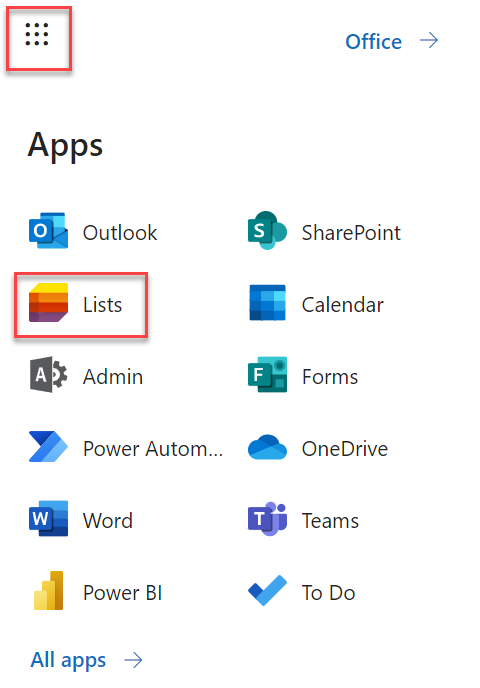
Since the application has a unique URL for each user, I recommend you store yours as a bookmark in your browser for faster access or install it as an application, as I will explain later.
Understanding the app interface
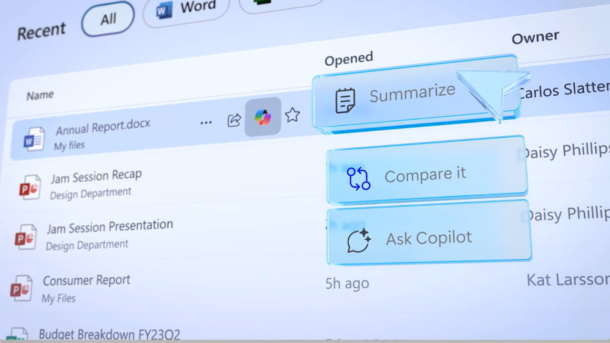
The web app has an intuitive and simple layout with 3 main sections that are identified in the following image and described below:
- New list button: This option allows you to create new lists.
- Favorites: As lists are spread across Microsoft 365, this section allows you to see all your favorite lists in a single pane.
- Recent: This section shows the latest list(s) that you interact with, as it can have hundreds of results you will be able to filter them by personal lists or by lists that you have created.

How to create a list on Microsoft Lists
Now that you know how to access the app, it is time to create your first list.
Choosing the right starting point
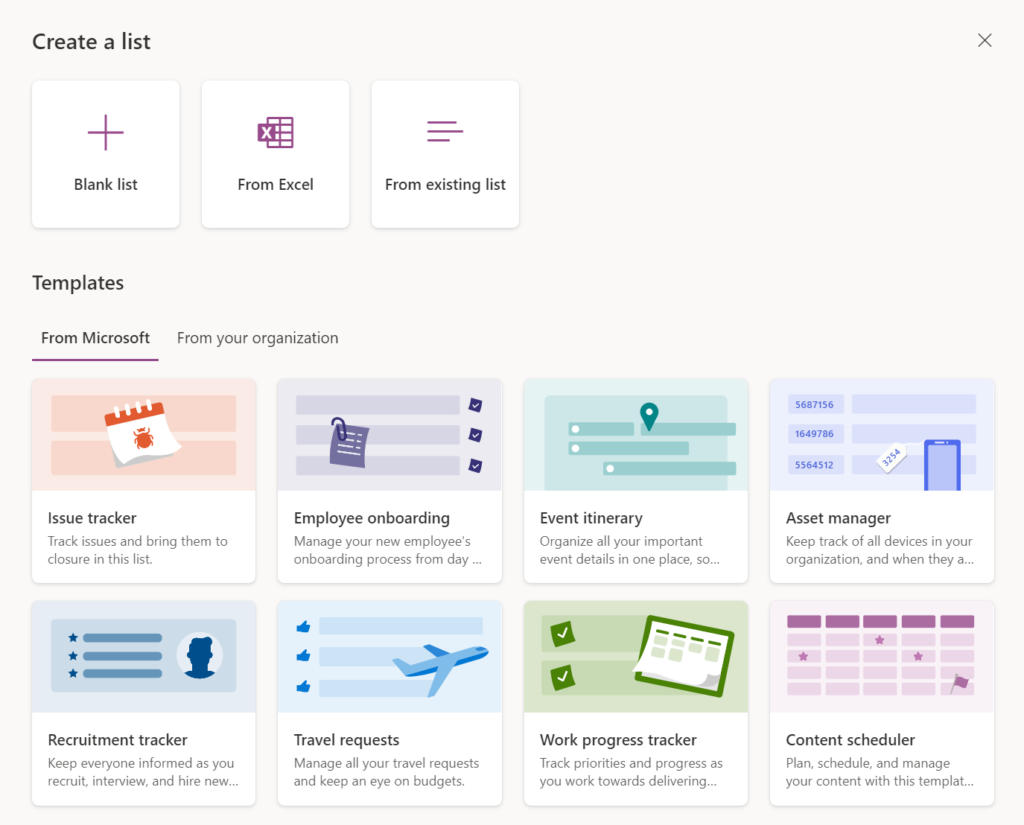
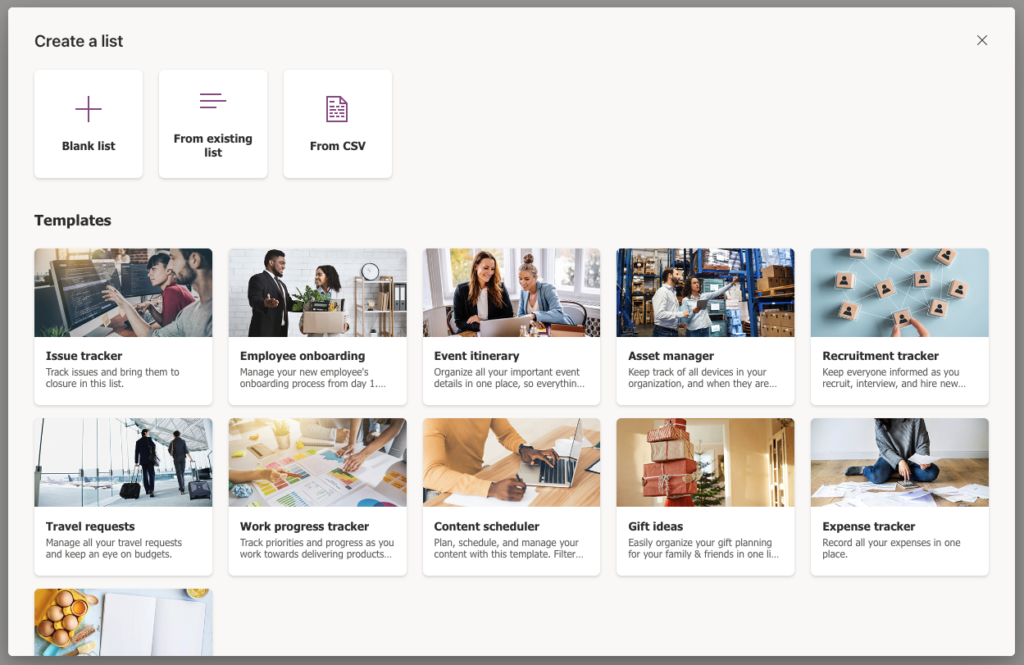
Before you start creating your first list, you should get familiar with the available options to accomplish this step:
- Create a list from scratch with the flexibility to create your own data schema. To follow this path, you must choose the Blank list option.
- Import an existing list you already have in Excel. To follow this path, you must choose From Excel and then upload your spreadsheet.
- Create a list based on another one that already exists in your Microsoft 365 tenant created by you or another user. To follow this path, you must choose the From existing list option and then select the existing one you want to use.
- From a Microsoft Template, this section includes by default 8 pre-built templates with a predefined schema. Choosing one of the available templates lets you refine them and adjust the columns to your needs by adding extra columns or removing existing ones. The default templates can be removed by your company administrator if a particular template does not make sense in your organization.
- From a template built specifically for your organization, the creation of these templates is based on existing lists and can only be done by the administrator of your organization.
Configuring list settings
With the option to start creating a new list selected, you now need to configure its settings:
- Name – This is mandatory and will be the main identifier of your list. I recommend you select a few words that are related to the content or the purpose the list will be used for.
- Description – This field is optional, but you can use it to give other users more context about the list when they access it.
- Color and Icon – Each list is represented by a color and an icon. This will help you to easily identify it. There are 12 icons and 12 distinct colors that you can combine to make your list unique.
- Save location – Despite being a new application, Microsoft Lists continue to live on top of SharePoint and you need to select an existing SharePoint site to store it. If this list will be used just by you, select My lists to store it and it will end up on your personal site/OneDrive. The option to create personal lists can be disabled by the administrator of your tenant.
How to use the different Lists views
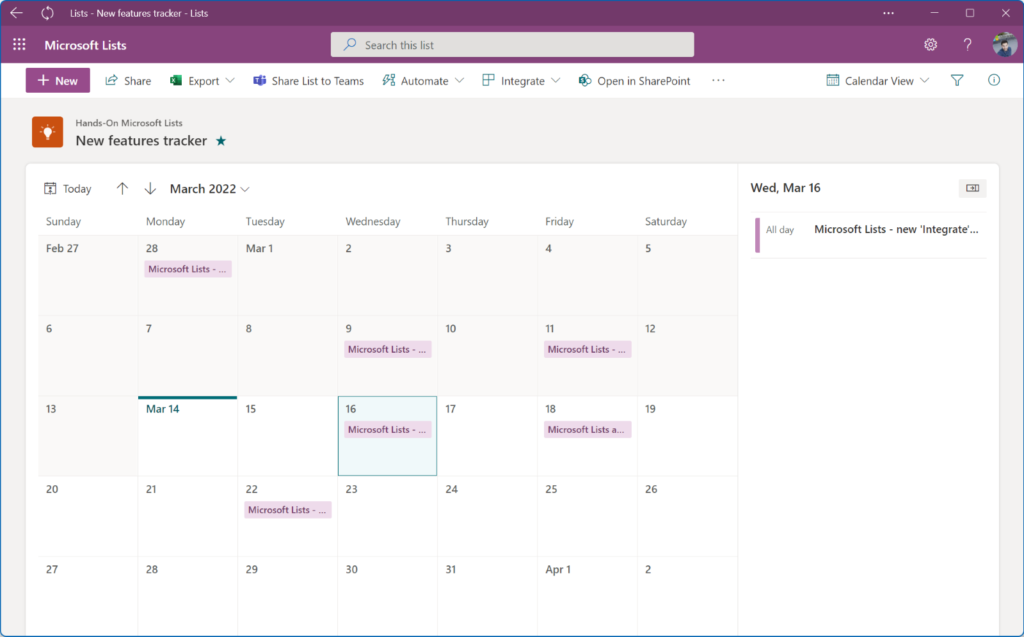
In the following image, you can see what a list looks like when using one of the default templates provided by Microsoft.
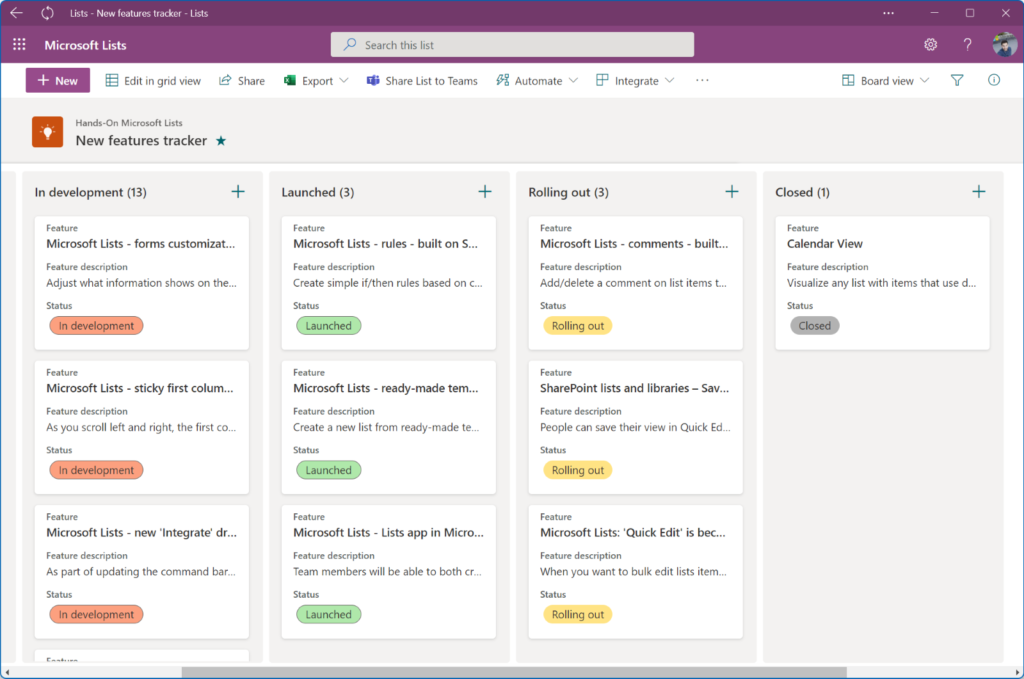
By default, you will see data in a tabular view like in Excel. However, with custom views and list formatting applied through a combination of JSON, HTML, and CSS, you will be able to easily transform your list into a business application.
If you’re just starting with the app, do not let the code discourage you from creating custom views and custom formatting. Microsoft Lists has a set of tools that allow you to format data with conditional rules through a graphical user interface, and it includes a set of default views to see data in different formats.
A simple tabular view isn’t always the best solution to display data and Microsoft knows that as well. To help you with content planning or project tracking, Microsoft Lists include the following layouts that I recommend you explore.
Microsoft Lists Calendar view
The Calendar view transforms any data you have into a monthly calendar, with the only requirement being the existence of a date column in the list schema to define the start and end dates of each event. This type of view is great for content scheduling as you can easily manage deadlines or release dates.
Microsoft Lists Board view
The Board view brings the concepts of software planning to your daily activities when using Microsoft Lists. This view shows the items in different columns depending on the status of the item. This view is great for simple project management or for HR recruitment as you can easily identify the items as they move forward in the process.
Microsoft Lists Gallery view
The Gallery view shows data in a card format and highlights picture columns that may exist in the item. It is great for displaying inventories as you get a visual indication of what the item referenced is on each card.
Despite being provided out of the box, all default views allow customizations with the Lists app user interface. As you progress with the platform, you can bring your lists to the next level with custom code to format columns and views.
If you do not have experience with code, you can start learning with the available samples made by the enthusiastic Lists community. You can access the samples with instructions on this page.
Final Microsoft Lists tips
Before wrapping up this article, I want to leave you with 3 important tips that will help you achieve more and create new processes in your organization using Microsoft Lists.

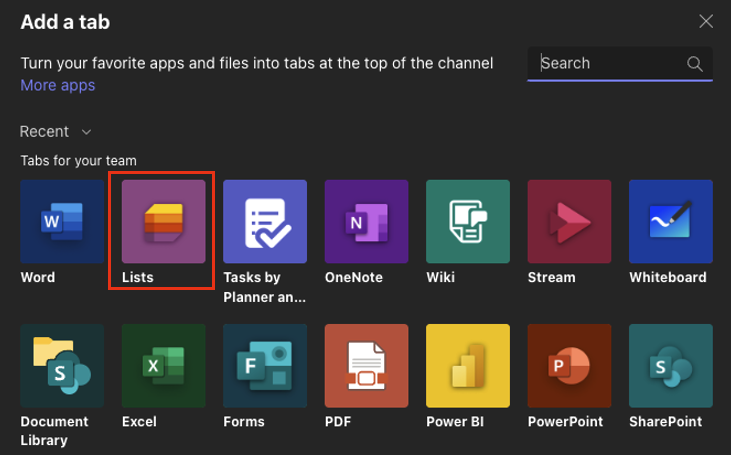
Microsoft Teams app
Microsoft Lists is available as an application for Microsoft Teams, allowing you to create and share important lists within Teams channels.
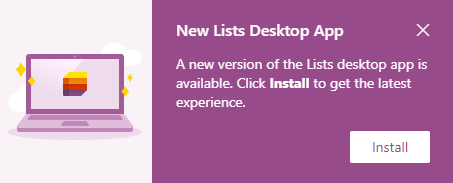
Installing the Microsoft Lists PWA
For faster access next time, and as mentioned before in the article, I recommend you install the application in your operating system as a Progressive Web App (PWA). This can be done by clicking the Install button in the popup that appears at the top of the window when you open the web app in your browser.
Using Microsoft Lists with a personal MSA account
At the time of writing, Microsoft Lists is also available for users with Microsoft personal accounts (MSA). However, it is still in preview and the preview is limited to 200,000 users.
To access the app using your personal account, open https://lists.live.com and sign in with your Microsoft account. This version of the app will let you apply the same techniques from the enterprise world to your personal lists. It is a great solution for managing collections or even planning your meals over time.
Summary
Microsoft Lists represents an interesting evolution of the existing SharePoint Lists, and it can be used to aggregate all the lists you have in Microsoft 365. As a task manager for your organization, it’s much more customizable than other Microsoft 365 apps such as Microsoft Planner or the more simplistic Microsoft To Do. It’s also relatively easy to get started with Microsoft Lists thanks to pre-built templates and the ability to import existing lists.

João Ferreira is a SharePoint developer currently working at Beezy as Technical Lead. With a degree in computer science he has been working with SharePoint over the last five years, mainly focused on branding and user interfaces to provide a better...