How to Install Active Directory PowerShell Module

In this guide, we’ll show you how to install the Active Directory PowerShell module on almost any version of Windows. Installing the Active Directory (AD) module in PowerShell offers IT pros convenient and secure remote access to administer their AD environments, all without having to interactively log into their domain controllers.
🎬 Watch This Week in IT.
Microsoft does not recommend the very prevalent and pervasive practice of interactively logging into Active Directory domain controllers (DCs) to work in Active Directory. It is a fundamental security risk and is inefficient, to name two cons. The best practice recommended by Microsoft is to remotely and securely use the Remote Server Administration Tools (RSAT) arsenal, including the Active Directory module for Windows PowerShell.
Install Active Directory PowerShell module
I will assist you in the installation of this rather powerful module on the varying Windows Server and Windows client operating systems. Hopefully, this guide will help you be more efficient, especially when it comes to PowerShell scripting and productivity gains.
Windows 7 (Windows Server 2008 R2)
Wait… hasn’t Windows 7 been out of support by Microsoft for around two and a half years (at the time of this writing)? Well, yes… you’re right. No one should be using Windows 7. But, as we are ALL aware, the vast majority of enterprises and SMBs certainly have some Windows 7 machines peeking from behind the curtains.
Download and install the Remote Server Administration Tools (RSAT) for Windows 7
First, you will need to download and install the Remote Server Administration Tools (RSAT) for Windows 7. Now, if you browse to this official Microsoft Documentation link, you’ll see that the RSAT for Windows 7 is discussed. But, try as you might, you won’t find a download link (It’s just not there…).
Long story short, Microsoft has removed any official downloads for the RSAT package for Windows 7. But, thanks to web.archive.org, the past has been retained in some way: You can download the package from this link.
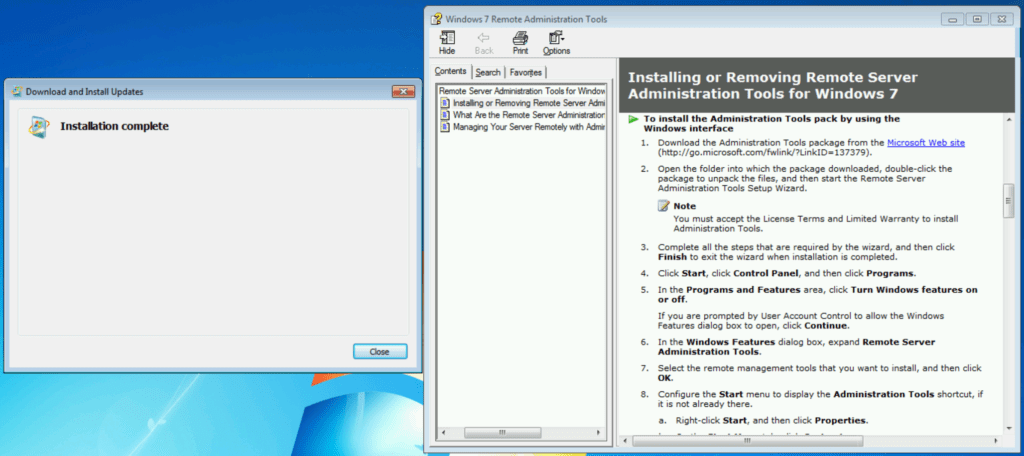
- Once you have it, go ahead and double-click on it, click Yes to install the update, and click Accept on the license terms.
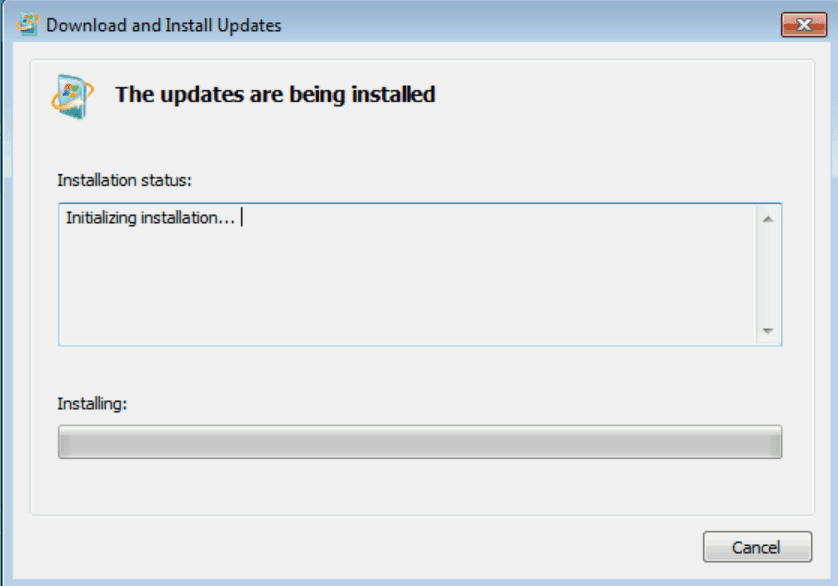
- Once the installation is complete, you can move on to the next step.
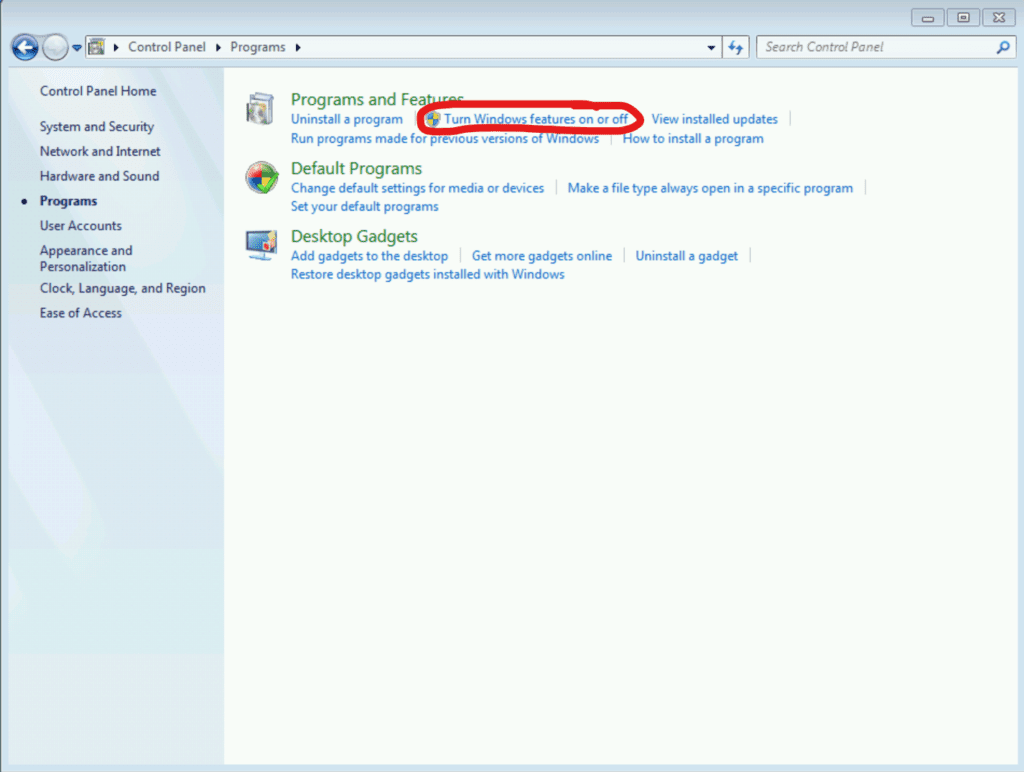
- Click Start -> Control Panel -> Programs, and then select ‘Turn Windows features on or off.’
- Drill down to expand Remote Server Administration Tools -> Role Administration Tools -> AD DS and AD LDS Tools and put a checkmark in ‘Active Directory Module for Windows PowerShell.’
- Click OK.

The installation of the PowerShell module will then begin, and it can take several minutes.
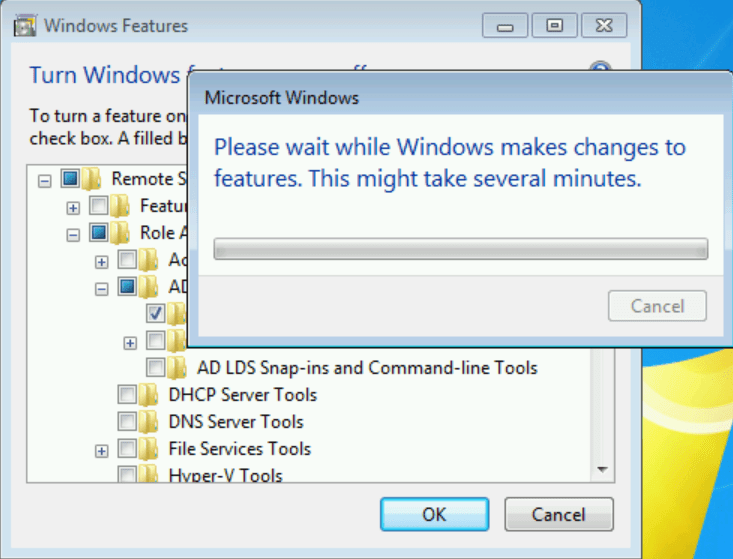
After that, it will delightfully disappear.
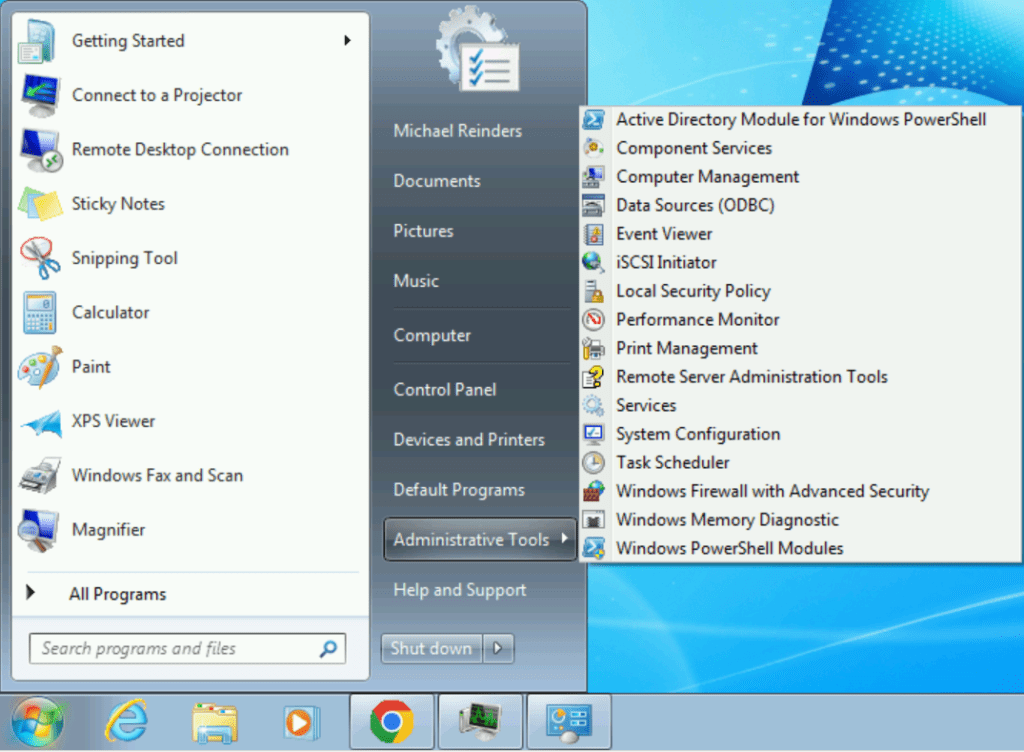
- Click Start -> Administrative Tools.
- At the top, you can click on Active Directory Module for Windows PowerShell.
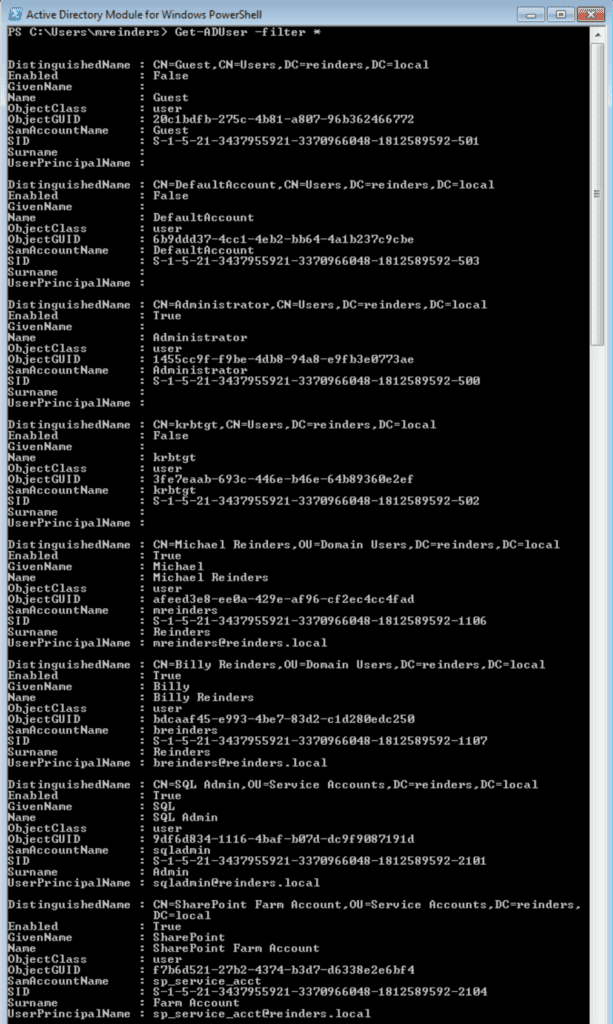
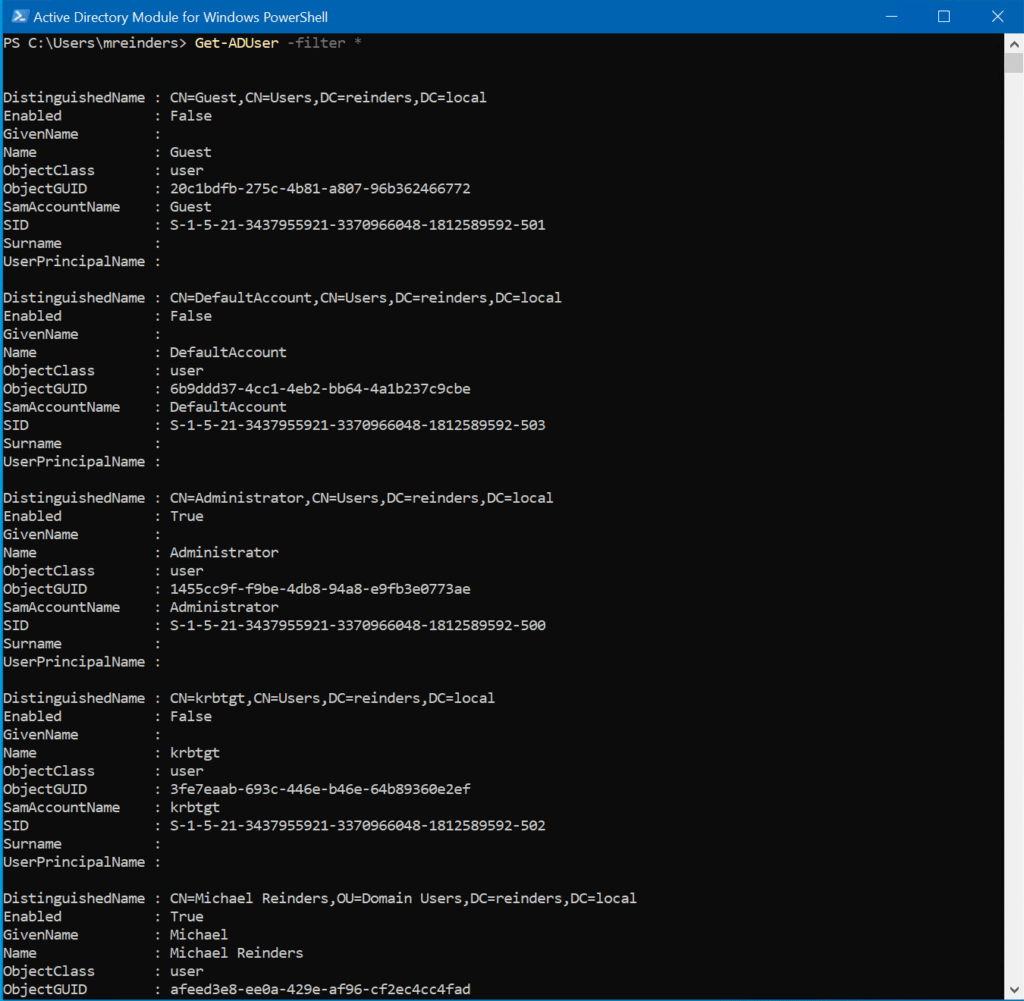
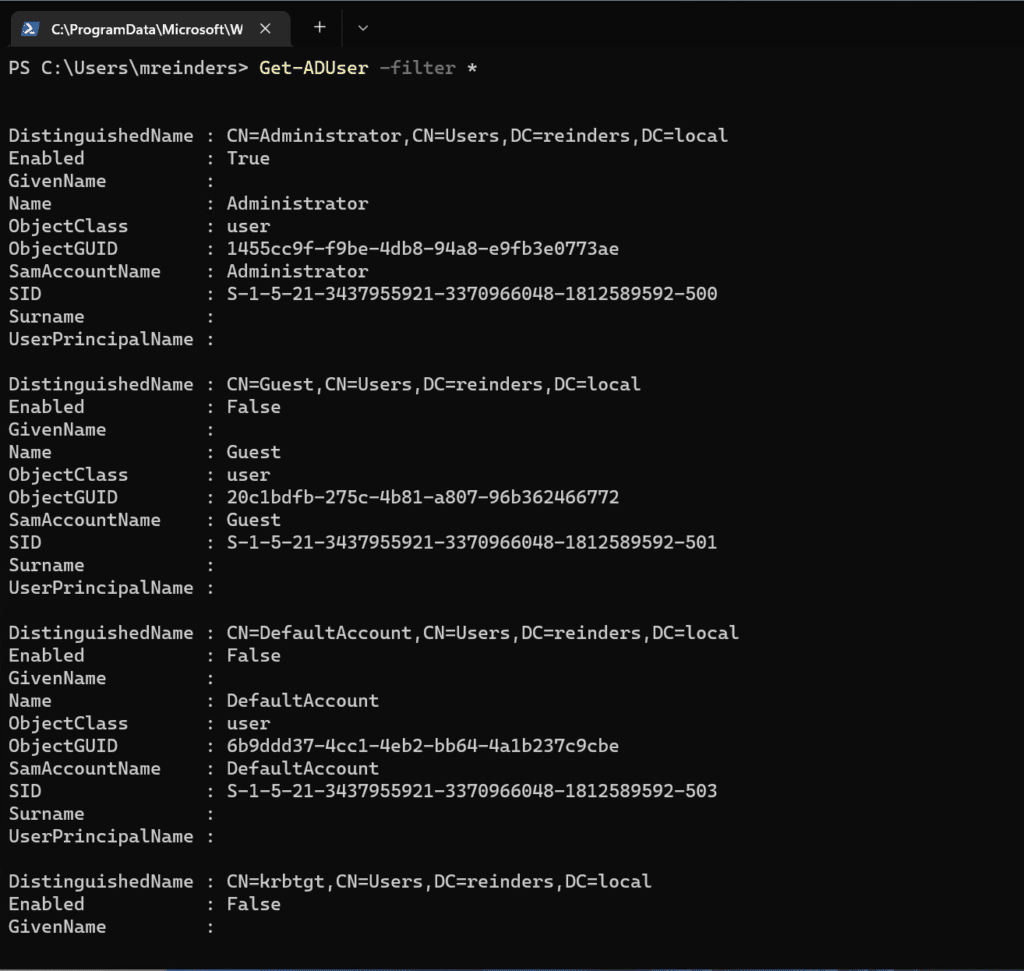
And there you have it. I just typed Get-ADUser -filter * to test and verify that the module works:
Get-ADUser -filter *
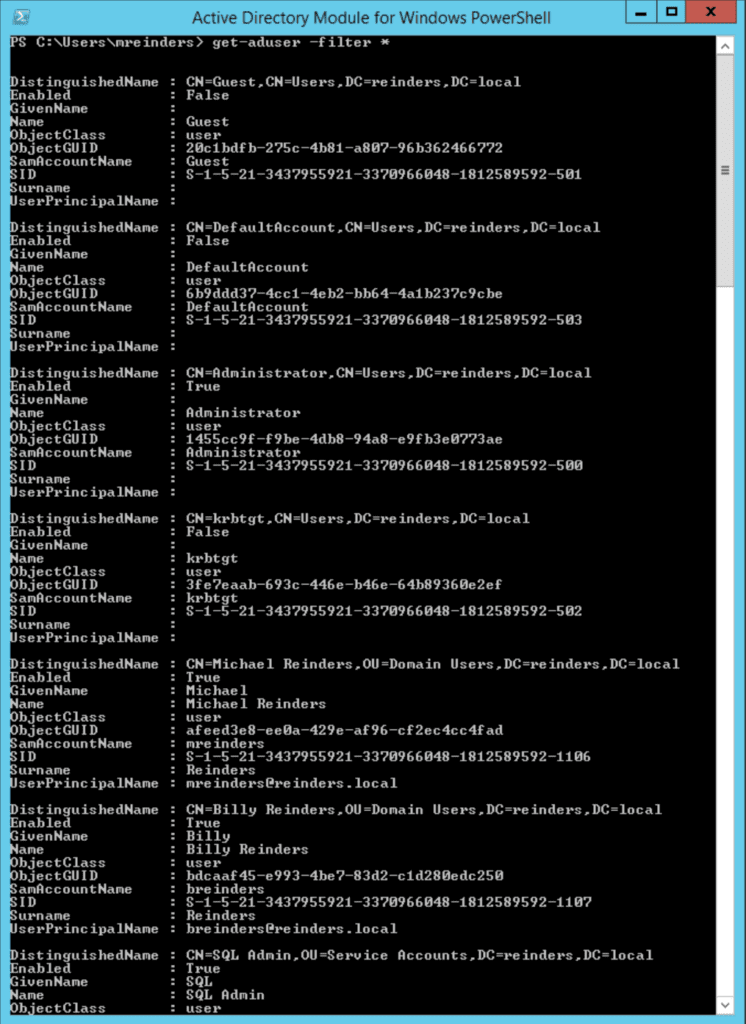
As you can see below, the module successfully connected to my Active Directory and output all user accounts from my lab. Sweet!
Windows Server 2008 R2
So, regarding installing this on Windows Server 2008 R2, the process is fairly similar. That’s not surprising as this version of Windows Server and Windows 7 share the same codebase.
Here are the differences and the steps you need to perform. Don’t worry, it’s nice and easy:
1. Go ahead and use the same download source for the RSAT Tools and install them.
2. Open Server Manager and click ‘Add features.’
3. Scroll down and find Remote Server Administration Tools -> Role Administration Tools -> AD DS and AD LDS Tools -> Active Directory module for Windows PowerShell.
You can also use the following PowerShell commands to install the module:
Import-Module ServerManager
Add-WindowsFeature RSAT-AD-PowerShell
Done!
Windows 10
On Windows 10, Microsoft made some major headway in reducing the time to install the RSAT tools and the various headaches that come along with it – they included them in the bits of the operating system and made them installable via Optional Features.
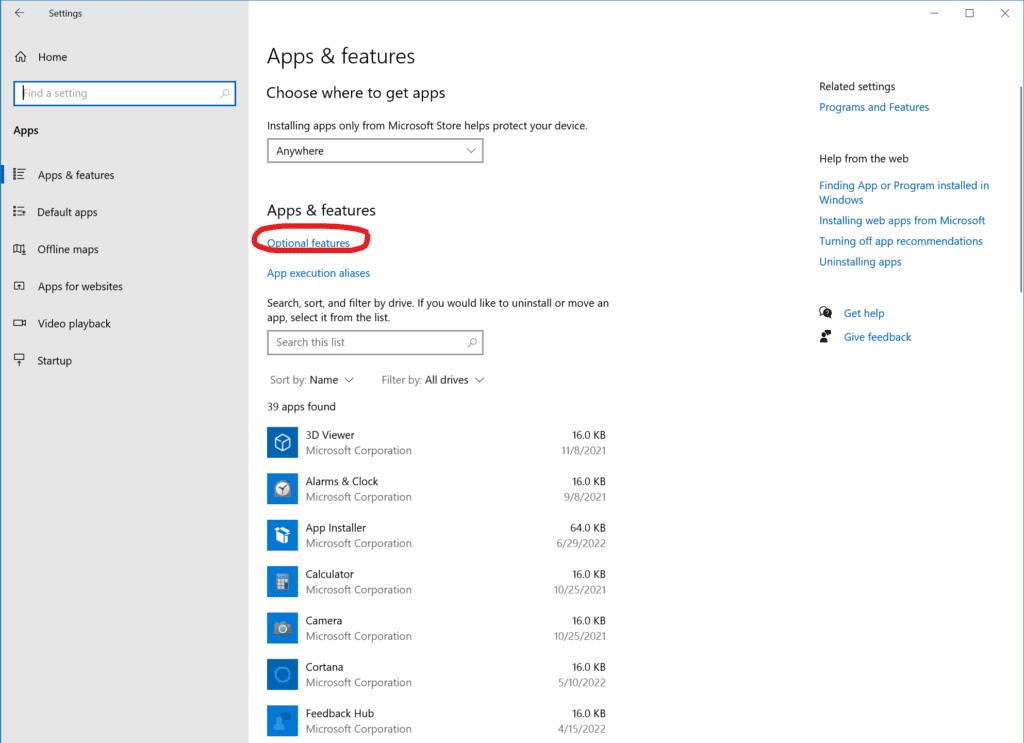
- Click Start -> Settings -> Apps -> Optional Features.
- Click the ‘Add a feature‘ button at the top, and then scroll down.
- Check ‘RSAT: Active Directory Domain Services and Lightweight Directory Services Tools‘.
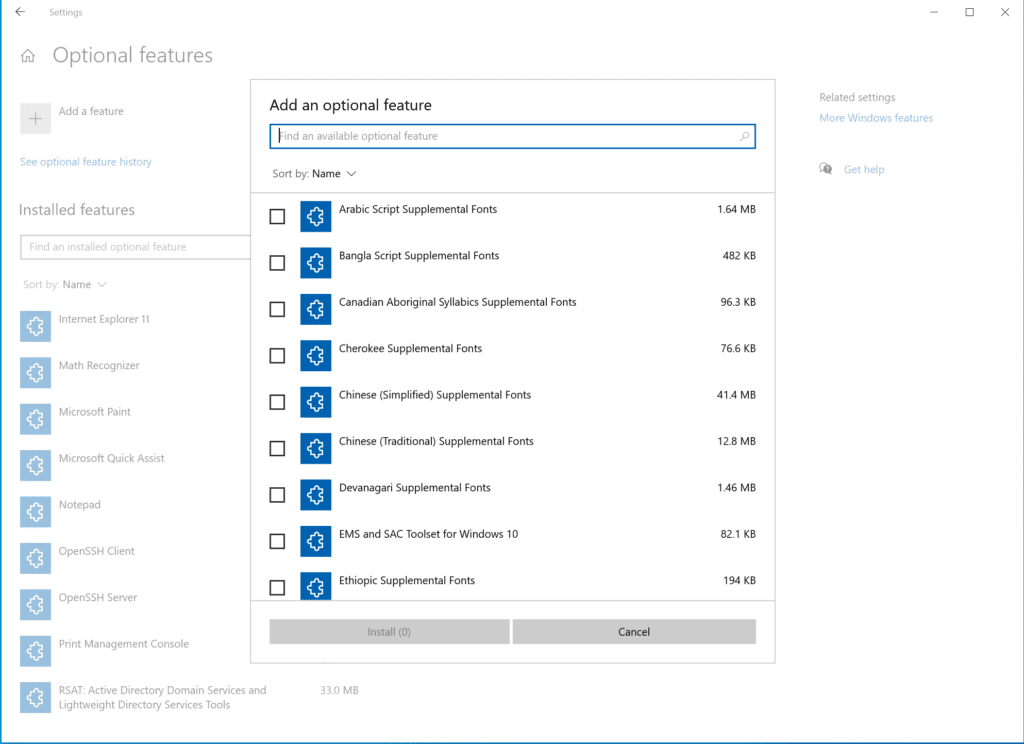
- Click the Install button and Windows 10 will then enable the feature.
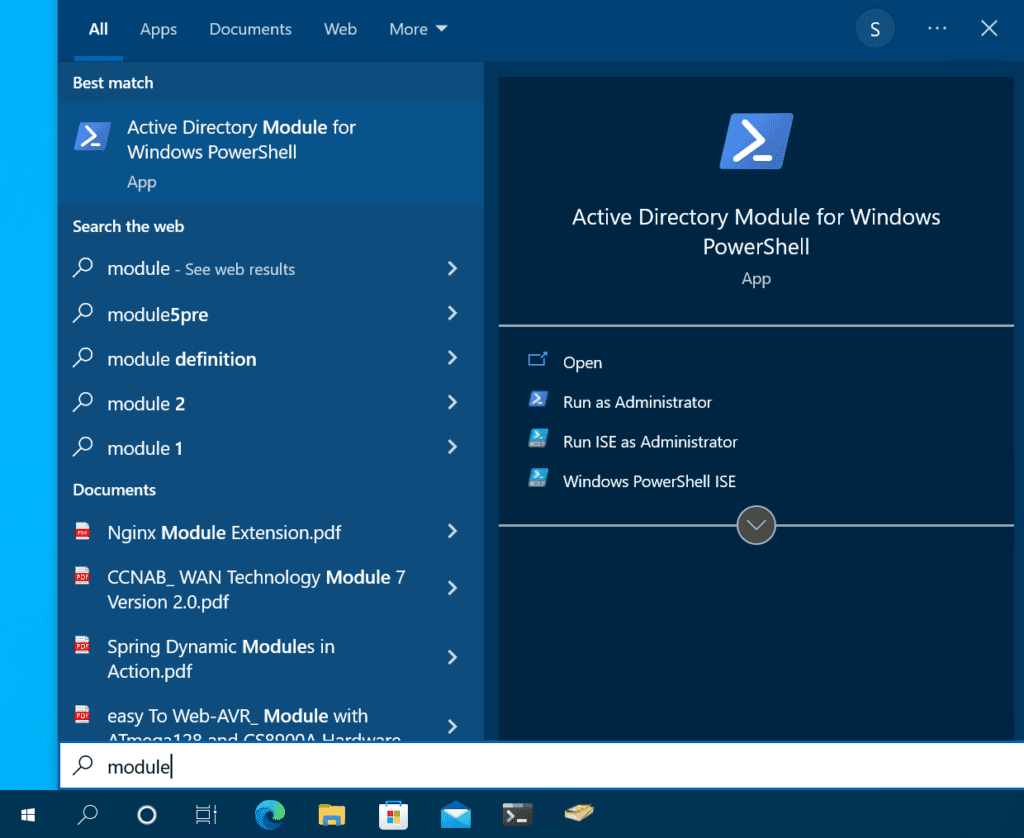
- Next, open the Windows 10 Start Menu, start typing in ‘module’ and you’ll find ‘Active Directory Module for Windows PowerShell.’
- Click on it and you’re in!
I’ll run the same Get-ADUser command, the output looks familiar, doesn’t it? 🙂
Get-ADUser -filter *
Windows 11
The process on Windows 11 is very similar to Windows 10, only the layout of Settings has been updated with a few tweaks along the way. Let’s start this on one of my Windows 11 client VMs in my lab.
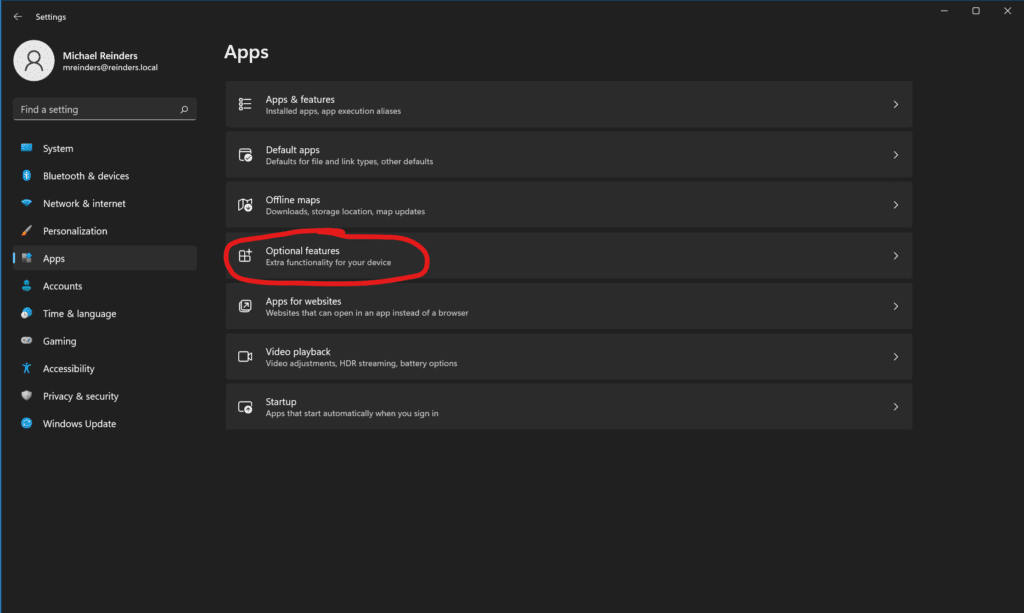
- Click Start -> Settings -> Apps -> Optional features.
- Click the ‘View features‘ button in the upper right corner.
- Then scroll down and find ‘RSAT: Active Directory Domain Services and Lightweight Directory Services Tools.’
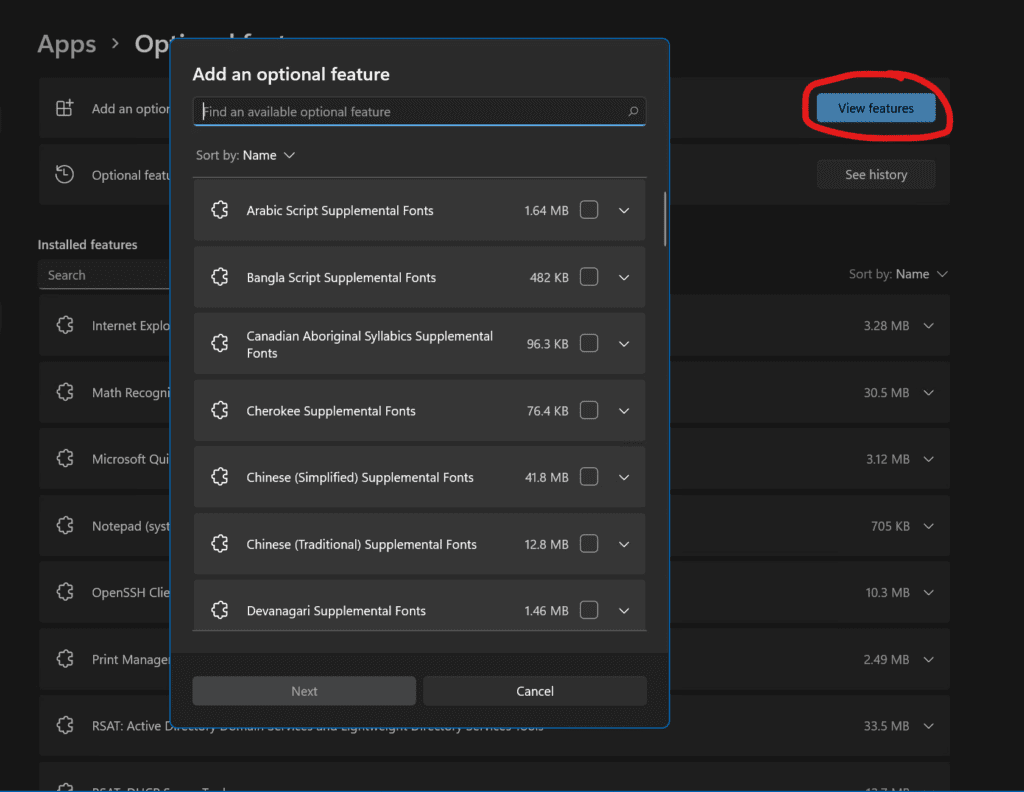
- Click Next and Windows 11 will install the feature for you.
- Then, as above, click the Start button again, start typing in ‘module’, and voila!
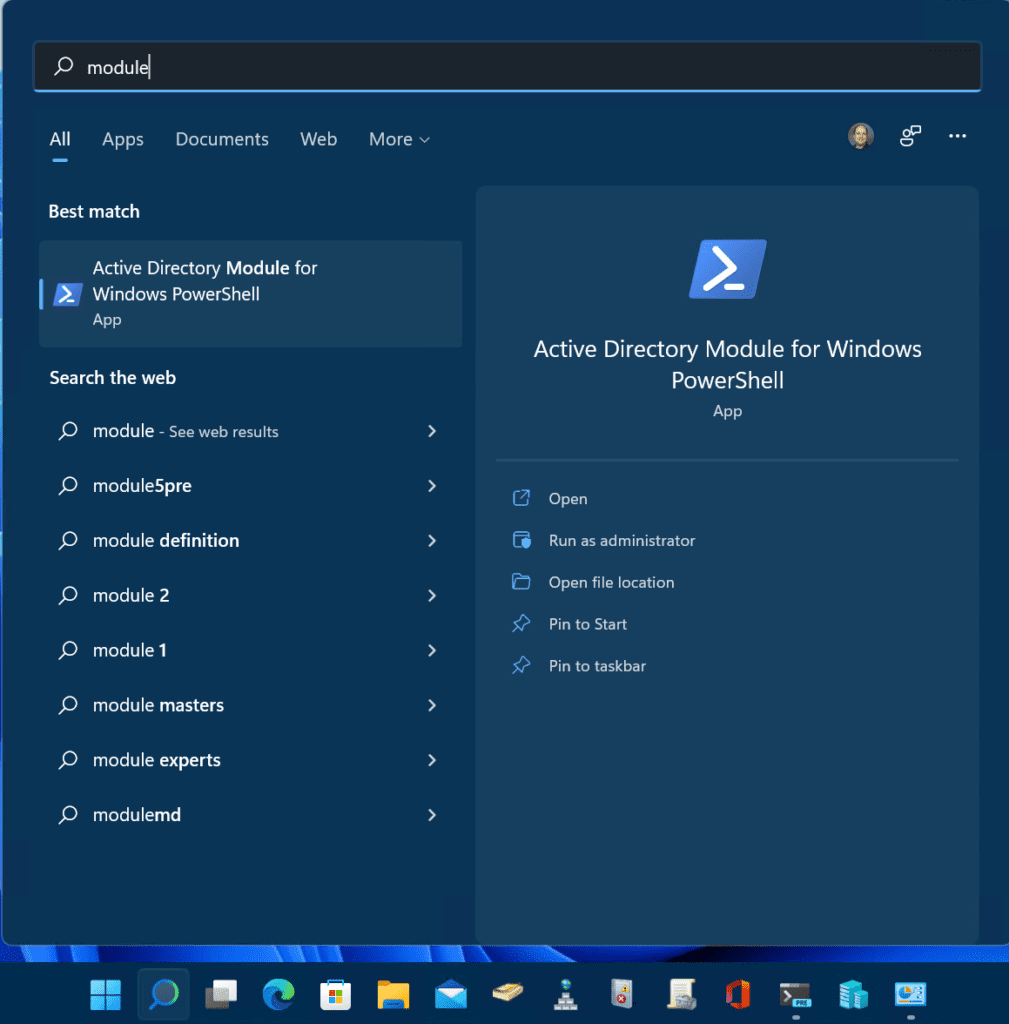
- Click ‘Active Directory Module for Windows PowerShell.’ We can use the same Get-ADUser command to confirm permissions locally and into our Active Directory domain.
Get-ADUser -filter *
Windows Server 2012 R2 (Windows Server 2016, 2019, 2022, and Windows 8.1)
Because the install procedure is very similar between these Windows versions, I’ll cover one set of steps here. This will cover Windows Server 2012 R2, Windows Server 2016, Windows Server 2019, and Windows Server 2022 (this also applies very closely to Windows 8.1)
Reminder: Windows 8.1 goes out of support in January 2023 and Windows Server 2012/Windows Server 2012 R2 go out of support in October 2023. Be prepared!
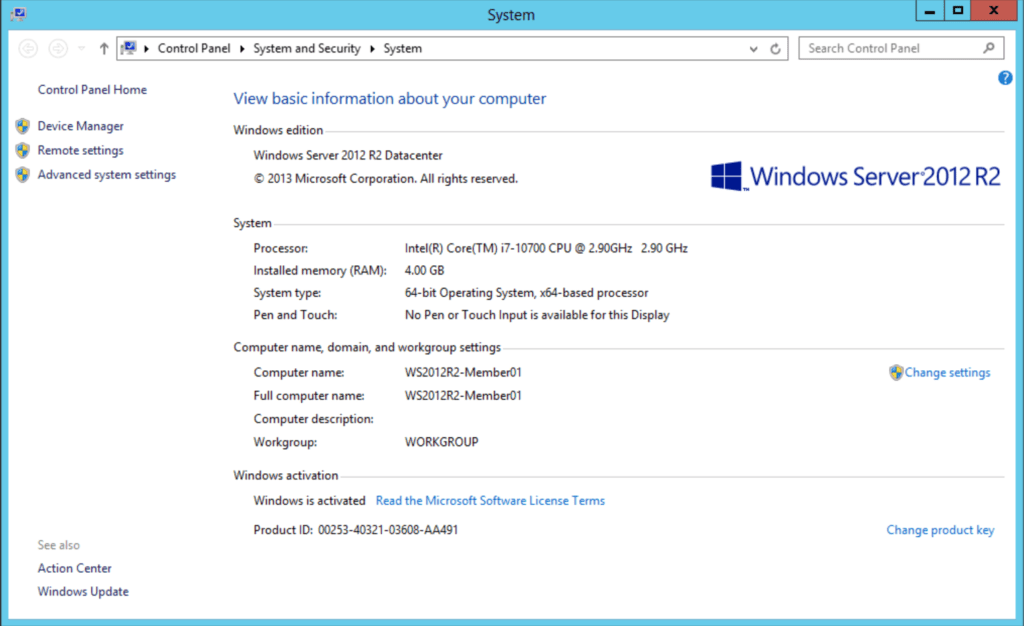
Again, these Windows versions share the same codebase, so the steps are very similar. Let’s start out with a fresh, new, fully patched, Windows Server 2012 R2 member server in my Windows Server 2022 Active Directory Hyper-V lab.
- Let’s proceed to open Server Manager, then we’ll click on Add roles and features.
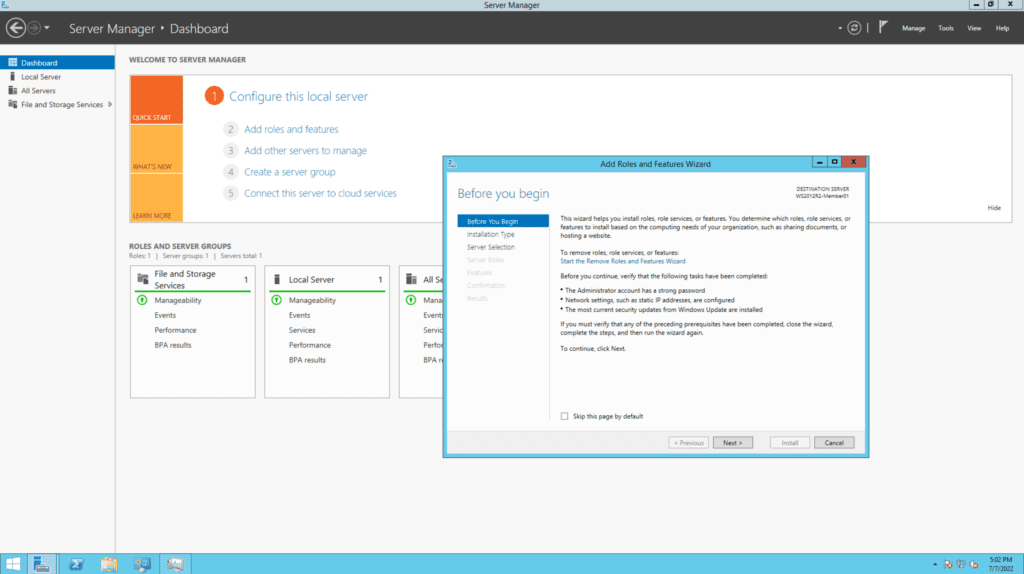
- Click Next a few times until you come to the ‘Select features‘ screen.
- As we’ve done previously, drill down to ‘Remote Server Administration Tools -> Role Administration Tools -> AD DS and AD LDS Tools -> and select Active Directory module for Windows PowerShell.’
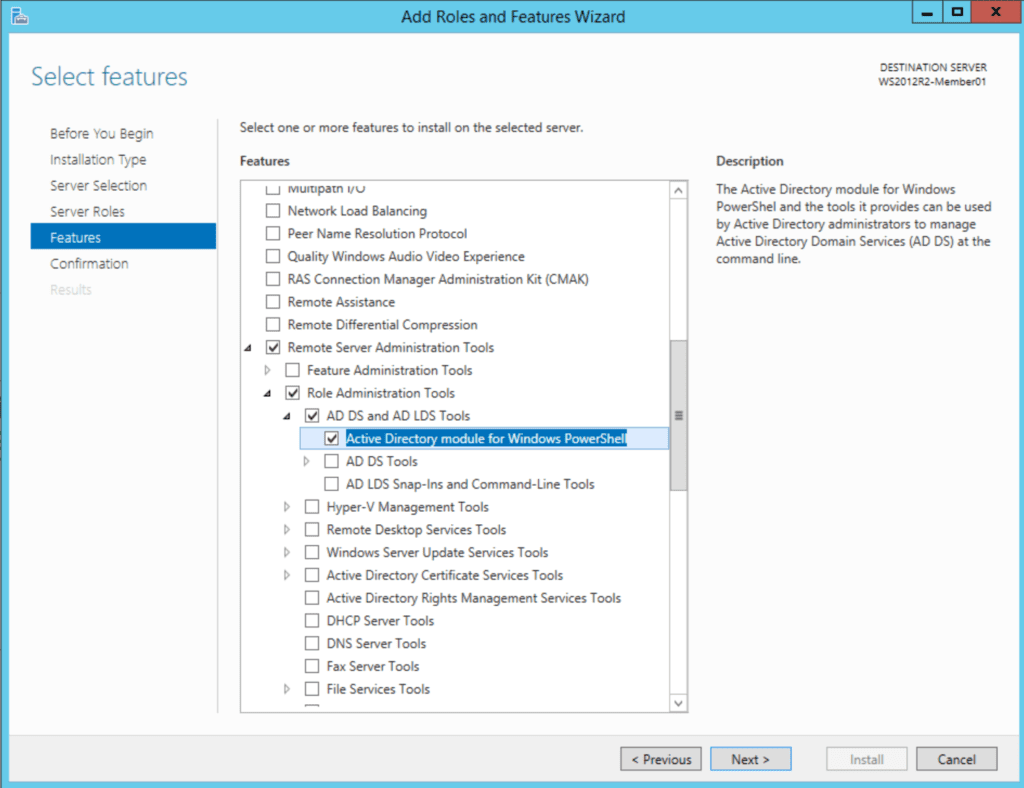
- On the next screen, click Install and we’re good!
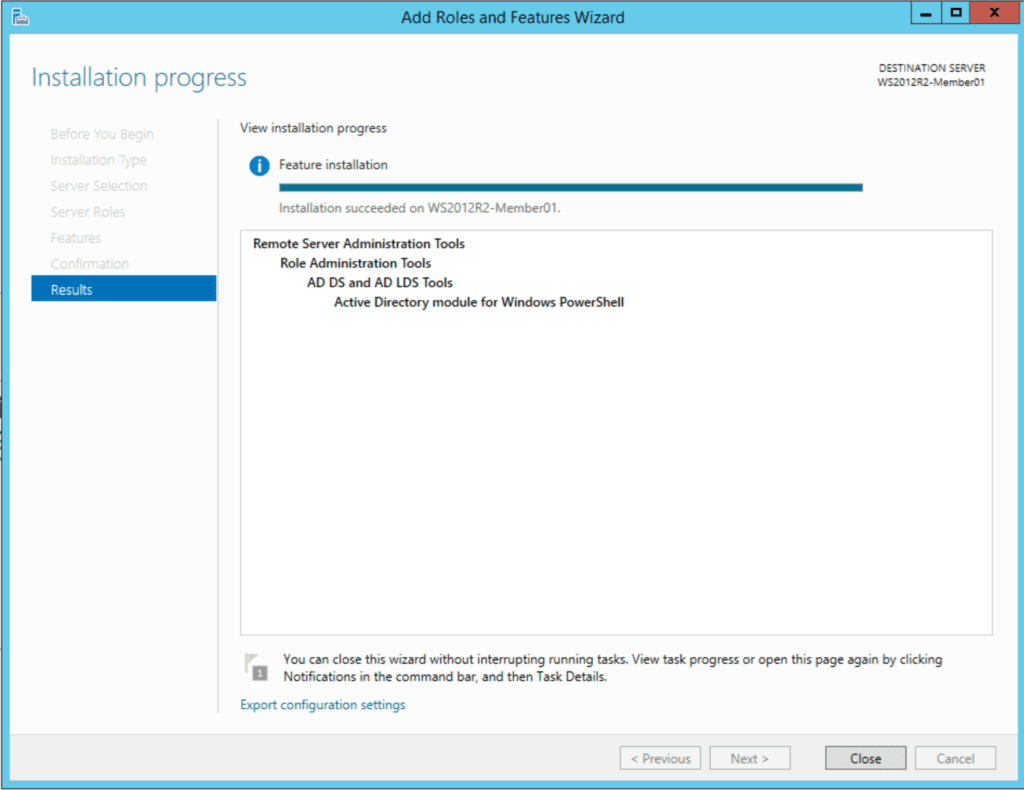
- Click Start -> Administrative Tools. Lo and behold, there it is. Open ‘Active Directory Module for Windows PowerShell.’ Let’s use the same Get-ADUser command again.
Get-ADUser -filter *
PowerShell Core 6.0/7.x
There are some other productivity features to help boost your efficiency as an IT Pro. This includes the method to install the Active Directory module on PowerShell Core 6.x/7.x. I’ll demonstrate this here on one of my Windows 10 version 21H2 VMs.
- The first step is to install the RSAT tools as described above. You can follow the different steps mentioned in the ‘Windows 10’ section above.
- Once you have the tools installed, you can install the latest version of PowerShell Core, which, as I write this, is PowerShell 7.2.5. You can find download links on this page.
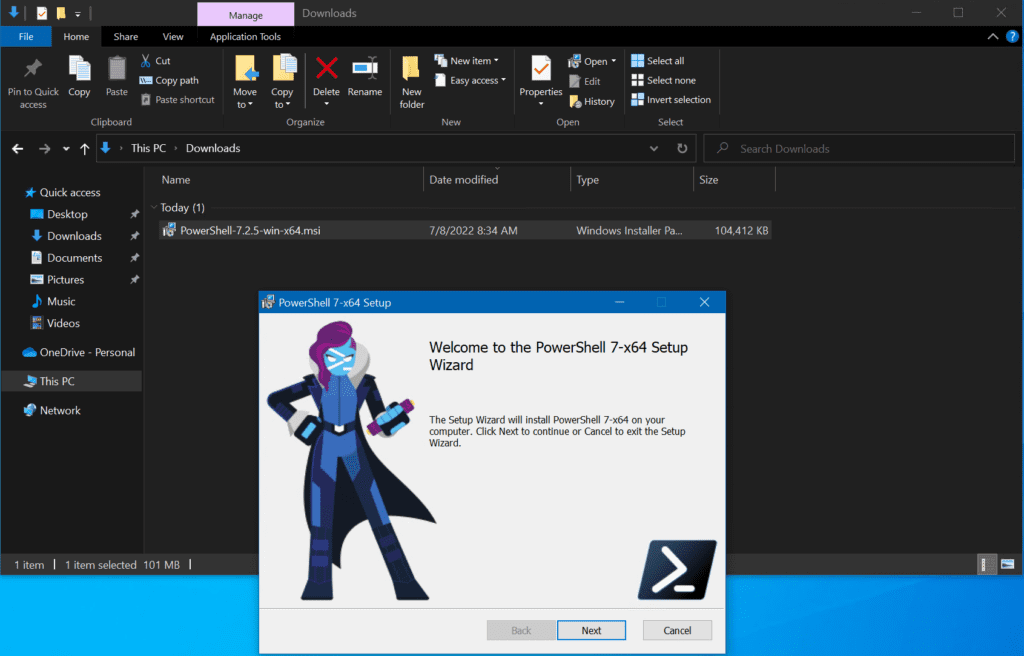
- Click Next after opening the Setup wizard.
- On the ‘Optional Actions‘ screen, you can see the ‘Enable PowerShell remoting‘ option. Be sure to check that.
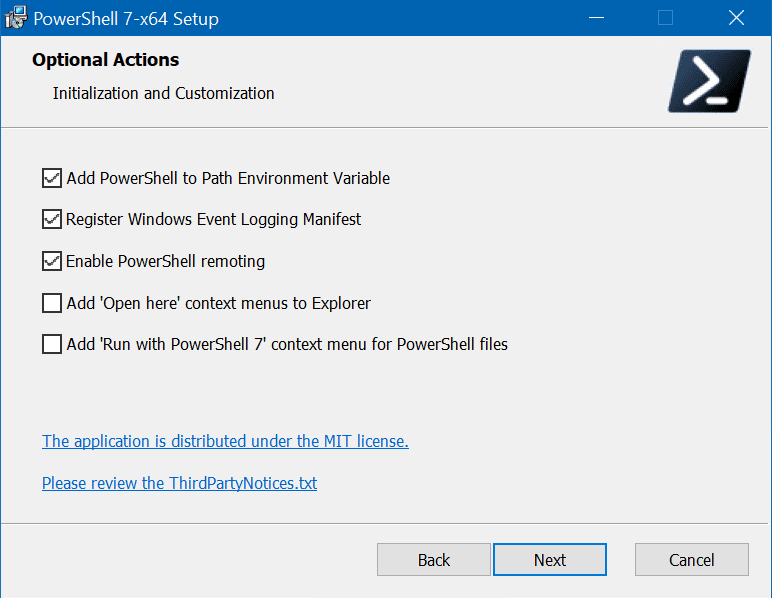
- Click Next a few more times.
- And click Install.

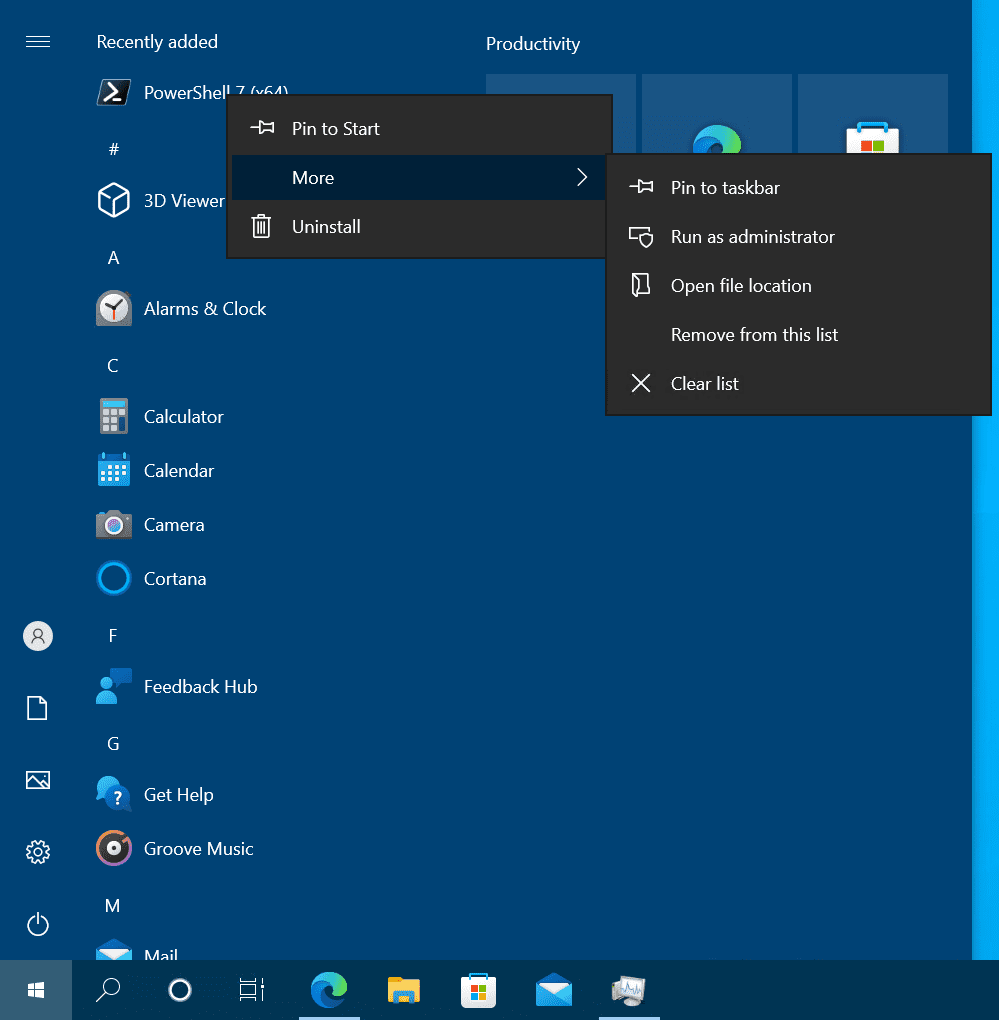
- After it’s installed, you can launch it from the Start menu as an Administrator.
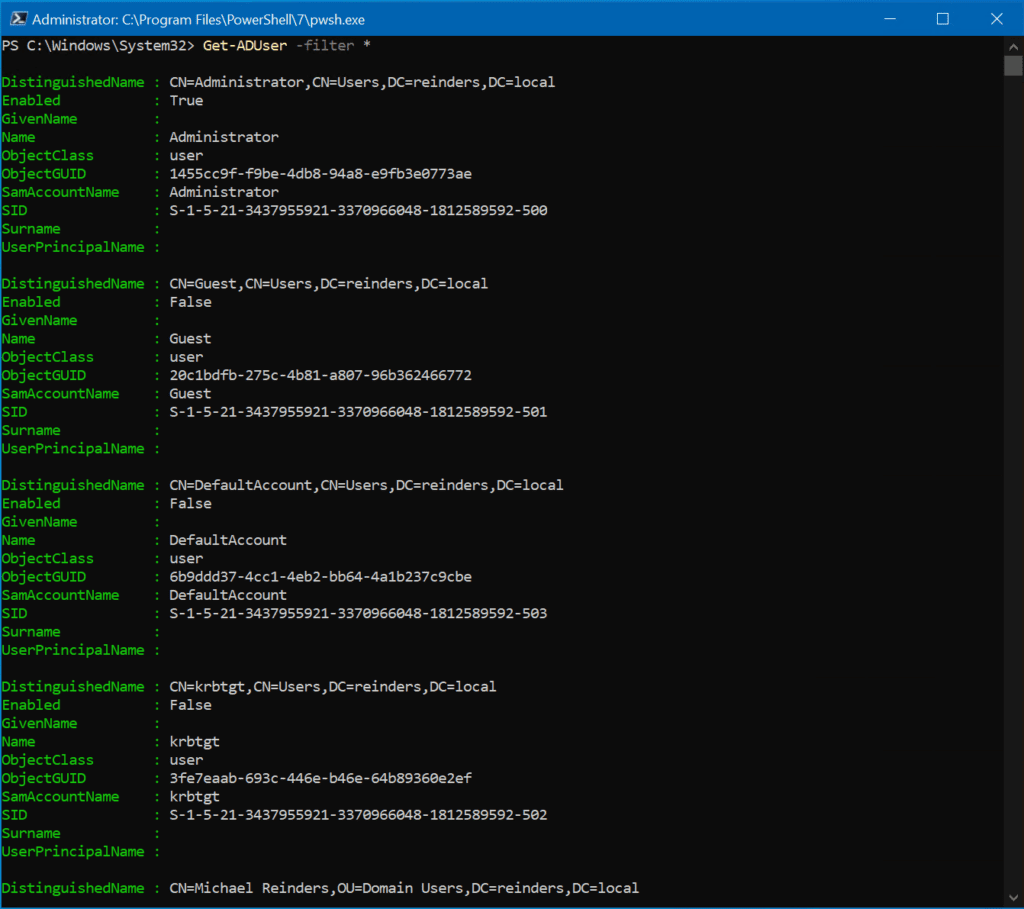
Because the modules installed essentially ‘follow’ the varying versions of PowerShell installed, I was able to use PowerShell (Core) 7.2.5 and run the Get-ADUser command natively.
Get-ADUser -filter *
Using PowerShell remoting and interactive sessions
Another pretty powerful feature is being able to start a remote, interactive PowerShell session on your client computer while being connected to one of your domain controllers. Let me demonstrate how to do that with the following command:
Enter-PSsession ws16-dc1
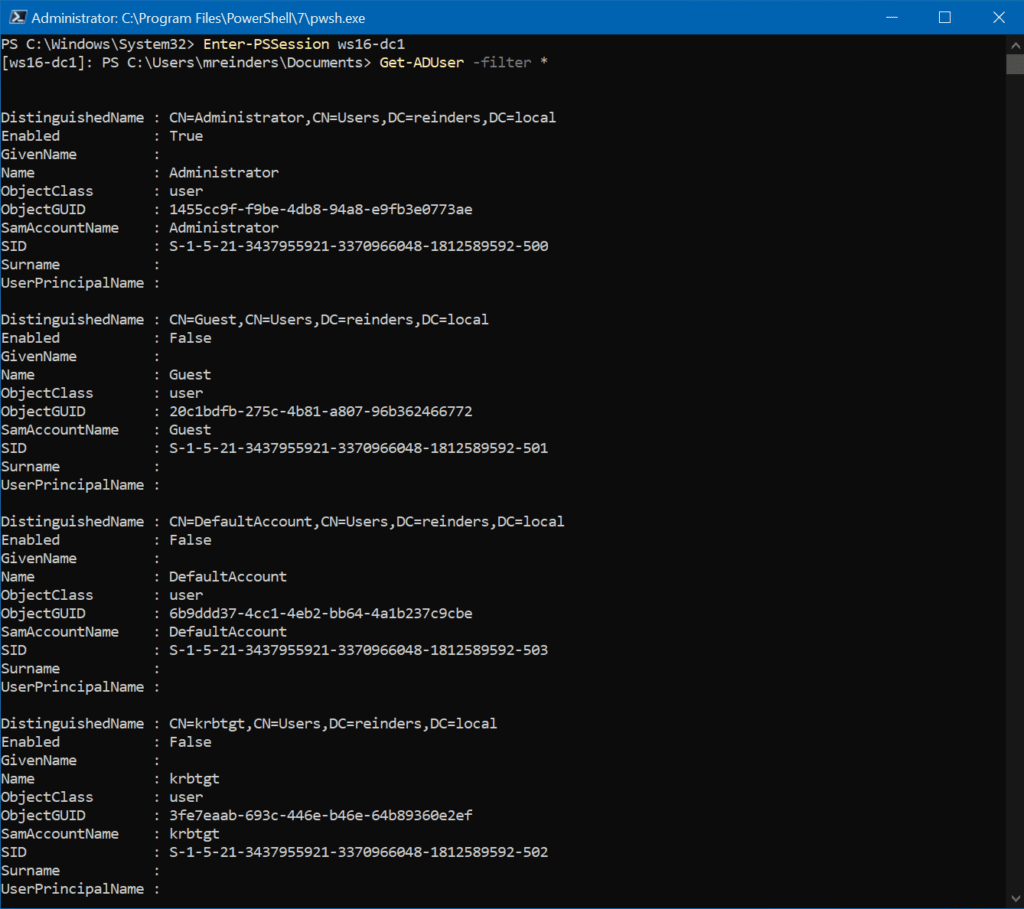
So, if your IT security folks don’t want the RSAT tools to be installed on your client machine for whatever reason, you can still accomplish your tasks in Active Directory with PowerShell without having to log in to your DCs. Pretty slick trick, right?
The next option we have is to use what’s called implicit remoting. This allows you to run the AD cmdlets from your local session. However, the commands are run remotely on the DC. Run the following commands to accomplish this.
The first command below starts a PowerShell session on my DC named ws16-dc1 :
$Session = New-PSSession -ComputerName ws16-dc1
The next command imports the Active Directory module from the remote session into our local session:
Import-Module -PSsession $session -name ActiveDirectory
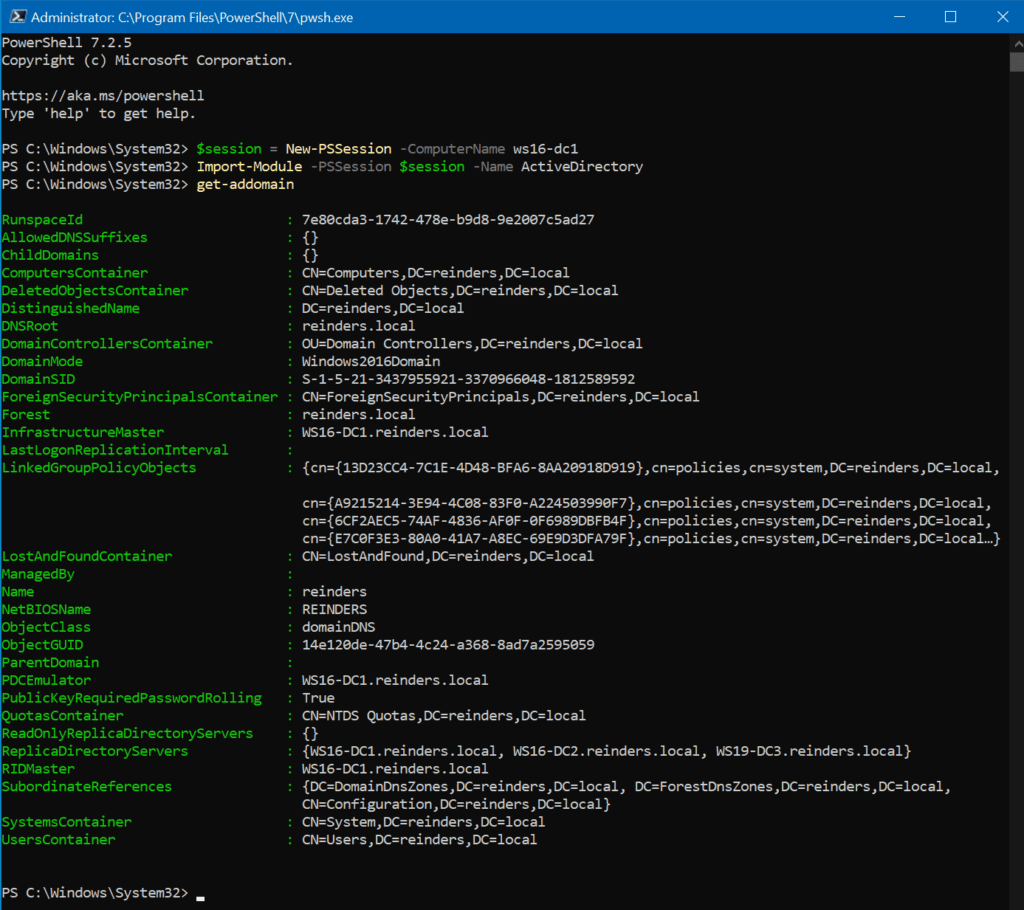
All the commands you run are literally being processed and running on your domain controller.
Exporting the remote AD module to a local module
The final task we can accomplish here is to export the AD cmdlets from your remote session to a local module. The sample commands below will accomplish this task by creating a local module in your Documents folder under PowerShell\Modules\RemoteAD.
$session = New-PSSession -ComputerName ws16-dc1
Export-PSSession -Session $session -Module ActiveDirectory -OutputModule RemoteAD
Remove-PSSession -Session $session
Import-Module RemoteAD
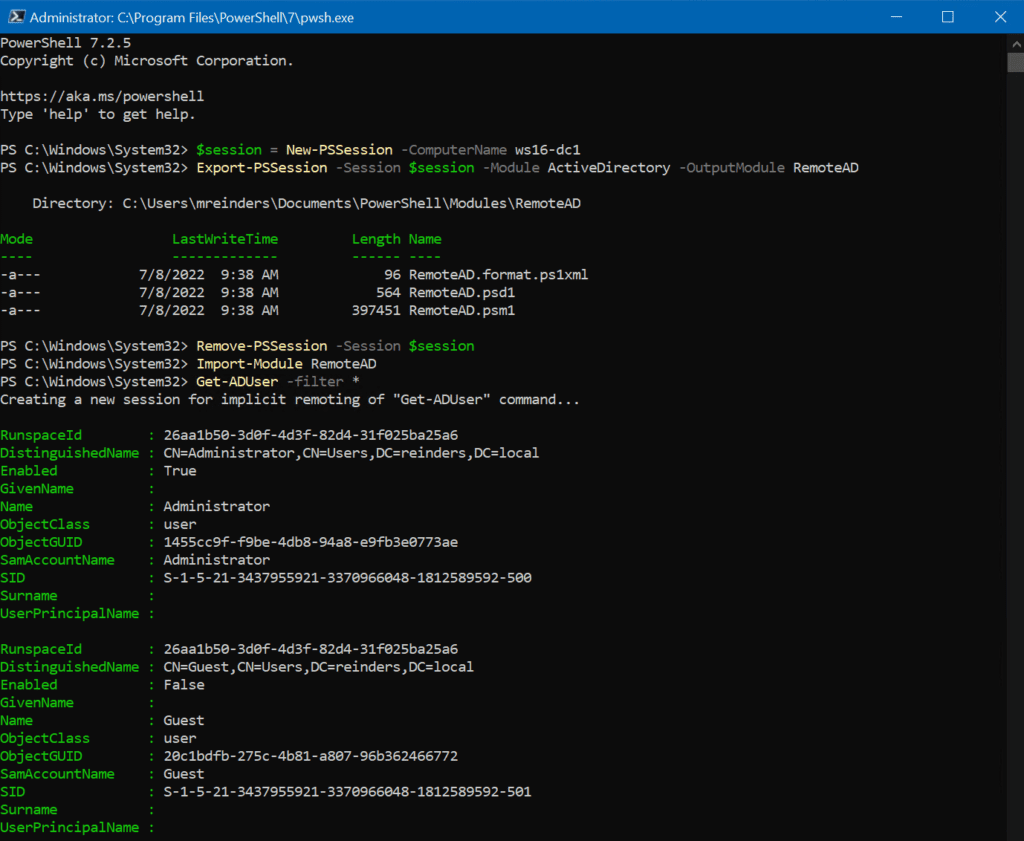
As is the case with the earlier steps we’ve run, we’re once again using implicit remoting, meaning all the cmdlets we use will be running remotely on the domain controller we specify. The local RemoteAD module makes a connection to the cmdlets on the DC.
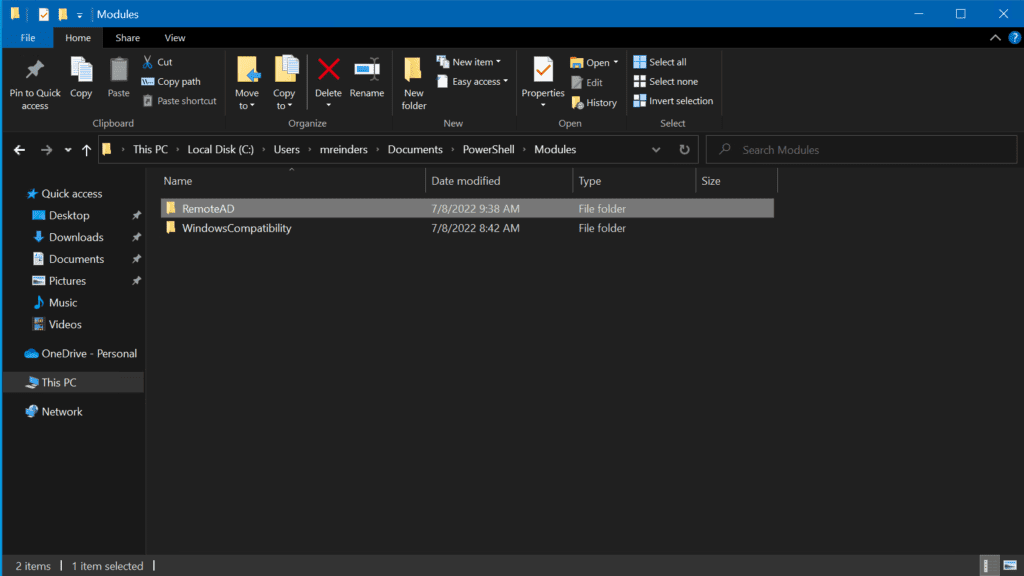
Bonus tip: If you want to use this RemoteAD module on other client computers, you can copy the RemoteAD folder to the PowerShell Core module folder on other machines.
The difference between these two methods is this – PowerShell only establishes a connection to the domain controller when you use an AD cmdlet the first time. It is a persistent connection. You don’t have to add the above commands to your script or profile because PowerShell will load them automatically. However, be advised that you may need to repeat these steps if and when you update the AD module on your domain controller.
Conclusion
It’s rather refreshing to discover that some procedures IT pros need to go through are quite straightforward. Thank you, Microsoft for keeping the overall process of installing this Active Directory module for PowerShell pretty streamlined and consistent over the last ten years! Every little bit helps.
Thanks to posts like these, if you need to grab your DeLorean and go back in time, you’ll have everything you need to get your job done. Thank you for reading, and please feel free to leave any comments or questions down in the comments section below.
FAQs
How can I verify if the PowerShell Active Directory Module is successfully installed on Windows 11?
You can verify the PowerShell Install Active Directory Module Windows 11 installation by opening PowerShell and running the command ‘Get-Module -Name ActiveDirectory -ListAvailable’. If the module is installed correctly, it will display the module information and version number.
What are the prerequisites for installing PowerShell Active Directory Module on Windows 11?
Before installing PowerShell Active Directory Module Windows 11, ensure you have administrative privileges, a stable internet connection, and your Windows 11 system is up-to-date with the latest updates installed. You should also be connected to a domain network for full functionality.
Can I use PowerShell Active Directory Module on Windows 11 Home edition?
The PowerShell Install Active Directory Module Windows 11 can be installed on Windows 11 Home edition, but some features may be limited. It’s recommended to use Windows 11 Pro or Enterprise editions for full Active Directory management capabilities.
What troubleshooting steps should I take if PowerShell Active Directory commands aren’t working after installation?
If PowerShell Install Active Directory Module Windows 11 commands aren’t working, try running PowerShell as administrator, restart the PowerShell session, verify network connectivity to the domain controller, and ensure the module is properly imported using ‘Import-Module ActiveDirectory’.
Are there any alternative methods to manage Active Directory if the PowerShell module installation fails?
If PowerShell Install Active Directory Module Windows 11 installation fails, you can use alternative methods such as Remote Server Administration Tools (RSAT), Active Directory Administrative Center, or establish a remote PowerShell session directly to a domain controller.

Michael has been an IT Pro since 1998. He has worked predominantly in the Windows world including client and server operating systems, on-prem systems engineering (AD, DNS, etc.), and over the last ten years or so has embraced and immersed himself in...


