


How to Create a Team in Microsoft Teams

Microsoft Teams is a chat-based workspace that groups people and enables them to share and collaborate on ideas and information. Here’s how to create a team and manage team members.
Teams are useful for organizing work information, chat, and tools into channels. Before you create a team, you should understand who should have access to it and how information is likely to organized in an effective way for the team. And decide whether a team is necessary. Maybe chat is sufficient? Check out Microsoft Teams Channels vs. Chat on Petri for more information on the difference between teams channels and chat.
How to create a team in Microsoft Teams
There are many questions about what type of team to create, what the logical design should be, whether to use a private or public team and what its intended purpose should be. We’ll assume you’ve made all those decisions and are ready to create one. Well, what are we waiting for? Let’s create our new team!
Team creation is thankfully straightforward. To create a team in Microsoft Teams:
- On the left side of the Microsoft Teams app, click Teams.
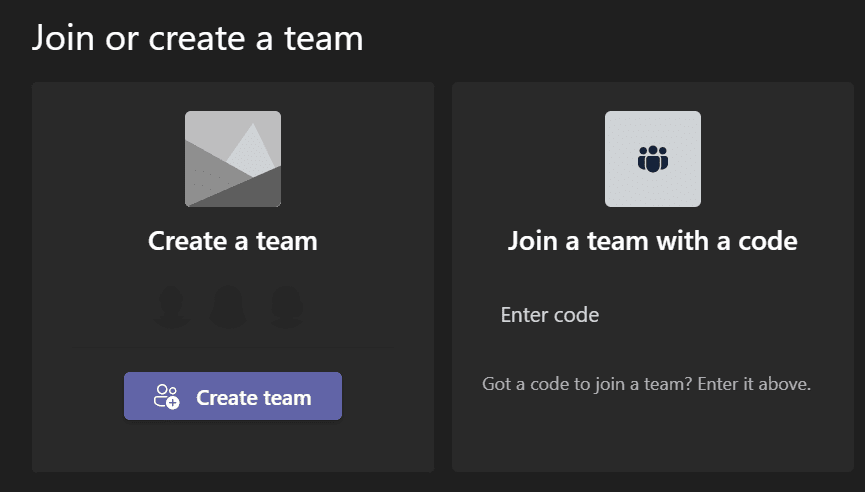
- At the bottom of the teams list, click Join or create a team.
- And now click the ‘Create team‘ button.
Let’s look at the process in more detail.
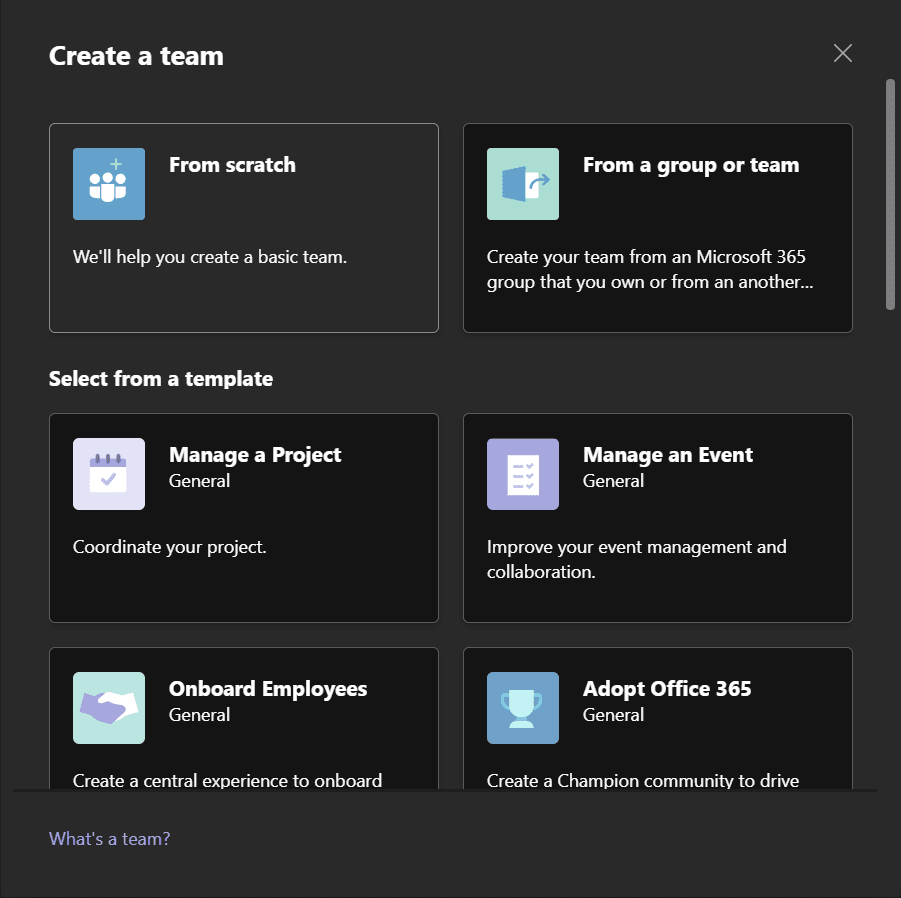
Throughout 2021, Microsoft has added some options including pre-made templates that start the ball rolling for you in terms of channel types, names, and even some apps ready for you to use. For now, we’ll choose ‘From scratch’. (You can also create a new team based on an existing team (or Microsoft 365 group) by choosing the ‘From a group or team’ option).
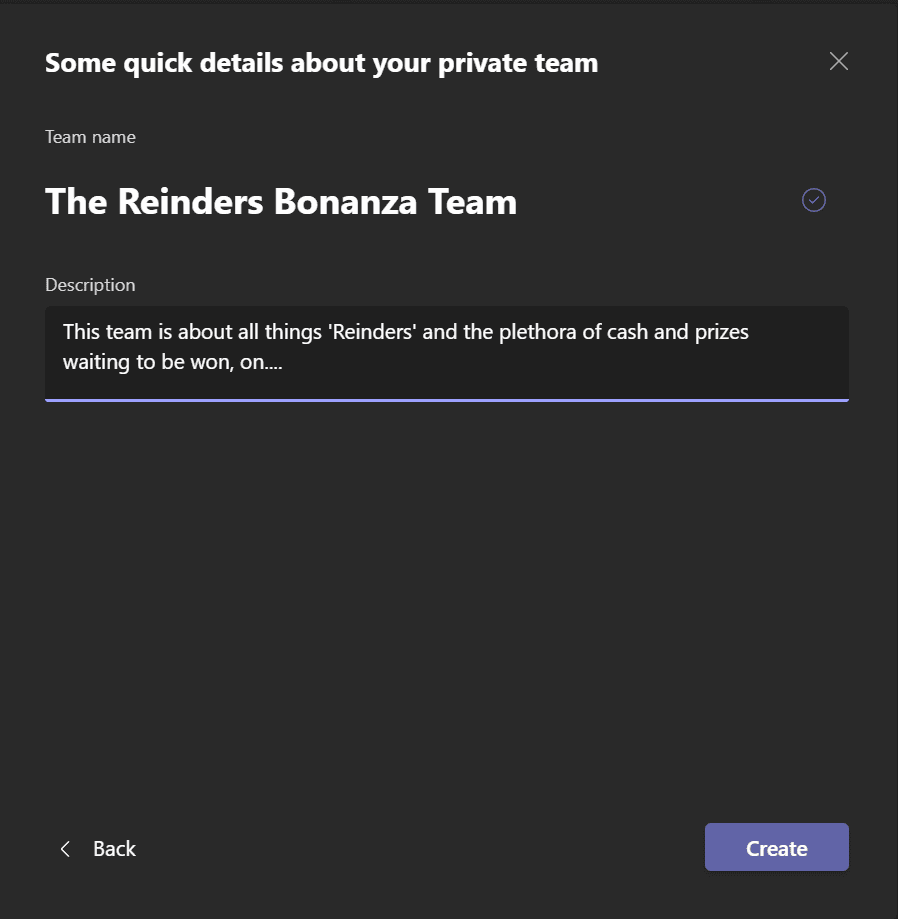
You can choose either a private or public team. Let’s choose the default, Private. Then, enter the team name in the Title field, a description, and click Create.
Inviting internal and external people to join your team
Having a team all to yourself might be intriguing at first, but it can get a little lonely. How about we invite people to collaborate? As long as you include people with a common goal of what to accomplish, you can immediately gain insight into what a private team can do for you.

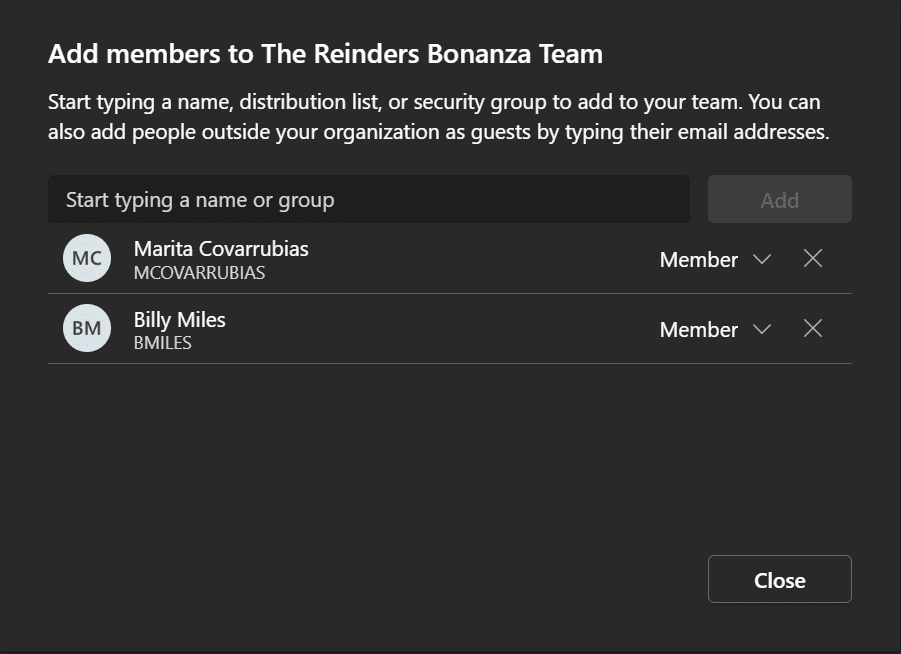
To start, click the ‘Add more people’ button under the ‘Welcome to the team!’ banner. First, we’ll invite a few internal folks in our tenant to our new team. Enter their name or email address and click them in the field. By default, they will be added as Members. You can choose here or later on to upgrade them to (Co)-Owners by clicking the drop-down menu and choosing Owner.
To confirm they were added, click the ellipses ‘…’ to the right of your team’s name and click Manage team.
Next, we’ll invite an external guest outside our organization to the team.
Invite an external guest
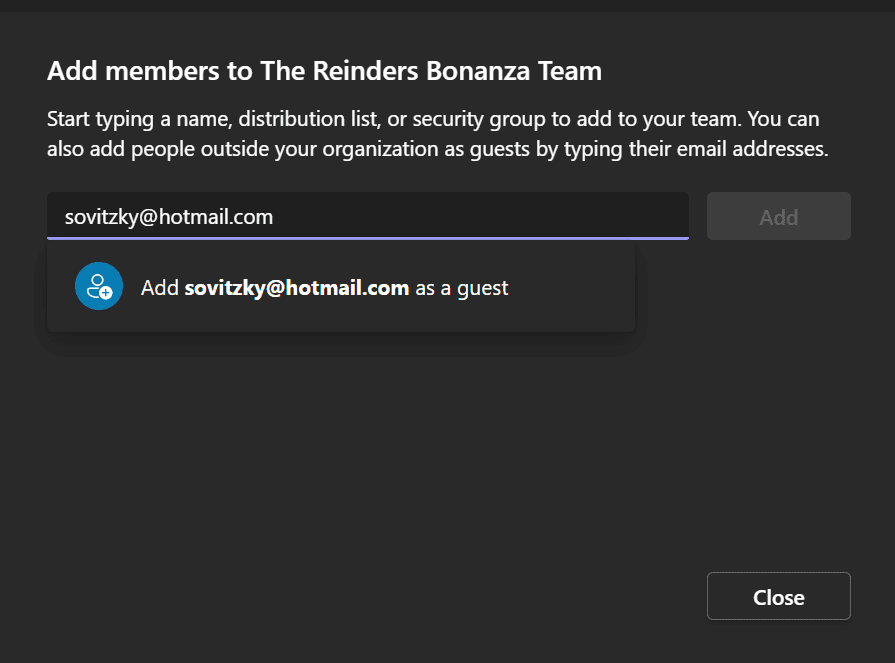
Adding an external user is as easy as adding a member. In the Manage Team view, click the Add member button in the upper-right corner.
Type in the full email address for your guest. Then, click the popup that says ‘Add email address as a Guest’. Click the ‘Add’ button and click Close.
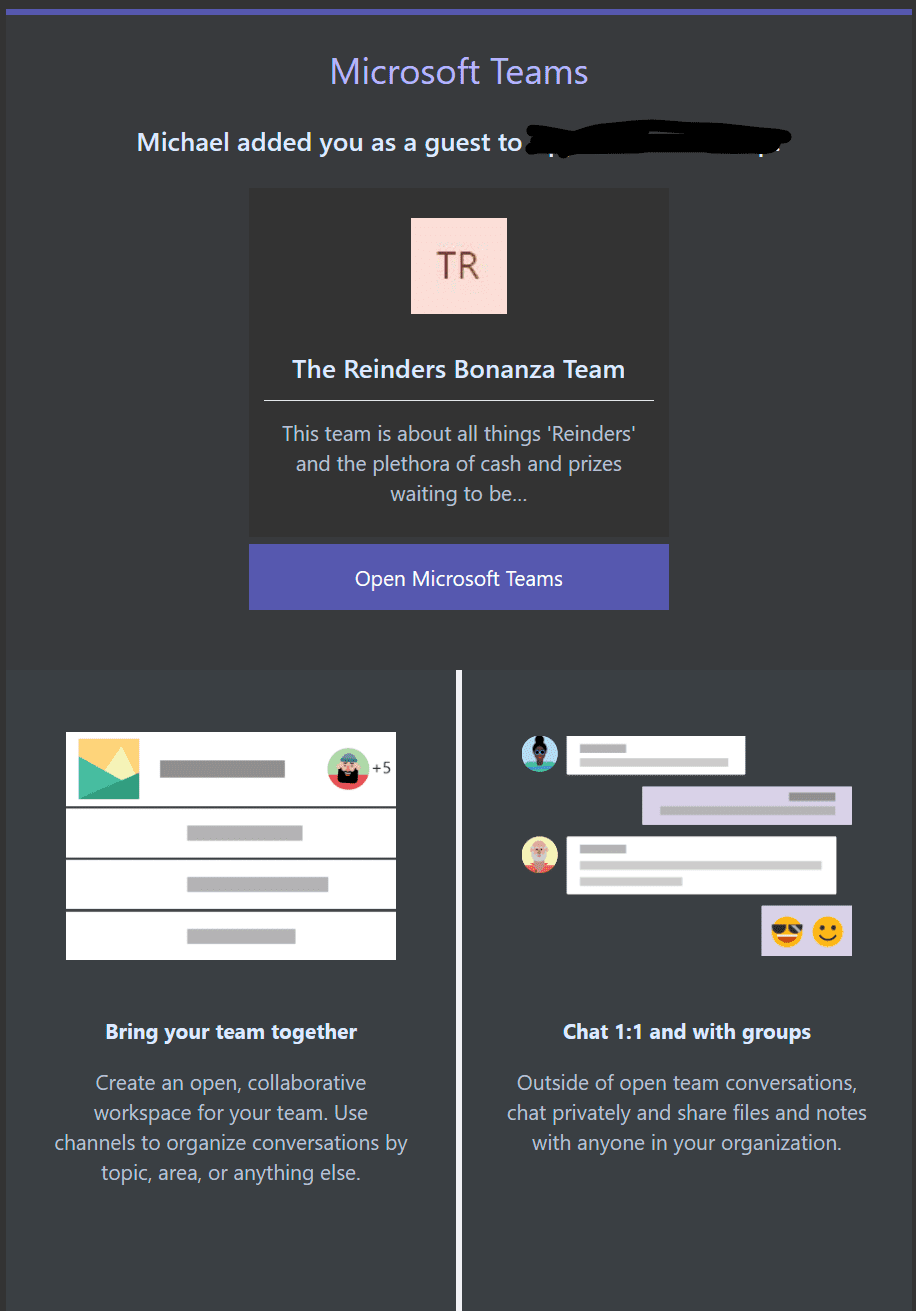
Your external user/guest will receive an email stating they’ve been added to your new team. They can click the Open Microsoft Teams link in the email and get in on the action!
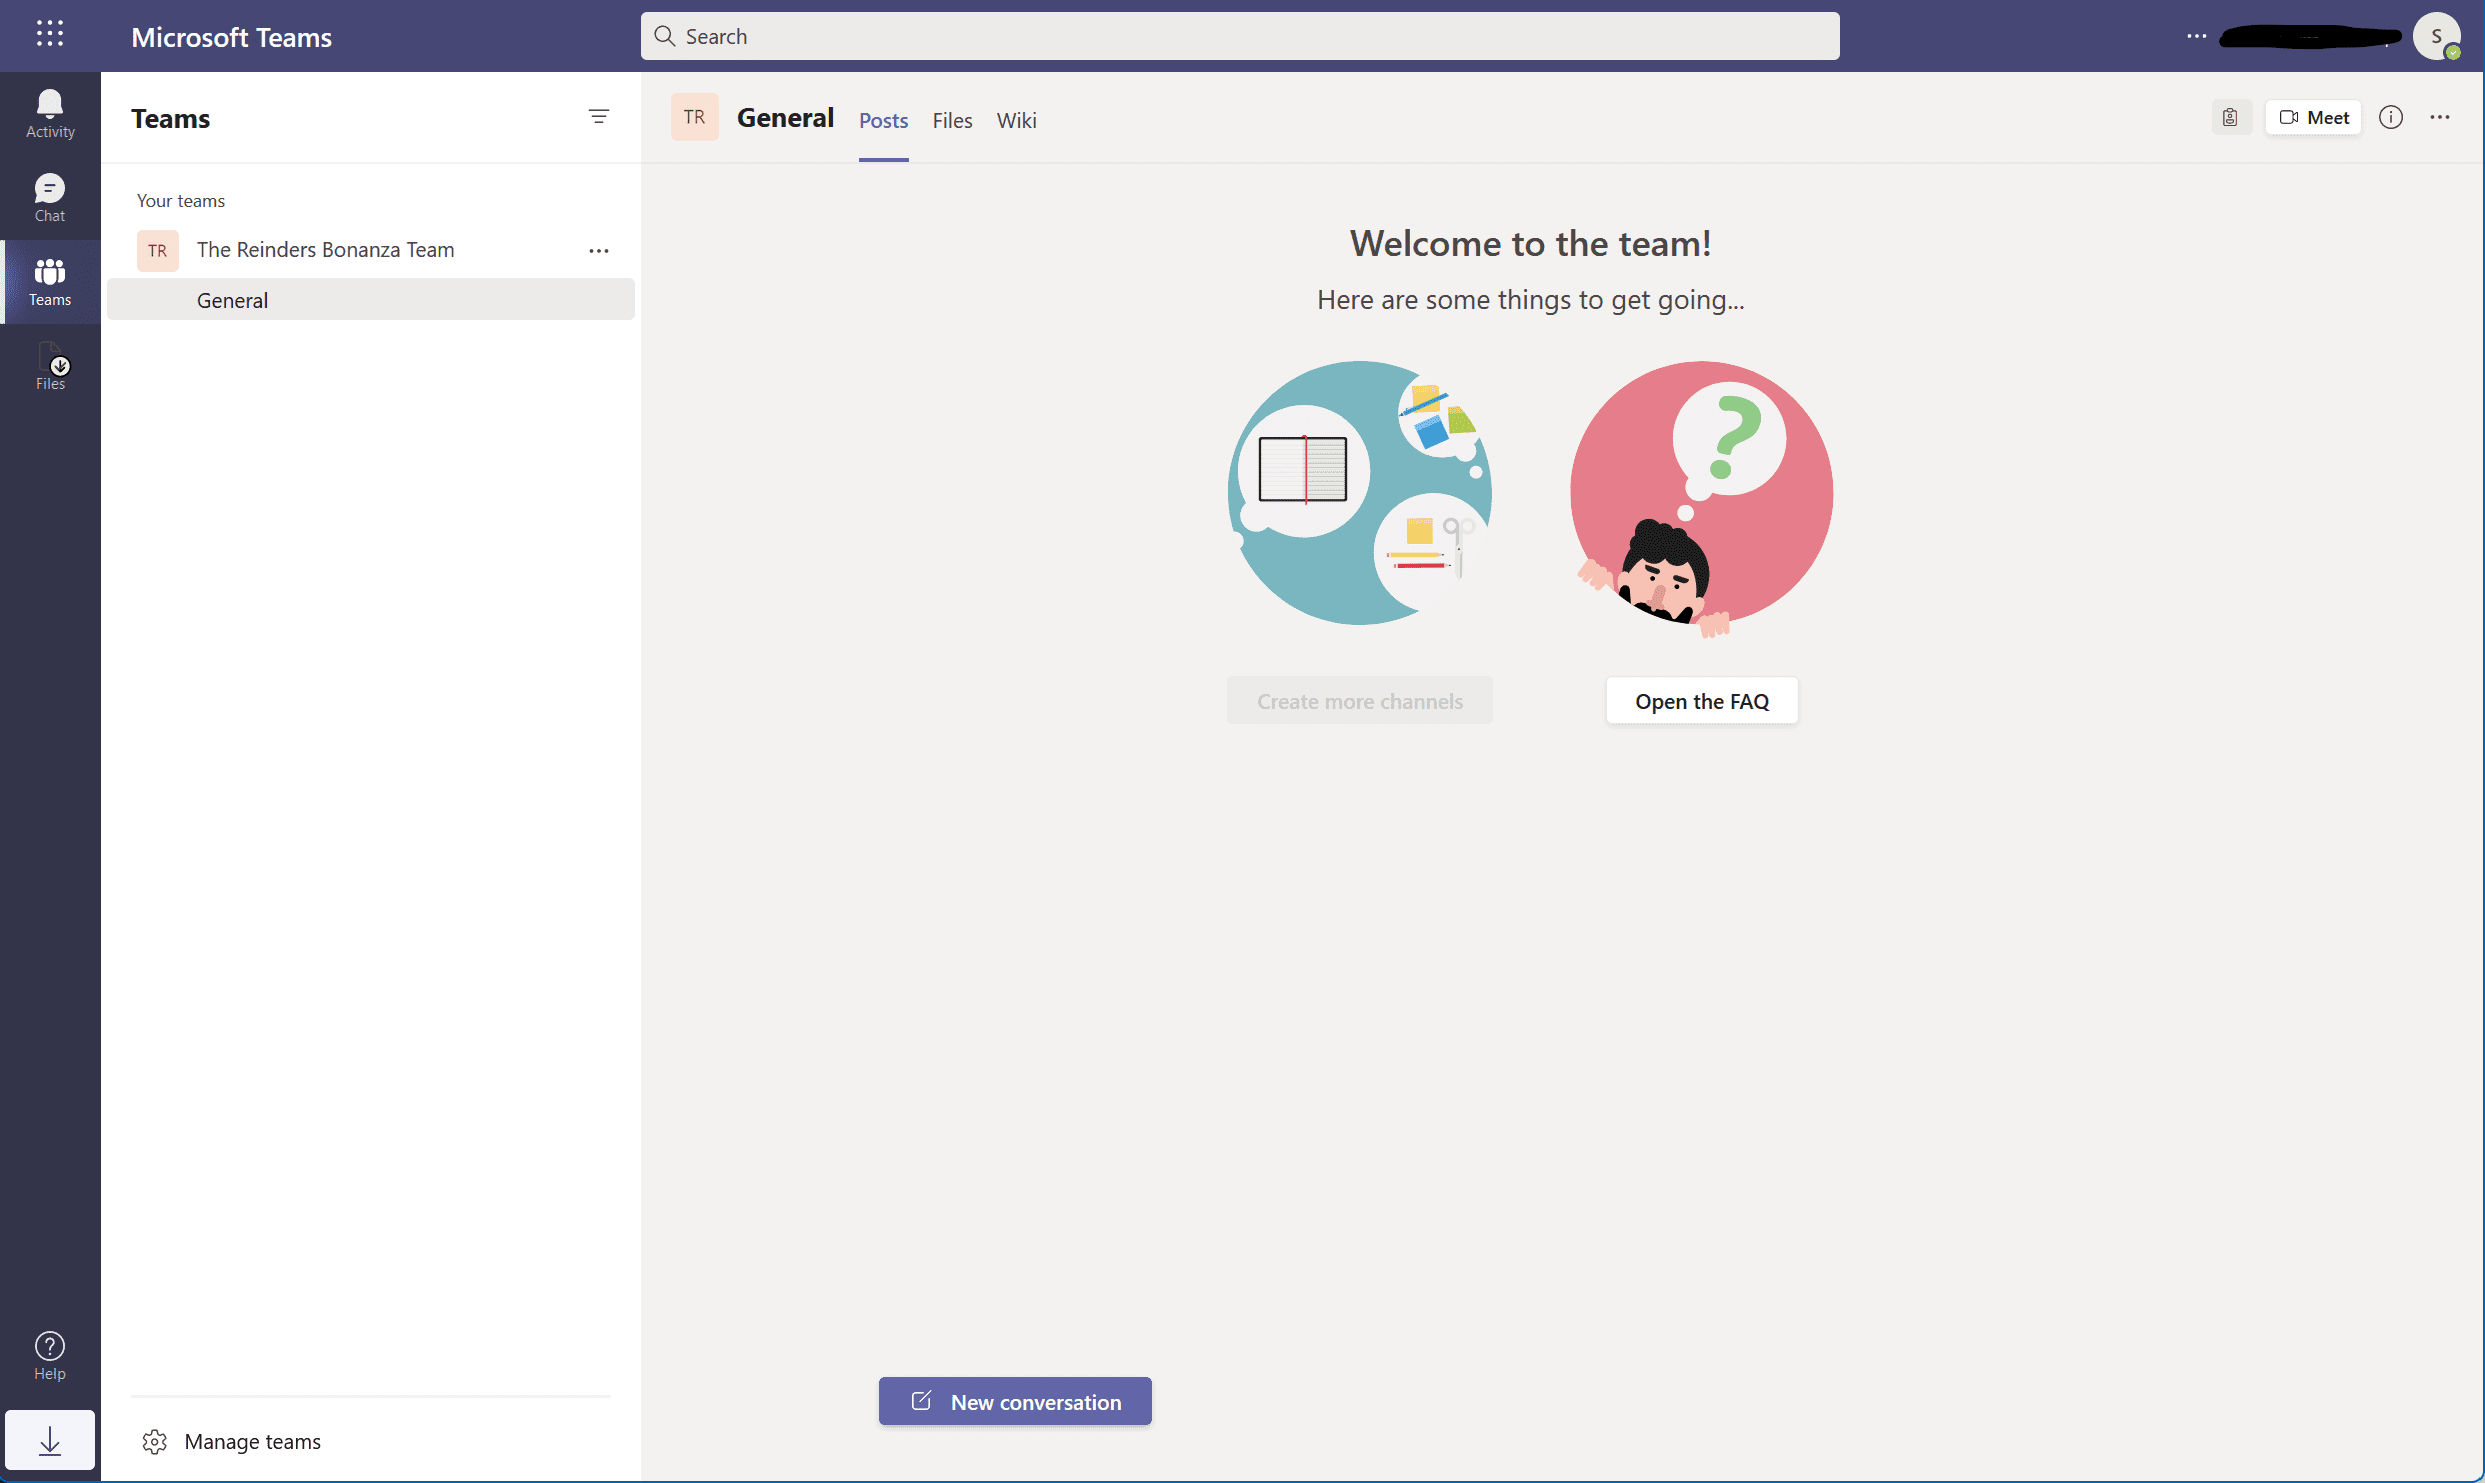
I signed into the web version of Teams and I’m in! As you can see, there are permissions and rights not available to guests. As an example, guests do not have the right to ‘create more channels‘ as the option is greyed out.
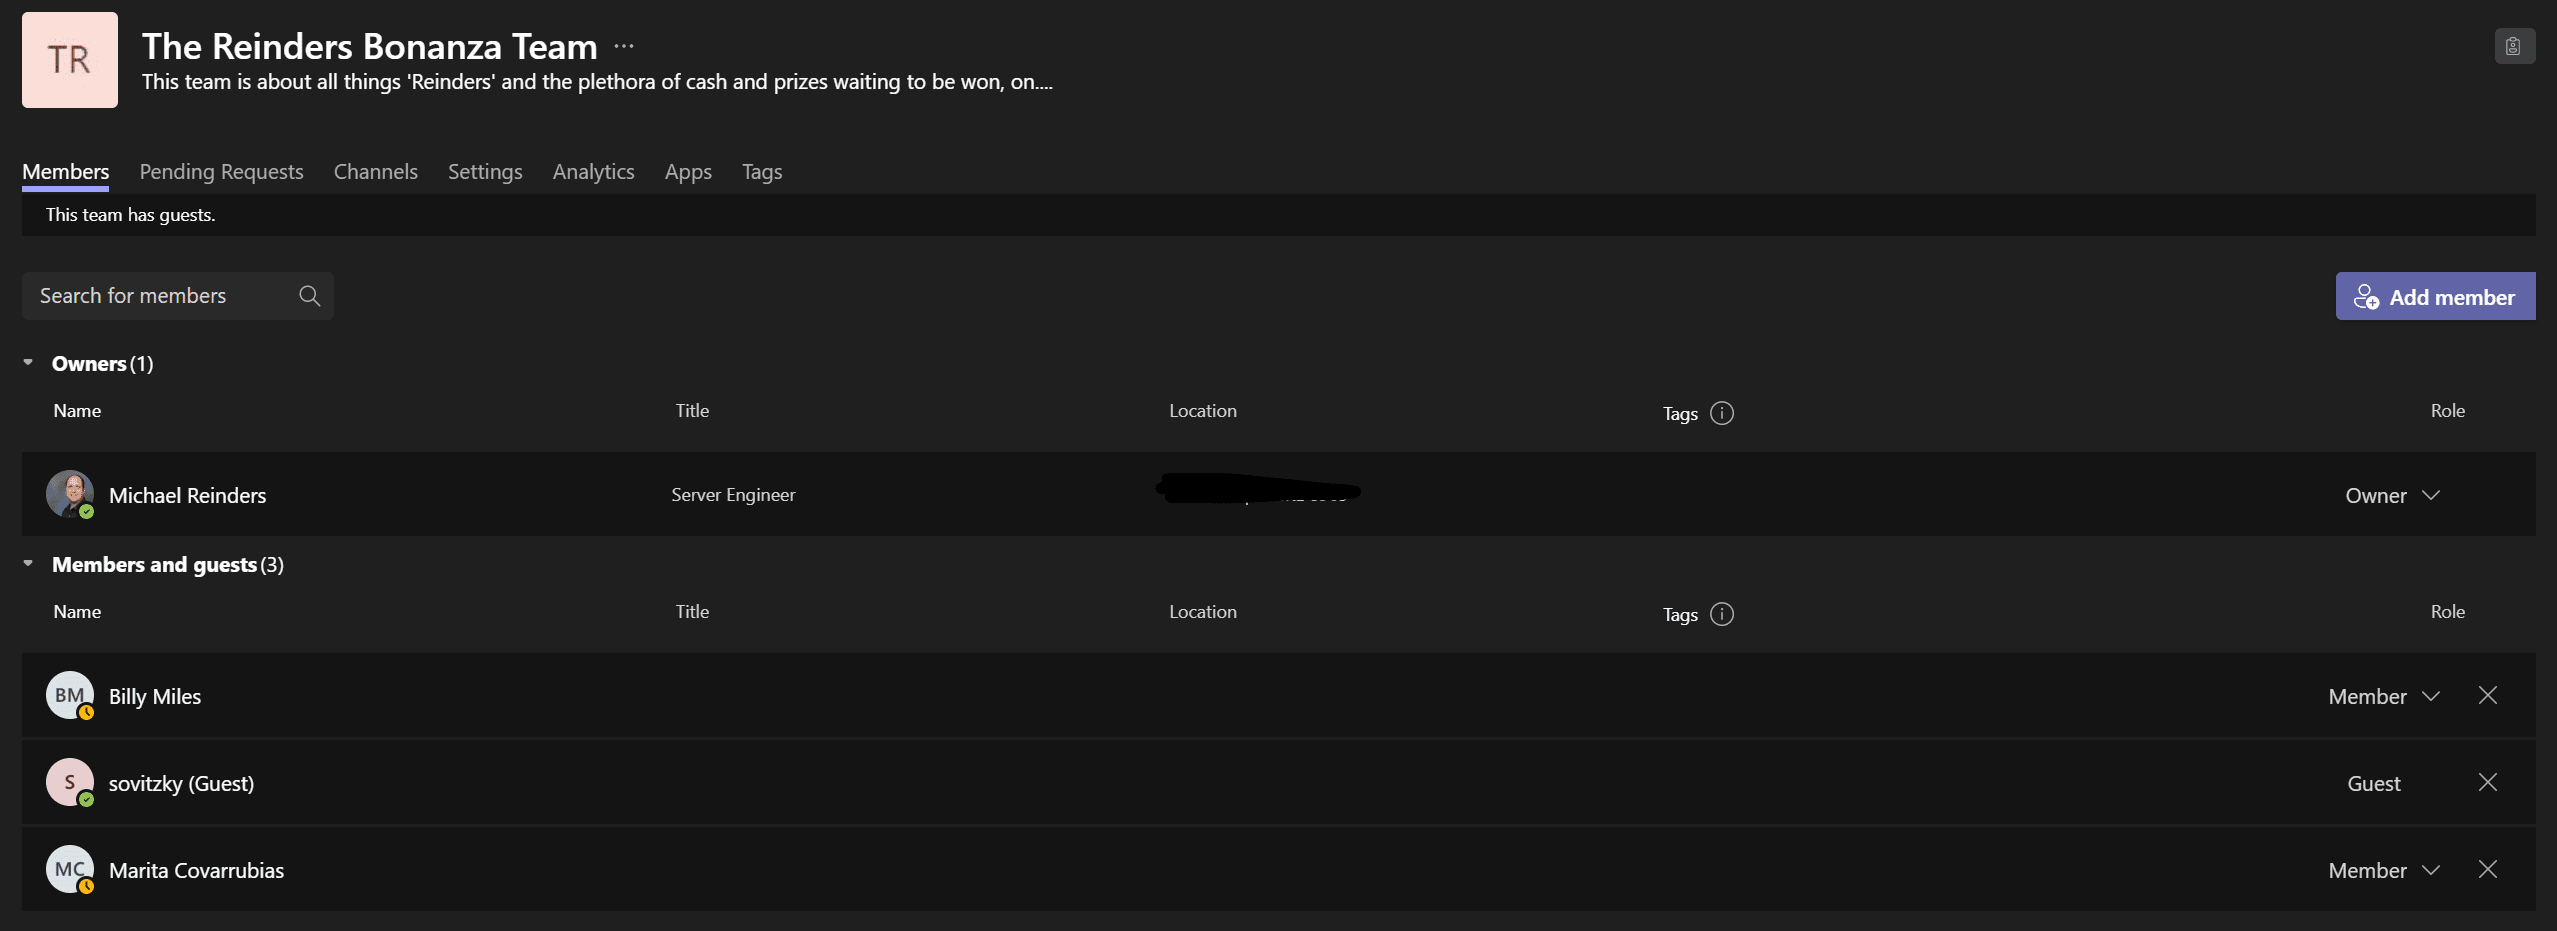
How to manage team membership
We’ve already brushed this topic, but let’s give a few more details. To manage your team, click the ellipsis ‘…’ to the right of your team’s name and click ‘Manage team’. On the ‘Members’ tab, you’ll see everyone listed including Owners, Members, and Guests.
To promote a Member to an Owner, simply click the ‘Member’ dropdown next to their name on the right and choose ‘Owner’ from the dropdown menu. Just as easy, to demote an Owner to a Member, simply click the same dropdown by clicking ‘Owner’ and choose ‘Member’. (You cannot promote a Guest or demote a member/owner to Guest.)
Summary
Hopefully, this gives you a nice overview of what a team is in Microsoft Teams, how it differs from a chat, and the basics around managing your new team. There are so many more features, apps, bots, and tools at your fingertips. Spend some time to explore all that Microsoft Teams has to offer.
Related articles: