How to Restore Active Directory

After you’ve built a solid, robust, and redundant Active Directory infrastructure, it is critical that you know how to restore Active Directory to prevent any possible interruptions to your environment. As an IT pro, it’s your job to prepare for the unexpected and to know how to get back on your feet.
In this guide, we’ll give you a step-by-step guide for restoring your Active Directory environment. I will walk you through the most common method(s) of restoring system state backups — these include all the authoritative objects of Active Directory.
🎬 Watch This Week in IT.
First, I’ll show you how to boot one of our domain controllers (DCs) into what’s called ‘Directory Services Restore Mode’ and restore a recent Active Directory backup made with Windows Server Backup. Let’s get started!
How to restore Active Directory
There are many scenarios that require you to restore your Active Directory environment. Of course, hopefully, you never run into any of them. But it is always best to be prepared.
Where we are – current state
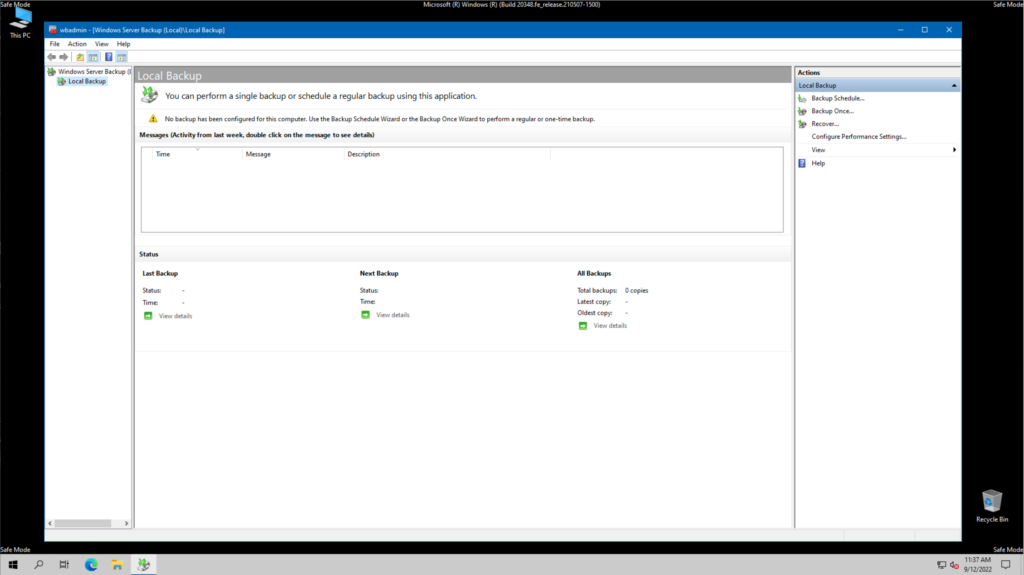
In case you haven’t read my previous post about how to back up Active Directory, let me get you up to my current state. I installed the ‘Windows Server Backup‘ feature using Server Manager on one of my four domain controllers in my Windows Server 2022 Active Directory Hyper-V lab environment.
In my previous post, I also demonstrated how to perform full backups and system state backups. Using a recent system state recovery point, we’ll be able to choose the ‘Recover...’ option in the Windows Server Backup GUI and start the process to get back on our feet.
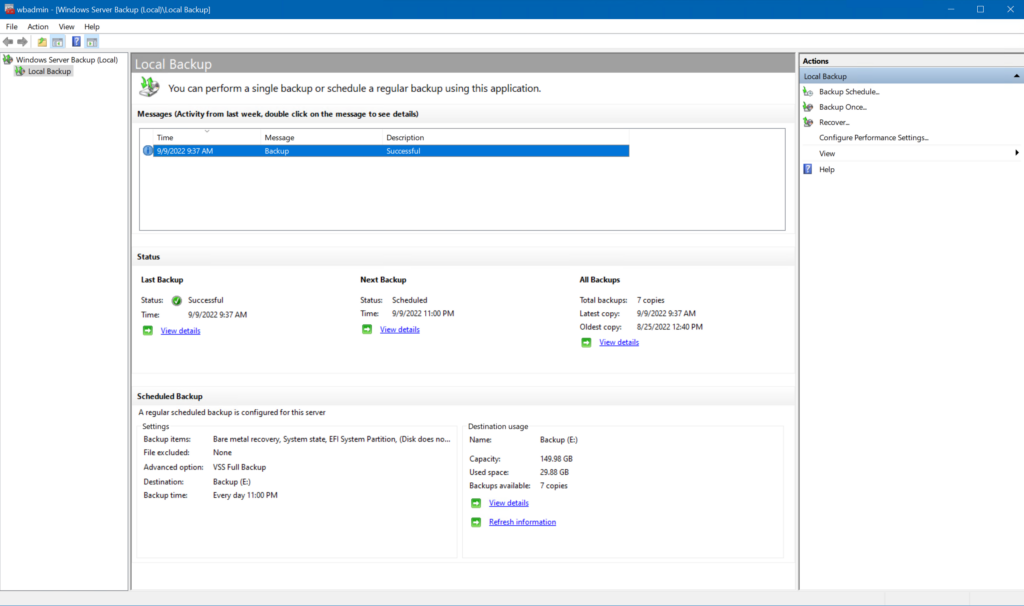
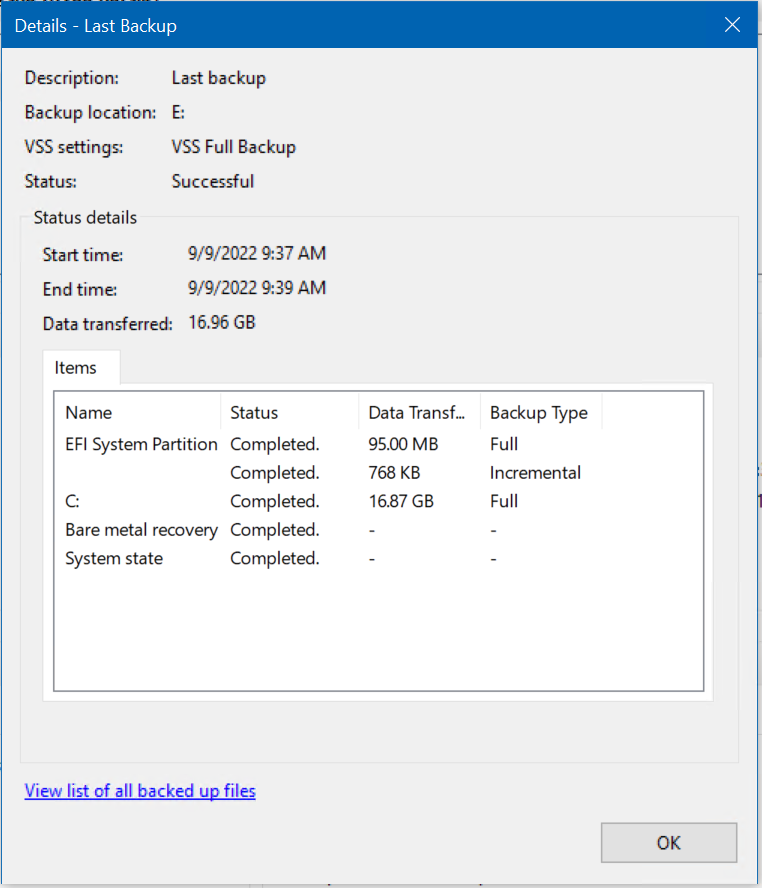
As you can see above, we had a successful backup earlier today. If I drill into the details of the backup, I can verify the system state was saved as part of the process.
Starting the system state recovery process
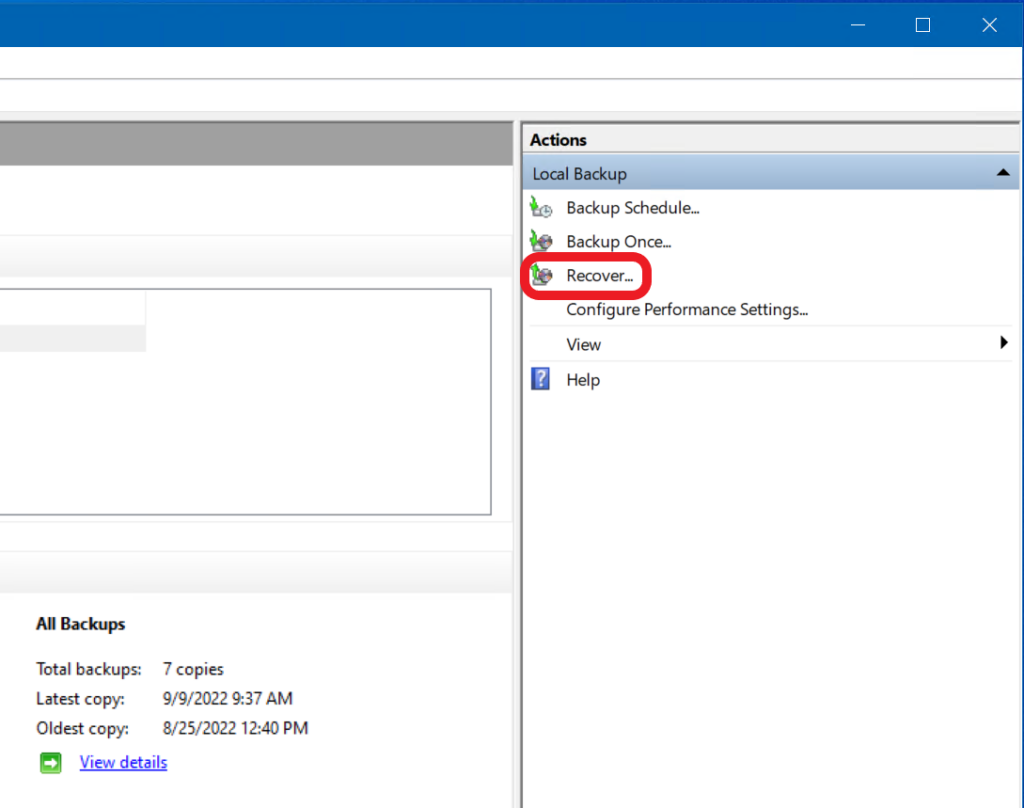
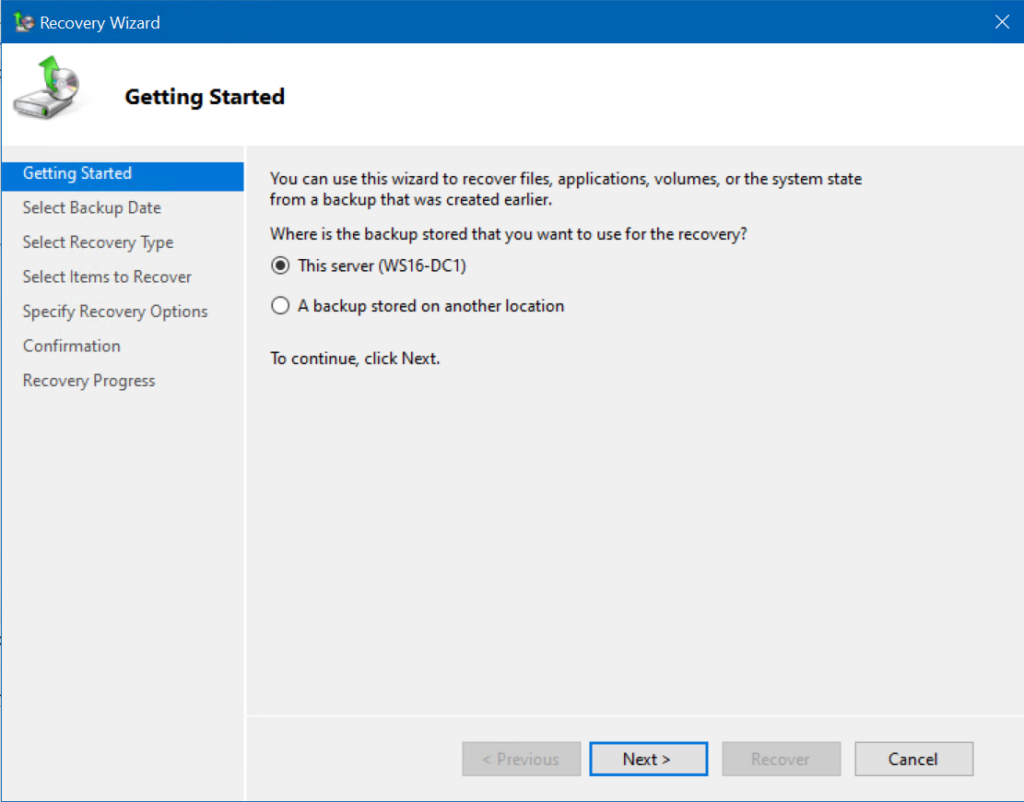
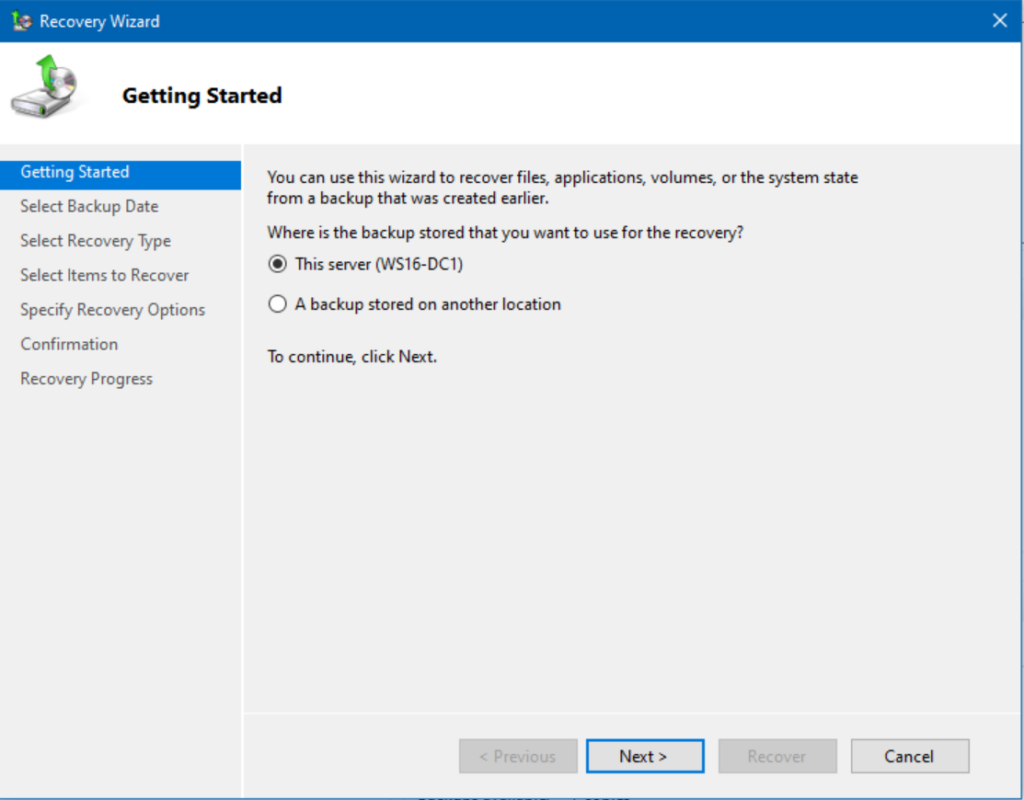
Let’s start the recovery process by clicking the ‘Recover…‘ link on the right under the Actions menu. The Windows Server Backup Recovery Wizard opens on the Getting Started page.
The backup location is this server. I will click Next.
Next, I’ll show you how to boot one of our domain controllers (DCs) into what’s called ‘Directory Services Restore Mode’ and restore a recent Active Directory backup made with Windows Server Backup.
Choosing the right backup
On the Select Backup Date page, we can choose which backup we want to restore from. Please use caution here!

There is potentially a good deal of planning and analysis you must go through to decide which backup to choose. Because I have a lab environment, the timing of which recovery point is not as critical.
However, I did recently write a post about adding a domain controller to an existing domain. One of those scenarios was adding a 4th domain controller to this domain (WS22-DC4).
So, I need to be careful not to choose a backup prior to that time. That would incite a lot (!) of headaches no one should have to deal with. Having replication issues, a discrepancy of AD data, etc. is the last thing you want to have on your plate!
Now, in your production environments, this needs to be scrutinized with a fine-tooth comb. As soon as you perform an authoritative system state restore, and do an authoritative system volume (SYSVOL) replication to the rest of your domain controllers, you will need to be aware that ALL changes you’ve made after your restore point will be lost, gone!
OK, with all the potential scariness aside, let’s move forward. I will use this morning’s backup time and click Next.
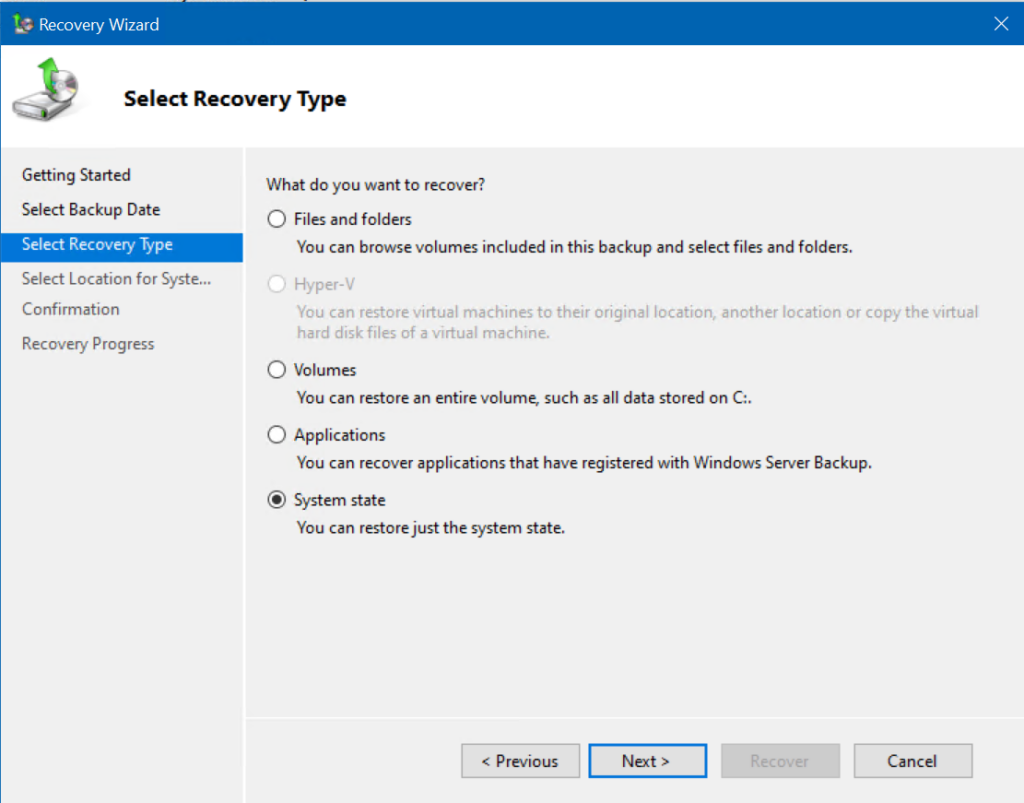
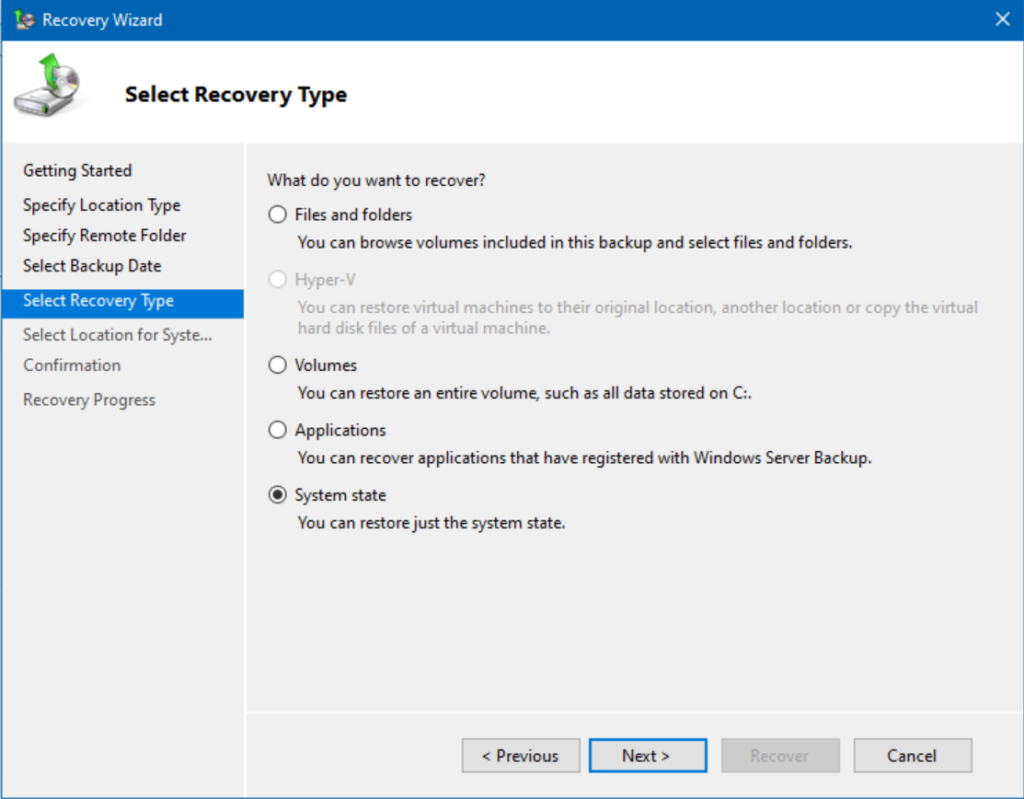
On the Select Recovery Type page, I will choose ‘System state‘ and click Next.
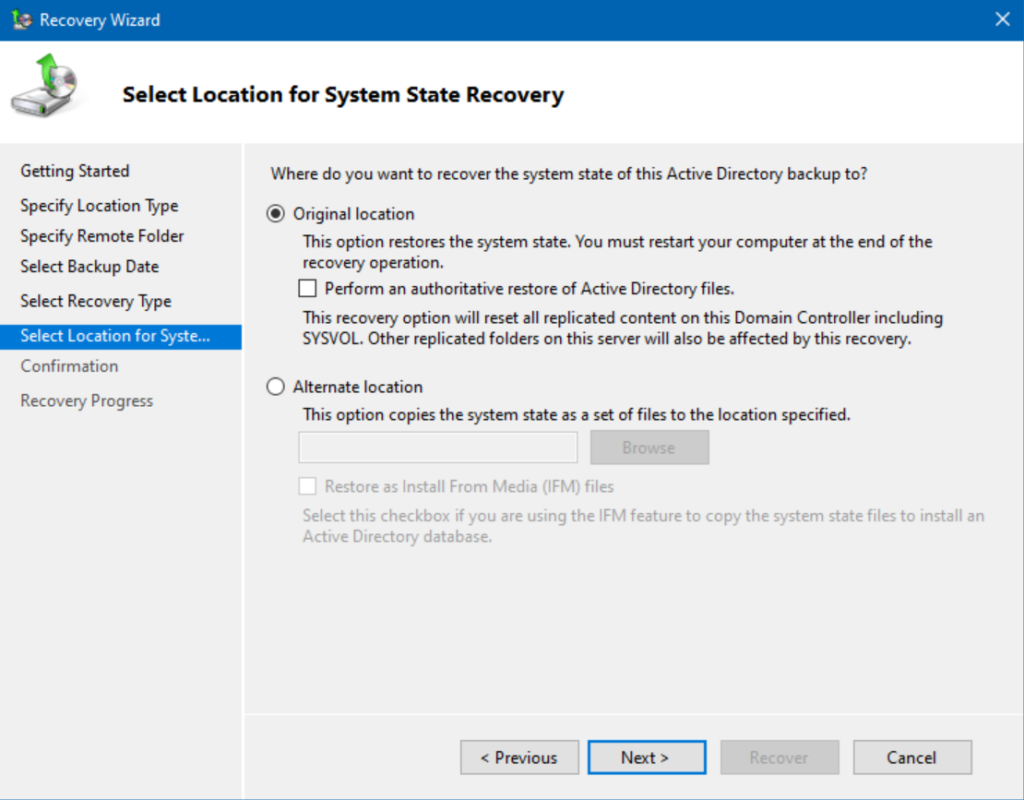
Next, we’re on the Select Location for System State Recovery page. We want to restore onto this server, so I will keep ‘Original location‘ selected and click Next.

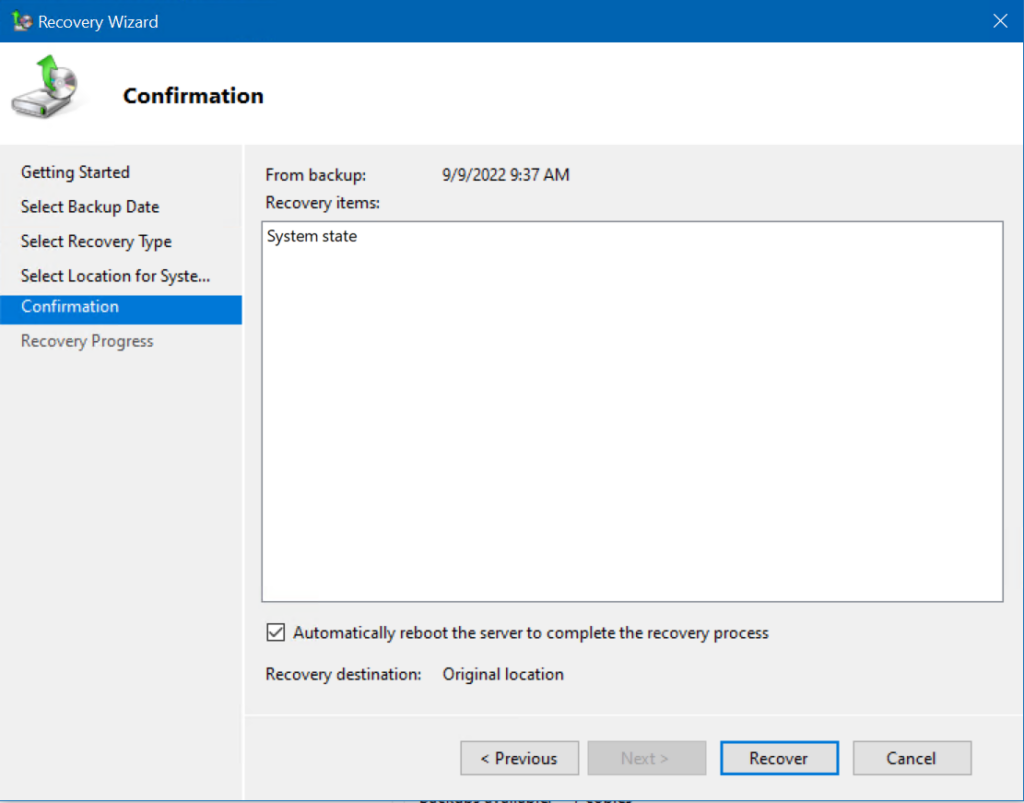
Well, we are nearing the point of no return, here. 🙂 On the Confirmation page, we will keep the defaults. Notice the checkbox – ‘Automatically reboot the server to complete the recovery process.’ This should boot us directly into Directory Services Restore Mode and allow us to get back on our feet. Click Recover!
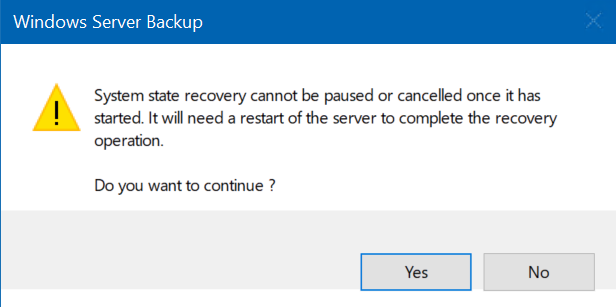
This is it. There’s no turning back from this point. Click Yes.
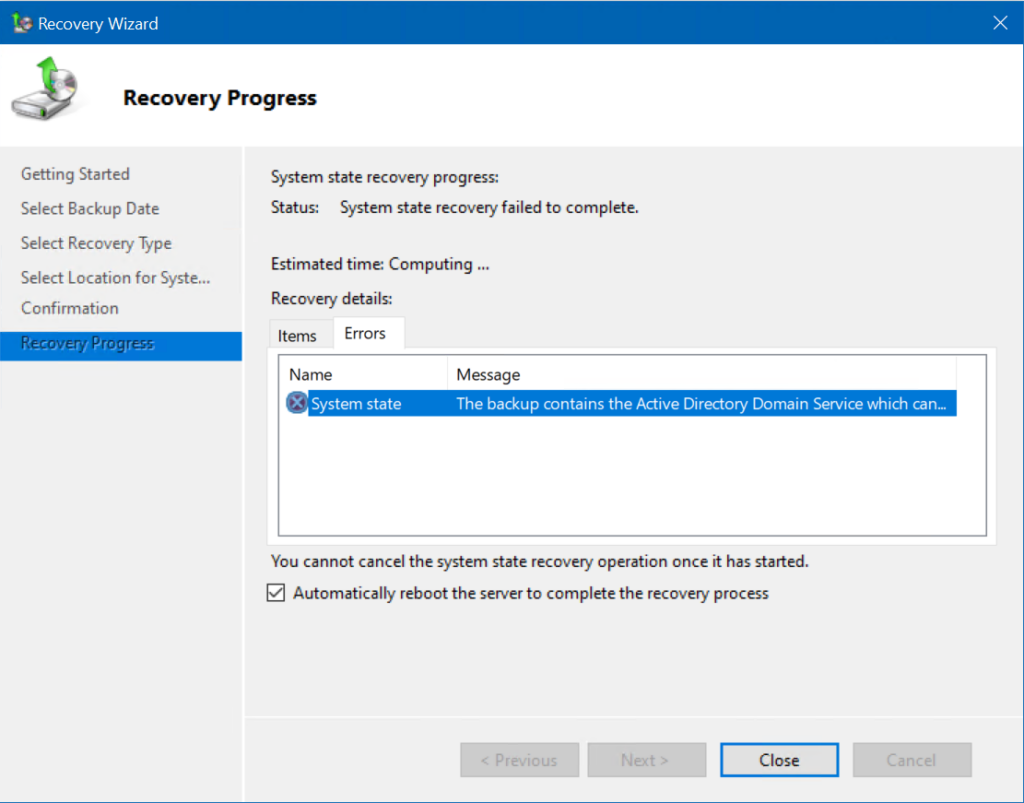
As it turns out, the system state recovery failed to complete. Because we are restoring the Active Directory Domain Services role, we need to directly boot into Safe Mode ourselves. So, let’s do that.
Booting into Directory Services Restore Mode
To boot into Safe Mode, the most direct route you can take is rebooting your server, pressing F8 to interrupt the normal Windows boot phase, and selecting Directory Services Restore Mode from the menu. Here, I’ll make things a little easier for you. Let’s add a small level of automation.
You can also boot into DSRM and restore Active Directory using the wbadmin command-line tool.
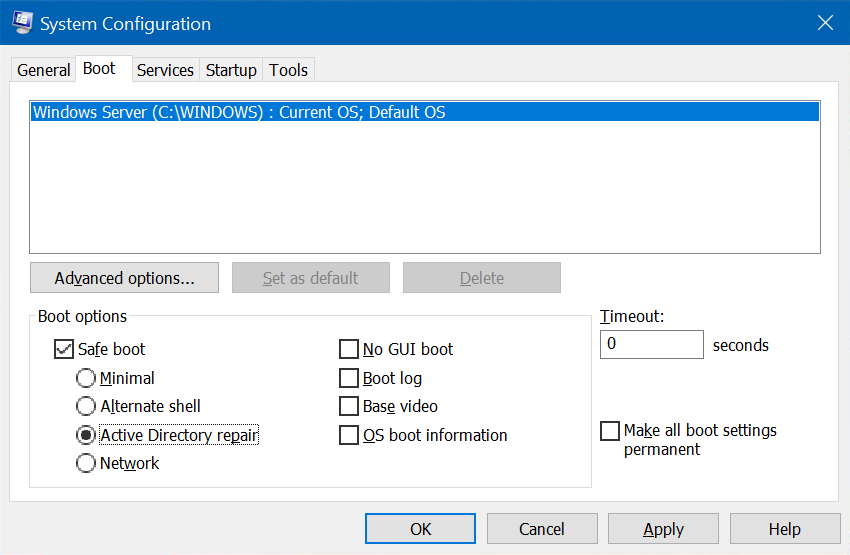
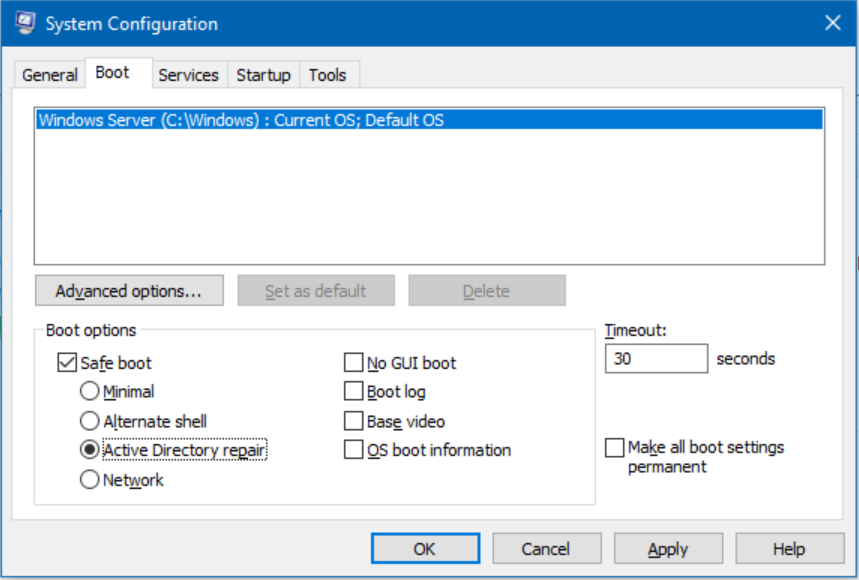
Click Start, Run… and type in ‘msconfig.’ Click the Boot tab on top, select the Safe boot checkbox, then select Active Directory repair. Click OK.
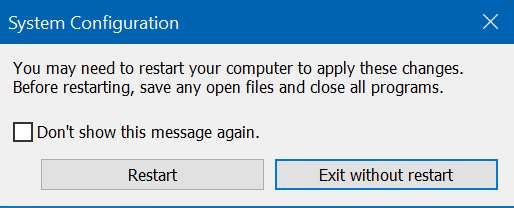
We are presented with one more prompt informing us we need to reboot in order to boot this way. Kind of obvious, but, again, Microsoft….thorough. 🙂 Click Restart.
The server rebooted and I logged in as the Administrator. We are here with the lovely black desktop and Windows Safe Mode. Let’s start Windows Server Backup from the Start Menu.

After opening Windows Server Backup, I clicked the Recover… option on the right.
Here, I’ll proceed through all the screens as we did before.
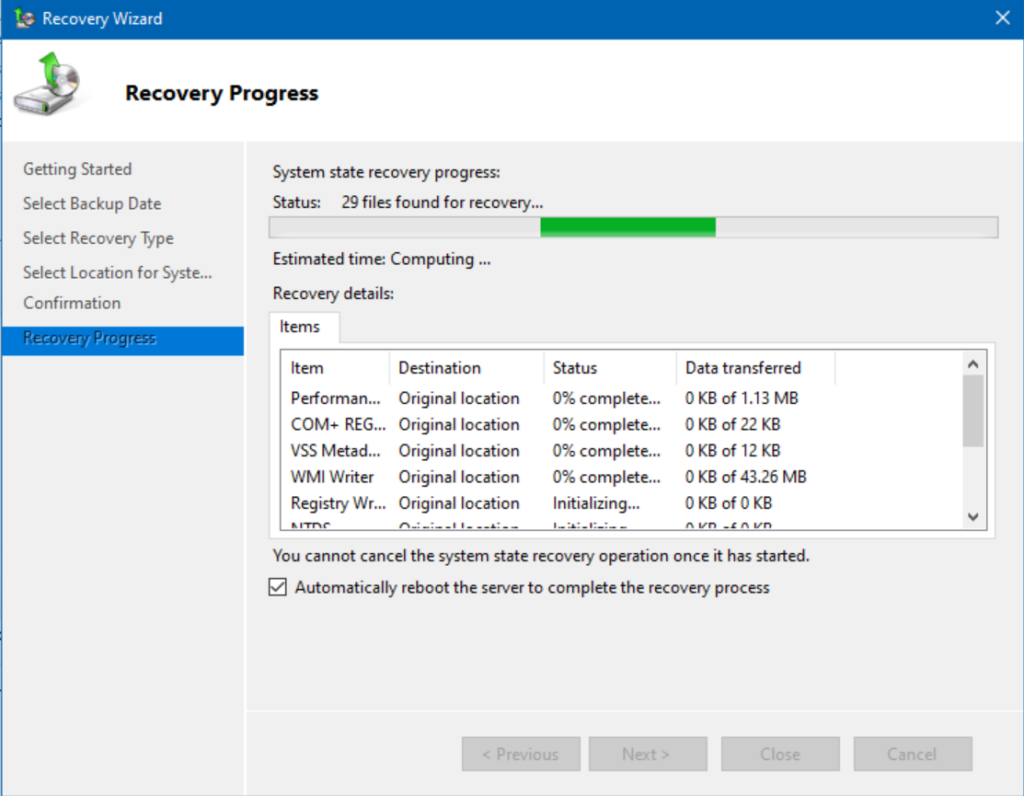
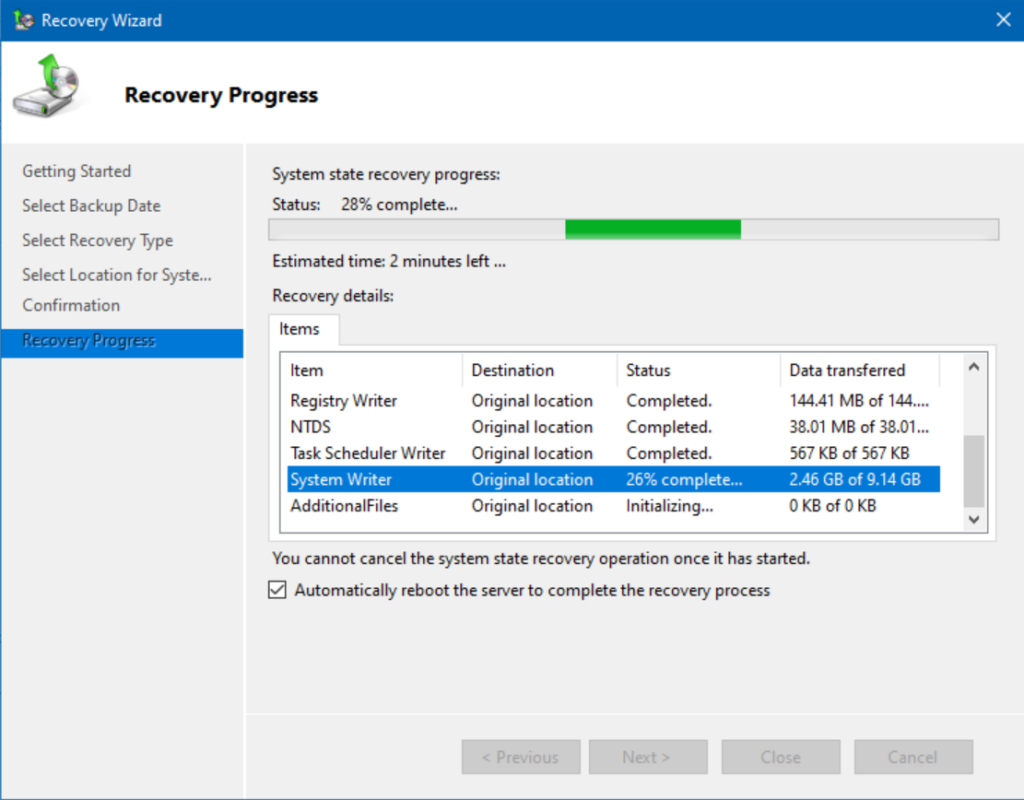
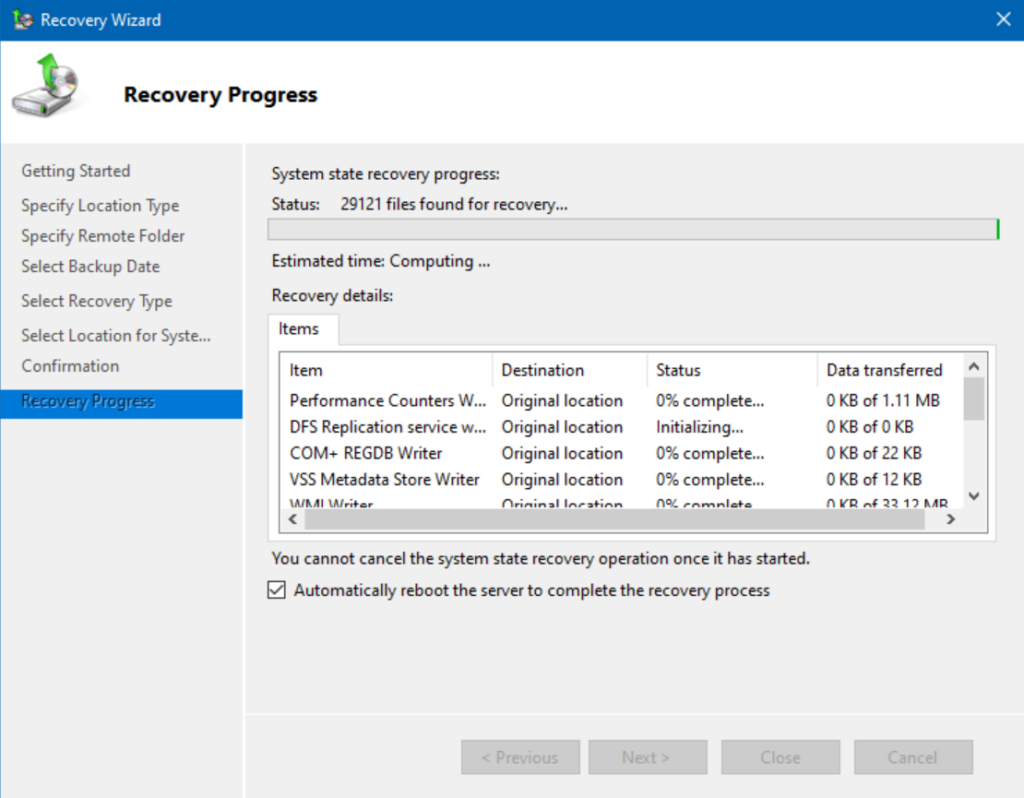
After all the information was gathered, the actual restoration started…
After the process was completed, the server automatically rebooted. I logged in again, I was still in Safe Mode with this prompt showing success!
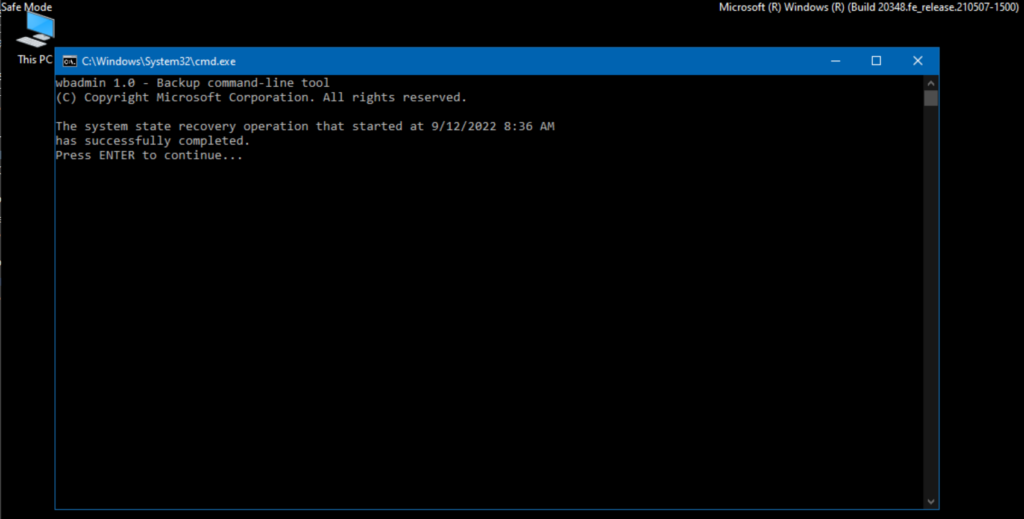
Press Enter to continue. Next, go ahead and run ‘msconfig’ again, click the ‘Boot‘ tab on top, and uncheck the ‘Safe boot‘ checkbox so we can boot normally again. Press OK and reboot!
I opened Windows Server Backup again to verify our successful recovery operation. As you can see, everything ran perfectly!

How to bare metal restore a server using a system state backup
The second major topic I will cover is how to use a backup that includes bare metal recovery to restore a domain controller fully. In case you forgot, I have 4 DCs (in my lab). The most recent one I added in the last few weeks (WS22-DC4) is a good guinea pig… er, candidate.
I performed a full backup of this server, copied the backup data to an alternate location, and then powered down the server, simulating its failure. Now, I will build a new VM running the same Windows version, Windows Server 2022, and start the recovery process.
Initial steps and configuration
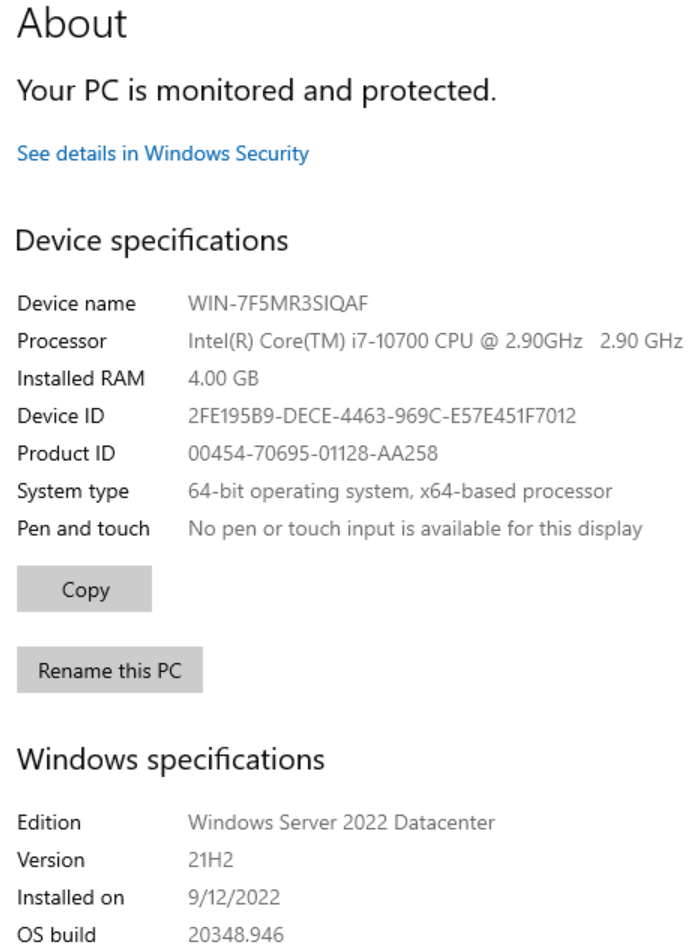
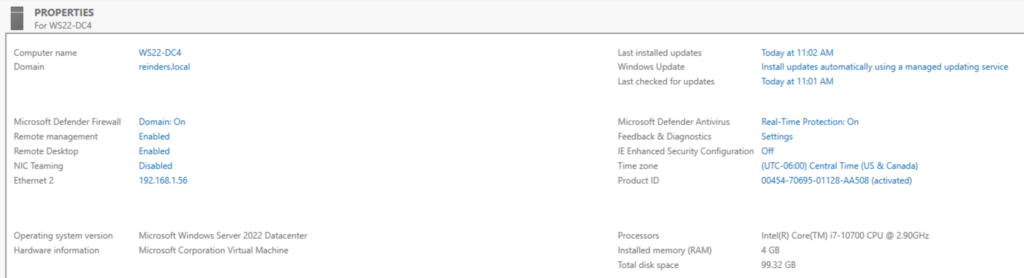
So, the first steps are to build a new virtual machine or stage a new physical server. As I’m using my Windows Server 2022 Hyper-V lab environment, I will create a new VM running Windows Server 2022 Datacenter.
Here, the computer name is unimportant as we will be restoring all the server’s configurations later. Plus, we don’t need to join it to our domain or even add the Active Directory Domain Services role as all of that is included in the backup we performed on the existing DC (WS22-DC4).
Here is where we’ll start.
The next step is to install the Windows Server Backup application from Server Manager. You can browse my previous post for instructions about how to install the feature.
Starting the restore process from Windows Server Manager
Next, per our previous steps above, let’s press the Windows Key + ‘R’ to open the ‘Run…‘ dialog. Type in msconfig and click OK.
Here, click on the ‘Boot‘ tab on top. Select Safe boot, then select Active Directory repair. Click OK and restart!
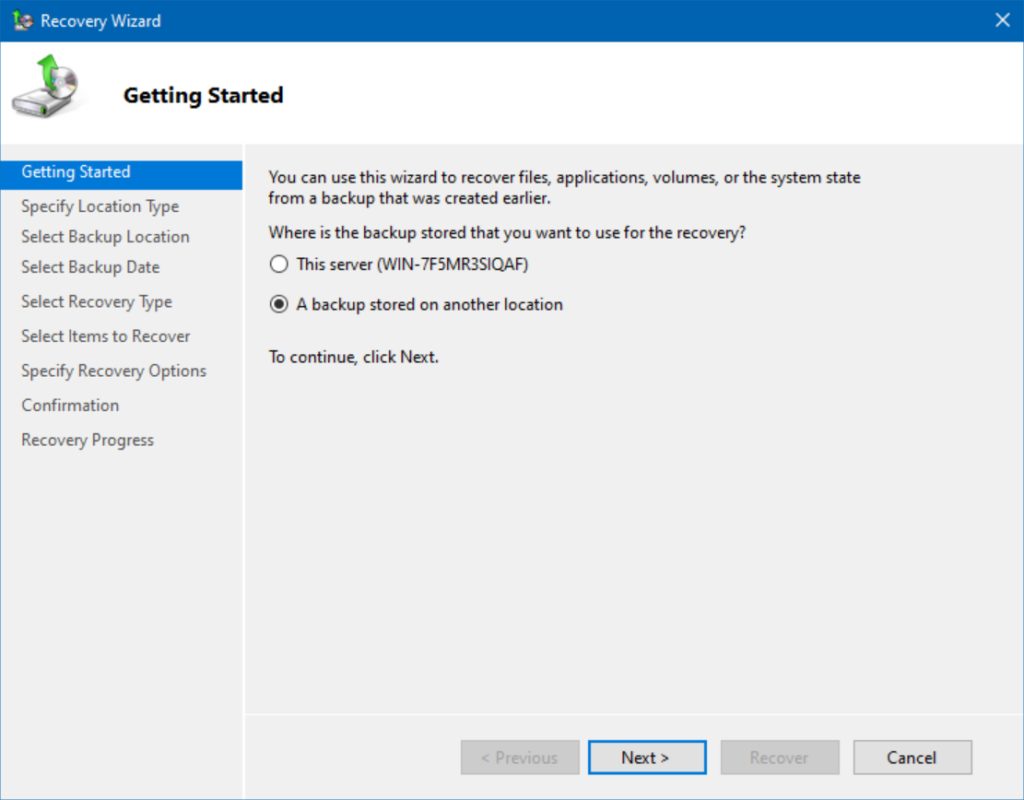
After I logged in, I opened Windows Server Backup from the Start Menu. Click ‘Recover…‘ under the Actions menu on the right.
On the Getting Started screen, choose ‘A backup stored on another location‘ and click Next.
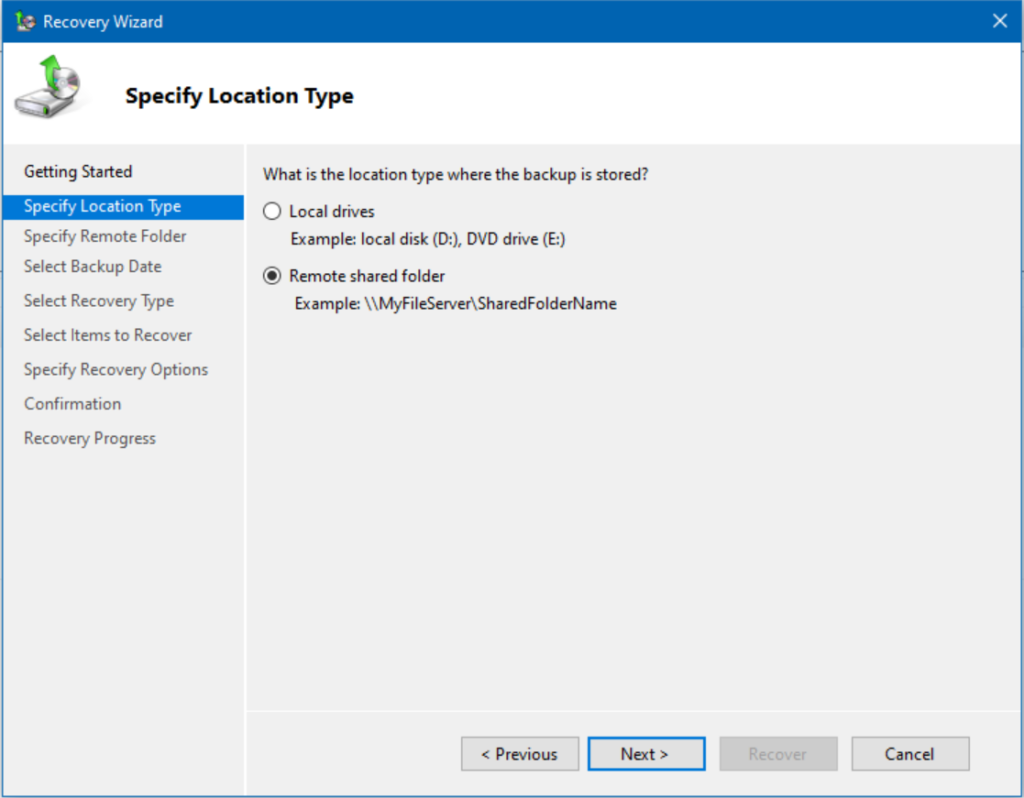
On the Specify Location Type screen, I’ll choose ‘Remote shared folder‘ and click Next. If you already copied the backup data to the server’s hard drive, you can choose ‘Local drives‘ and the software will find it for you.
Here, you will enter the UNC path of your saved backup. This can be somewhere on the network, on a USB flash drive, or even on an external hard drive, whichever works for you. Click Next.
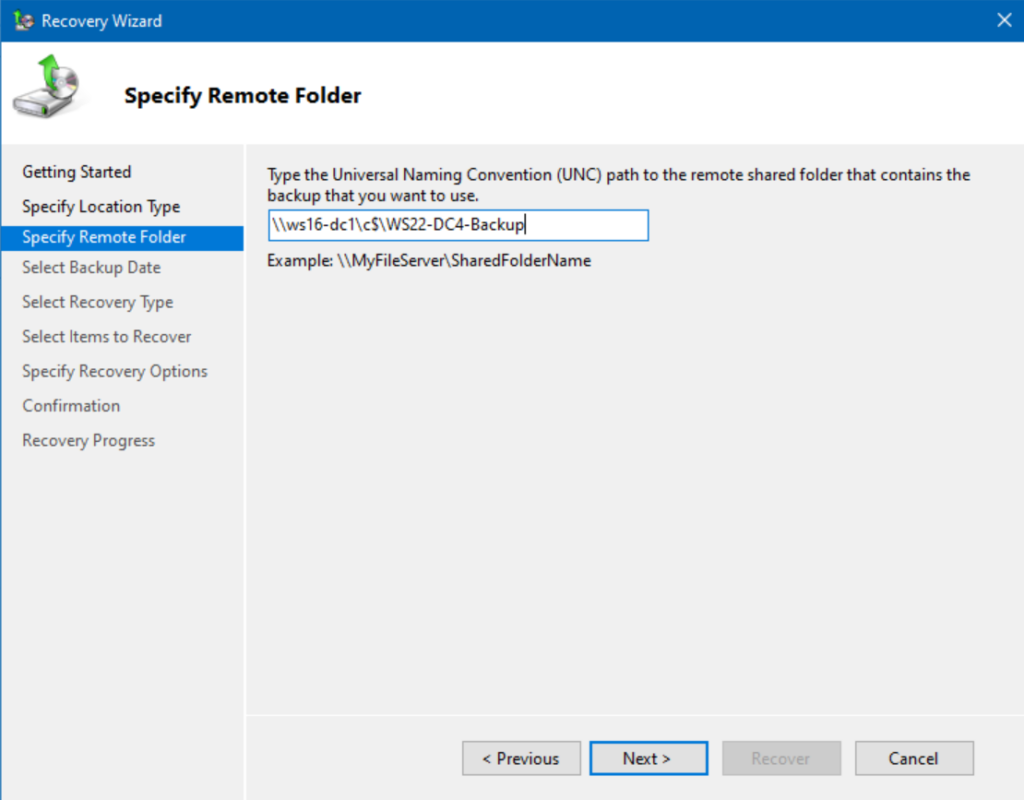
Excellent, it discovered the Full backup I performed earlier today. Click Next.

Because we want to restore the entirety of the server, we choose the System state option. This includes everything that has to do with Windows, including the AD DS role, Active Directory, SYSVOL, and everything else. Click Next.
Alright. At this point, you have a major decision to make. Thankfully, the scenario you’re in dictates what option to choose. Because we are restoring this server, we choose the ‘Original location’ below. However, do we check the box to ‘Perform an authoritative restore of Active Directory files‘? Well, in this case, we don’t. I’ll explain why next.
Choosing between an authoritative or non-authoritative restore of AD files
The authoritative meaning here signifies who is the king of the castle, the holder of the keys, the holder of the Sacred Chalice of Rixx…ahem. Well, you get the idea. It is the ultimate ‘authority’ of the Active Directory database, the SYSVOL folder, and all the aspects of AD.
If we choose to perform an authoritative restore of Active Directory files, the process will run and will inherit the authority to push out and update the other databases on the other domain controllers. Any changes made to Active Directory since this server’s backup job ran will be lost!
The non-authoritative option, which we are choosing, assumes we are simply replacing the domain controller, and we’ll allow it to wait to pull replicated changes to Active Directory after the restore is complete. This is the easier option. A lot of thought needs to go into the choice to do the authoritative restoration.
Performing a restore and reboot of our domain controller
Let’s move forward. I’ll click Next on the Select Location for System State Recovery screen.
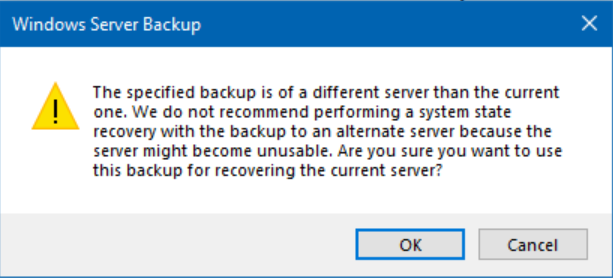
You will receive a few warning screens here, depending on your situation. This is something that comes up every time you restore from another server’s backup. Which, by design, is included when you restore from a Bare Metal Recovery backup. Click OK.
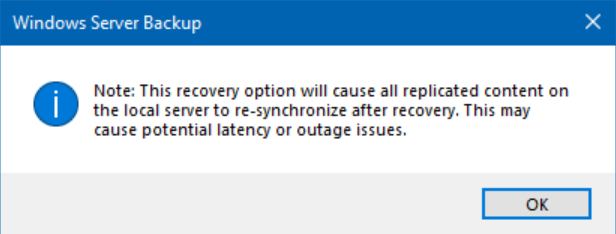
Here is our last warning. Because we are choosing the non-authoritative option, Windows is just letting us know that replication times, especially on larger AD databases, or over high-latency WAN links, may take an extended amount of time. It may also cause noticeable delays for helpdesk engineers or end users trying to log in or access network resources.
The recovery process has now begun. This may take a considerable amount of time. Again, the larger your enterprise environment, or the more intricate the logical layout of your LAN/WAN can add considerable time to this operation. This type of process is best handled after business hours.
Tip: If you can, copy the backup data to the server’s hard drive. It will speed up processing and avoid any delays/issues from potential network issues.
After the restore was completed, the server automatically rebooted.

Note — I needed to log in as the local DSRM Administrator and its password. Next, I will run MSConfig, and reset it to normal so we can boot the restored server in its full glory.
After rebooting, I noticed the bootup process was certainly longer than normal. Then, I had a revelation… I realized I forgot to assign this server the same IP Address and DNS settings as the original server (WS22-DC4). I made those changes and rebooted the server again.
It worked! We are back, doing business as ‘WS22-DC4’.
Conclusion
Well, there you have it. Two prevalent scenarios you’re bound to run into when working with Active Directory, backing it up, restoring it, and handling disaster recovery scenarios with a clear head, and calm nerves. I hope this post assists you in your endeavors. Good luck!

Michael has been an IT Pro since 1998. He has worked predominantly in the Windows world including client and server operating systems, on-prem systems engineering (AD, DNS, etc.), and over the last ten years or so has embraced and immersed himself in...


