How to Add a Domain Controller to an Existing Domain (Server Manager)

As an IT Pro, it is highly likely that you’ve needed to add additional domain controllers (DCs) to your Active Directory environment. In this guide, we’ll demonstrate how to add a domain controller to an existing domain. The process to add Domain Controller to Existing Domain follows precise steps discussed below.
This article applies to: Windows Server 2016, Windows Server 2019, Windows Server 2022, and Windows Server 2025.
🎬 Watch This Week in IT.
How to add a new domain controller to an existing domain
There are several reasons you may want to add a new domain controller to an existing domain: Adding redundancy, migrating a DC from old hardware to a fresh new server, etc. I’ll take you through those different steps first.
Initial configuration
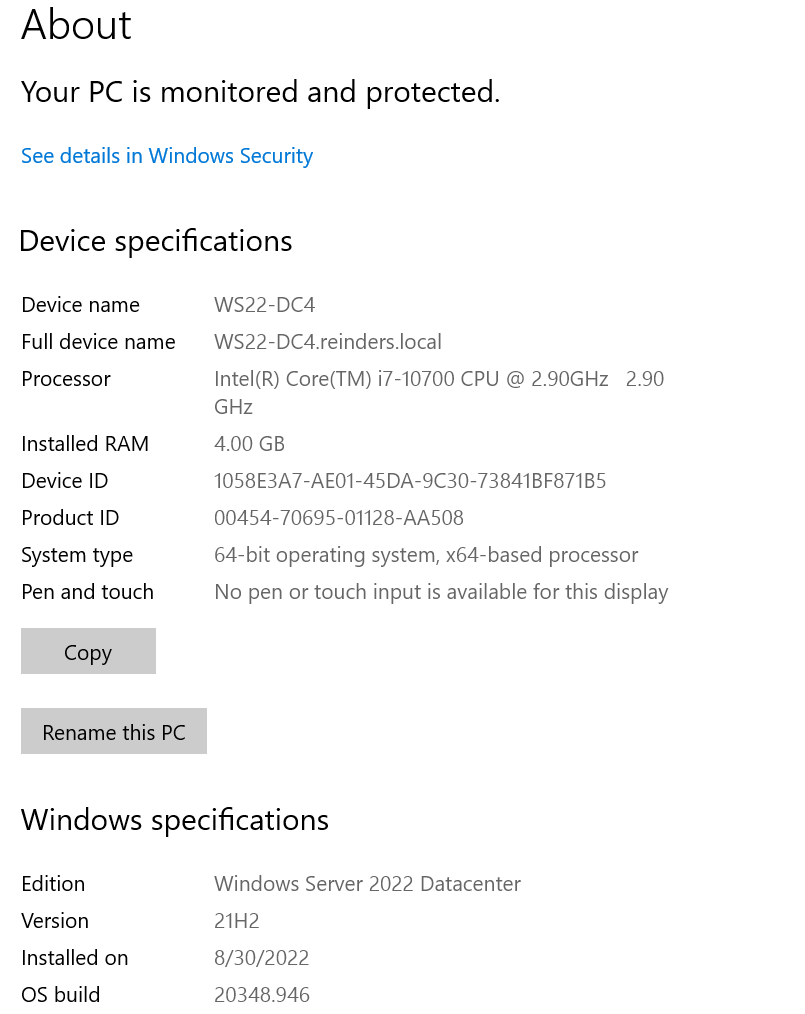
I’ve built a new Windows Server 2022 Datacenter server (WS22-DC4) and added it to my domain – reinders.local.
Here, the only prerequisites are that you need to have an existing domain with domain controllers. I know… but I wanted it stated for completeness. If you are not sure how to add a server to a domain, check out How to Add Computers to a Domain Using PowerShell on Petri.com.
Installation
- The first step we’ll do is click the Start button, then click on Server Manager, then click the ‘(2) Add roles and features‘ link.
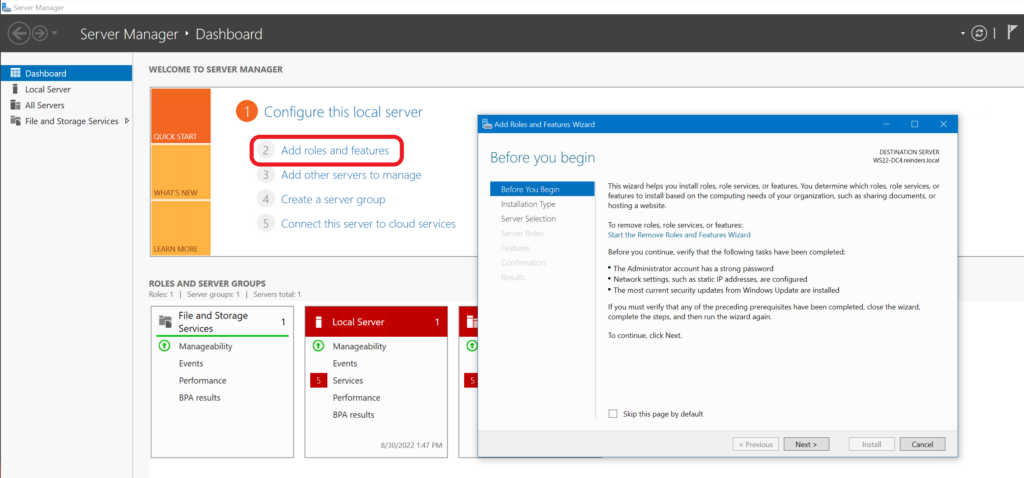
You can click Next three times to move through the introductory screens and choose the option to make changes to the local server.
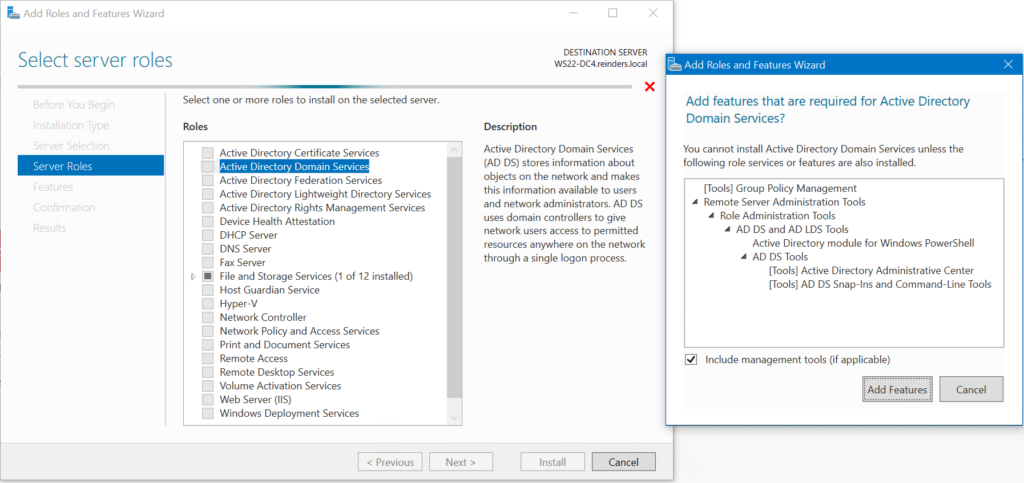
- On the screen that follows, put a checkmark in the 2nd option above – Active Directory Domain Services (AD DS).
- When the second pop-up opens, you can click ‘Add Features’ and then click Next.
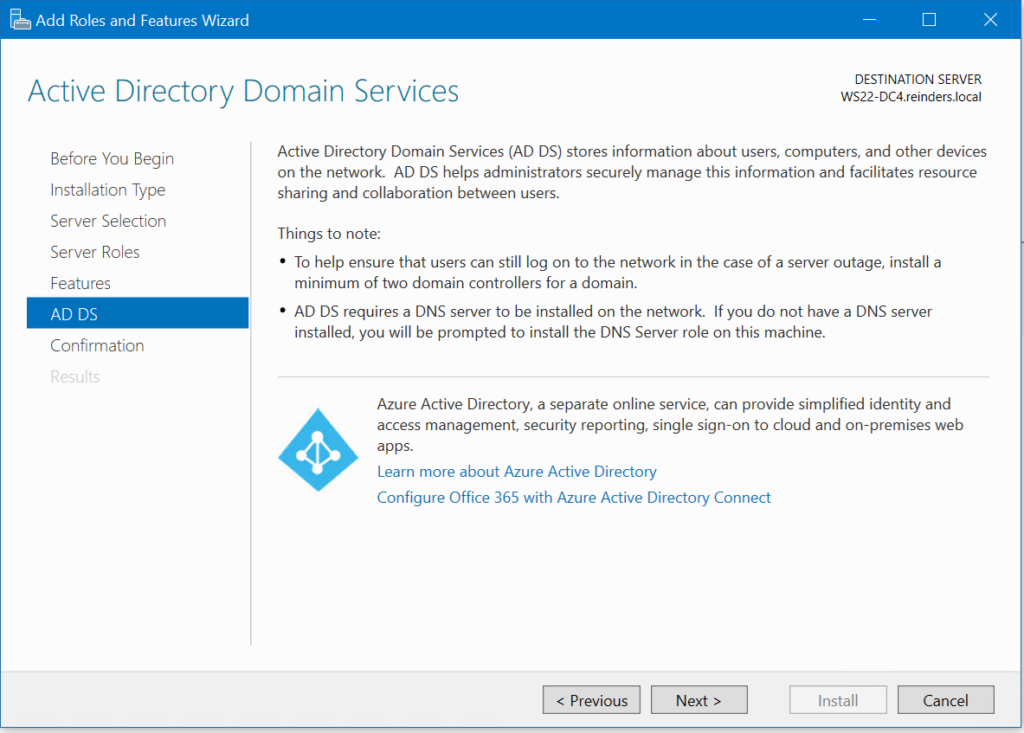
- On the ‘Select features‘ screen, click Next.
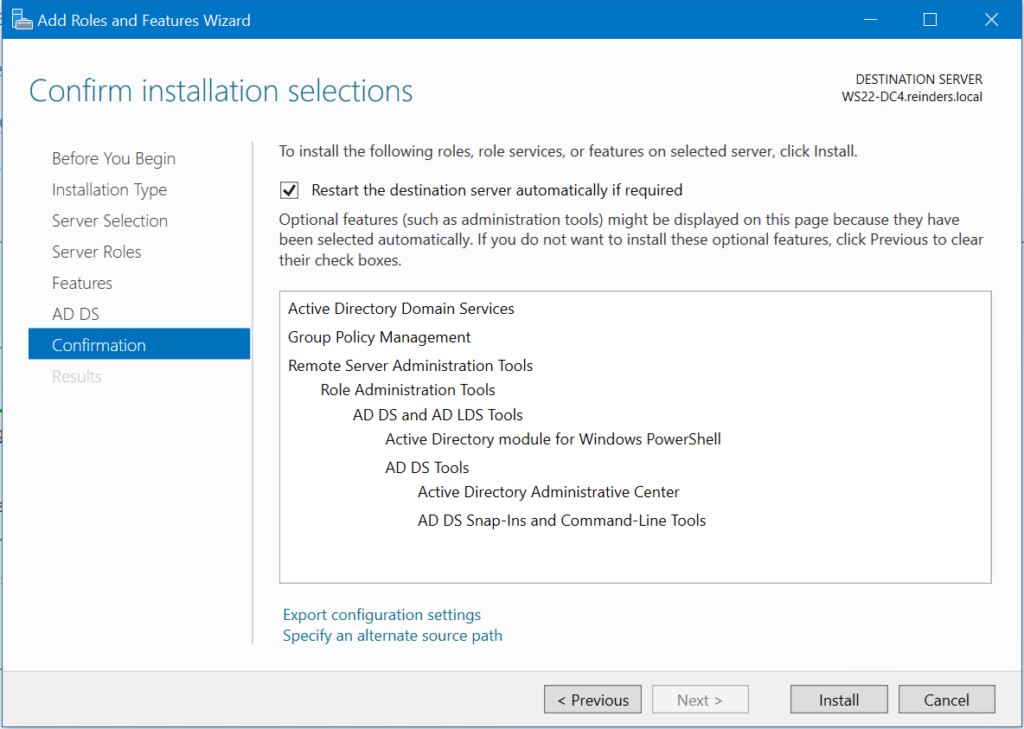
Click Next again and you’ll reach the ‘Confirm installation selections‘ screen. Go ahead and click the Install button!
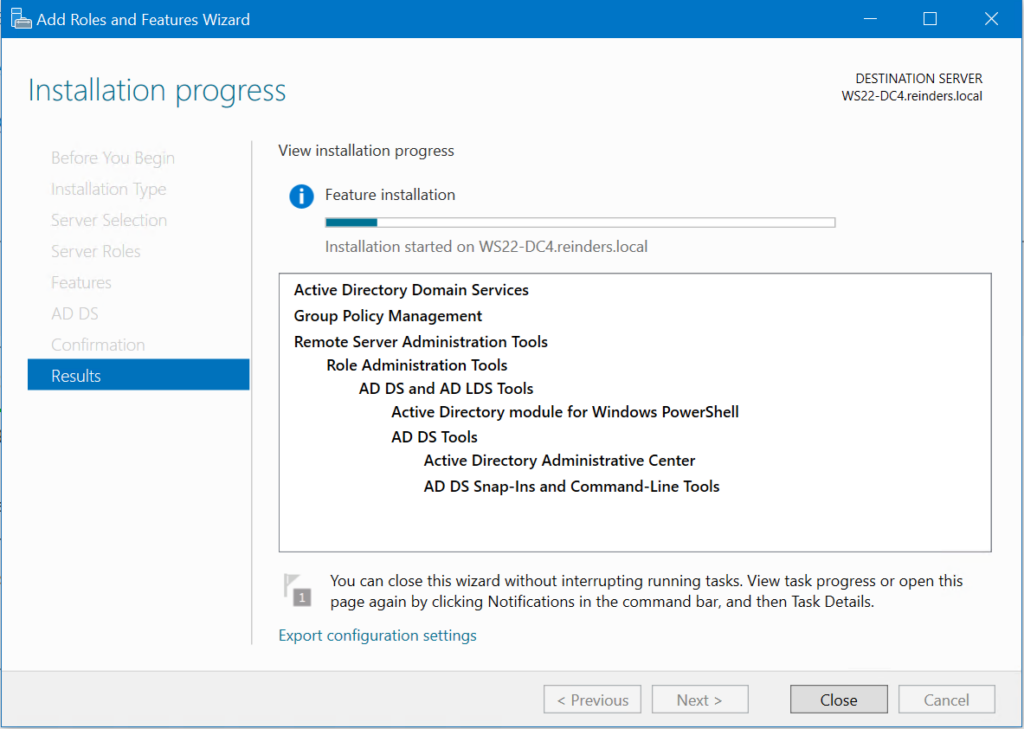
- We can watch the lovely Installation progress and click Close when it’s over.
Configuration
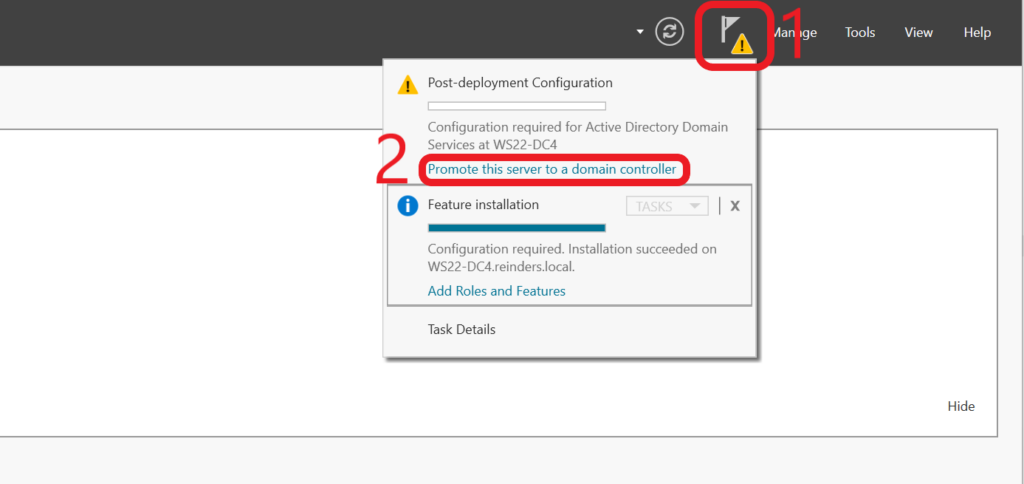
- Click the yellow warning symbol in the upper-right corner, and you’ll see we have a ‘Post-deployment Configuration‘ process to go through.
- Click the ‘Promote this server to a domain controller‘ link.
The AD DS Configuration Wizard will then open.
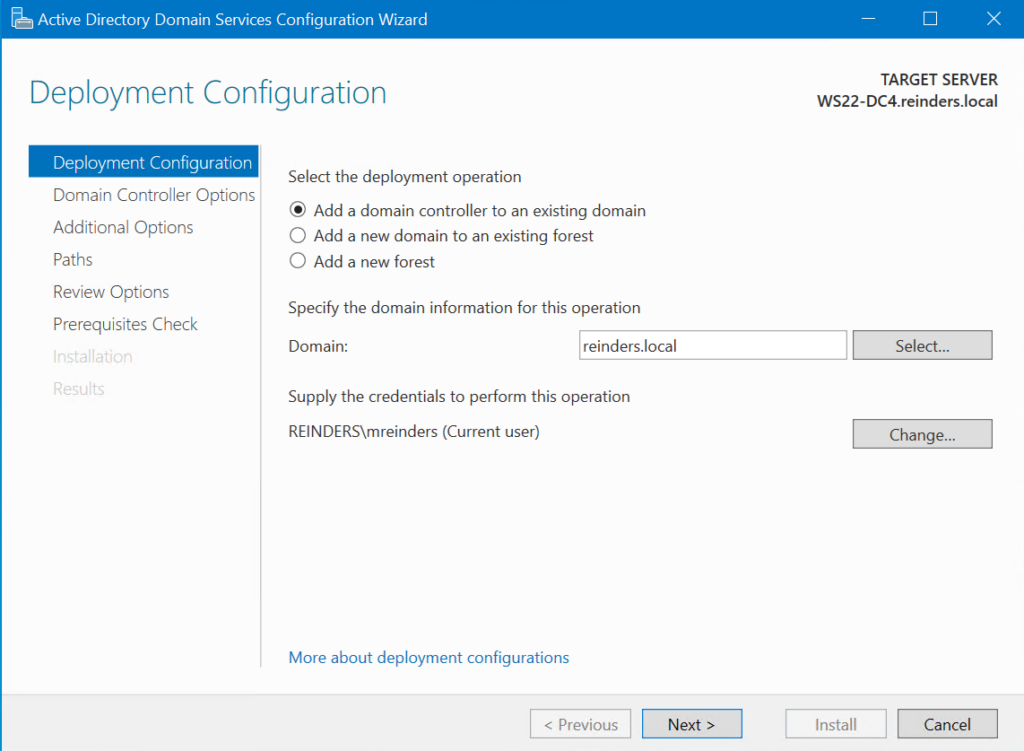
When the Active Directory Domain Services Configuration Wizard was launched, it performed a few quick queries to our environment. The wizard discovered that this server is a member server in the ‘reinders.local’ domain. It assumes we want to promote this server as another domain controller. Because this is the scenario we are describing, we can proceed with the steps to add Domain Controller to Existing Domain.
- Click Next to continue.
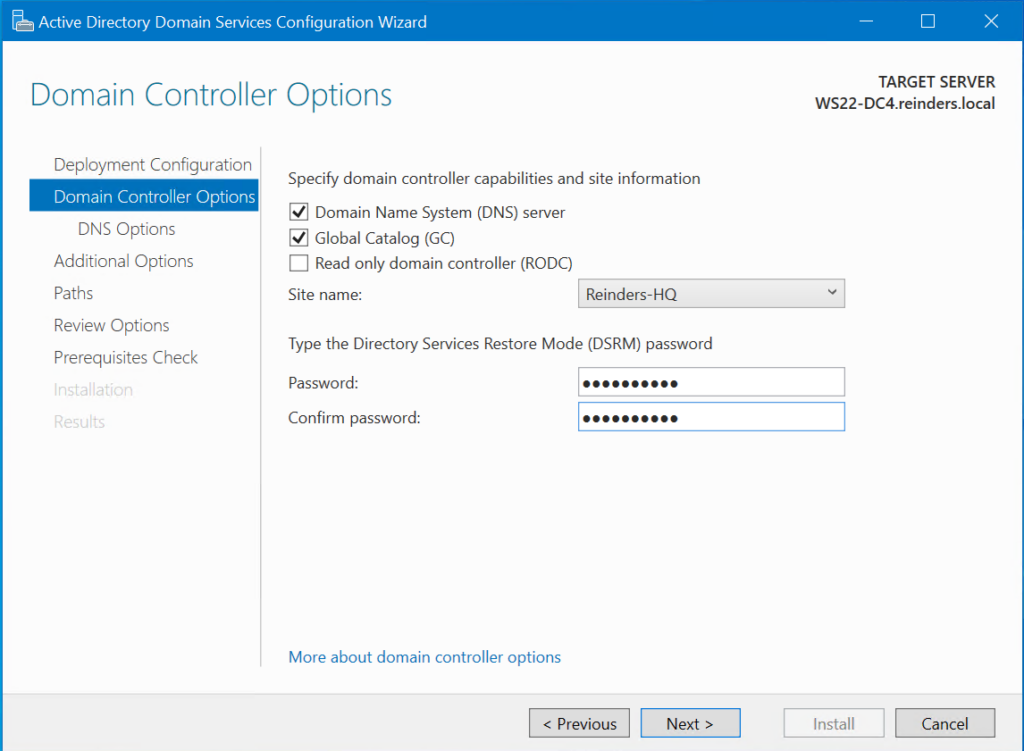
- I chose the location of this new DC to be in my ‘Reinders-HQ’ site from the dropdown and entered my Directory Services Restore Mode (DSRM) password.
- I then clicked Next.
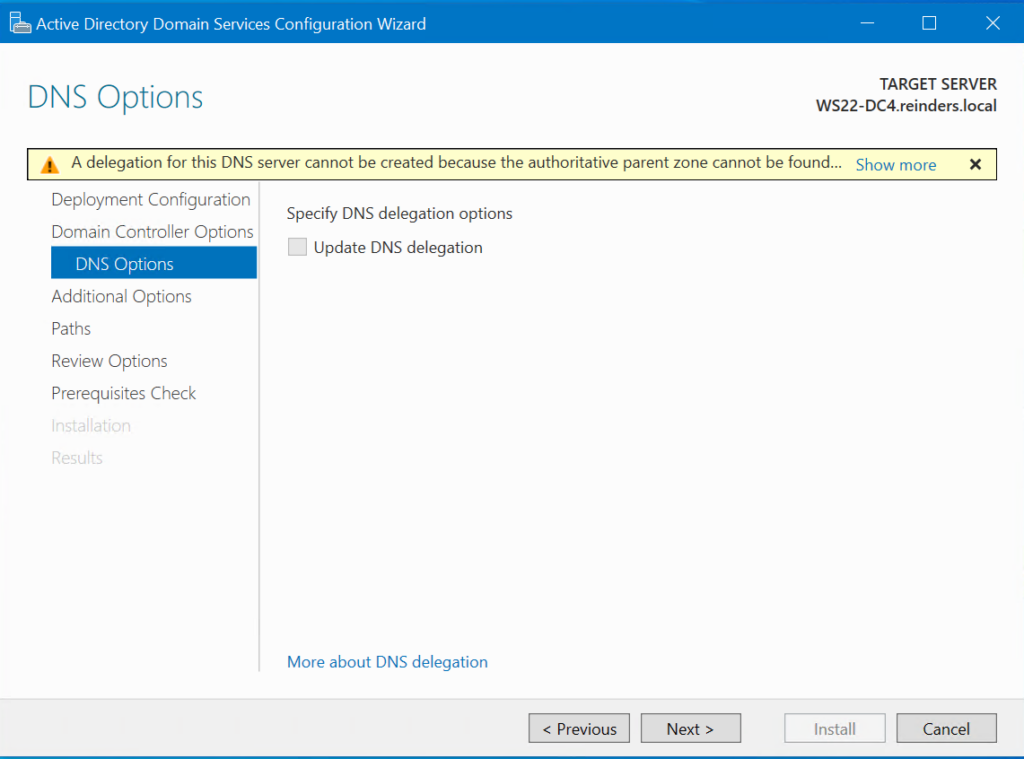
- On the DNS Options screen, we’ll see a warning that a delegation for this DNS server cannot be created. By default, this is very common and can be ignored. Click Next.

- On the Additional Options screen, we should be able to keep the defaults and click Next.
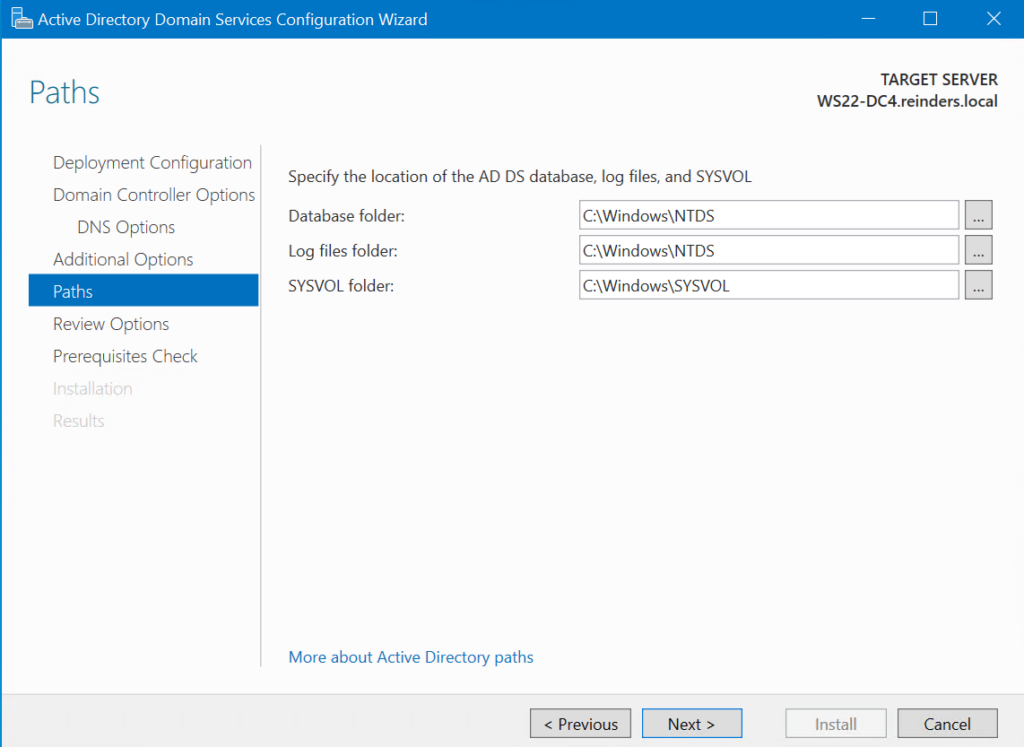
- Here on the Paths screen, in a more robust environment, you would want to place the Database folder, the Log files folder, and the SYSVOL folder on separate physical volumes/disks. For our demo purposes, I’ll keep the defaults and click Next.
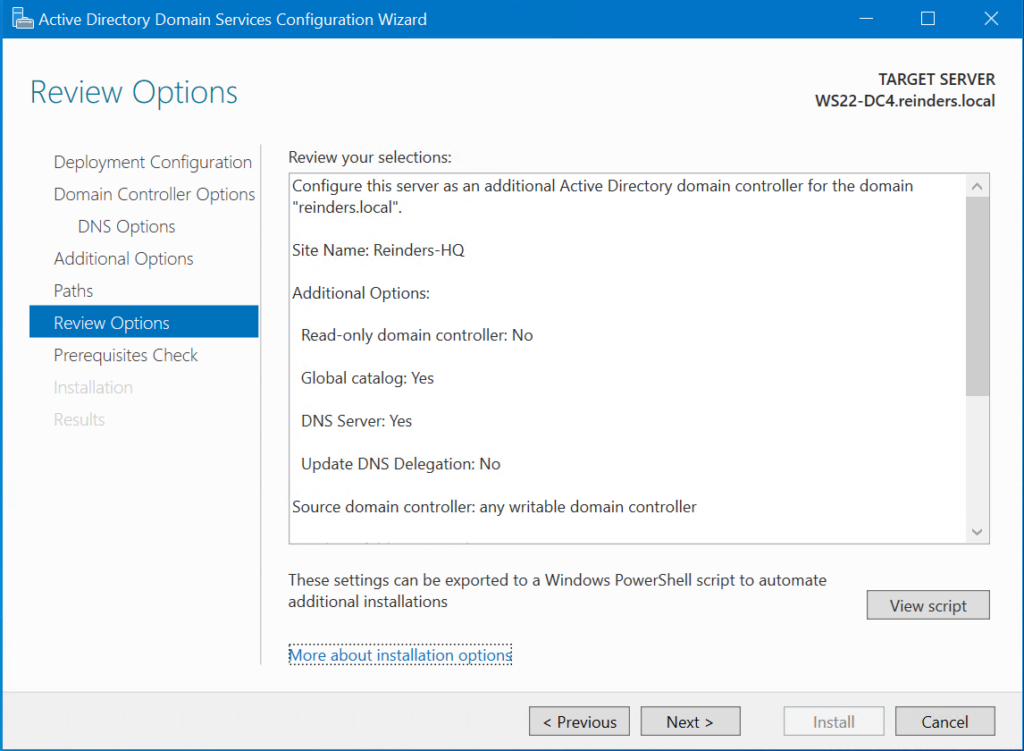
We’re almost there – don’t worry…on the Review Options screen, you can examine the selections, use the scroll bar to view all the info, and even view the PowerShell script the wizard will run in the background.
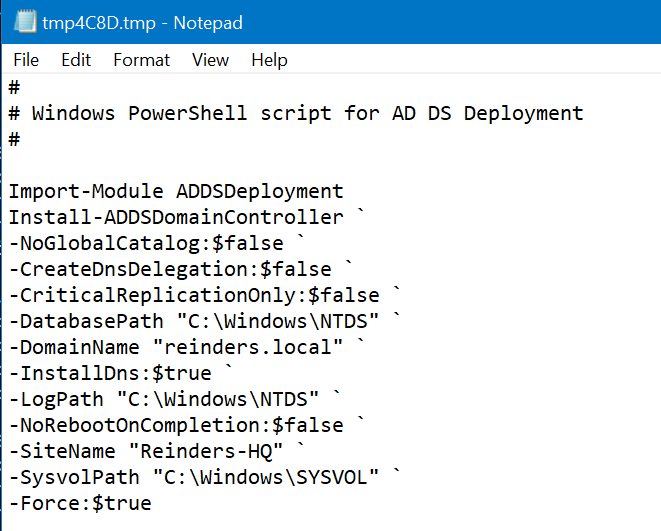
This opens a lot of potential for more automated and robust scripting if you happen to be on a team of engineers responsible for adding dozens or even hundreds of domain controllers in your enterprise environment.
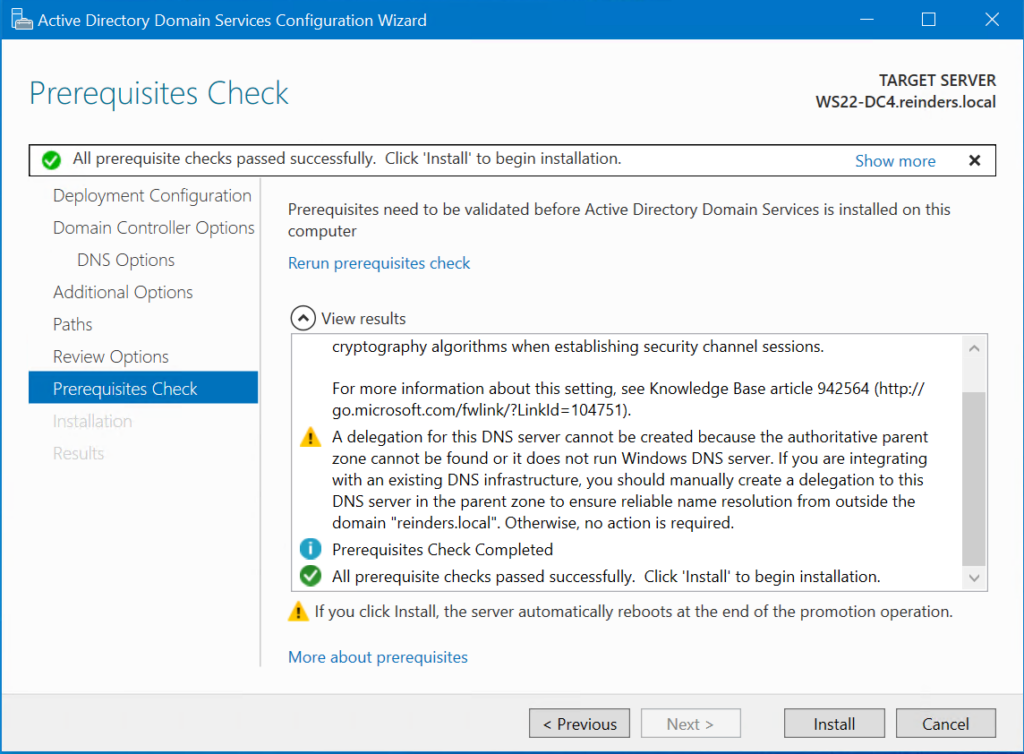
- Back in our wizard, click Next, and we’re at the Prerequisites Check screen. Everything passed so click Install.
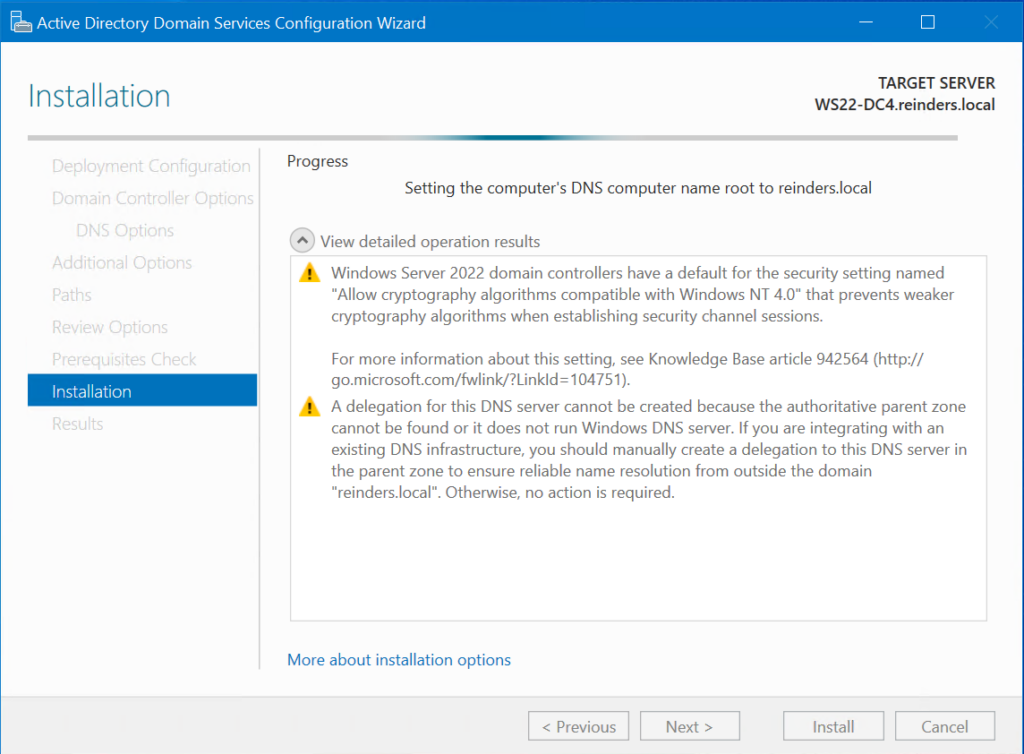
Here is a progress screen…
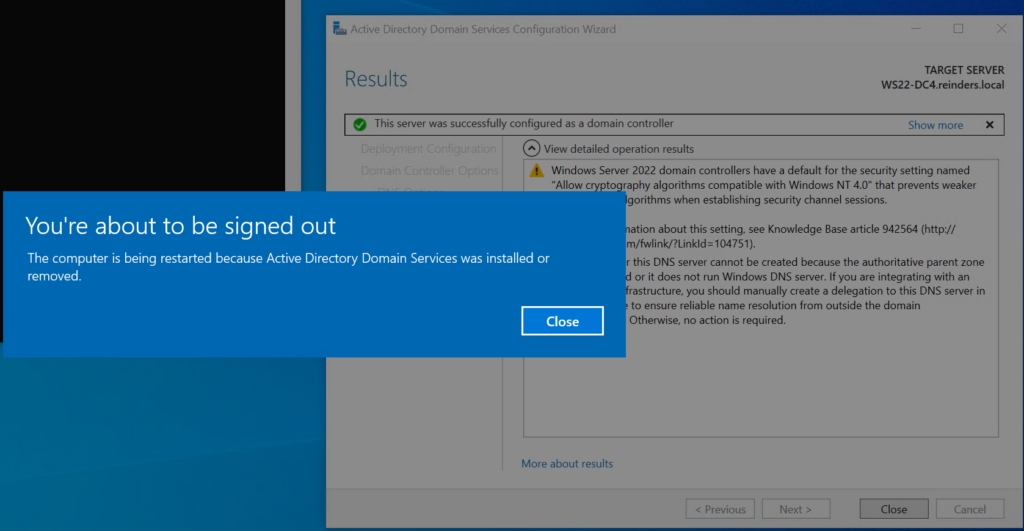
- And, we’re done, and a forced reboot is imminent…
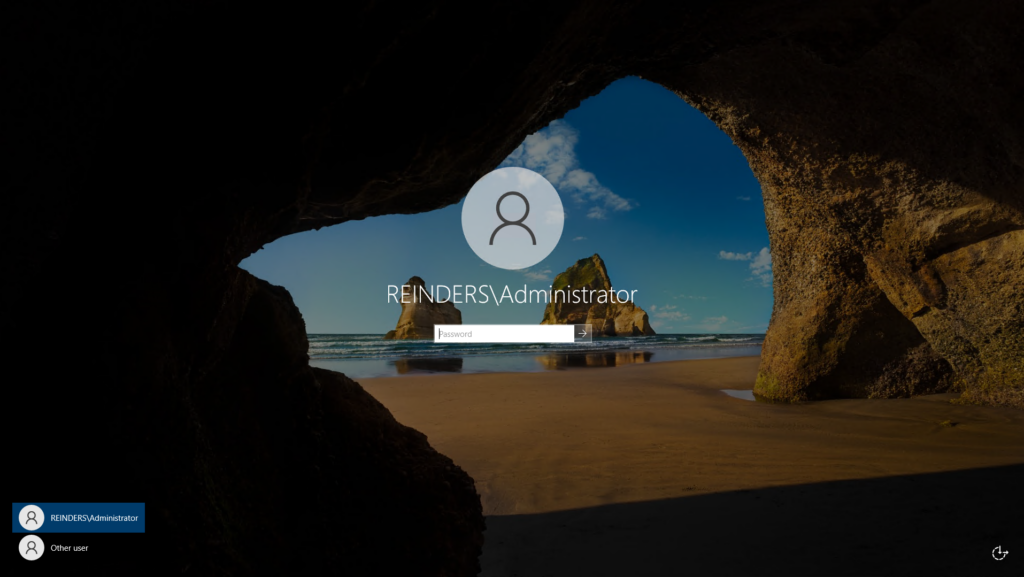
After the reboot, the login screen is different. By default, it is ready for me to log in as the Domain Administrator for my reinders.local domain (REINDERS).
I logged in, opened Active Directory Users and Computers from the Administrative Tools menu, and clicked on the ‘Domain Controllers‘ folder in AD. There we go, our new server is successfully listed, confirming the process to add Domain Controller to Existing Domain was executed correctly!
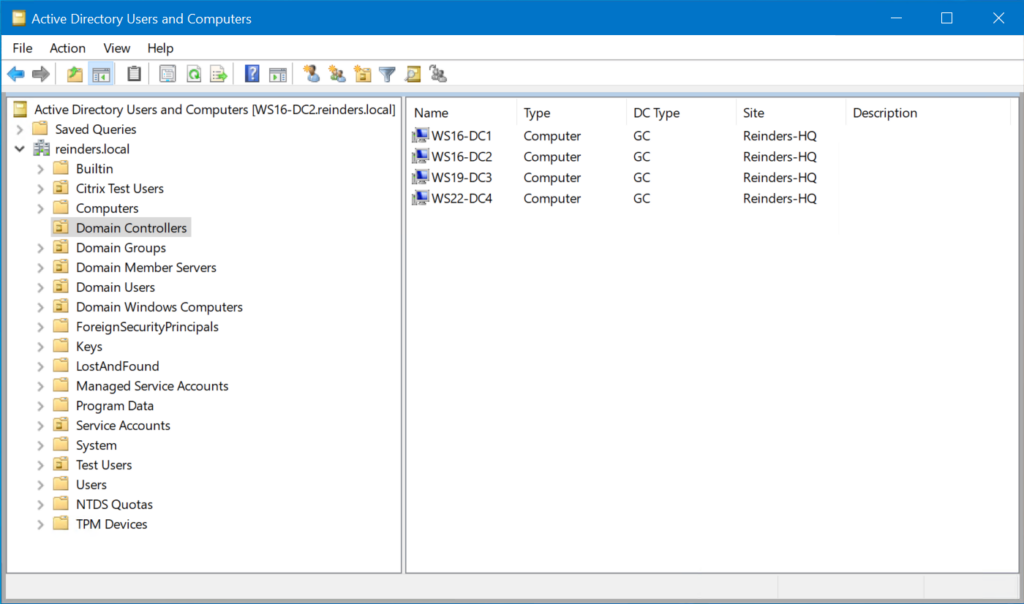
WS22-DC4 is now officially a domain controller.
FAQs
What are the minimum hardware requirements to add Domain Controller to Existing Domain?
To add Domain Controller to Existing Domain, ensure your server has at least 2GB RAM, 32GB free disk space, and a 1.4GHz 64-bit processor. For production environments, Microsoft recommends 4GB RAM and 100GB disk space for optimal performance.
Can I add Domain Controller to Existing Domain across different Windows Server versions?
You can add Domain Controller to Existing Domain across different Windows Server versions, but the new DC must be running the same or newer version than the existing forest functional level. For example, you can add a Server 2022 DC to a Server 2019 domain, but not vice versa.
What backup considerations should I make before attempting to add Domain Controller to Existing Domain?
Before you add Domain Controller to Existing Domain, create a full system state backup of at least one existing DC, verify SYSVOL replication is working correctly, and document your current DNS configuration to ensure smooth recovery if needed.
What network ports need to be open to add Domain Controller to Existing Domain?
When you add Domain Controller to Existing Domain, ensure ports 53 (DNS), 88 (Kerberos), 389 (LDAP), 445 (SMB), and 3268 (Global Catalog) are open between the new server and existing DCs. Also verify that port 9389 is available for the AD Web Services.
How long does it typically take to add Domain Controller to Existing Domain?
The process to add Domain Controller to Existing Domain usually takes 30-60 minutes, depending on the size of your AD database, network speed, and hardware performance. Large organizations with extensive AD data may require several hours for initial replication.

Michael has been an IT Pro since 1998. He has worked predominantly in the Windows world including client and server operating systems, on-prem systems engineering (AD, DNS, etc.), and over the last ten years or so has embraced and immersed himself in...