How to Get Started With Exchange Online Archiving

Microsoft Exchange Online Archiving allows you to alleviate issues your users run into when their mailboxes approach their allocated quota. As an IT admin, Exchange Online Archiving is a really powerful tool that should not be overlooked. In this article, I’ll examine why archiving is necessary and how to enable Exchange Online Archiving to help your users.
What is Exchange Online Archiving and why do you need it?
Every Exchange Server-based mailbox has a mailbox quota. Administrators have granular control to set said quotas for on-premises Exchange Server 2019, 2016, and 2013.
With Exchange Online, IT pros essentially have two options: 50 GB (Exchange Online Plan 1) and 100 GB (Exchange Online Plan 2). So, what happens when a user’s mailbox size approaches one of these quotas? They start to receive email alerts typically when their mailbox hits either 90% or 95% capacity.
Instead of asking your users to delete emails (trust me, 90% of them will refuse…), you can enable Exchange Online Archiving to create an archive mailbox for them. The feature sets in the plans I’ll detail below are very similar.
For efficiency, and to show you as much ‘hands-on’ information and screenshots as I can, I will use my Microsoft 365 Developer sandbox which includes a Microsoft 365 tenant with about 15 users or so, each with a Microsoft 365 E5 license. This will come in handy when we get to the Auto-expanding archive feature, but let’s not get ahead of ourselves.
What’s the difference between retention and archive in Exchange Online?
The main difference between retention and archiving is where your email goes. Microsoft 365 retention policies set guidelines for items in your users’ mailboxes to be deleted from their primary mailboxes after a set amount of time. The policies can include automated (required) retention tags and user-selectable (optional) retention tags.
A retention tag is an explicit rule defining what specifically occurs in a mailbox. For example, permanently emptying the Deleted Items folder after 30 days is a retention tag.
Archiving includes moving items in users’ mailboxes to their archive mailboxes. When you enable Exchange Online Archiving, similar policies are put in place – when an email is two years old, it will be moved from the primary mailbox to the Archive mailbox.
How often does Exchange Online archiving run?
After a mailbox is added to a retention policy that includes moving items to an archive mailbox, the Managed Folder Assistant process runs at least once every 7 days. This background process (in Exchange Online) processes all the retention tags associated with a policy against a mailbox and performs appropriate move and delete actions.
Optionally, IT Pros can run this PowerShell command to initiate this process in near-real time.
Start-ManagedFolderAssistant -mailbox UPN/email address
Exchange Online Archiving plans
Although there are technically three plans that make up Exchange Online Archiving, I will focus on the two most commonly-used: Exchange Online Archiving for Exchange Server and Exchange Online Archiving for Exchange Online.
Exchange Online Archiving for Exchange Server
This first plan is primarily used in your hybrid deployments. An archive mailbox is created in the cloud for your users with on-premises mailboxes in Microsoft Exchange Server 2019, 2016, or 2013. (Exchange Server 2016 is out of support and not supported with this feature).
Exchange Online Archiving for Exchange Online
This second plan is a cloud-based archive mailbox for your users’ mailboxes in the cloud (Exchange Online). This is an add-on for users with the following license plans:
- Exchange Online Plan 1
- Exchange Online Kiosk
- Microsoft 365 Business Basic
- Microsoft 365 Business Standard
- Office 365 E1
- Office 365 A1
- Office 365 G1
- Office 365 F3
- Microsoft 365 F3
The following license plans in Microsoft 365 already include the Exchange Online Archiving features:
- Exchange Online Plan 2
- Microsoft 365 Business Premium
- Microsoft 365 E3/E5
- Microsoft 365 F5 Compliance
- Office 365 A3/A5
- Office 365 E3/E5
Feature Chart
Here is a chart, courtesy of Microsoft Learn documentation, that shows the features available in the two above plans. As you’ll notice, they are nearly identical.
| Feature | Exchange Online Archiving for Exchange Server | Exchange Online Archiving for Exchange Online |
|---|---|---|
| Archive features in Exchange Online Archiving | ||
| Archive mailbox | Yes | Yes |
| Move messages using archive policy | Yes | Yes |
| Import data to the archive | Yes | Yes |
| Deleted item recovery | Yes | Yes |
| Deleted mailbox recovery | Yes | Yes |
| Mailbox backup | Yes | Yes |
| Client features in Exchange Online Archiving | ||
| Outlook3 | Yes | Yes |
| Outlook on the web | Yes | Yes |
| Compliance and security features in Exchange Online Archiving | ||
| Outlook3 | Yes | Yes |
| Outlook on the web | Yes | Yes |
| Retention policies | Yes | Yes |
| In-Place Hold and Litigation Hold6 | Yes | Yes |
| In-Place eDiscovery | Yes | Yes |
| Encryption between on-premises servers and Exchange Online Archiving | Yes | Yes |
| Encrypting between clients and Exchange Online Archiving | Yes | Yes |
| Encryption: S/MIME and PGP | Yes | Yes |
| IRM using Azure Information Protection | No | No |
| IRM using Windows Server AD RMS | Yes | Yes |
| Auditing | Yes | Yes |
How to enable Archive Mailboxes (Exchange Online)
So, how does an IT Pro start using this exciting functionality? Well, the steps you need to follow are quite straightforward. Let me show you how to enable and create an Archive mailbox for your users using the GUI and PowerShell.
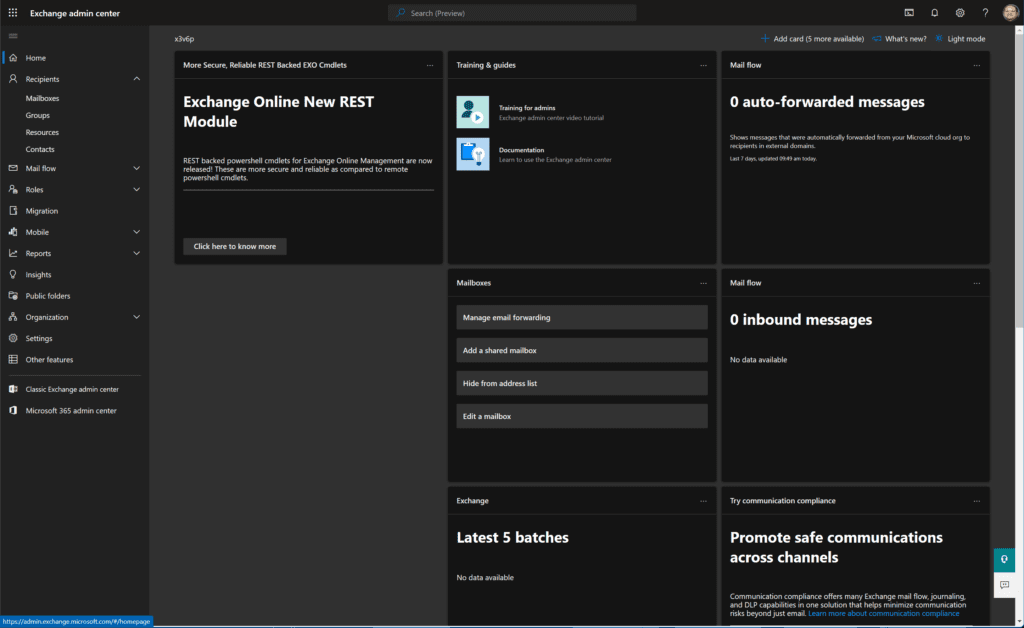
Using the Exchange Admin Center (GUI)
If you prefer to use the GUI, the Exchange Admin Center is where you need to go:
- Open the Microsoft 365 admin center. You can click the Show all link on the left to view more options.
- Under the Admin center section, scroll down and click on the Exchange option. This will open the Exchange Admin Center.
- On the left navigation, expand Recipients and click Mailboxes. As you can see, one of the default columns is Archive status. The default rollout for individual users is for it to be set to ‘None’, meaning there is no archive mailbox.
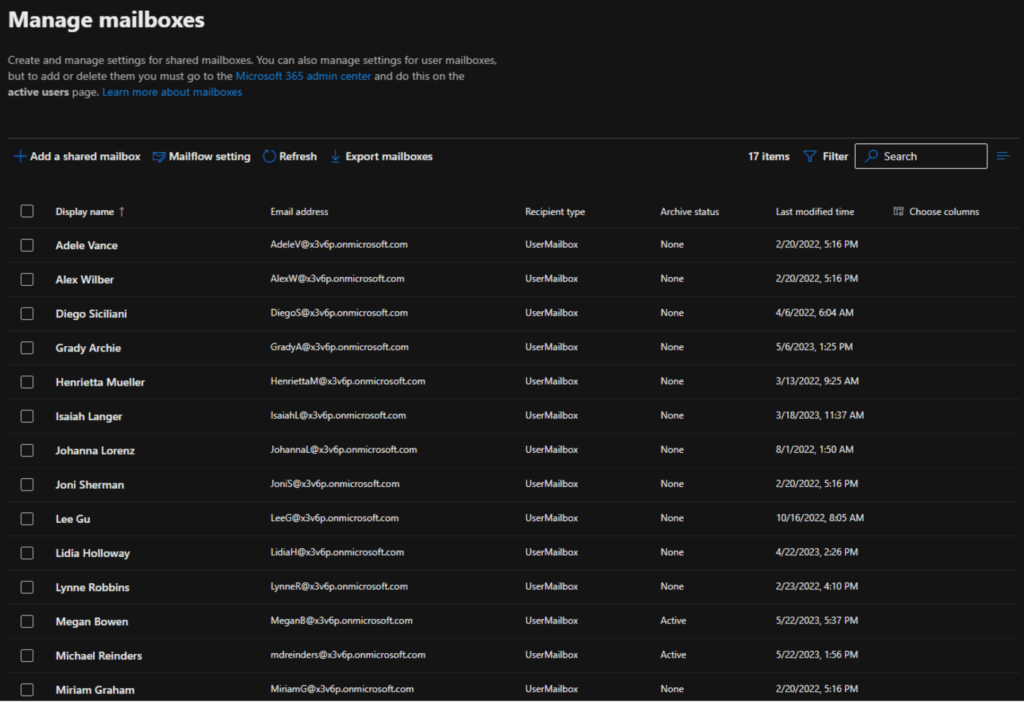
- We can select a user and dig into their details. Let’s work with Megan Bowen.

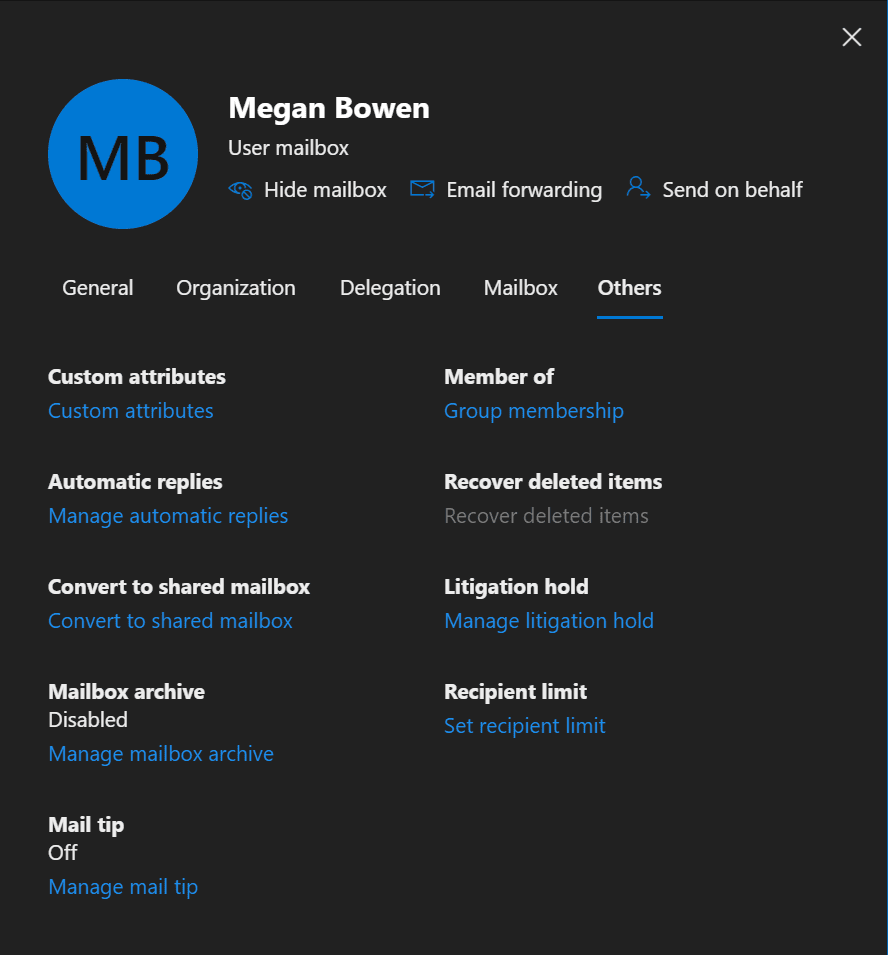
- Here, we will click on the Others tab across the top to get to the Archive settings. Under the Mailbox archive heading, we see “Disabled” and a link to Manage mailbox archive for Megan. Let’s click the link.
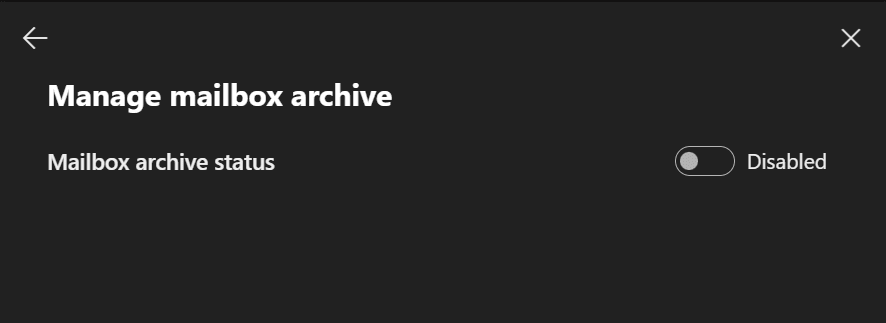
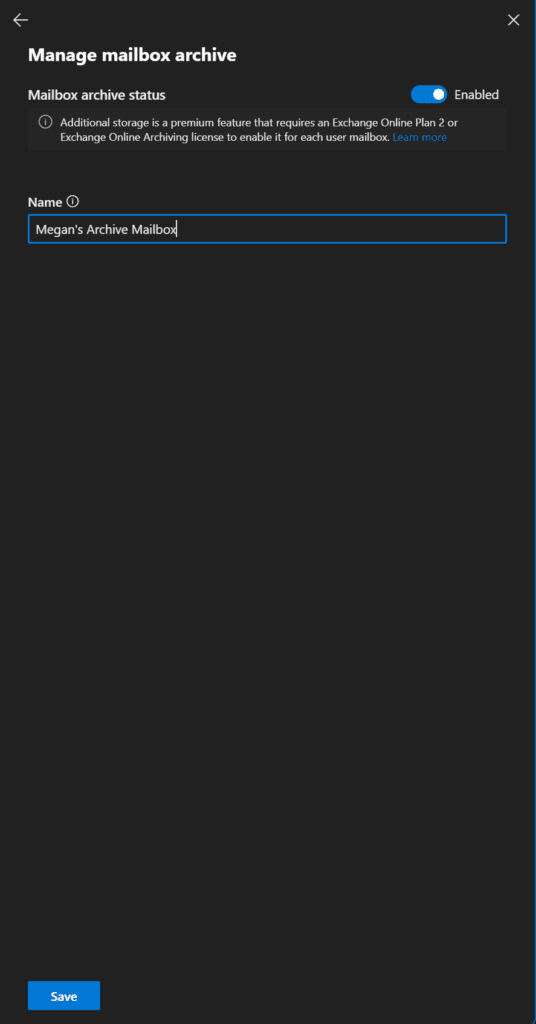
- Here, click the toggle for Mailbox archive status to enable the mailbox archive for this user.
- After checking the name for Megan’s Archive Mailbox, you can click the Save button down below.
Now, we can see that Megan’s Archive status is ‘Active.’ And if you look a little closer, you will see that the Auto-expanding archive option is enabled. I imagine this is set this way due to this tenant being “full-featured” to allow developers to use as many features as possible when developing applications. Don’t worry, I’ll show you how to check and how to enable this feature later on.
After about an hour or so (this can vary widely), users will see the new folder in the Outlook desktop app and Outlook on the web.
Besides the enterprise retention policies in place, users are free to move emails from their Primary mailbox to their Archive utilizing a standard drag-and-drop action.
Using PowerShell (Remote)
We can also use PowerShell to monitor and enable the creation of Archive mailboxes for our users.
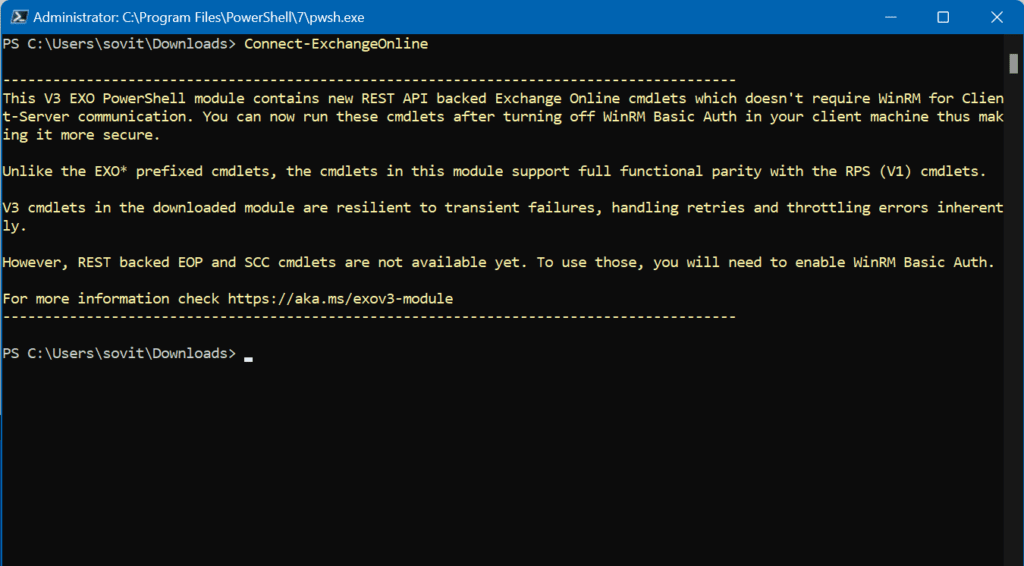
- Let me first connect to Exchange Online using PowerShell.
- Then, I can use the Get-Mailbox command to quickly check the Archive status of all mailboxes.
get-mailbox | Select DisplayName,Archivestatus
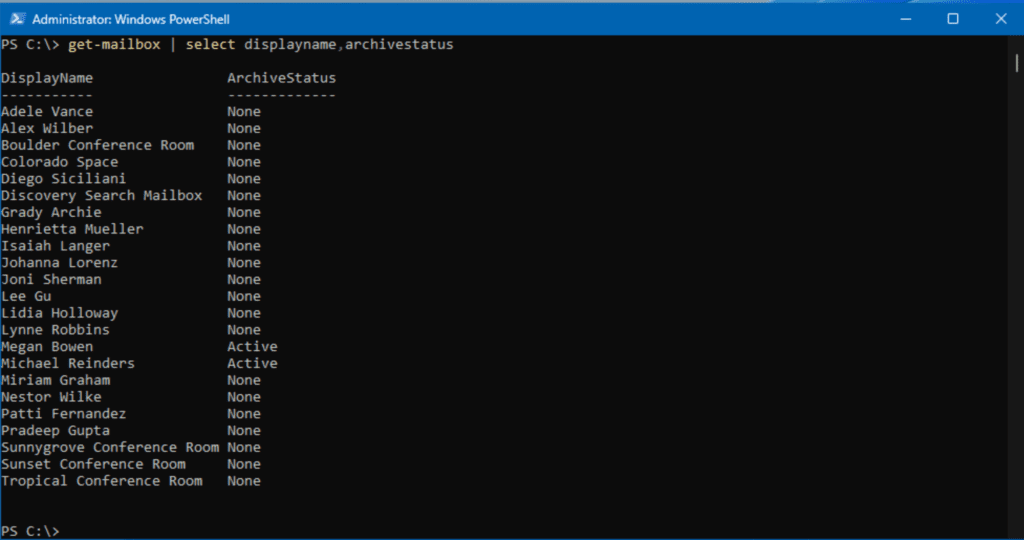
This tells us Megan Bowen has her archive mailbox flag enabled. We can also use the Get-EXOMailboxstatistics cmdlet to tell us how large a primary and/or archive mailbox is.
get-EXOmailboxstatistics -identity [email protected]
get-EXOmailboxstatistics -identity [email protected] -Archive

Because this user hasn’t logged into her mailbox since her archive creation, it currently doesn’t show any output. Also, there are retention policies that should be put in place to allow for the automatic movement of ‘older’ emails from users’ primary mailboxes into their archive mailboxes.
To enable an Archive mailbox for another user, you can use the Enable-Mailbox cmdlet:
Enable-Mailbox -Identity [email protected] -Archive
That’s all there is to it. After a short while, users will see a new mailbox in their Folder View labeled ‘In-Place Archive – DisplayName‘.
Add or Change Exchange Archiving Policies
To retain and delete emails, Microsoft recommends you use Microsoft 365 retention policies and retention labels rather than the older messaging records management (MRM) from Exchange Online. However, the main valid reason to use the MRM legacy tools is to automatically move emails from a user’s primary mailbox to their archive mailbox. You might also need to use MRM to apply retention and deletion settings to specific folders in the mailbox, rather than the entire mailbox.
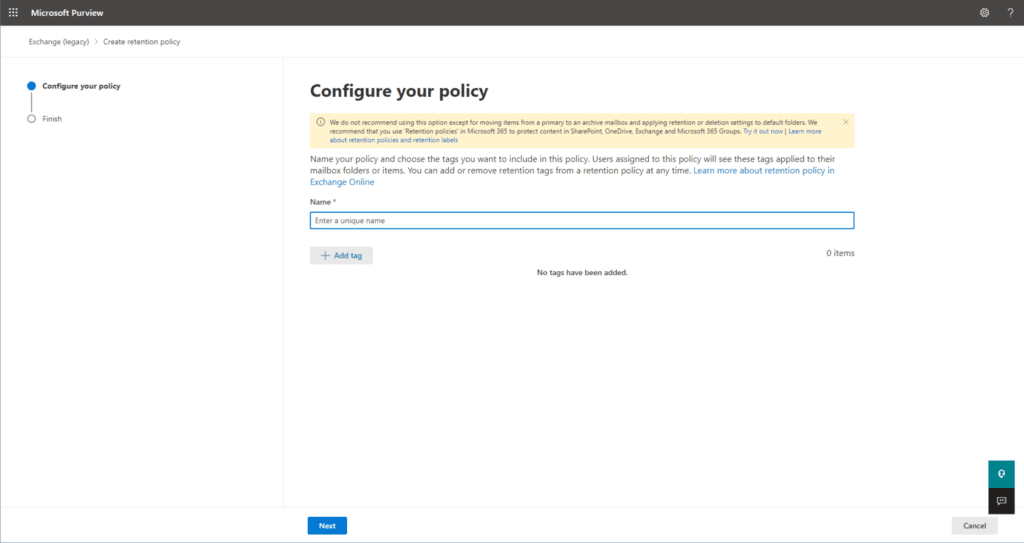
IT pros can use Microsoft Purview to add or change their existing Archive policies for their organization. You can start on the Microsoft Purview compliance portal.

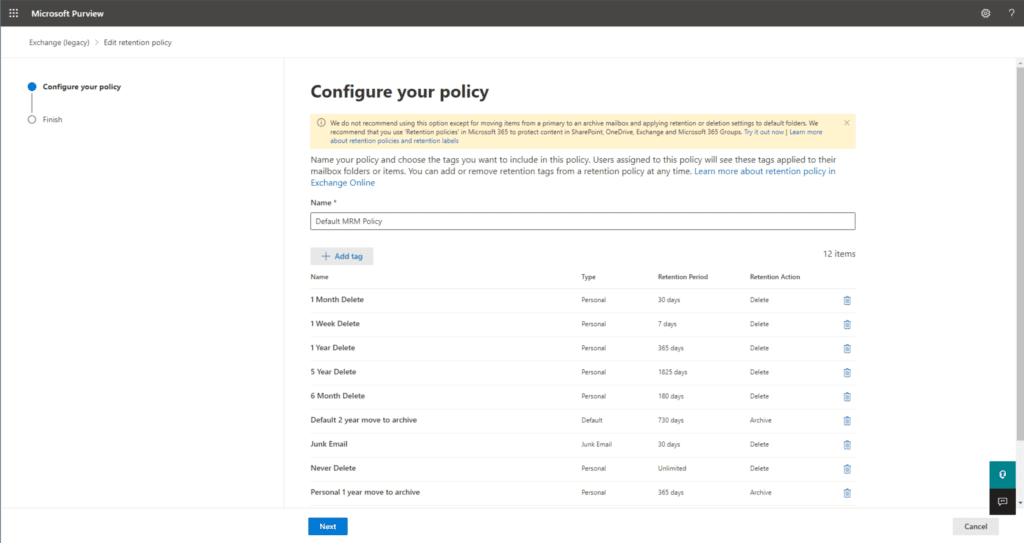
- Go to Data lifecycle management -> Exchange (legacy) -> MRM Retention policies.
- Click the New policy option and enter a Name for the new policy.
- Click Add Tags and select the items you want to include in the policy. For our demo purposes, I will choose the Default 2-year move to archive (required), 1 Year Delete (optional), Junk Email (required), and Recoverable Items 14 days move to delete (required).
- Click Add, then click Next.
- Review your policy and when you’re done, click Submit.
If you need to change an existing policy, simply click it and then click the Edit option above the policies. Here, you can change the name of the policy, add or remove existing retention tags, confirm your selections on the Review policy and finish screen, and then click Submit to save your changes.
How to enable the Autoexpanding archiving feature
By default, when an archive mailbox is created, 100GB of storage space is allocated to it. As the archive mailbox quota is approached, users will receive daily emails that they have hit maybe 90% or 95% of their quota.
Firstly, as always, you should see if the user can find “low-hanging fruit” and delete unneeded (very large) emails. Secondlt, you can enable a feature called Autoexpanding archiving. This will offer up to 1.5 TB of additional storage space for your user’s archive mailbox. If there is additional space needed, you can open a ticket with Microsoft Support to inquire further.
After the user hits the 100GB level, the Exchange Online service will incrementally add about 10GB to the quota in the background. End users or IT pros don’t need to perform any other steps to make it happen.
PowerShell is used to enable this feature. The simple Enable-Mailbox cmdlet will do it for you.
Enable-Mailbox [email protected] -AutoExpandingArchive

In this scenario, Megan’s archive mailbox already had this feature enabled. So, the output you see here is standard if it is just being enabled or already is.
Exchange Online Archiving can really help your users
Utilizing Exchange Online Archiving is highly recommended in the Microsoft 365 space. This allows your users to continue to work when their email storage becomes an issue. As long as you put in retention policies to allow Microsoft to automatically move your users’ older emails into their respective archive mailboxes, your enterprise’s email should continue unabated indefinitely.
Please feel free to leave me a question if you wish in the comments section below. Thank you for reading!
Related Article:

Michael has been an IT Pro since 1998. He has worked predominantly in the Windows world including client and server operating systems, on-prem systems engineering (AD, DNS, etc.), and over the last ten years or so has embraced and immersed himself in...