How to Manage Windows Update Using PowerShell
- Blog
- PowerShell
- Post

In this article, I will look at both Microsoft’s Windows Update provider for PowerShell in Windows Server 2019. And I’ll show you how to use the third-party PSWindowsUpdate PowerShell module that most system administrators still prefer to use.
Microsoft’s Windows Update PowerShell provider
Microsoft’s Windows Update PowerShell provider (WindowsUpdateProvider) comes preinstalled in Windows Server 2019 and later versions of Windows. You can list the available cmdlets in the module installed using Get-Command:
Get-Command -Module WindowsUpdateProvider
The Start-WUScan cmdlet initiates a scan without installing any updates. It looks for available updates that apply to the device. You can add filters to search for updates in specific categories, like software for example. The command below scans the device for updates that are not already applied to installed software:
$Updates = Start-WUScan -SearchCriteria "Type='Software' AND IsInstalled=0"
Microsoft doesn’t have any comprehensive online documentation WindowsUpdateProvider but you can find information about the syntax you should use for -SearchCriteria in the API documentation here.
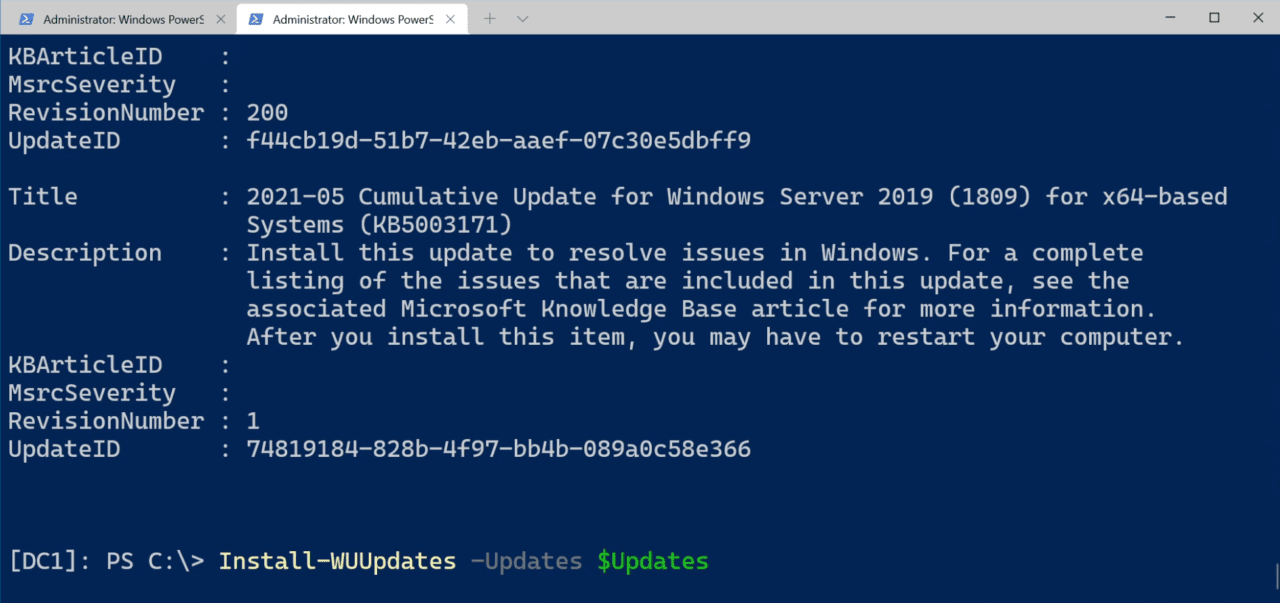
Once you’ve performed a scan, you can use the object we created ($Updates) to install the updates with Install-WUUpdates:
Install-WUUpdates -Updates $Updates
You can also add the -DownloadOnly switch to download the updates but not install them:
Install-WUUpdates -Updates $Updates -DownloadOnly
Another useful command, Get-WUIsPendingReboot, shows you whether the device is waiting to be rebooted after installed updates.
Get-WUIsPendingReboot
Let’s create a share on the local server for storing Windows Update logs generated by PowerShell. The computer name of my server is ‘dc1’.
New-Item 'c:\share\logs' –Type Directory
New-SMBShare –Name logs –Path 'c:\share\logs' -Description 'Windows Update logs' -FullAccess Everyone
Now we can output the results of Start-WUScan to a text file using Out-File. The computer name of my server is ‘dc1’. You will need to replace dc1 in the command below with the name of the server on which you created the network share for storing Windows Update log files.
Start-WUScan -SearchCriteria "Type='Software' AND IsInstalled=0" | Out-File "\\dc1\logs\($env.computername-Get-Date -f yyyy-MM-dd)-MSUpdates.log" -Force
To open the log file in a terminal window, use Get-Content:
Get-Content "\\dc1\logs\($env.computername-Get-Date -f yyyy-MM-dd)-MSUpdates.log"
Third-Party Windows Update PowerShell Module (PSWindowsUpdate)
The third-party Windows Update module in the PowerShell Gallery, which you can find here, provides more flexibility than Microsoft’s Windows Update module for PowerShell. Let’s see how it works.
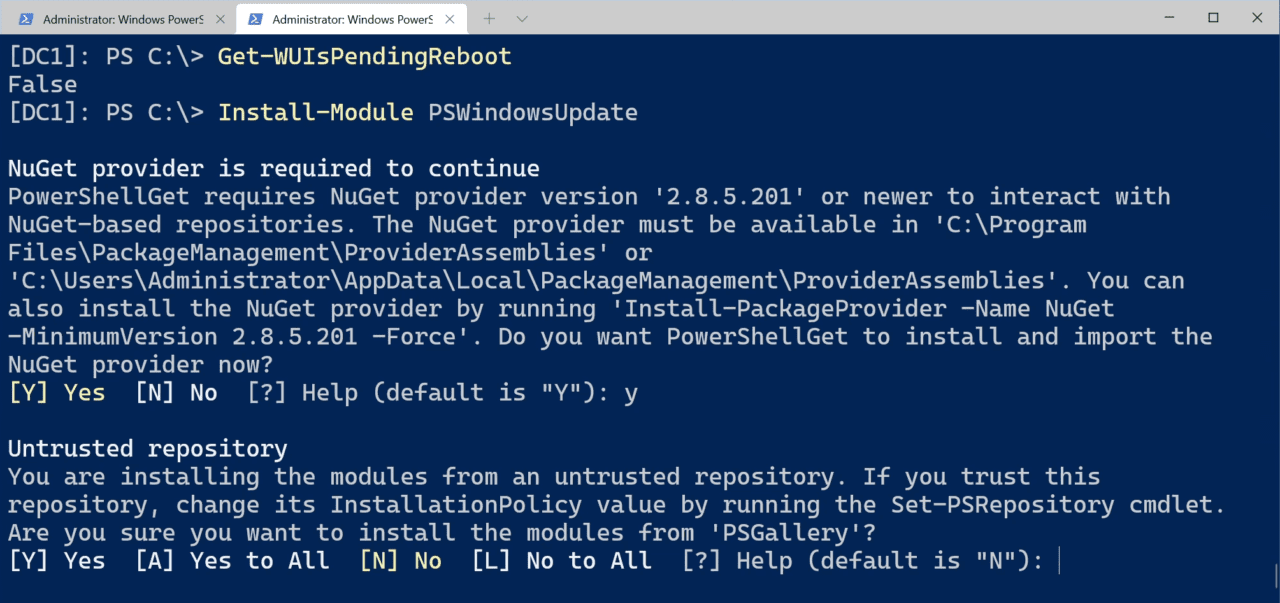
First you need to install the module:
Install-Module PSWindowsUpdate
If you want to use Windows Update to also update software installed on the device, you can configure Windows Update using Add-WUServiceManager:
Add-WUServiceManager -MicrosoftUpdate
Now we can use the Install-WindowsUpdate cmdlet to install all available updates for the device and record the logs. Install-WindowsUpdate is actually an alias for Get-WindowsUpdate -Install.
Install-WindowsUpdate -MicrosoftUpdate -AcceptAll -AutoReboot | Out-File "\\dc1\logs\($env.computername-Get-Date -f yyyy-MM-dd)-MSUpdates.log" -Force
Let’s install updates on several remote servers at the same time. In the commands below, we use the $Computers variable to store the names of the remote servers that we want to update. Then Invoke-WUJob is used to initiate updates on the remote computers. And like before, we write the logs to our server file share:
$Computers = "srv2,srv3,srv4"

Invoke-WUJob -ComputerName $Computers -Script {Import-Module PSWindowsUpdate; Install-WindowsUpdate -MicrosoftUpdate -AcceptAll -AutoReboot} -RunNow -Confirm:$false | Out-File "\\dc1\logs\$Computers-$(Get-Date -f yyyy-MM-dd)-MSUpdates.log" -Force
Install-WindowsUpdate can be used in several different ways. In the example below, the cmdlet installs everything except KB47857 and KB47859
Install-WindowsUpdate -NotKBArticle "KB47857"," KB47859" -AcceptAll
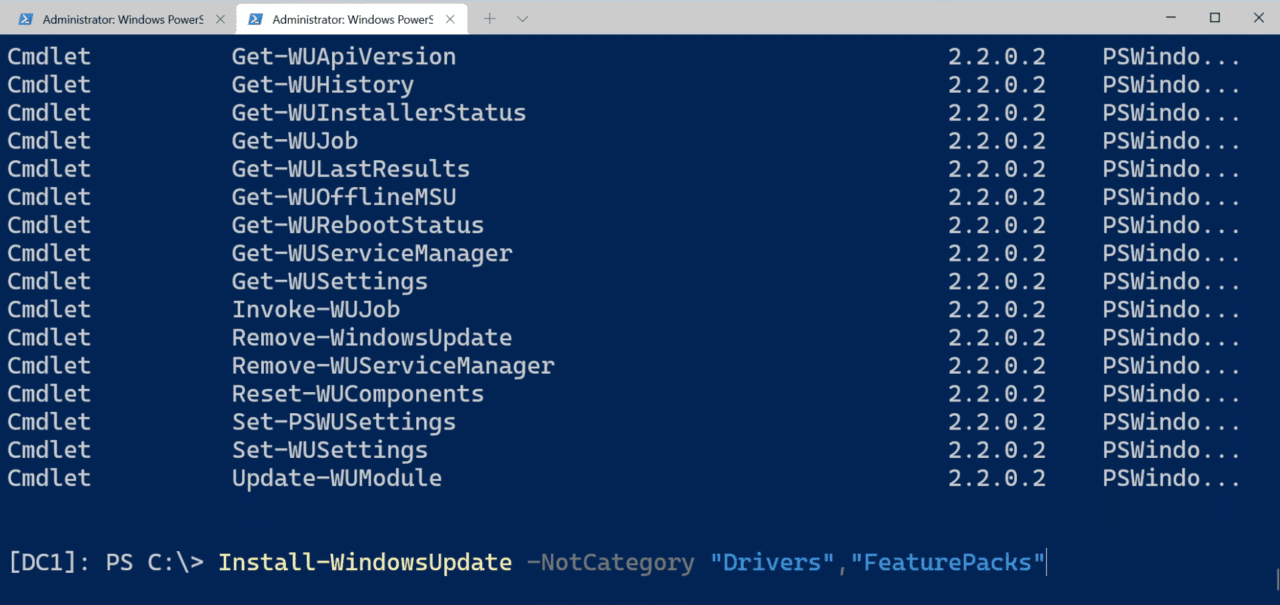
The next example installs everything except drivers and feature packs:
Install-WindowsUpdate -NotCategory "Drivers","FeaturePacks" -AcceptAll
And the last example updates everything except Microsoft Teams:
Install-WindowsUpdate -NotTitle "Teams" -AcceptAll
Get-WindowsUpdate lists updates that match the criteria you specify. The cmdlet can also be used to install updates by adding the -Install parameter:
Get-WindowsUpdate -KBArticleID "KB47857"," KB47859" -Install
To get a full list of the commands available in PSWindowsUpdate, use Get-Command:
Get-Command -Module PSWindowsUpdate
WindowsUpdateProvider has the advantage of availability in newer versions of Windows
While PSWindowsUpdate is more flexible than WindowsUpdateProvider, Microsoft’s module has the advantage of availability in Windows Server 2019 and later versions of Windows. I.e., you don’t need to download and install it. You can also use both modules at the same time. My advice is to see whether WindowsUpdateProvider meets your needs. If not, then look at working with PSWindowsUpdate.


