Forms – an Undervalued Part of Office 365
Forms, Questionnaires, and Quizzes
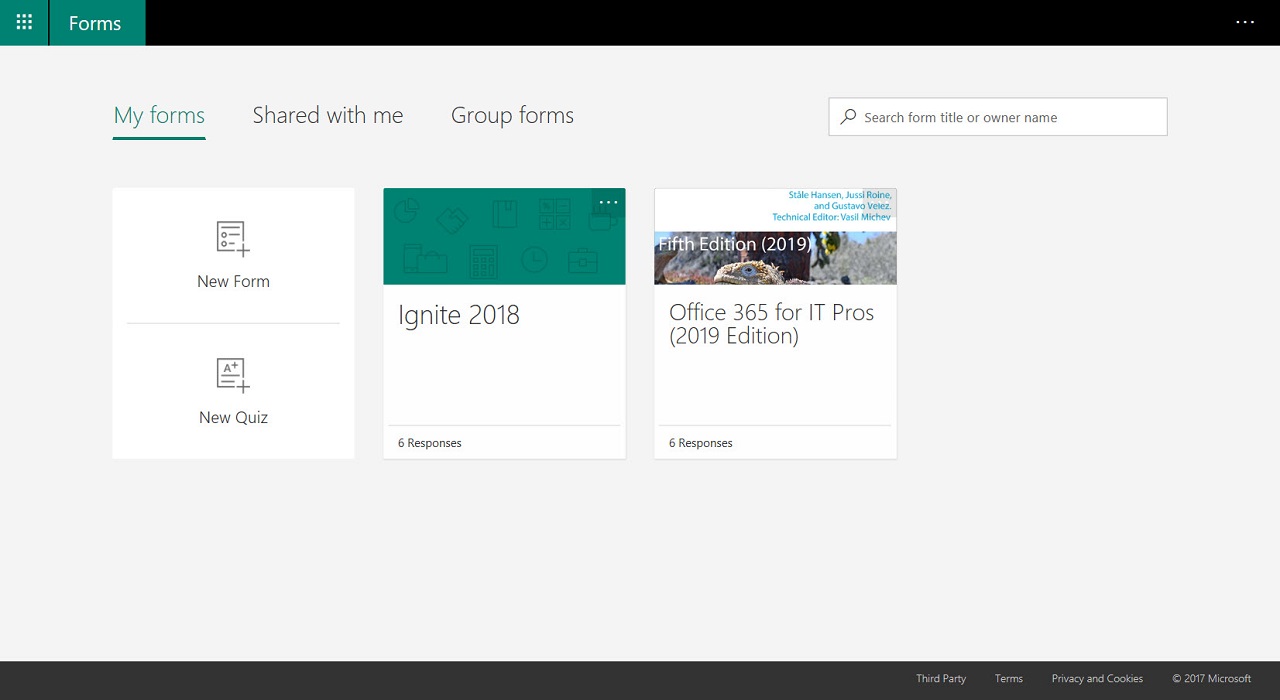
Microsoft released Forms, an app to allow users to collect information from other people through surveys, quizzes, and polls, to Office 365 for Education customers in June 2016. A year later, Microsoft made Forms available to commercial tenants, possibly as a competitive move against Google Forms. The application is now in public preview for Office 365 home plans, with the intention that it will be available to anyone with a Microsoft account.
The idea is simple. Create the questions you want to ask and then publish the form online or through an application like Teams for the target audience to complete. After the answers come in, evaluate and analyze the responses using the built-in analytics or export the answer data for analysis using Excel or Power BI.
Forms for All
By default, any Office 365 tenant user can access Forms by using their tenant credentials to sign into the Forms portal or by selecting Forms from the Office 365 waffle menu. If you want to limit Forms to specific users, you can disable the Forms option in user licenses through the Office 365 Admin Center or PowerShell.
An individual user can create up to 200 forms. Each form can receive up to 50,000 responses, which seems more than enough for even the most curious questioner.
Creating a Form
The application supports forms and quizzes. The difference between the two is that a form leads respondents through a series of questions to collect ad-hoc information while a quiz asks questions where the response is graded against set answers. You can assign different points for the correct answer to each question and Forms tots up the total and reports the result when a respondent finishes the quiz.
Click New form to begin the creation process. Figure 1 shows the title, description, and a picture for the form. You don’t have to add a picture, but this is a good way to highlight the purpose of the form or the organization responsible for the form (if you use its logo). The title for a form can be up to 90 characters and the subtitle up to 1,000 characters.
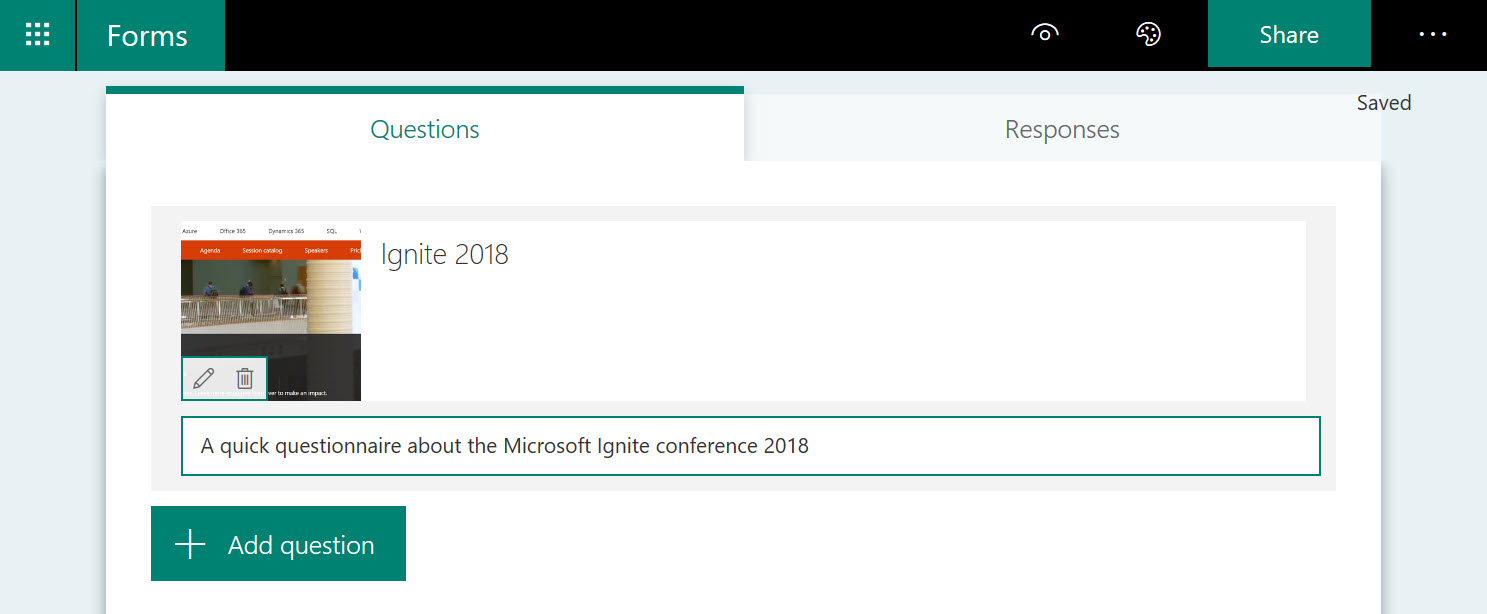
Forms automatically saves your work as you make changes.
More Options
The […] (ellipsis) menu exposes settings controlling how the form is used, including the ability to set a start and end date for responses, and whether users can submit multiple responses. Another option is to shuffle questions so that each respondent sees them in a different order.
If you choose Anyone with the link can respond, then only anonymous responses are possible as Forms cannot record personal information for people outside your organization. Internal forms can record the name for each response. If you create a quiz form, the available settings include the option to Show results automatically, which means that respondents see the correct responses after they submit their answers.
Questions
Forms supports the following types of questions:
- Choice: These questions ask the respondent to choose an answer one or more values. You can allow respondents to select multiple values or input their own answer.
- Text. These questions ask a respondent to enter an opinion about a stated topic.
- Rating. These questions ask respondents to rate a topic on a scale using stars or numbers. You can edit the labels to tell respondents what each point in the scale means. You can also decide how many points to use in the scale.
- Likert. A Likert scale is often used to measure how people feel about different subjects with a more subtle nuance than is possible with a simple yes/no response. Likert questions ask respondents how strongly they agree with a set of supplied statements (Figure 2).
- Date. These questions ask respondents to select a date value as their response.
- Ranking. These questions ask respondents to move a set of supplied values up and down in a list to rank them in order of importance.
If you’re working with a quiz form, you also have the option to mark the correct answer from the set of choices and to assign the points that the respondent receives if their answer is correct.
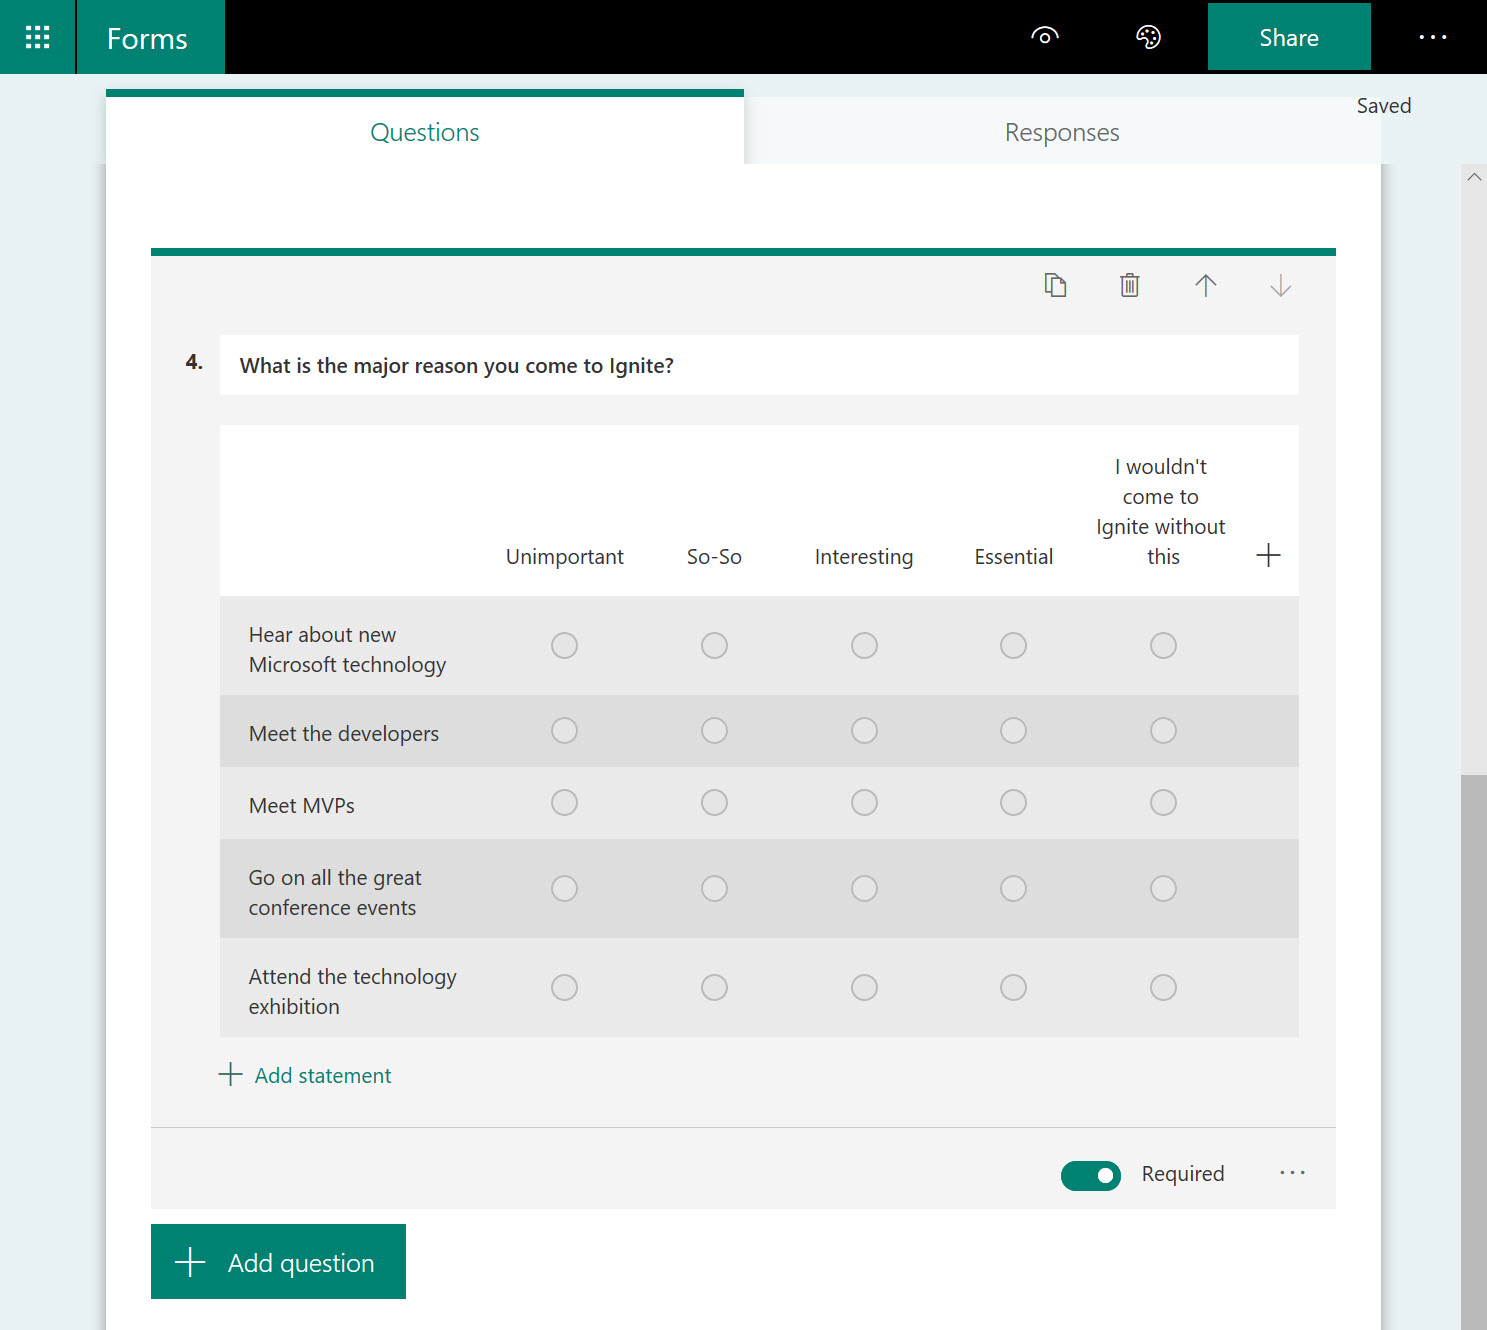
Note the set of controls at the top of each question to:
- Copy a question and use it as the basis for another question.
- Delete a question.
- Move a question up and down.
You can also add a graphic to each question to make the form more visually attractive or to add context to questions.
Checking the Form
To check the form, use the preview function to see how it looks to a respondent on a workstation (browser on a PC or Mac) or smartphone (mobile). Forms is optimized for IE10+, Edge, the latest versions of Chrome and Firefox, including Chrome on Android, and Safari on iOS.
Question Flow
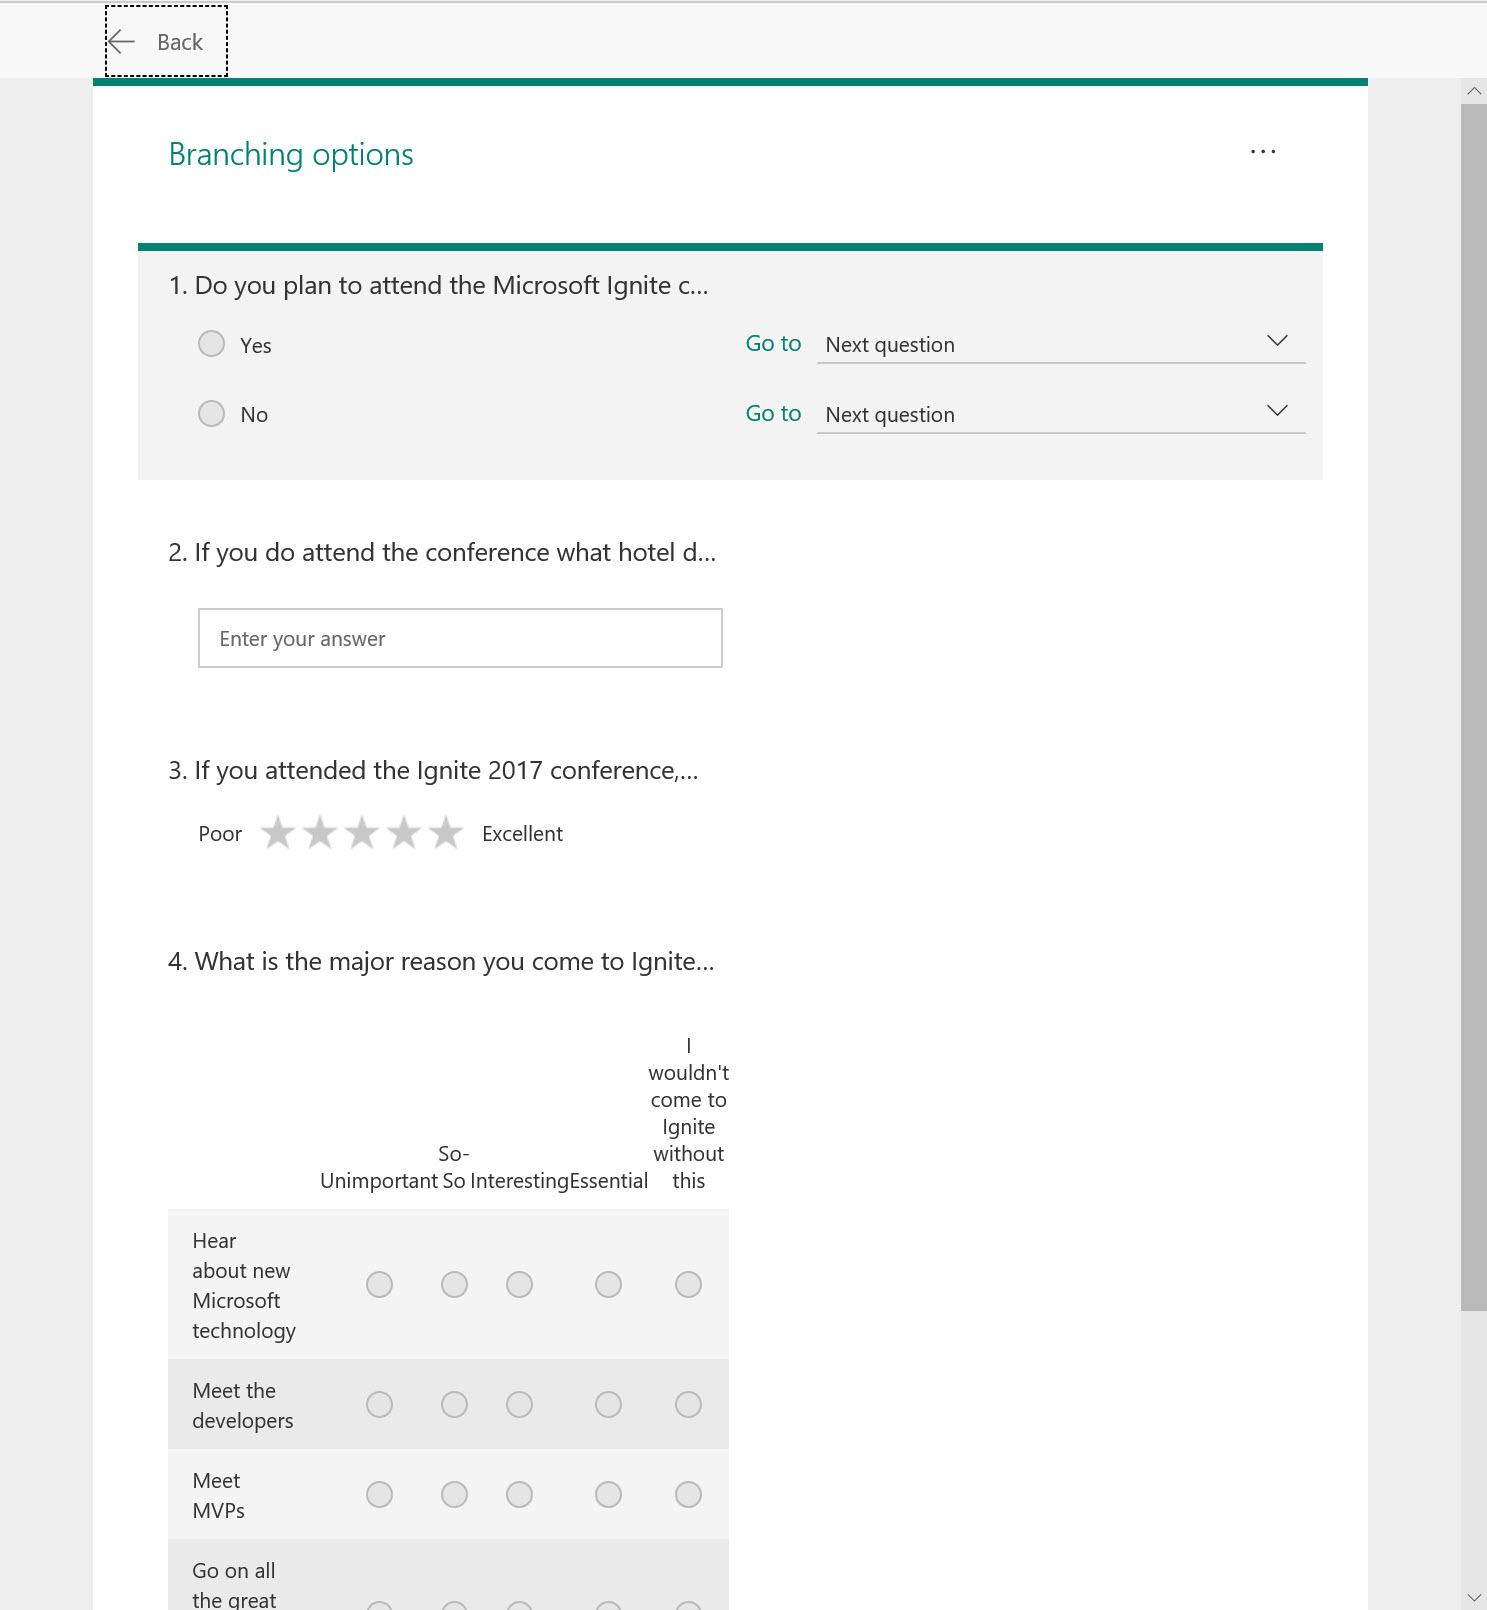
The last thing before publication to decide on the question flow. If you don’t do anything, the questions are asked sequentially, but you can also use Branching (in the form’s ellipsis menu – Figure 3) to take respondents into a different flow depending on their responses. This is a good way to bring respondents through a set of associated questions.
Sharing Forms
To make the form available to others, click Share. The following methods are available:
- URL: Forms generates a unique hyperlink to the form that you can paste into email, a web page, or a Teams conversation. The URL looks like this:
https://forms.office.com/Pages/ResponsePage.aspx?id=PzFitvwUokOaetLif080eFjN9O-4G5lIlN75X2VrShhUOERRQVlaUTRGUFBYRTdWQ1BUVllPQVJTWC4u
- QR-code: Forms generates a QR-code.
- Embedded code: Forms generates code suitable for insertion in a web page. The form displays in an iFrame.
- Email: Forms creates a new message, inserting the URL to the form (same as above) along with some boilerplate text. You then personalize the text and send the message.
Authors can decide whether the link can be used only by other users in the same organization or by anyone who has the link. They can also share a link that allows other users in the tenant to work on the design of a form, for instance to help refine the wording of questions.
You can add Forms as a tab in a Teams channel. Go to the Teams app store, select Forms, then select the target team and channel, and then select Tab. You can then create a new form or use an existing form.
Analyzing Responses
If selected, the author receives email notifications as users respond to the form. As responses come in, the author can see what kind of results are obtained by clicking the Responses tab for the form (Figure 4).
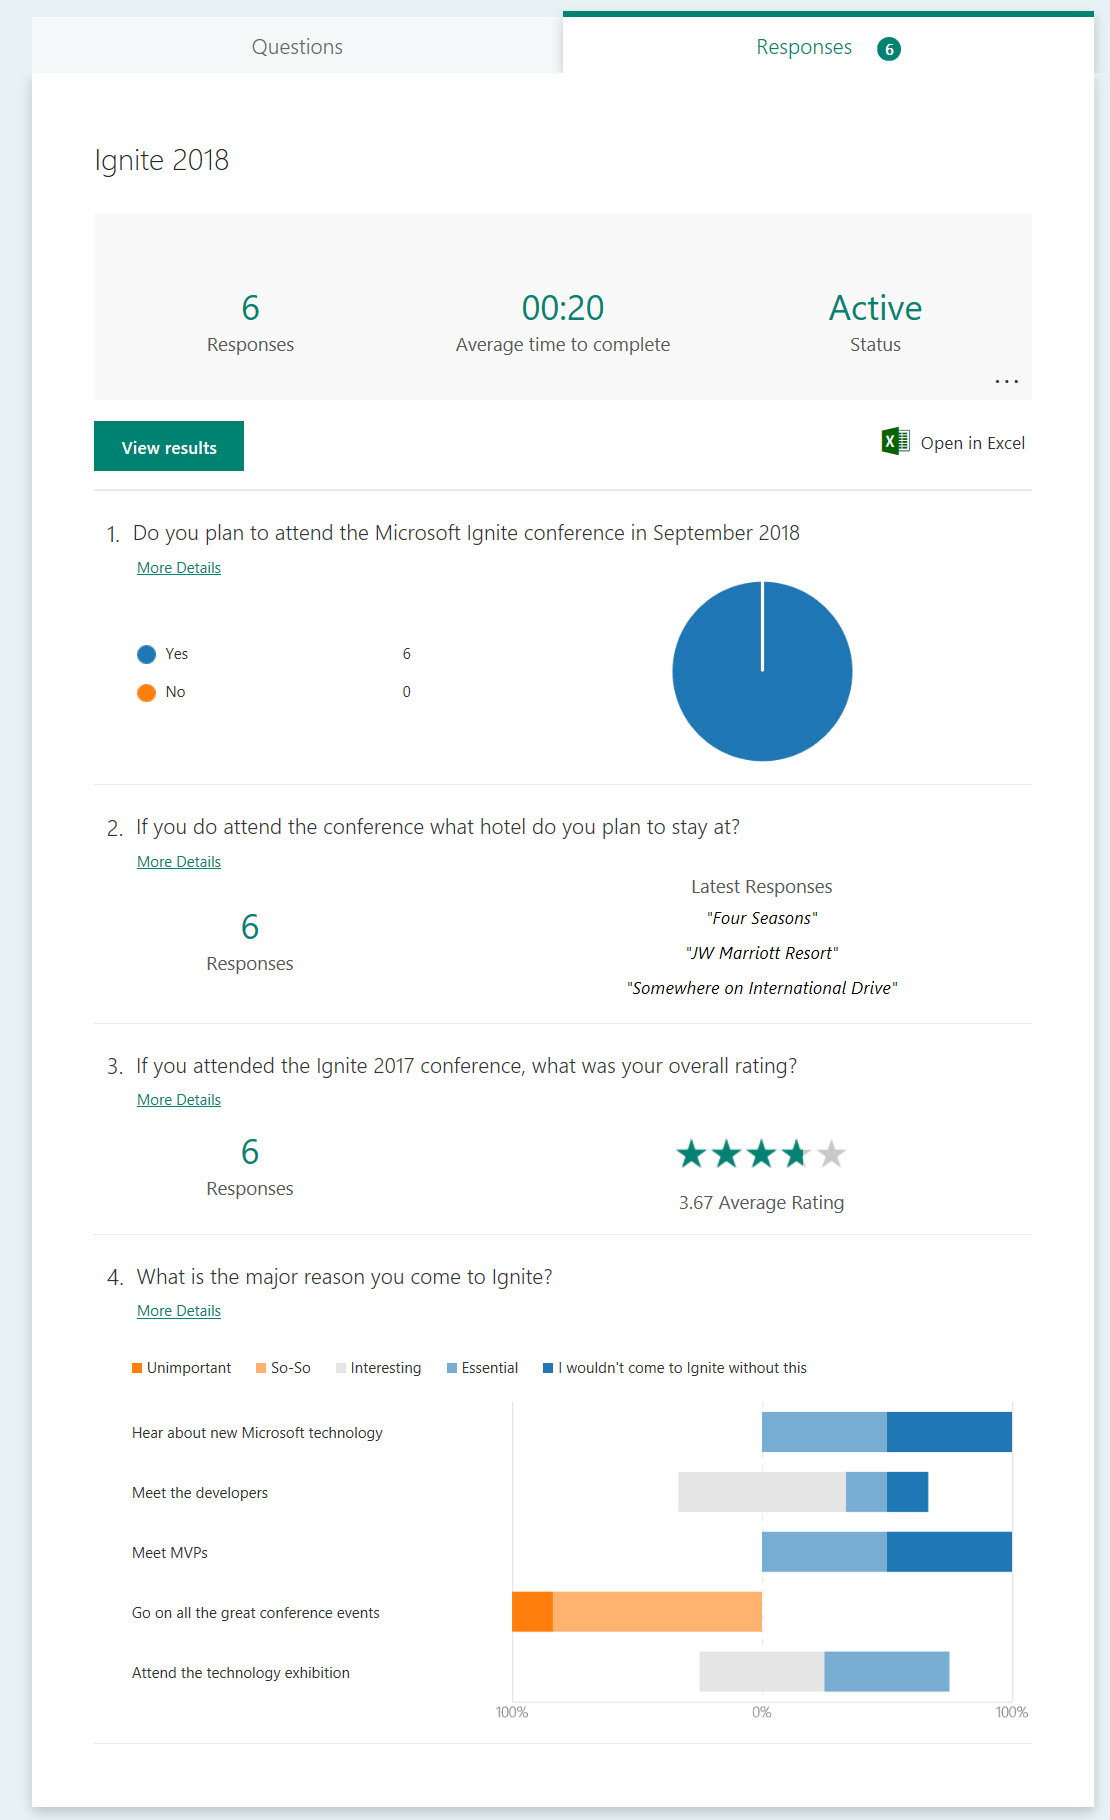
You can also click View results to go through each of the individual responses, or Open in Excel to have Forms generate an Excel file holding the results, including the date and time for each completion. For more complicated analysis, you use Excel’s data analysis features or import the file into Power BI.
Group Forms
So far, we have discussed personal forms, which are under the control of a single user. Forms also supports the notion of Group Forms, where a form is owned by an Office 365 Group. The process of creating and editing a group form follows the same process as a personal form. The only difference between the two is that any member of the associated Office 365 group can see and manage a group form.
Useful Communications
It’s surprising how often organizations need to ask questions. Forms is a good way to build attractive and easy-to-use questionnaires. A simple form can be built in minutes while more complex forms might take a couple of hours, including the time needed to figure out the text for the questions, graphics, branching, and so on.
Follow Tony on Twitter @12Knocksinna.
Want to know more about how to manage Office 365? Find what you need to know in “Office 365 for IT Pros”, the most comprehensive eBook covering all aspects of Office 365. Available in PDF and EPUB formats (suitable for iBooks) or for Amazon Kindle.


