How To Export An Office 365 Mailbox To PST Files: A Complete Guide

Microsoft has modified the procedures for IT Pros and Exchange Administrators to export mailbox items to a PST file. In an on-premises Exchange Server environment, it is quickly done from the Exchange Admin Center (EAC). However, in Office 365, it’s a little more complicated. Actually, it’s rather involved. Fear not – In this guide, I’ll explain all the different ways to export an Office 365 mailbox to PST, starting with eDiscovery content search.
History of exporting mailboxes to PST Files: What changed?
Exchange Server (on-premises) has historically had a very straightforward process to export a user’s mailbox to a PST file.
- Using the Exchange Admin Center (EAC), you need to go to Recipients -> Mailboxes.
- From there, you need to search for your user, select them, click the ‘…’ (ellipsis) button, then click Export to a PST file.
- A wizard would open with a few questions including requesting a network UNC path for the location of the PST file. That was it!
As security steadily became more at the forefront of compliance and role-based administration, Microsoft has moved this ‘easily-accessed’ task deeper into the Microsoft 365 Security and Compliance landscape. As you’ll see below, there are quite a few steps IT pros must perform to export a mailbox to a PST file. Let’s get started, we’re in for a wild trip!
How to export an Office 365 mailbox to PST files via eDiscovery content search
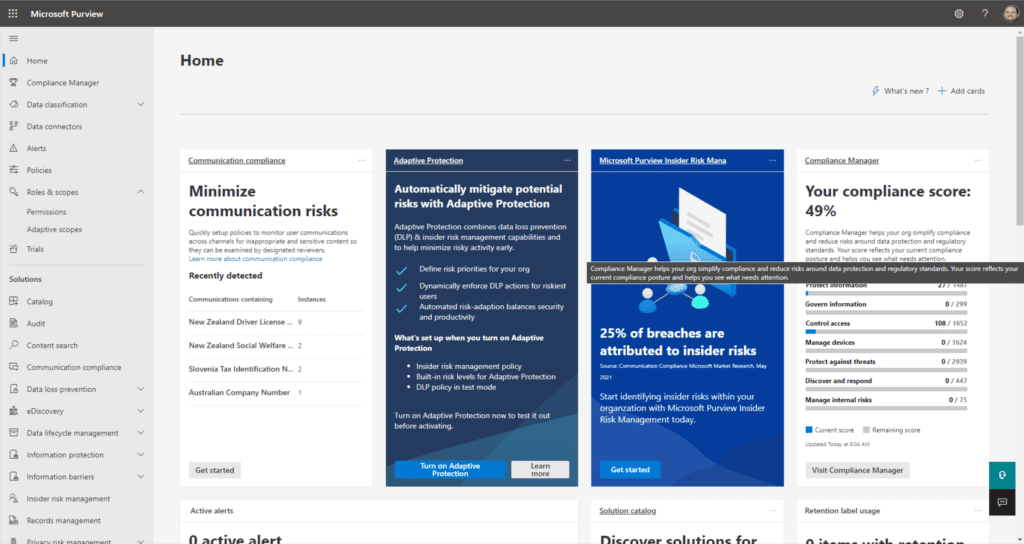
As I mentioned above, Microsoft has moved the primary access method to export the contents of your users’ mailboxes including mail, calendar items, and even the archive mailbox to Microsoft Purview (formerly the Microsoft 365 Compliance Center website). This is where we will perform our compliance search.
Under the “Solutions” category on the left is Content search. However, before we perform the search, we have to add a specific role to our admin account in order to have permission to do so. Let’s start there.
Using Microsoft Purview to confirm security
Before we initiate a search, we need to add two specific roles to our admin account – the eDiscovery Manager role and the eDiscovery Administrator role. This role is not assigned to any accounts by default. It needs to be explicitly added.
- Let’s start with the Microsoft Purview website.
- From here, we will expand ‘Roles & scopes‘ and click on Permissions.
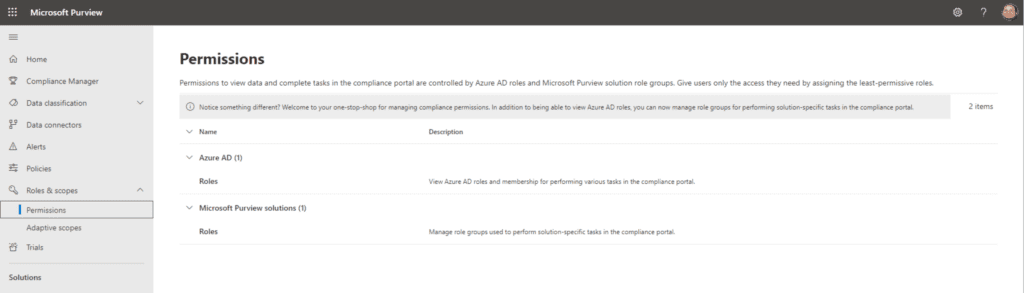
- Under Microsoft Purview solutions, click on Roles. Here, we have all the roles and role groups specifying various permission rights in the Microsoft 365 ecosystem.
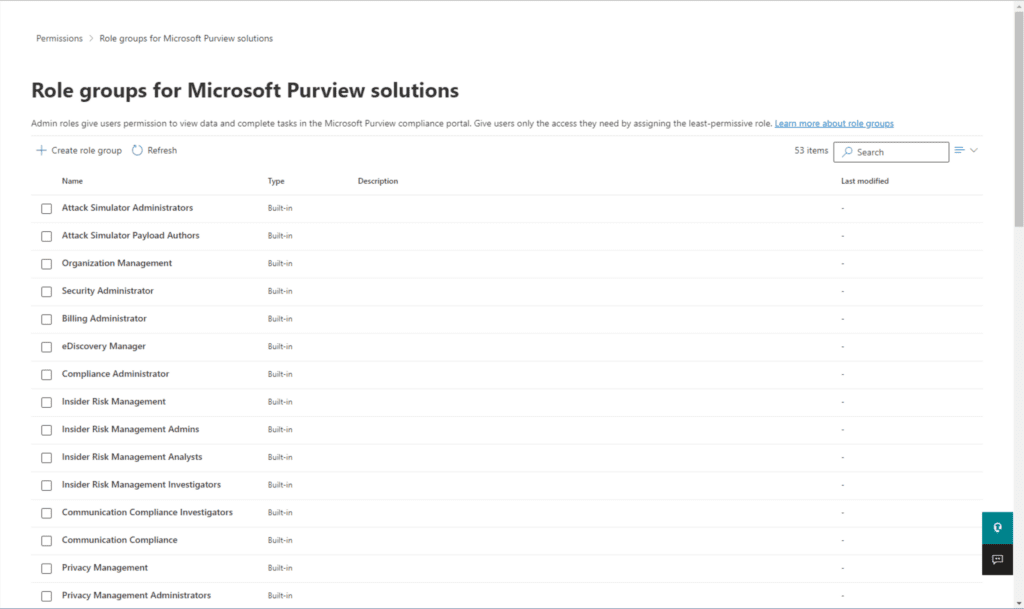
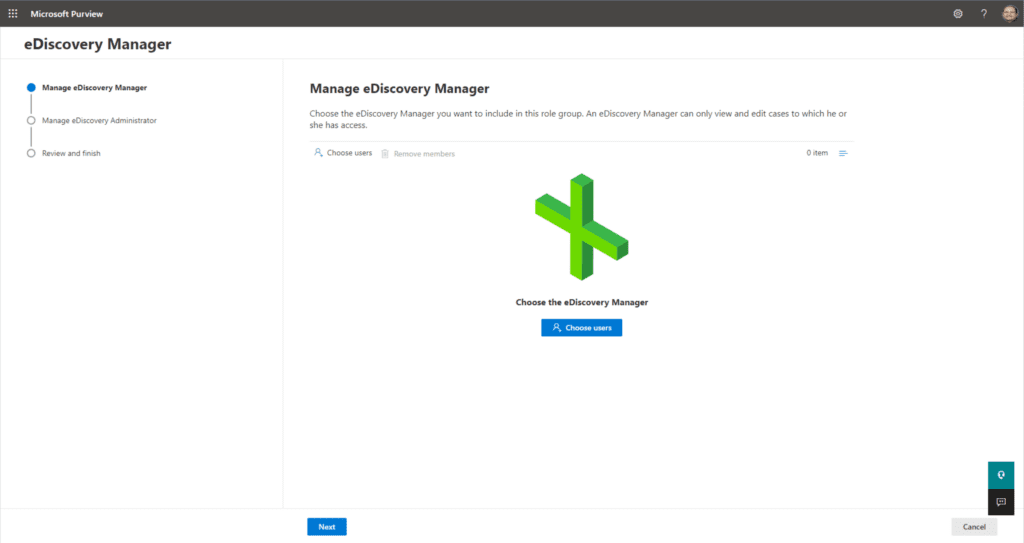
- We are looking for the eDiscovery Manager manager role. There it is, click on it, then click on the Edit button.
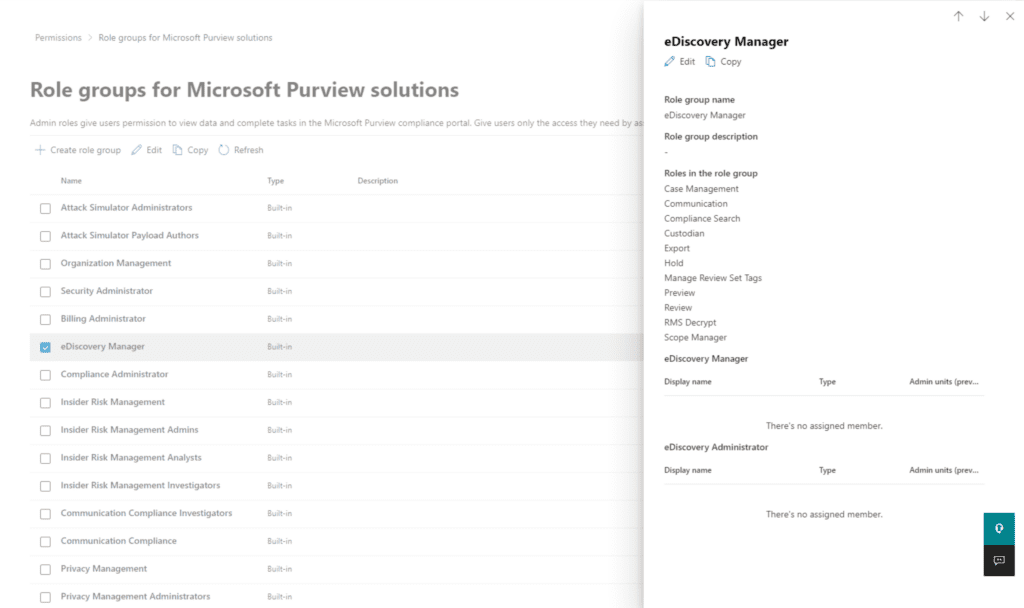
- This will open another wizard. Let’s click on Choose users right in the middle.
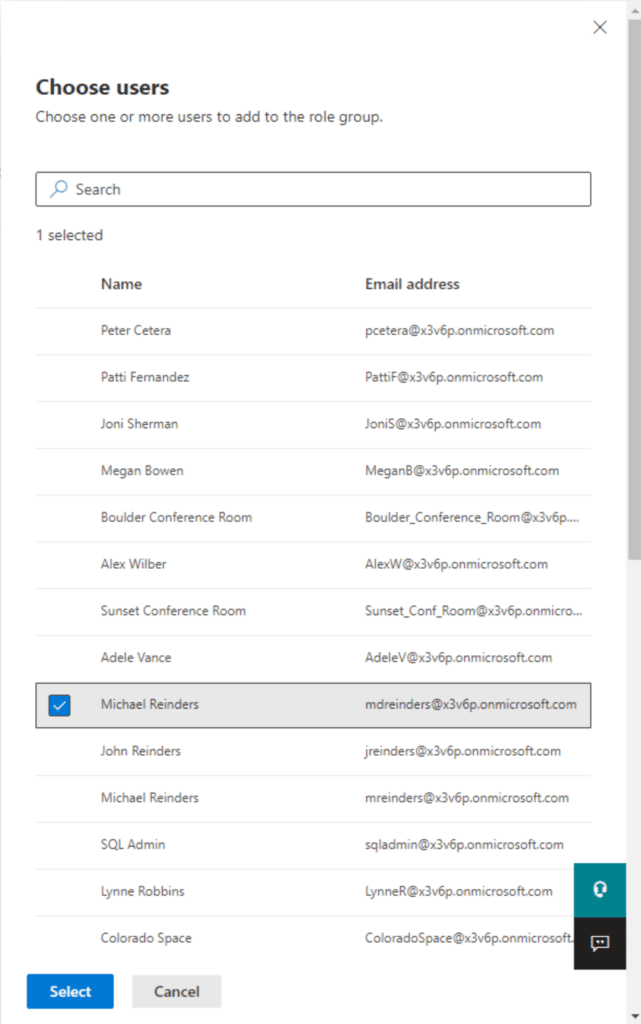
- Next, I will select my name and click on Select.
- I did the same for ‘eDiscovery Administrator’. Click Next a few more times, then click Save.

We’re almost ready to go, except that the wizard says that we may need to wait up to an hour for the changes to propagate into the system.
Initiating a content search
The next step is to initiate the search by creating a content search.
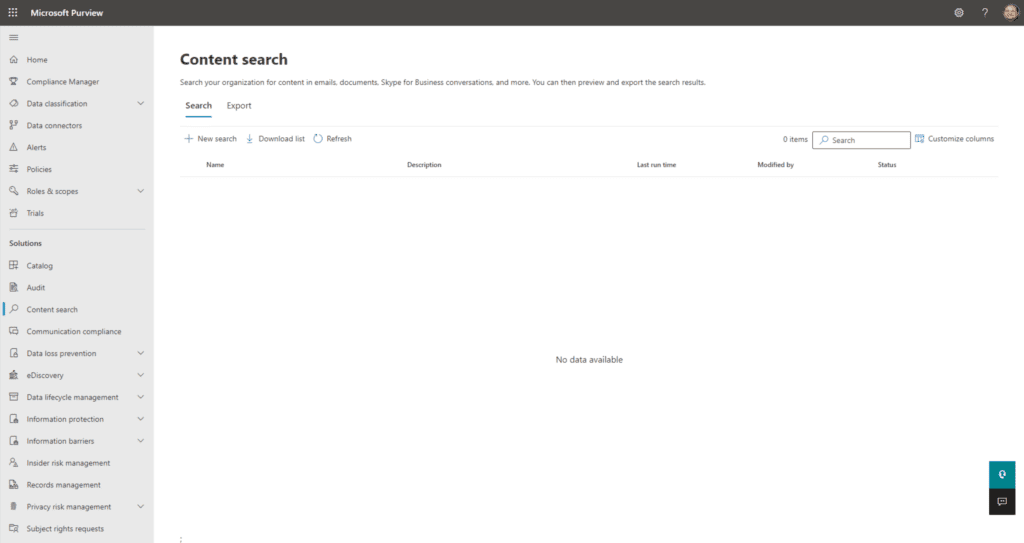
- In the same portal, under the Solutions category, click on Content search, then click on the + New search button.
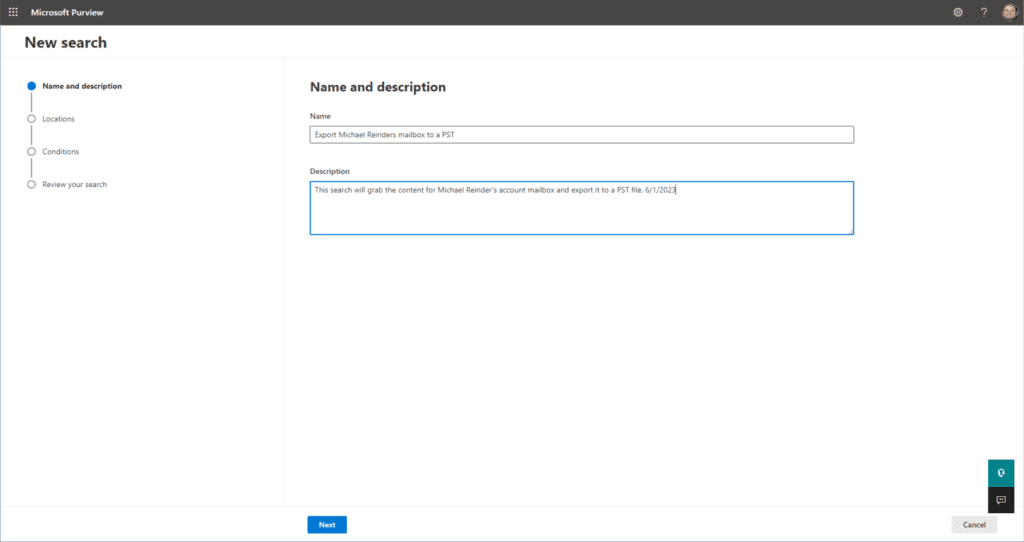
- Enter a Name and Description as you see fit.
- On the Locations screen, change the Status for Exchange mailboxes to On. Then, click the Choose users, groups, or teams link.
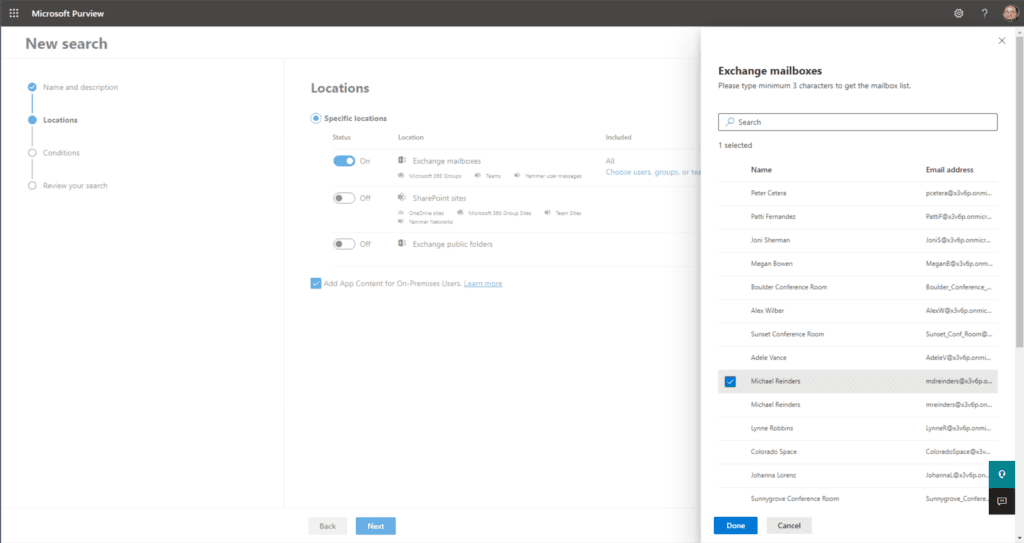
- I have selected my mailbox (Michael Reinders) and clicked Done. Then, I clicked Next.
- Because we want to export the complete mailbox, we will keep the Conditions screen empty. If we had the need to filter or search for specific emails with a particular subject, we could do that. This is particularly powerful for situations that require you to search your entire tenant mailboxes for emails with a specific subject. You can easily find them all and optionally delete them all!
- On the Review your search screen, confirm that all looks good and click on Submit.
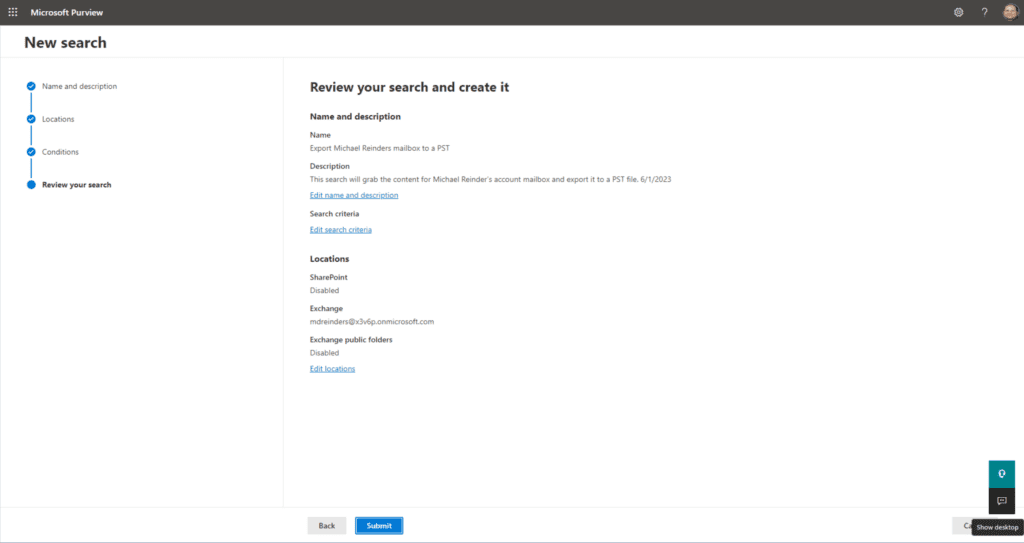
- On the ‘Review your search‘ screen, confirm all looks good and click Submit.
- Our new search now shows a ‘Starting’ status.
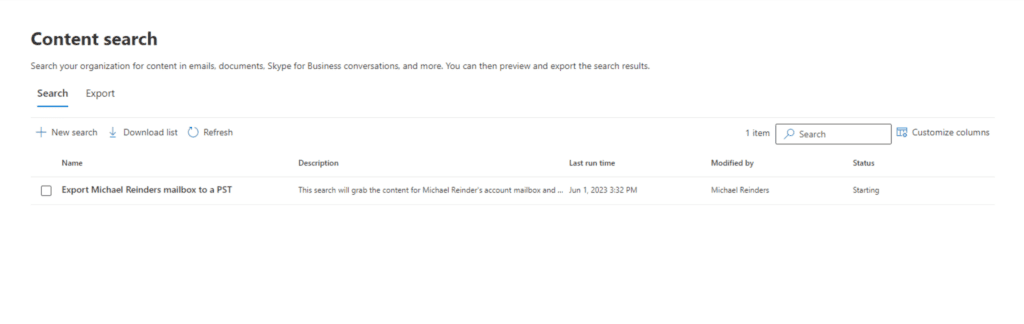
Because my tenant and mailbox are so small, it only took seconds for the search to show as completed, but your mileage may vary.
Exporting and downloading the PST file
The next phase includes running the export from the cloud and downloading the PST file.
- First, click on the Completed search, click the Actions menu at the bottom, then select Export results.
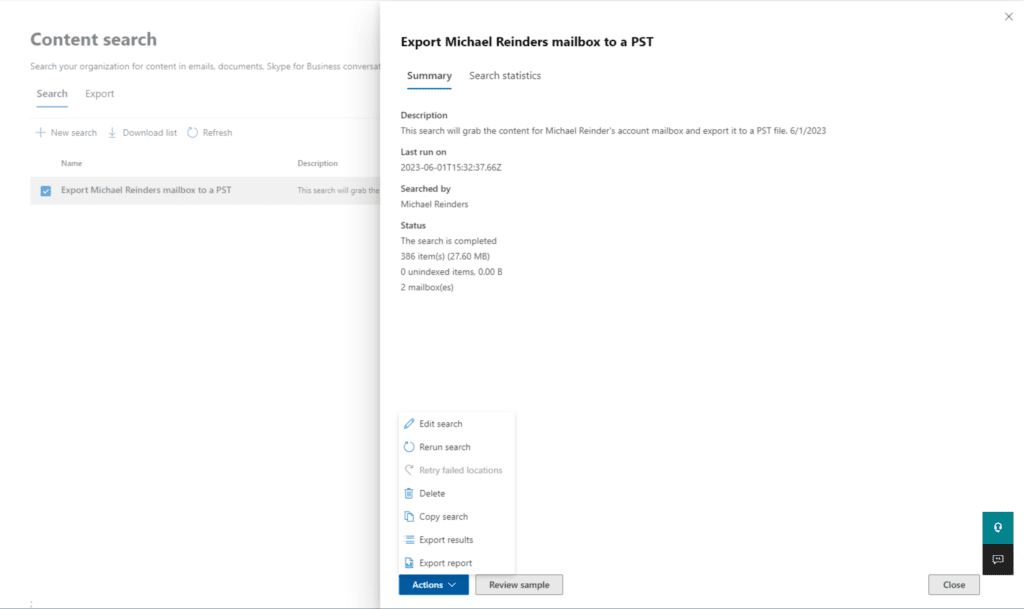
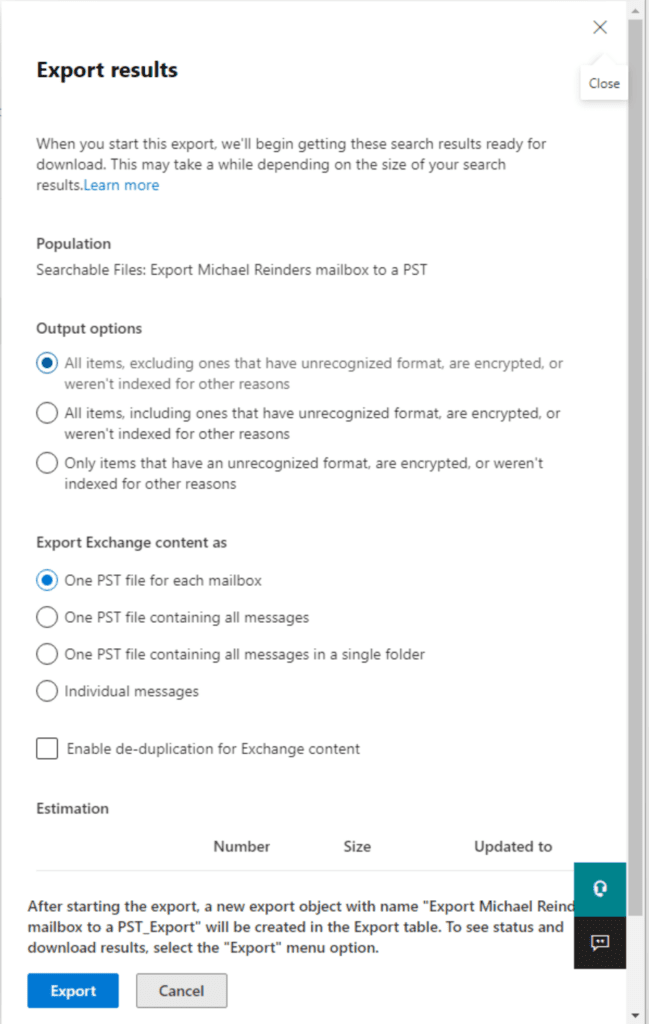
- Next, on the ‘Export results’ flyout, the defaults are mostly OK for our purposes. I usually select the middle option under Output options: All items, including ones that have unrecognized format, are encrypted, or weren’t indexed for other reasons. Personally, I want to grab as much as possible, regardless of what I’ll actually get. When you’re done, click Export.
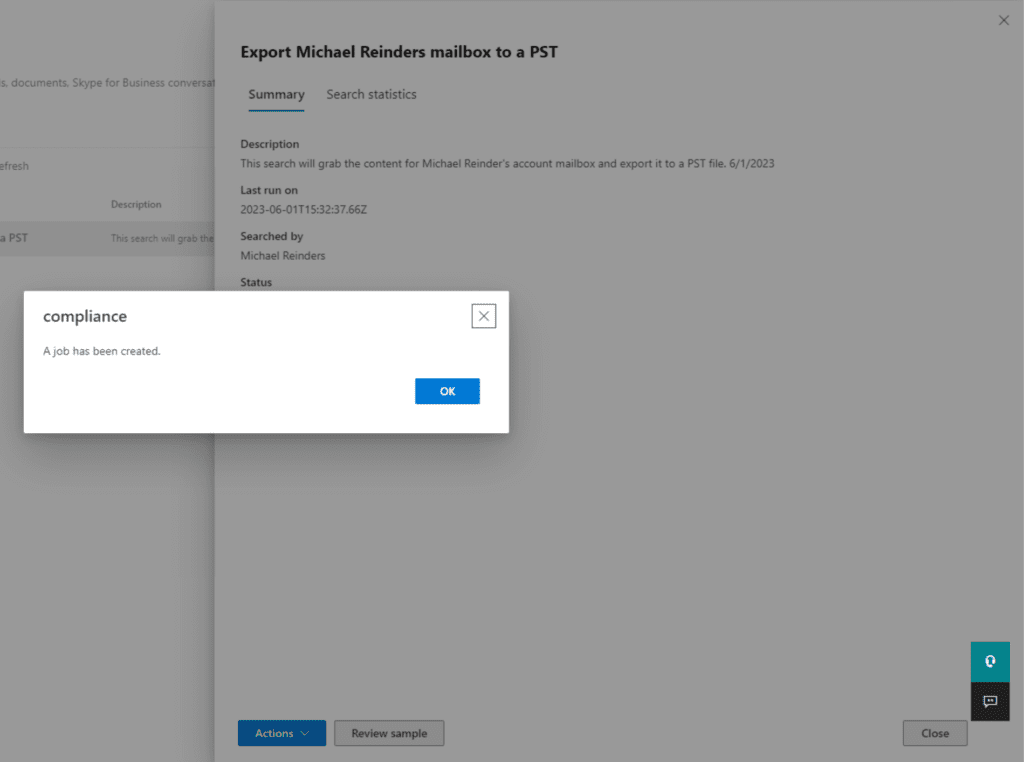
- After a short while, we get confirmation that a new job has been created. Click OK on that dialog.
- Next, click the Export tab on the top. I clicked on our export and I can see the current progress.
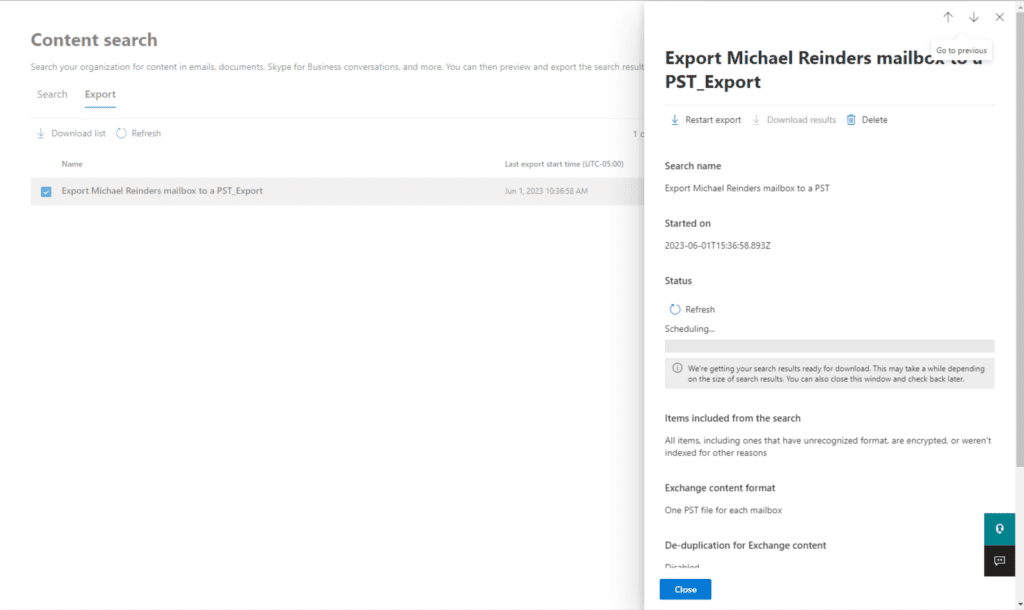
- The Scheduling phase has begun. Eventually, it will be completed. Click the refresh button and it will finally show Completed. Click it again for details.
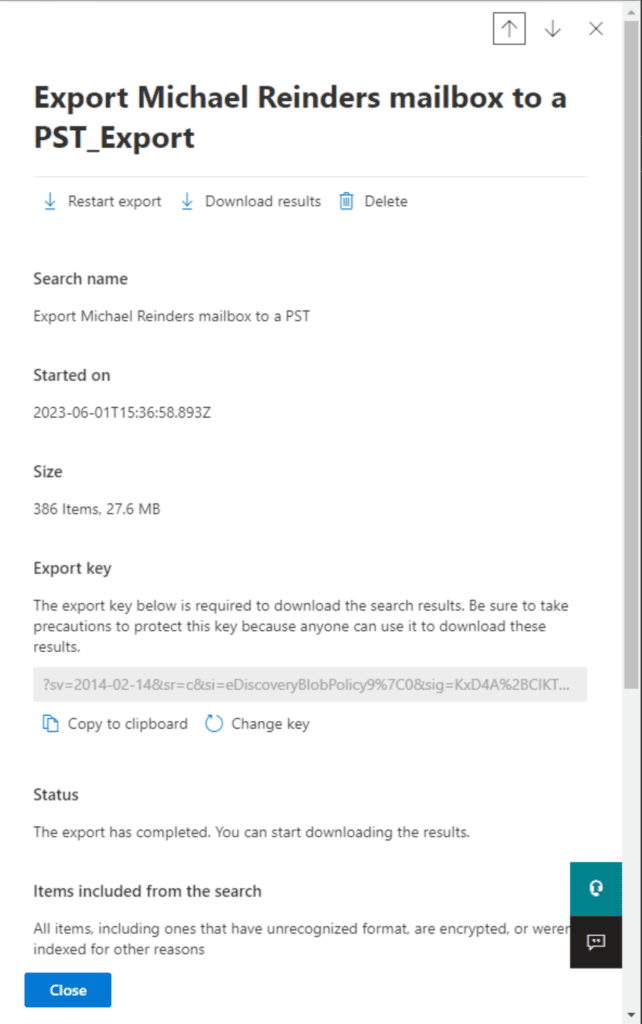
- Now, we can see some good details. The PST export is ready for download. First, we will need to copy the ‘Export key‘ to the clipboard so click the ‘Copy to clipboard‘ button in the middle. Then click Download results at the top of the flyout.
- You’ll then be prompted to open a file. This is the download for the ‘Microsoft Office 365 eDiscovery Export Tool.’ You can ALWAYS count on Microsoft engineers and marketing to be un-succinct!
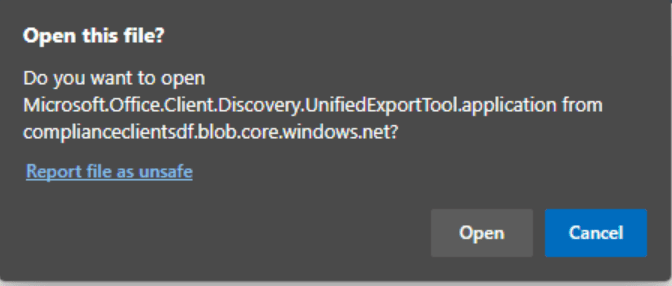
- When you see the ‘Application Install – Security Warning’ dialog, click the Install button.

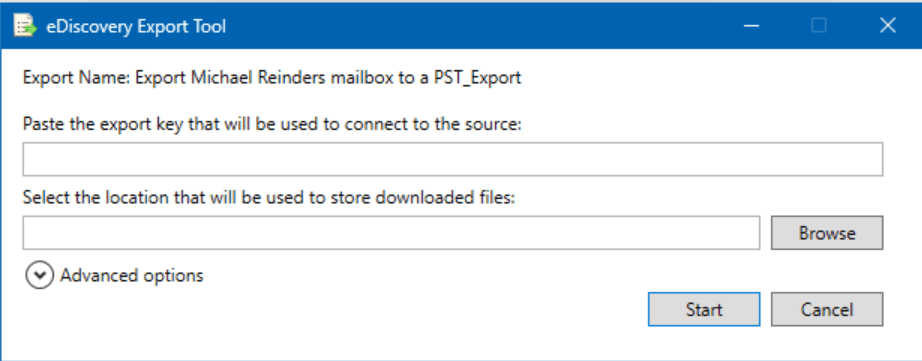
- A new ‘eDiscovery Export Tool‘ dialog will open. Paste the export key into the first field, then click the Browse button to choose a location for the PST file.
- Here, I also expanded Advanced options and customized the PST file name as so. Click Start when you’re ready to start the export.
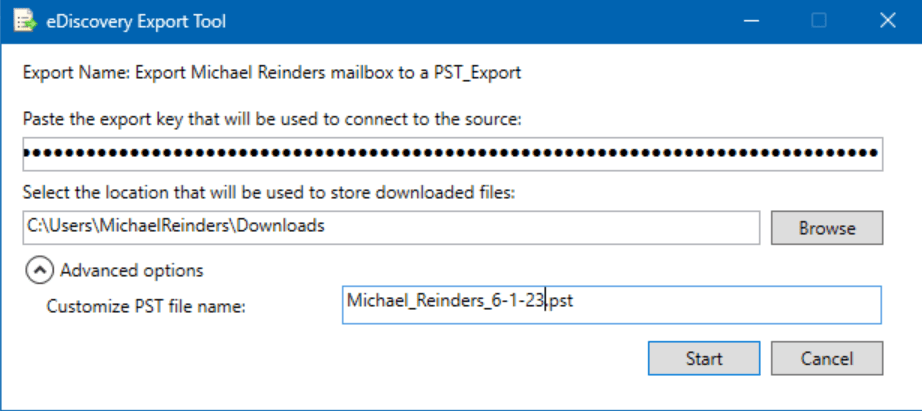
- This will now prepare the data and then save it to your location. We are done!

See, that was quite easy even though there are a lot of steps involved in that process.
Can you export an Office 365 mailbox to PST from Exchange Online?
Well, yes and no. As I mentioned towards the beginning of this article, there is no direct GUI in the Exchange Admin Center (in the cloud) to export a mailbox to PST. So technically the answer is no.
However, in a way, the Exchange Online service is being utilized to provide the data from the eDiscovery Content search. So, kind of technically it’s a yes. I know, that’s a little confusing.
How to use Outlook to export an Office 365 mailbox to PST
The other main “legacy” method available to export an Office 365 mailbox to PST is to use the Import/Export functionality built into the Outlook desktop client. This is not available in Outlook on the Web and the new web-based Outlook for Windows.
This isn’t an ideal method for a couple of reasons – the primary being an administrator can’t do this directly. They have to be in front of or remote into the user’s computer to facilitate. Not efficient. But, let’s go through the steps for completeness.
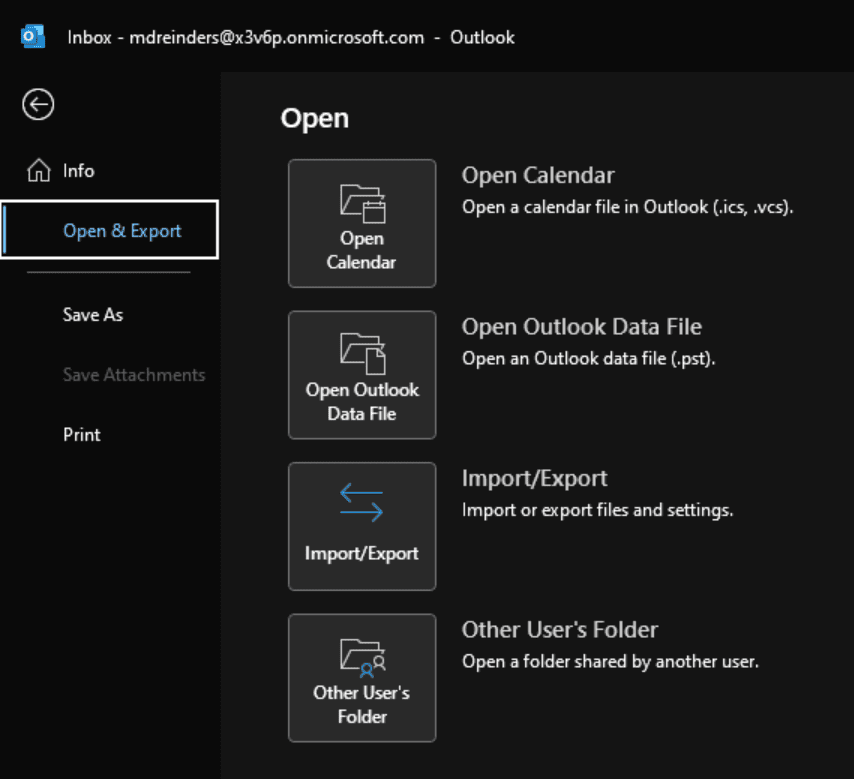
- In Outlook, click the File menu in the upper left corner.
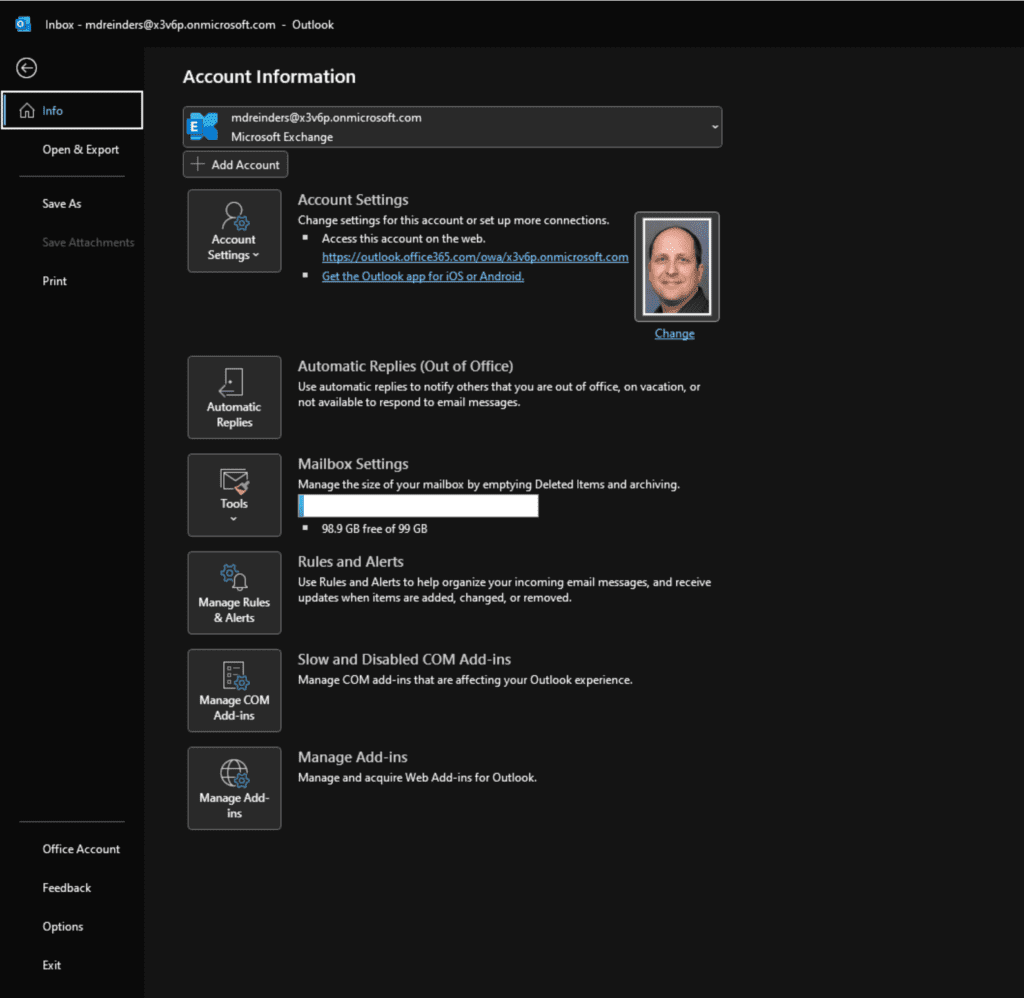
- On the left, click Open & Export, then choose Import/Export.
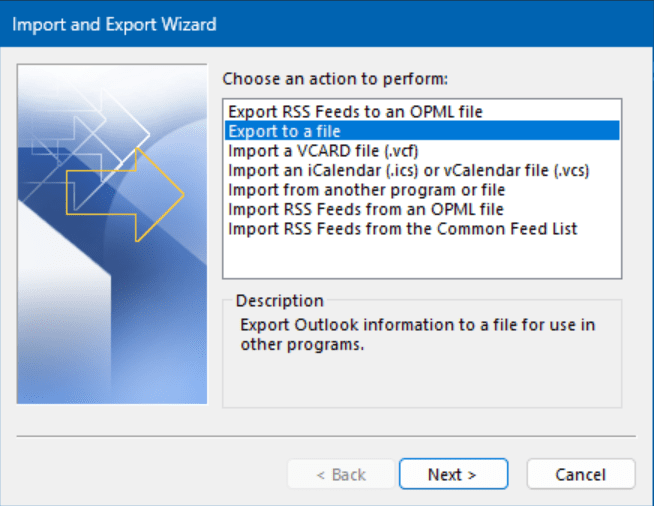
- An Import and Export Wizard box will open. Select Export to a file and click Next.
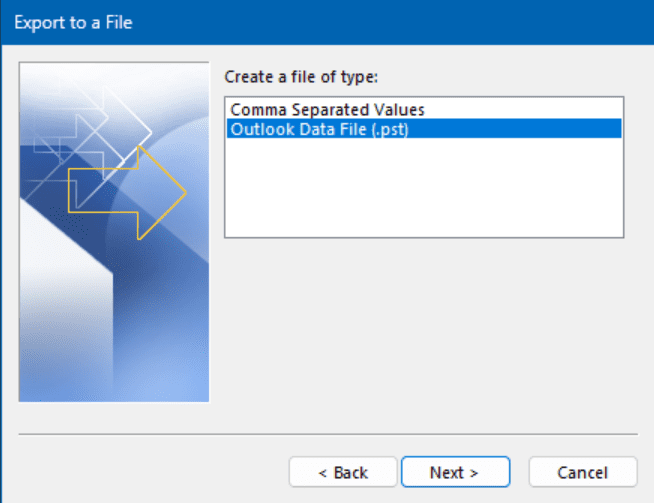
- On the Export to a File screen, choose the Outlook Data File (.pst) option and click Next.
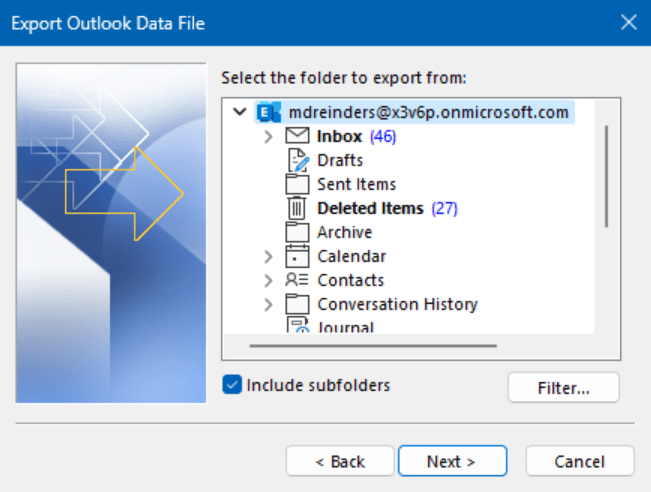
- On the Export Outlook Data File screen, make sure to click the very top row. It should be the email address of the user in question. This just tells the wizard to grab ALL the contents of the mailbox. Also, be sure that Include subfolders is checked, then click Next.
- On the final screen, simply click the Browse button to choose where you want the PST file to be saved.
- Click Finish and you’ll be prompted for an optional password. You can choose to enter one or leave it blank. Be careful here, for obvious reasons.
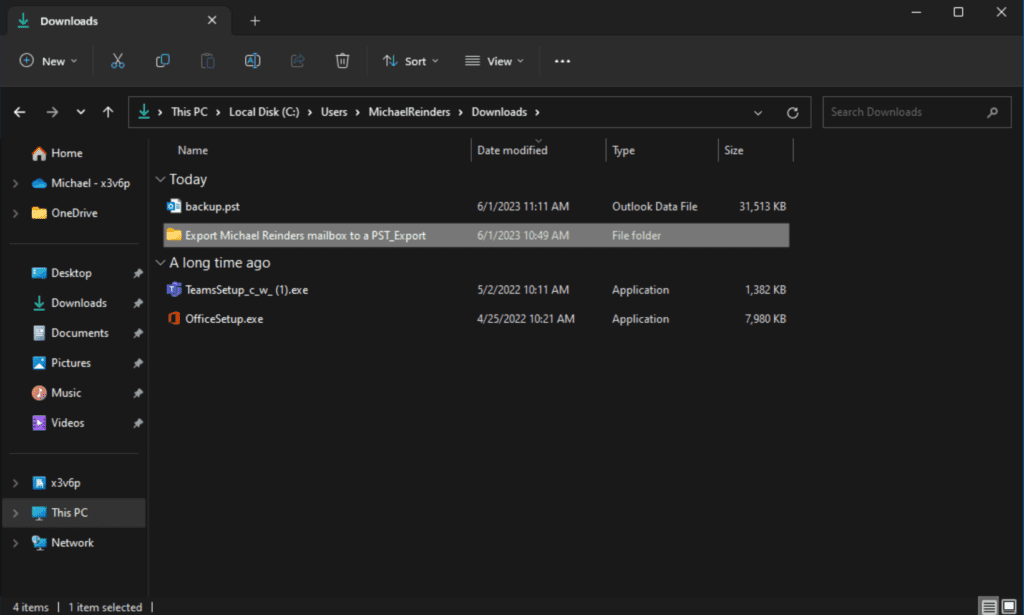
And there’s the backup.pst file in my Downloads folder. Voila!
Can you export an Office 365 mailbox to PST with PowerShell?
I will have to say Yes. However, the process is rather extensive, and the complete procedure is outside the scope of this particular post. I could certainly write an entire post on this topic alone!
For now, though, feel free to review this Microsoft Learn documentation to learn more.
What’s the best way to export an Office 365 mailbox to PST?
In conclusion, there are several ways to export an Office 365 mailbox to PST files. The best method for you will depend on your specific needs. I recommend you use the eDiscovery Export Tool on the Microsoft 365 Purview website. Once you have exported your mailboxes to PST files, you can use them for a variety of purposes, such as backing up your data, migrating to a new email system, or simply archiving your old emails.
Here are some additional tips when you need to export an Office 365 mailbox to a PST file:
- If you are exporting a large number of mailboxes, it may take some time to complete the process.
- Make sure that you have enough storage space on your computer to store the PST files.
- If you are exporting sensitive data, you may want to encrypt the PST files.
I hope this helps! Please leave a question or comment below and thanks for reading!
Related article:
FAQ
How long does it typically take to export an Office 365 mailbox to PST for a 50GB mailbox?
When you export an Office 365 mailbox to PST of this size, it usually takes between 4-6 hours, depending on your internet connection speed and system resources. The process includes both the initial content search and the actual export operation.
Can I export an Office 365 mailbox to PST while the user is actively using their mailbox?
Yes, you can export an Office 365 mailbox to PST during active use. The export process creates a point-in-time copy and won’t interfere with ongoing mailbox operations, though it may impact system performance slightly.
What happens if the connection drops while trying to export an Office 365 mailbox to PST?
The Microsoft eDiscovery Export Tool includes a built-in resume feature, so if your connection drops while attempting to export an Office 365 mailbox to PST, you can restart the tool and it will continue from where it left off.
Are there size limitations when I export an Office 365 mailbox to PST?
While there’s no direct limit on how large your export can be, individual PST files are limited to 50GB. When you export an Office 365 mailbox to PST that’s larger than this, the tool automatically splits it into multiple PST files.
What happens to encrypted emails when I export an Office 365 mailbox to PST?
When you export an Office 365 mailbox to PST, encrypted emails are included in the export, but they maintain their encryption status. You’ll need the appropriate permissions and keys to access these emails after the export.

Michael has been an IT Pro since 1998. He has worked predominantly in the Windows world including client and server operating systems, on-prem systems engineering (AD, DNS, etc.), and over the last ten years or so has embraced and immersed himself in...


