Using the PowerShell CIM Explorer
- Blog
- PowerShell
- Post
One of the major changes when PowerShell 3.0 was released was the introduction of the CIM cmdlets. Instead of querying WMI using RPC and DCOM, which is not very firewall-friendly, we can query the same information using the WSMAN protocol. This means we only have to work about a single port. The cmdlets are just as easy to use as their WMI counterparts, even if the output looks a bit different.
The challenge with WMI, and the fact that we’re using CIM doesn’t change much, is discovery. What are the namespaces, classes, and properties? In the past you could get your hands on any number of WMI explorers, but those rely on the same RPC/DCOM nightmare we’re trying to move away from. Fortunately, Microsoft has released a free CIM Explorer add-on to the PowerShell ISE.
CIM Explorer Setup
Download the CIM Explorer add-on and be sure to read the install notes. You will need Windows Management Framework 3 or higher, i.e. PowerShell v3, and the PowerShell ISE. That shouldn’t be too difficult on a client. Of course, any remote computer you want to query needs to have PowerShell remoting enabled, but you probably have that anyway.
Download the zip file, extract the MSI file, and launch it. Follow the steps in the wizard. If the PowerShell ISE is open during the install, you will need to close and re-open it. One thing that I’m not too keen on is that the setup will want to change your execution policy to unrestricted. If setup seems to hang, look for a PowerShell window with a prompt to change your execution policy.
I went ahead and allowed it, but after the install I set it back to my preferred default of RemoteSigned. That doesn’t seem to affect the add-on. The installation will modify the AllUsersCurrentHost profile for the PowerShell ISE.
PS C:\> get-content $profile.AllUsersCurrentHost
Add-Type -Path 'C:\Program Files\CimExplorer\Microsoft.PowerShell.CimExplorer.dll'
$psISE.CurrentPowerShellTab.VerticalAddOnTools.Add('CIM Explorer', [Microsoft.PowerShell.CimExplorer.Explorer], $true)
If you want, you can move these lines to the ISE profile script, CurrentUserCurrentHost. Remember, the ISE has a different profile script than the console and the CIM Explorer is only used in the ISE.
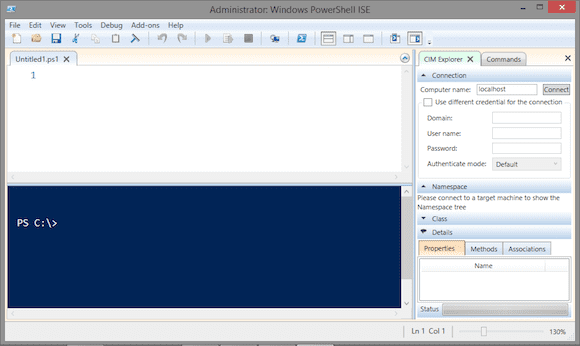
The next time you start the PowerShell ISE, you should see the CIM Explorer add-on.
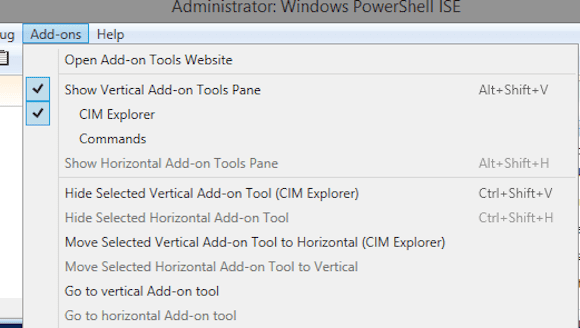
You can also control the display under the Add-Ons menu.
Browsing
First, you need to connect to a computer. I’ll default to the local host, but you can specify a remote computer name and alternate credentials. The explorer will create a CIMSession to the computer.
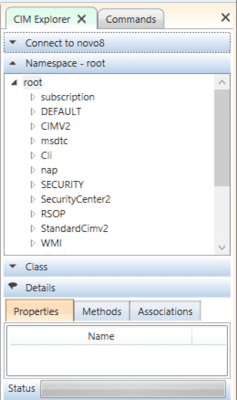
- Click Connect. The CIM Explorer will enumerate all namespaces on the computer.
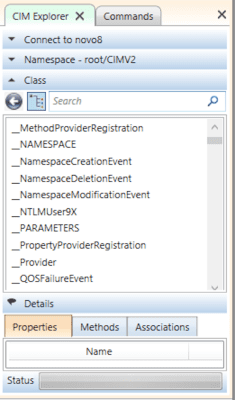
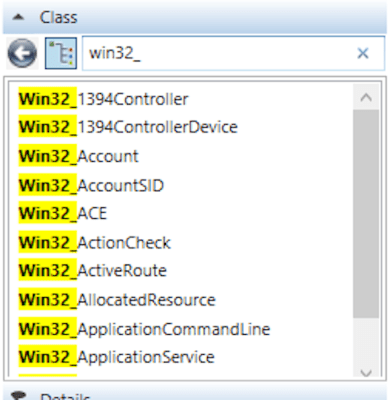
- Click a Namespace (I clicked on CIMV2), then click on the Class heading. The CIM Explorer will enumerate all classes.
- You can either scroll down or use the Search box to find a class of interest.
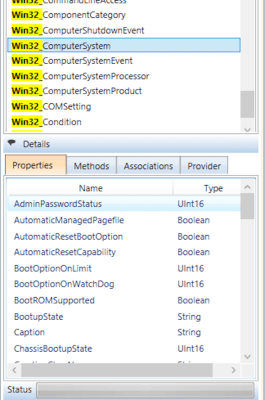
- Select a class and you should see details at the bottom (although this a potential gotcha in viewing the details). If your screen resolution is too small, you won’t be able to easily see the details without some aggravating scrolling, so I wouldn’t recommend anything less than 1024×768. But hopefully when you click a class name you should see something like the image below in the Details panel.
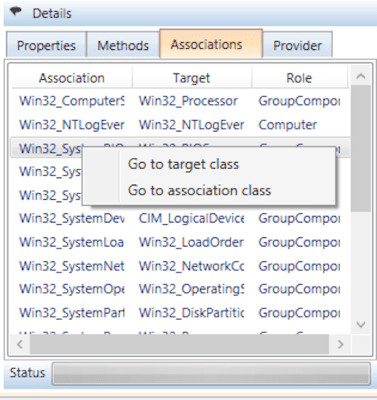
- You can click on the other tabs to see the class methods as well as any other associated classes. You can right-click a class name and jump to it.
The browser is a great way of identifying property and method names.
Creating Scripts
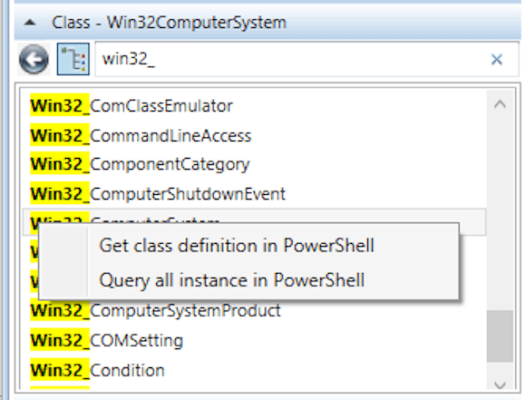
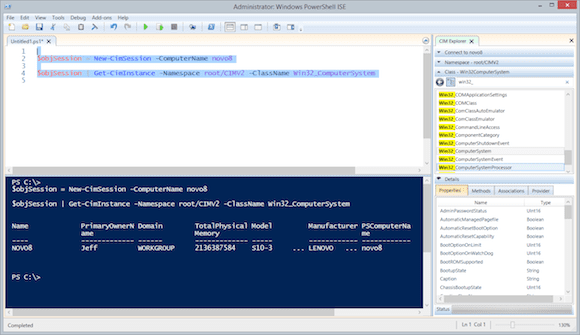
This tool can help you build some quick scripts. You can right-click on a class and choose options to get the class definition in PowerShell or get all instances in PowerShell. The former will insert code into the script pane to create a CIMSession and then use Get-CIMClass.
You can then run the code in the ISE. The latter will use Get-CIMInstance. From here you can modify the command to perhaps use a filter or whatever else you need done. This is all very helpful when you are querying classes in something other than the default Root\CimV2 namespace since the CIM Explorer types out the namespace.
It is bare bones, but at least it shows you a working command that you can use in your own script. You can do something similar with a method in which case the CIM Explorer will come up with code using Invoke-CIMMethod. You will still need to understand how the method works.
The CIM Explorer isn’t perfect. On occasion I’ve had to kill the ISE, but it offers a very handy way of browsing WMI namespaces and classes on remote computers, and it can help you put together some basic CIM commands.


