Using Office 365 Sensitivity Labels
Office 365 Sensitivity Labels
In part 1 of this mini-series, I described the migration process to transform a set of Azure Information Protection (AIP) labels into Office 365 sensitivity labels. As you’ll recall, sensitivity labels are how users mark documents and messages with various levels of confidentiality. The most confidential material can be protected using labels that invoke rights management encryption.
Labels and Security and Compliance Center
Management of sensitivity labels is through the Classifications section of the Security and Compliance Center (SCC). You’ll find two types of labels here: sensitivity and retention, the latter being used to assign retention periods to Office 365 content. These labels were originally called classification labels, but the Office 365 UIs have now been updated to use their new name.
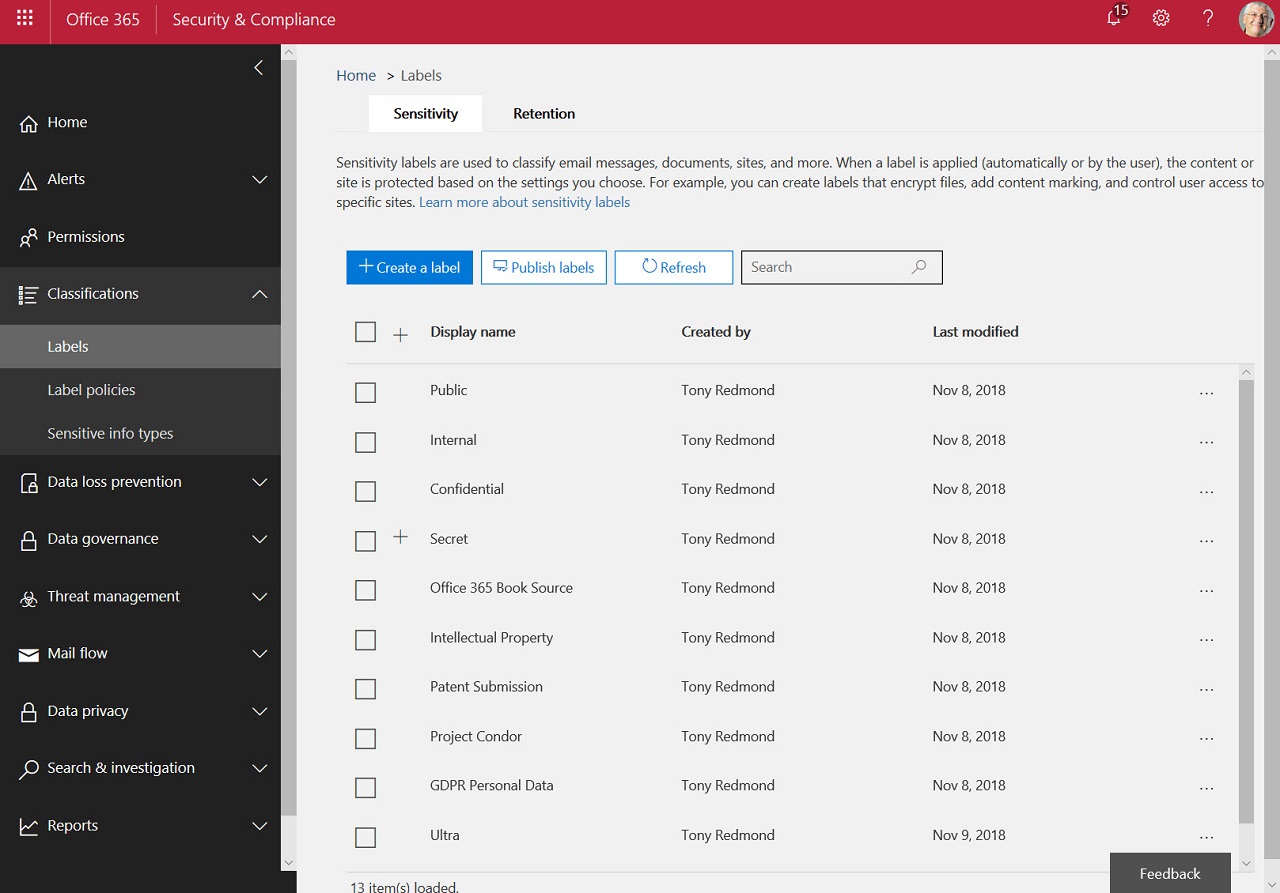
Following the migration, the original AIP labels and protection templates are still available through the Azure portal, but any work on labels intended for use within Office 365 should be done via Security and Compliance Center (Figure 1).

The SCC displays labels in order of precedence with the label with the lowest sensitivity at the top of the list and the one with the highest sensitivity at the bottom, and you should take care to create labels in order of sensitivity. You can move labels up or down in the list using commands exposed in the ellipsis menu. The order becomes important when a user removes a label or replaces it with another label, because if the new label is of lower sensitivity, label settings might require them to justify this action. Another post-migration task is therefore to review the list of labels to ensure that the correct order is kept. The check for sensitivity order should also be done after the creation of a new label.
Label Publication
After reviewing the set of labels defined in the tenant, the next step is to create a sensitivity publication policy. A policy is defined as the set of labels that you want to publish to a selected group of users (which could be everyone in the tenant) together with the settings governing the use of those labels. You can have multiple label policies in use within a tenant. Label policies also exist for retention labels, but you can’t combine the two types of labels in the one policy.
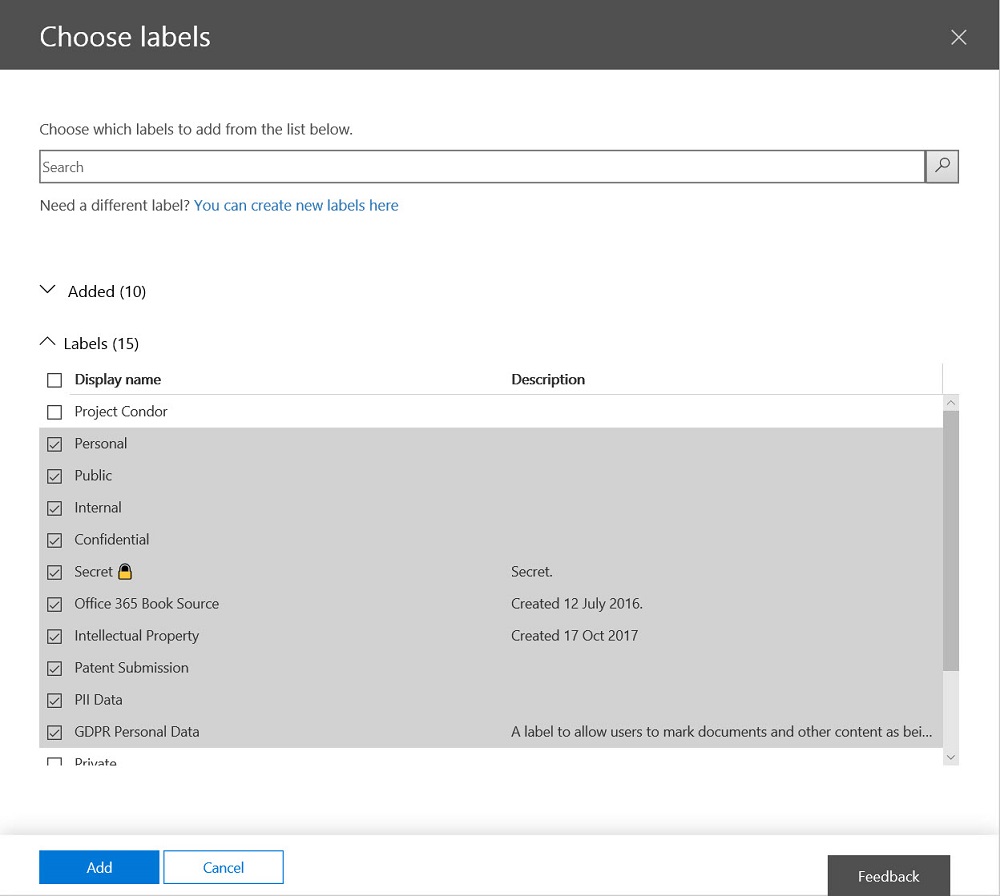
Figure 2 shows a set of labels being chosen for inclusion in a policy. Following publication, applications that support sensitivity labels connect to Office 365 to fetch a set of policies that apply to the signed-in user. The applications then combine all the labels from all assigned policies to build a set to display to the user. After the refresh, the user can assign the labels in the policy to documents and messages.

A policy can also dictate whether a default label is assigned to content. It can also dictate if a user must justification if they replace a label with another of lower sensitivity. Justifications are captured in the rights management log instead of an Office 365 audit record, which is where they should go.
Office Applications
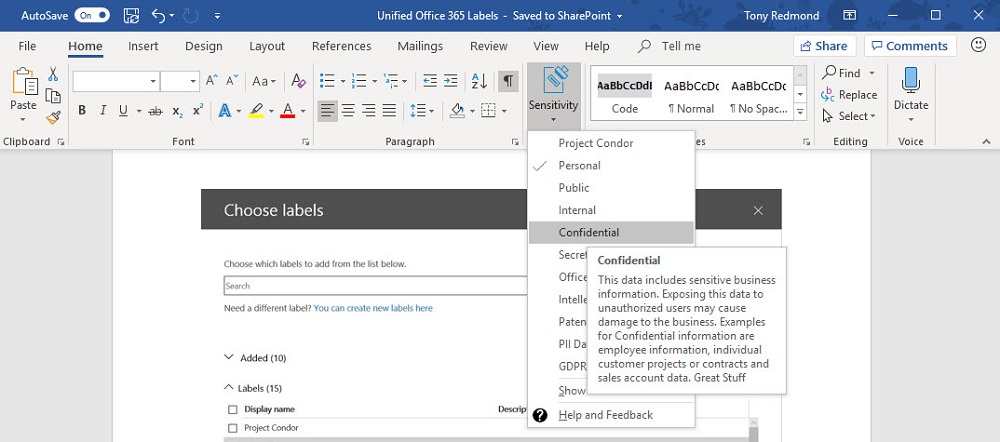
The click-to-run versions of the Office desktop applications get a new Sensitivity button to assign labels to documents and messages. If you like, you can also use a menu bar to see the set of available labels. The difference is that the new button is incorporated in the Office 365 applications instead of being an add-on.
However, updated versions of the Office desktop and online applications that support sensitivity labels aren’t yet available, a factor that will cause organizations to pause any notion of deployment. As a temporary solution, Microsoft has released a preview version of the AIP client to expose sensitivity labels in the current Office applications by loading policy information from Office 365 instead of AIP (Figure 3). When sensitivity labels are fully integrated into the Office applications, you won’t need to install the separate AIP client.

Outlook also gets a Sensitivity button when the preview client is installed, which replaces the Do Not Forward button (and you can’t add the DNF button back). On the Create Message screen, Outlook keeps its ability to protect email with rights management templates through the Protection button. I’d like to see a single-click email encrypt button return to Outlook as it is nice to be able to apply protection to a message so easily.
The Online versions of the Office applications, including the new version of OWA, don’t support sensitivity labels yet.
No Need to Rush
If you already use AIP, there’s no rush to use Office 365 sensitivity labels. Your users are accustomed to the way that the AIP client works and how to assign labels to Office documents. You can wait for Microsoft to sort out the migration glitches, smoothen some of the rough edges that usually exist in the first implementation of new Office 365 features, and deliver versions of the Office applications that have integrated support for sensitivity labels.
If you’ve never used rights management to protect sensitive documents and messages, now’s a great time to start planning, with an eye on deployment in the near term. Protecting content delivers many advantages to Office 365 tenants, including the ability to restrict access in shared libraries for guest users, tracking of documents to know where they are outside the organization, and revocation if a document ends up where it should not. Integrating rights management in sensitivity labels makes it easier to protect Office 365 content than ever before. Try it!


