


The Top 10 PowerShell Commands That You Should Know
- Blog
- PowerShell
- Post
In this guide, we’re going to detail the top ten PowerShell commands for managing Windows PCs, checking services and processes, creating automated tasks, and output options. If you’ve never used PowerShell before, this is a very versatile task automation solution and we hope this guide the PowerShell commands covered in this guide will make your life easier.
Have you ever wondered about the basics of PowerShell? Maybe some of the ‘core’ underlying commands you probably just skim over when finding a good command or script online? Things like ‘Get-Help’ or ‘Export-CSV’? Well, then this is the guide for you. I’ll be going over the Top 10 PowerShell commands every system administrator should know.
I’ll go over the intent of the command-let (cmdlet), some examples, and how to get more help. And yes, you’d be amazed at how much ‘help’ there is available at the PowerShell prompt!
Introduction to PowerShell commands
One of the most efficient ways of getting good at PowerShell is by understanding the basics. Getting proficient in the syntax. Understanding how variables work. Becoming extra efficient by using the aliases available on many of these commands. Knowing the absolute fundamentals can help build your foundation of knowledge and prowess by becoming more efficient and productive, especially when you need to ‘process’ larger and larger data sets.
A few basic PowerShell commands can make you a pro, and you’ll automate administrative tasks more efficiently.
Why is PowerShell an essential tool for Windows admins?
Windows PowerShell has been around since November 14, 2006. Over 15 years ago as I write this in early 2022. Amazing. As a scripting language, the biggest reason PowerShell is important and essential is its ability to save you a LOT of time when managing various types of data and objects.
For example, let’s say your company starts a new team. You have approximately 200 employees starting this new team. You have been tasked with modifying their job’s ‘Title’ attributes in Active Directory. I don’t think you would enjoy the time spent opening up each user object, making the change to the Title, and then going on to the next. 200 times???
With the various PowerShell cmdlets (pronounced command-lets) available, you could accomplish this task in one or two commands. There are hundreds of cmdlets, hundreds of parameters, and many methods to output the information you need.
You can let it show the information on your screen, you can adjust the layout of the text on screen, you can export it to a CSV (Comma Separated Value) file for later use in Excel, and even just output it to a basic text file.
The top 10 PowerShell commands for Windows admins
Let me go through the Top 10 PowerShell commands here. As you’ll notice, I will ‘jump around’ in the list with various tweaks you can make to the core command, mostly around getting only the information you need and ignoring the rest. You’ll see what I mean.
However, you can always get to the heart of each of the Top 10 commands via the outline below. Enjoy!
Get-Command
The Get-Command cmdlet will list all the available cmdlets available in your current terminal session or PowerShell window. If you’ve installed and imported any additional modules beyond what PowerShell includes, (Microsoft Teams, Microsoft Exchange, etc.) you will see them listed here.
Get-Command

This command will send all the commands to the console. It won’t necessarily be helpful as it will all just scroll by. So, we need to change the output to make it more manageable. We can do that by exporting it to a CSV file.
Get-Command | export-csv c:\temp\AllCommands.csv
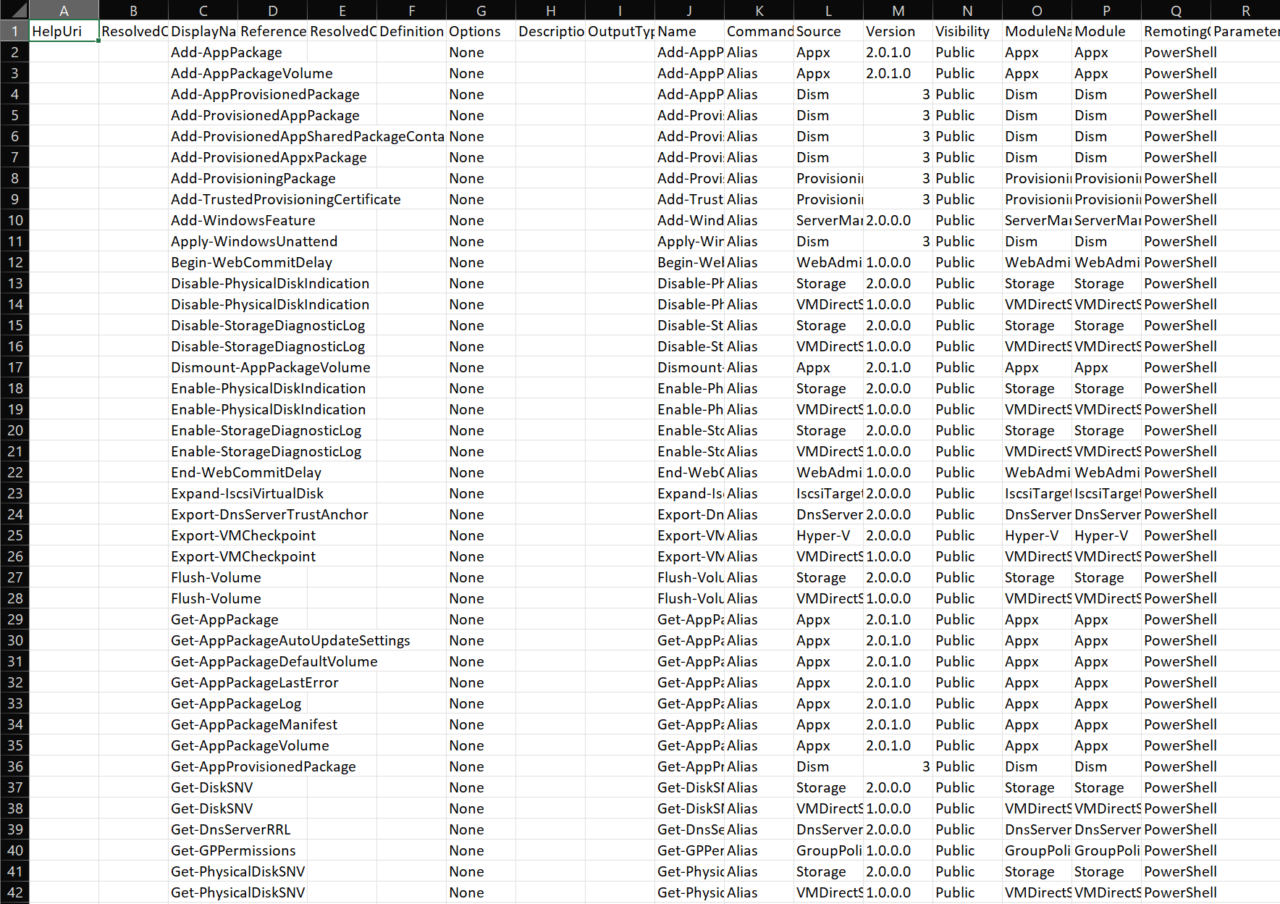
This will create a more complete and detailed listing into comma-separated values that Excel of course recognizes. If you do this, you’ll note a good deal of extraneous columns you probably don’t need. So, before we export the data, let’s first select only the columns (fields) we want.
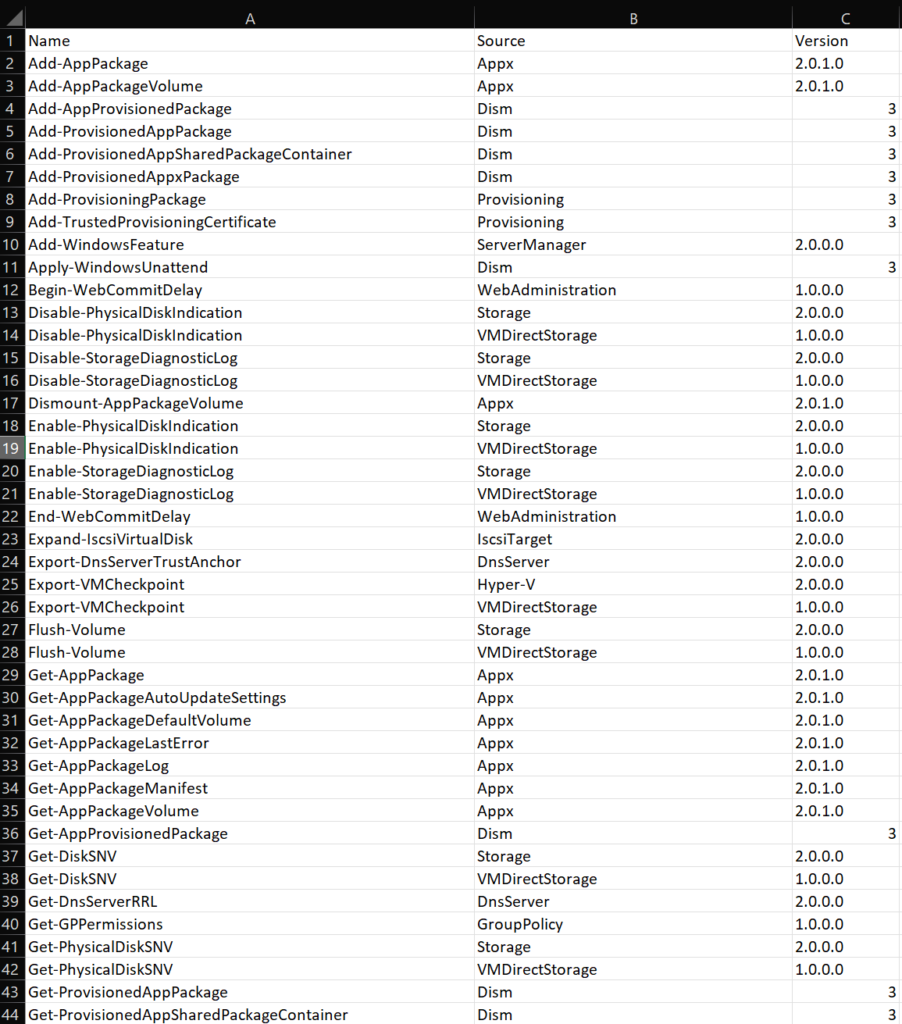
And, by the way, notice the pipe ‘|’ character in the previous command? That tells PowerShell to take whatever output you have, and ‘pipe’ it into this next command or cmdlet. So, with ALL the info we get from the Get-Command, we will now only ‘select’ the columns Name, Source, and Version. We then pipe that subset of data to the export-csv cmdlet. Run that, and voila! Much more manageable.
Get-Command | Select Name, Source, Version | export-csv c:\temp\AllCommands2.csv
Get-Help
Well, let’s just say the Get-Help command does exactly what you’d think: It gives you help. Running this by itself will provide you with the basic teachings around what Get-Help can do for you and how to use it in multiple ways.
The Get-Help cmdlet displays help at the command line from content in help files on your computer. Without help files, Get-Help displays basic help about cmdlets and functions. You can also use Get-Help to display online help for cmdlets and functions.
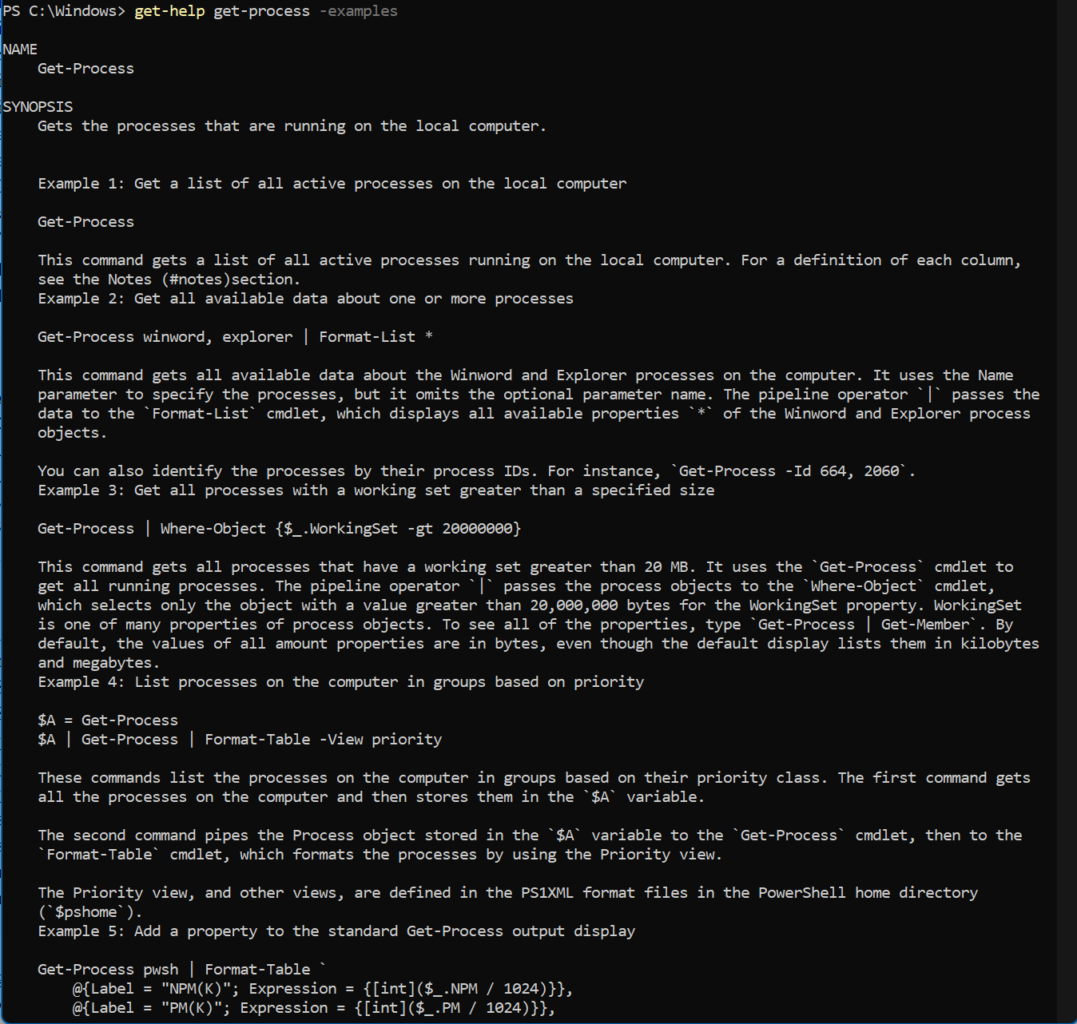
To download the latest help information, including examples of each cmdlet, run:
Update-Help

Now, you’ll have a more robust repository of documentation for each command. Speaking of examples, add the ‘-Examples’ at the end of the command to get a wonderful set of examples to help you understand the cmdlet and how its various attributes and switches work.
Get-Help Get-Process -Examples
Get-Process
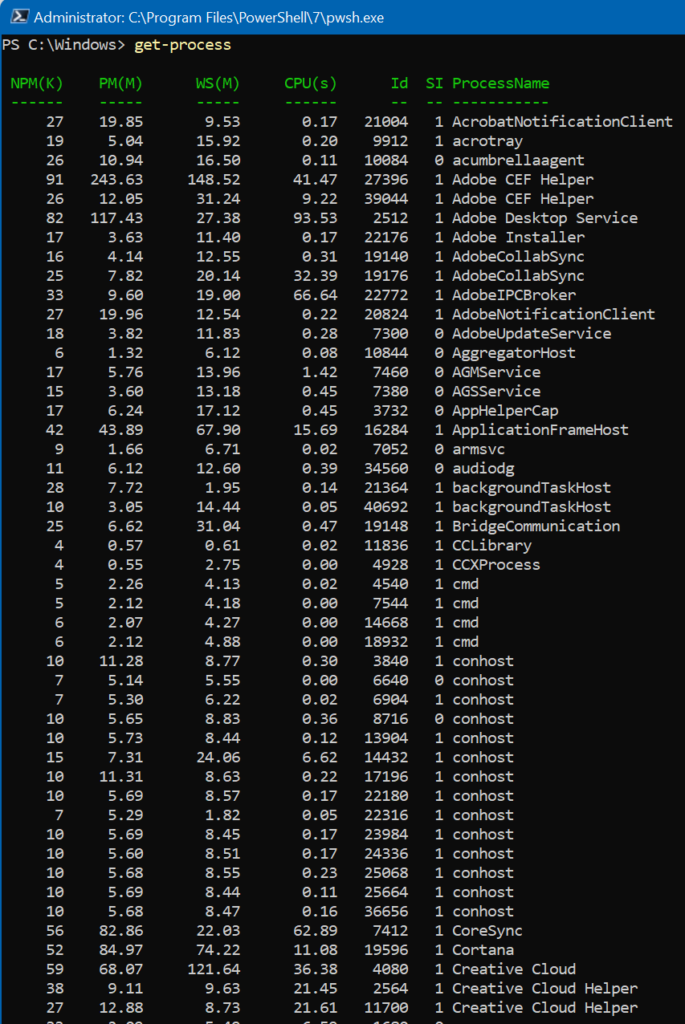
Windows Task Manager allows you to view all the running applications, processes, programs, etc. on your local computer. Ever wanted to use the command-line tool to get at that information, and probably in a faster time? That’s where the Get-Process command comes in. It will list all the running processes with many examples to customize the output and refine what exactly you’re looking for.
Get-Process
Want to quickly find out what version of the Teams desktop app is running on the computer? You can use the following command
Get-Process teams -FileVersionInfo

Stop-Process
Besides determining what processes are running with Get-Command, you can also end tasks on a process with Stop-Process, right from PowerShell. You can identify it by Name, Process ID (PID), and several other attributes. Let’s take an example with NotePad.
Stop-Process -Name "notepad"
This will stop ALL instances of NotePad running on the computer. If you want to narrow it down to an instance of NotePad running under a specific PID, use:
Stop-Process -Id 3952 -Confirm -PassThru
The -Confirm switch tells PowerShell to prompt you first to confirm you want to run the command. The -PassThru command instructs PowerShell to show confirmation of the process that is stopped by the command. By default, there is no output after the Stop-Process command.
Get-Service
The Get-Service command gets objects that represent the services on a computer, including running and stopped services. How long does it take you to open the Microsoft Management Console? When you’re using a slow computer, or you’re encountering a graphical glitch, or maybe MMC.EXE keeps crashing (NO!), well, the Get-Service PowerShell command comes to the rescue.
Get-Service
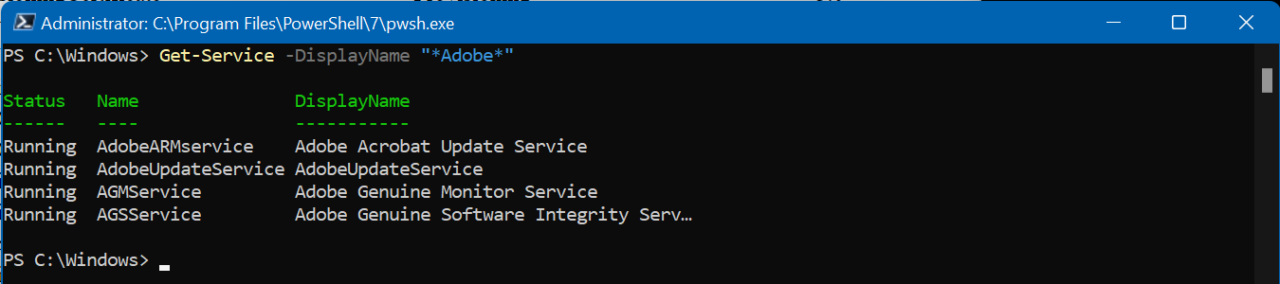
This will list out all the Services installed and show you the running status, the service name, and the Display Name. Want to find out all the services with ‘Adobe’ in the Display Name? You can do that in a simple way with the following command:
Get-Service -DisplayName "*Adobe*"
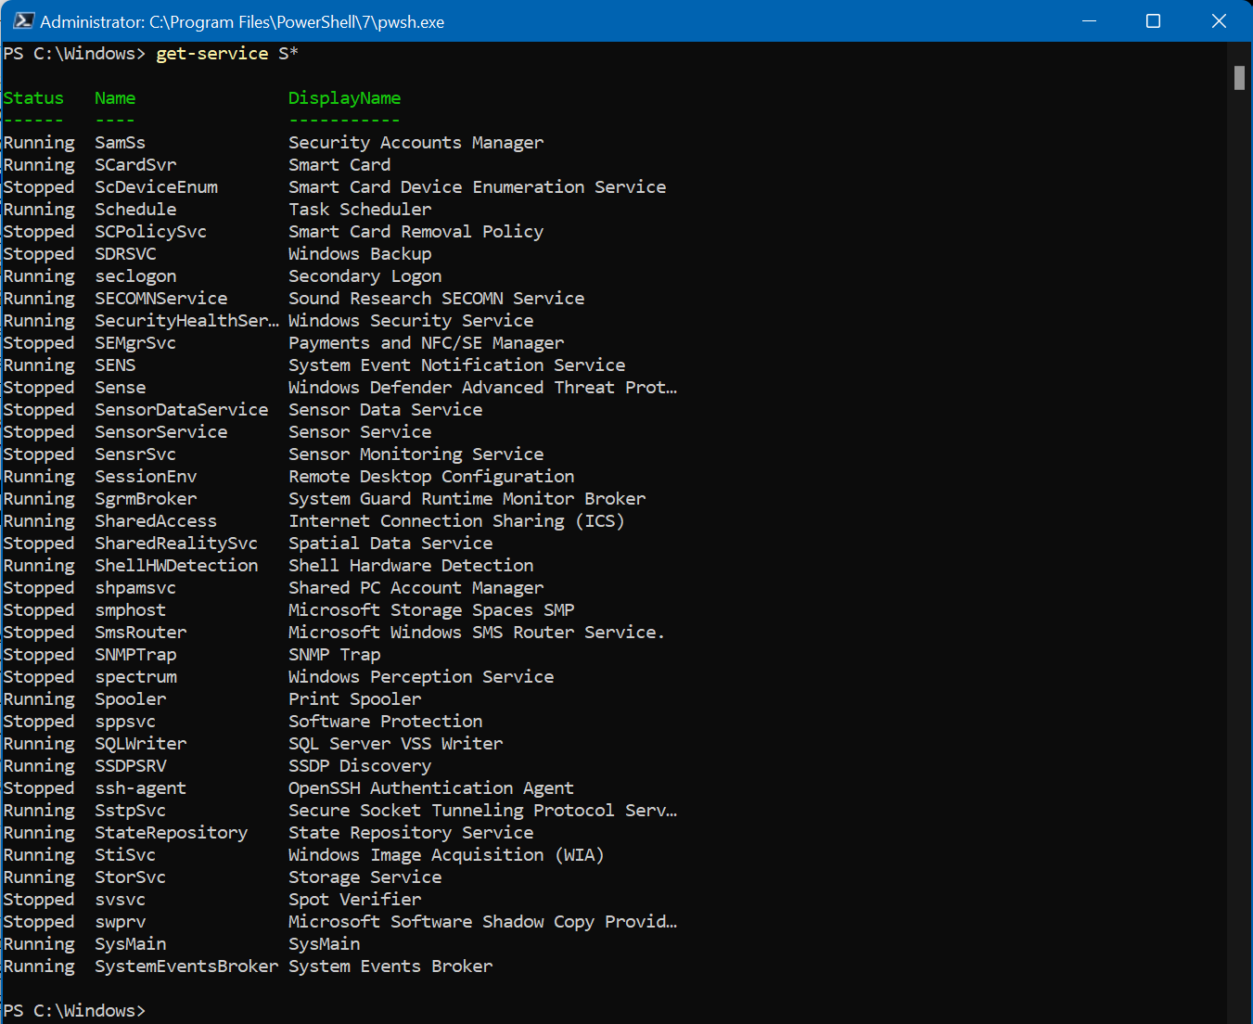
Or how about all the services that start with an ‘S’?
Get-Service S*
Get-History
OK, even though PowerShell saves all the commands you’ve entered (up to a point), the Get-History command can give you a list of all the commands entered during the current session. Just type:
Get-History
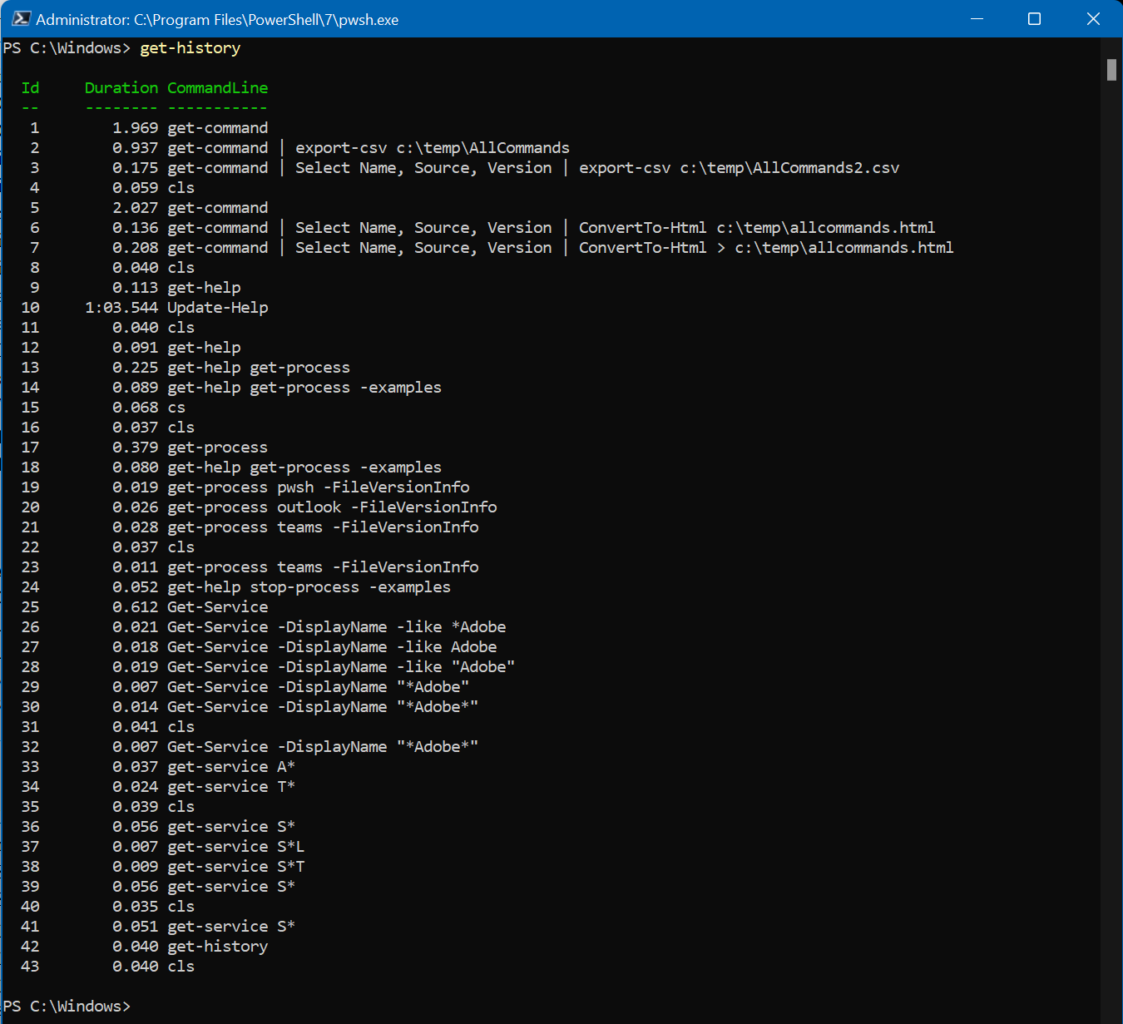
You can utilize all the output commands here, too, to save this somewhere. Export it to CSV or, further below, you can see how to output the information to an HTML file to keep it open in one of your browser tabs.
Start-Job
OK, now, this Start-Job command is actually pretty cool. I didn’t know about this; I’m literally thinking of ways this can help my job as an IT Pro at my place of work, in real-time! Instead of opening more PowerShell sessions or windows and console sessions to let ‘longer running’ scripts or commands run, you can start a new background job with ease.
Start-Job -ScriptBlock {Get-Command}
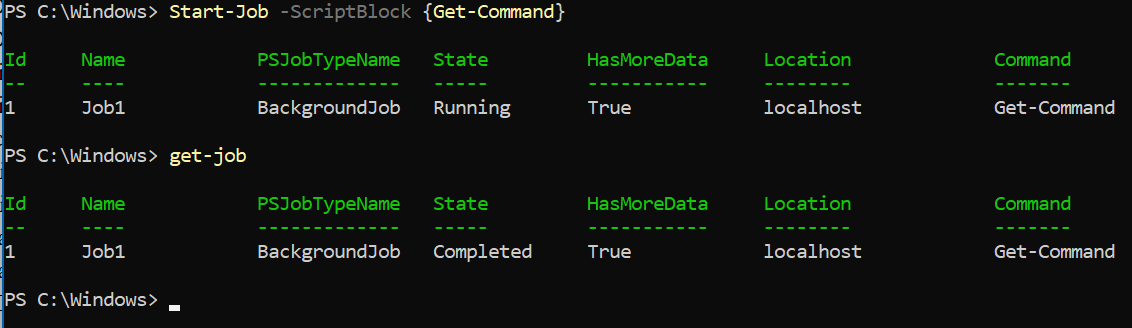
This command will start a background process and execute whatever is in the {} value. You can put whatever you want in there. To check on the status of that job, just use the ‘Get-Job’ cmdlet.
Get-Job
ConvertTo-HTML
Here is another output command you can use to make things a little neater. The ConvertTo-Html command sends your output in an HTML file, and it will format the information into nicely spaced columns of easy to read text. You can simply pipe any cmdlet or cmdlets with this at the end and include file path and location information.
Get-Command | Select Name, Source, Version | ConvertTo-Html > c:\temp\AllCommands.html
Piece of cake!
Out-File
Out-File is the simplest PowerShell command to just save the output of your PowerShell cmdlet(s) to a raw text file somewhere on your computer.
Get-Service | Out-File c:\temp\ServicesList.txt
Export-CSV
This is similar to Out-File and ConvertTo-Html, but this Export-CSV command simply spits the data out in the comma-separated value (CSV) format.
Get-Command | Select Name, Source, Version | Export-Csv c:\temp\AllCommands2.csv
This is the one I used at the beginning of this Top 10. Again, this will get all the PowerShell cmdlets from the system, so you’ll need to only choose the Name, Source, and Version columns of data, and export them in CSV format to the location you specify. Very powerful command.
Many more possibilities for power users
Remember when you thought how powerful the Command Prompt was? As you can see, PowerShell is leaps and bounds more powerful. Well, as you might expect, there are hundreds of cmdlets available. Some more popular ones include Start-Process, Get-Item, Copy-Item, Remove-Item, Get-ChildItem, etc.
There’s also the concept of PowerShell scripts. These are files that contain one or more cmdlets, variables, if-then type commands. They allow you to automate a heck of a lot of processes and tasks that occur over all of your environment.
As you discover more ways to improve efficiency and automation, you’ll enjoy the time you get back to get more impactful tasks and projects completed. And, in case you weren’t aware, as long as you have the correct permissions in place, you can use PowerShell to access information on a remote computer, or even control it in some ways. All you need is the computer name and to verify that the remote machine has granted remote access to its systems.
One important item to take into account is running PowerShell scripts. PowerShell comes with what’s called an ‘Execution Policy’. This defines what types of scripts can be run, and what additional security measures you may need. For example, Windows will not run PowerShell scripts you download from the Internet or from your own network. You can use the ‘Set-ExecutionPolicy’ cmdlet to alter the current security checks in your session.
First, type:
Get-ExecutionPolicy

This will tell you what mode you’re in. I am in ‘RemoteSigned’ (remote signed), which means only scripts that have been signed by Microsoft or a remote entity will be allowed to run. You can modify the policy by using the Set-ExecutionPolicy command:
Set-ExecutionPolicy Unrestricted
This is the easiest way to run any script, but it’s also the most dangerous. ANY PowerShell script, even malicious ones, will be allowed to run. You just need to be careful to close your current PowerShell console or session when you’re done.
Another concept I’ll touch on here is variables. This is the beauty of a PowerShell script. Storing the contents of a ‘Get-‘ command into a variable allows you to more elegantly access the information in that variable further down in your script. Here is an example:
$Data = import-csv c:\users\sovit\downloads\UserList.csv
Get-Mailbox $Data.Name -DisplayName
This will simply import all the ‘users’ from the CSV file stored in the Downloads folder into the ‘$Data’ variable. The next command will load the Exchange (Online) mailboxes for those users and output the ‘DisplayName’ attribute of each user. This is very simplistic, but you can get an idea of the breadth of usage you can glean from this simple example.
Feel free to try out the examples here in my post. Let me know if you have any questions or if any syntax is getting in your way of achieving your ultimate PowerShell IT Pro dreams!
Related articles: