How to Use Managed Metadata Within SharePoint Online

When organizations decide to migrate data from on-premises file servers or other platforms to SharePoint on-premises or SharePoint Online, they need to determine how tagging and classifying content should work. In this article, we’ll explain how you can use Sharepoint managed metadata to control how users add metadata to content across SharePoint sites in an organization.
SharePoint Online provides content types, managed metadata, and sensitivity labels to classify data. For organizations migrating content to SharePoint, content types are critical for the security and searching of the content.
What is SharePoint metadata?
SharePoint metadata is all the information that is attached to your data in SharePoint. As Microsoft describes it, metadata is simply “information about information.”
In SharePoint, content types are the core building blocks of content classification, but not security. A content type is simply the “type of content” you define. Each content type contains multiple columns that allow end-users to either manually enter or select values to help describe their content.
What is SharePoint managed metadata?
In SharePoint, managed metadata is a service that provides a formal classification system that lets IT pros manage hierarchical collections of terms that can be used as attributes for items in SharePoint sites.
Taxonomy versus folksonomy
Taxonomy is a formal structured classification system managed by teams that can include record managers. Folksonomy, however, is an informal classification system that evolves as users add words, labels, and terms. Folksonomy is a joint effort between IT, records managers, and end-users.
How to configure managed metadata for SharePoint Online
Within SharePoint Online, there are two entry points to access the managed metadata service.
Accessing the managed metadata service
To access the managed metadata service in SharePoint, you can either use the Classic URL or the Modern URL. You will have to use the modern URL in the future as Microsoft will soon remove the classic one.
Instead of knowing and typing the URL, you can also access the managed metadata service by opening the SharePoint admin center, expanding Content services, and clicking on Term store.

The Term store is also available within each site collection created within Microsoft 365. It allows metadata creation at the root level and down within each site collection.
Understanding how Term groups work
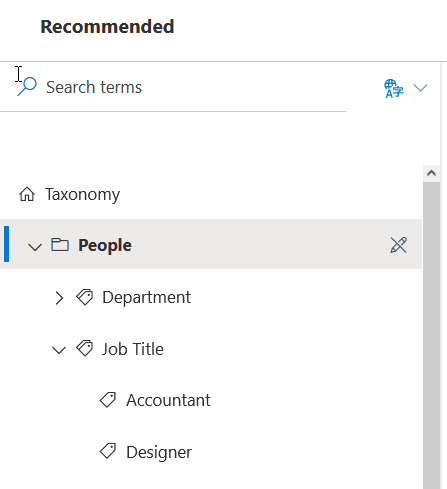
The Term store provides three root folders called term groups. These Term groups are named “People,” “Search Dictionaries,” and “System” by default. You can modify the existing term groups and create new Term groups as required.
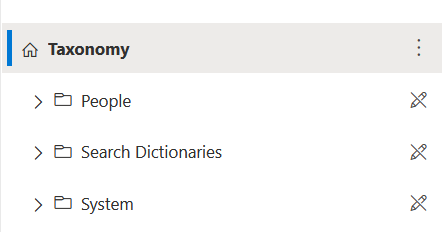
Each term group contains different terms, which represent the required value for classification.
To manage terms within term groups and create term sets (groups of terms), you need to have at least the SharePoint Administrator role permissions assigned within Microsoft 365 or Azure Active Directory. However, even with this permission, you may see a message saying that you have “view-only” access.

To resolve this issue, navigate to the classic URL and add your account to the Term Store Administrators box, which is empty by default. You can also use the modern site by clicking on Taxonomy and editing the Admins option.
Once you make this change, the People and Search Dictionaries term groups will unlock, allowing modifications.
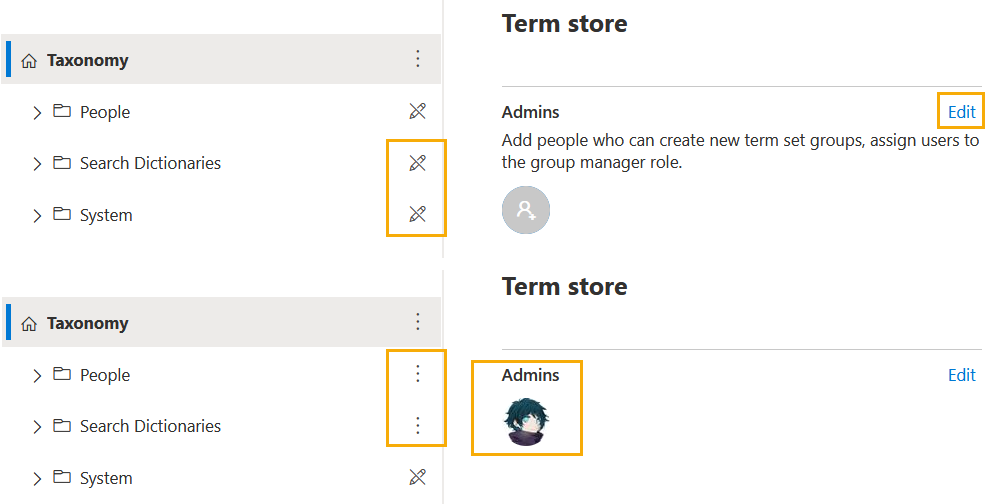
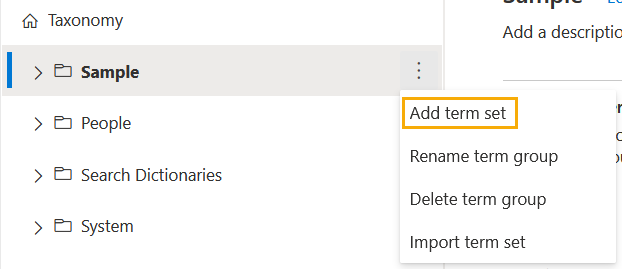
To create a term group, click on the three dots button to the right of Taxonomy, choose Add Term group, and add the selected name. After creating the term group, you can add a Group manager whose responsibility will be to create new term groups and set and assign users to the group manager and contributor role.
How to create a term set
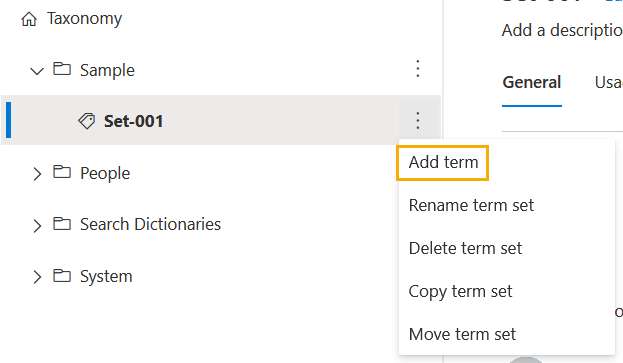
Term groups can contain multiple term sets and terms. To add a new term set, repeat the previous steps, but this time at the newly created term group level.
To add terms to a term set, you need to repeat the same process at the newly-created term set level.
Once you create a term group, term set, and terms, you can configure each of them. For term sets, you can set a submission policy for adding new terms, define if the end-users can use a term set, and more. Term sets are helpful for navigating SharePoint, and you can also choose to make terms available for tagging.
How to use SharePoint Managed Metadata within SharePoint Online
Now that you know how to create term groups, term sets, and terms, you can start to connect them to SharePoint Online and use them for tagging content or navigation. You must first create a content type, followed by site columns associated with the newly created content type. The last step will be to associate the newly created content type with the required list or library.
How to create a new content type
You can create content types at the root level within the SharePoint admin center, which publishes the site collections. Otherwise, you can also create new content types locally within a specific site collection.
For this example, we will create a new content type within a site collection.
- Navigate to Site settings within a site collection.
- Click on Site content types within the Web Designer Galleries section.
- Click on Create content type and enter the required details
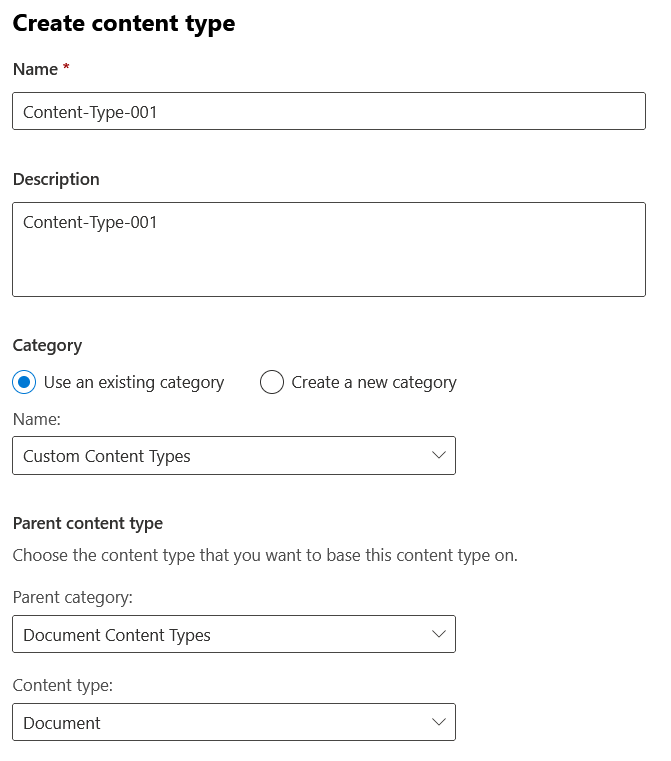
- Click on Create when you’re done.
Creating a new site column associated with your content type
After creating your new content type, you’ll need to add a new site column connected to the term store, specifically your newly created term set.
- Go back to Site settings within a site collection.
- Click on Site columns within the Web Designer Galleries section.
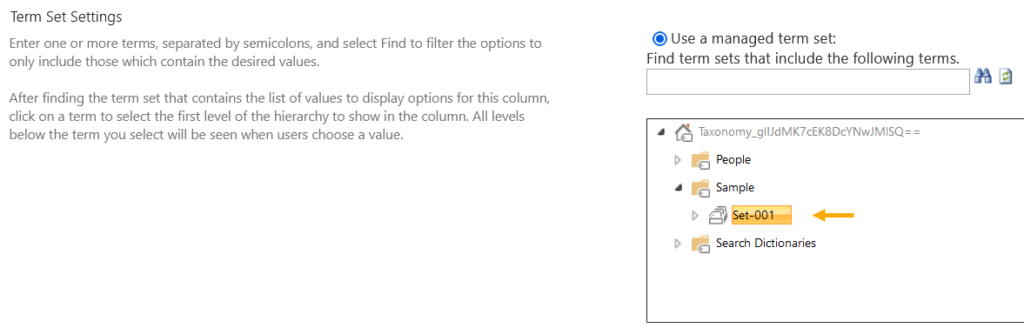
- Click Create, enter the required details, and make sure the type is Managed metadata.
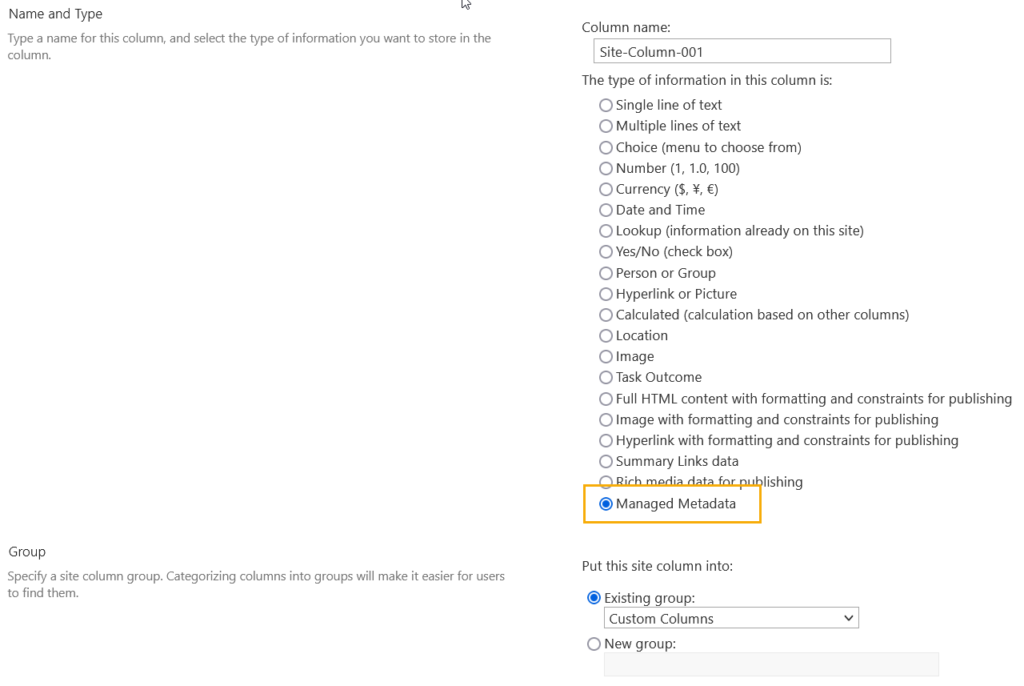
- Now you need to connect your new column to the term set created earlier.
The site column needs to connect to the new content type. To do this, follow these steps:
- Navigate to Site settings within a site collection.
- Click on Site content types within the Web Designer Galleries section.
- Find the created content type and click on it.
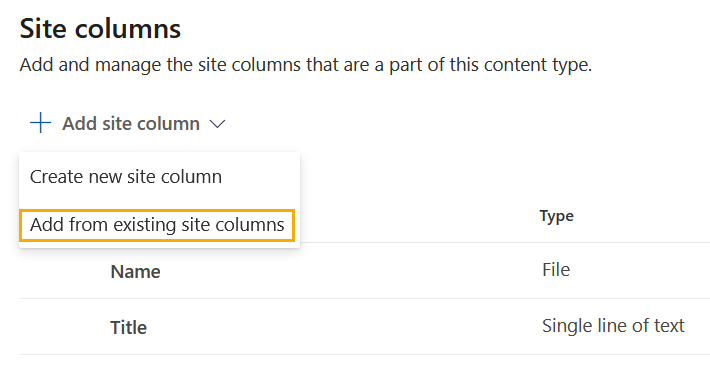
- Choose Add site column, then select Add from existing site columns.
- Find the created site column and add it to the right panel.
- If you need to update existing sites and lists, you need to check that option as well.
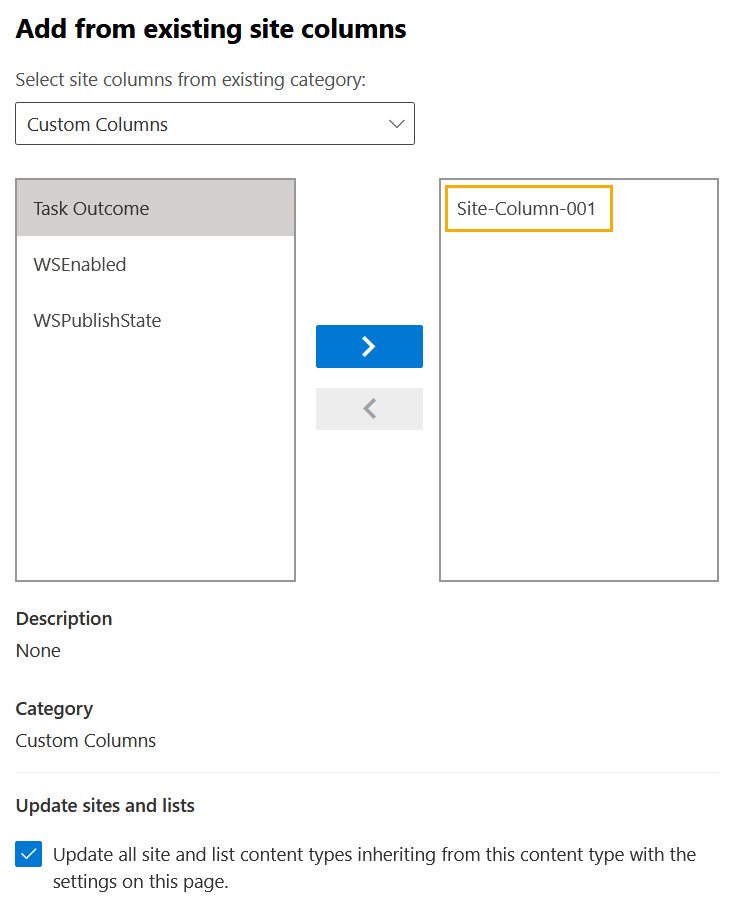
- Click Save.
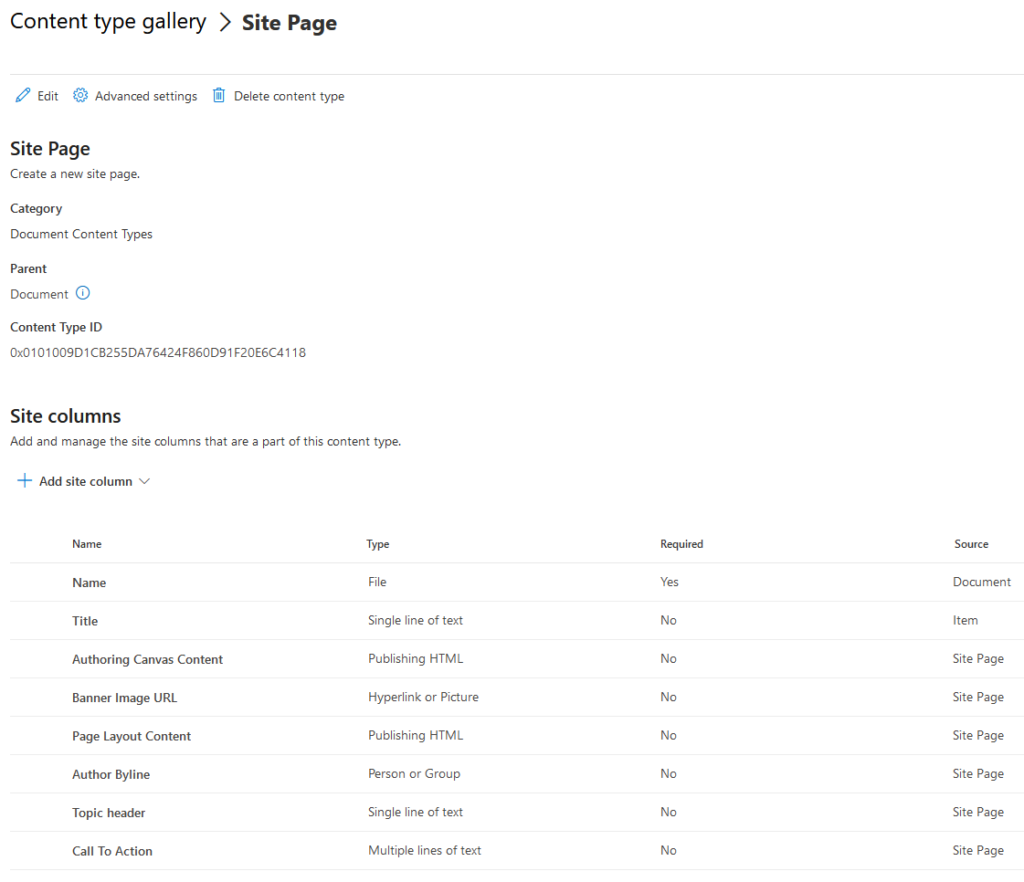
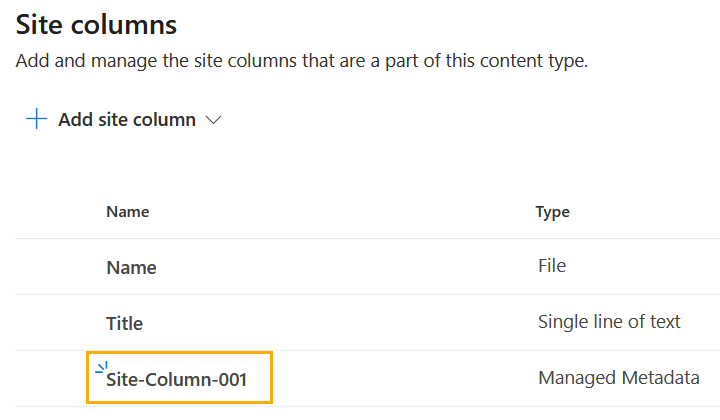
You can now see the updated site columns.
Associate the newly created content type with the required list or library
Lastly, you must associate your new content type with a list or library:
- Navigate to Site contents within the site collection.
- Click on Documents.
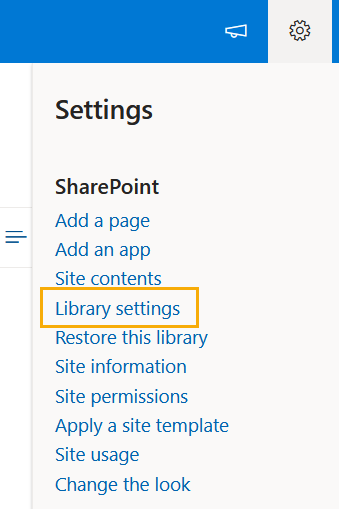
- Next, click the gear icon and choose Library settings.
- Here, click on More library settings, then on Advanced settings.
- Now, select the Allow management of content types option, then press OK.
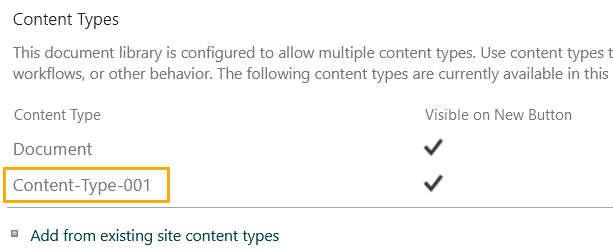
- Here, you can add the created content types by clicking the Add from existing site content types link.
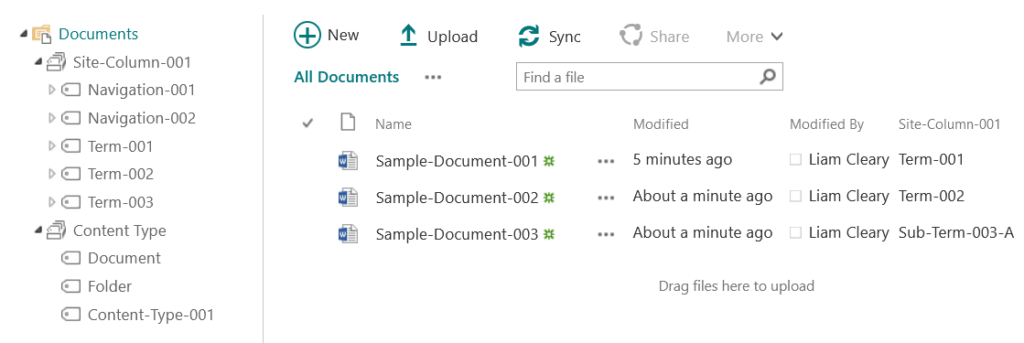
To use the newly added content type and test the managed metadata column, navigate to the library, choose “New,” and select the content type.
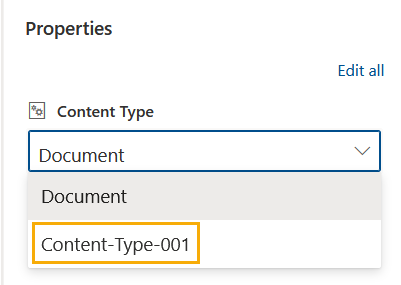
You can also edit an existing file, set the content type, and then set the value of the managed metadata site column.
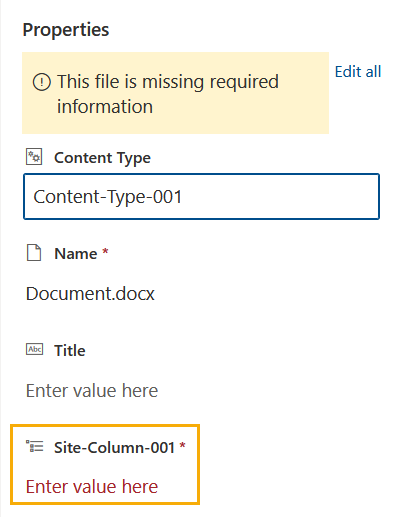
Here, we’ve chosen Term-001 as the value of the managed metadata site column.

Using managed metadata for navigation on SharePoint Online
This example of using managed metadata term sets and terms within SharePoint Online was simple. If you’re using classic styling for some sites, you can use publishing features and managed metadata for navigation.
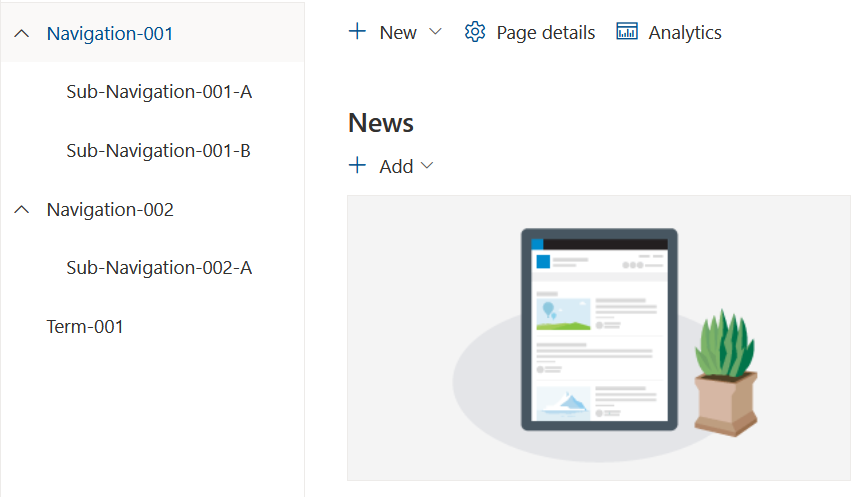
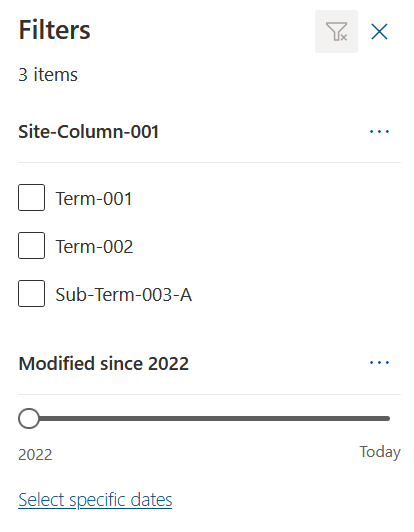
You can also use managed metadata for navigation within lists, libraries, and as faceted search items. A list, for example, looks like this when using managed metadata for filtering items in both classic and modern.
And here’s how it looks like when using the Modern mode.
Conclusion
All organizations should create a document taxonomy to help classify and search for content in SharePoint. As you can see, managed metadata is a great feature for tagging and navigating through content. Using managed metadata within SharePoint Online does require some configuration, but we hope this article gives you a detailed look at the tools you can use to manage metadata in SharePoint Online.
FAQs
How does SharePoint managed metadata impact search performance compared to traditional folder structures?
SharePoint managed metadata significantly improves search performance by enabling users to find content up to 60% faster than traditional folder structures. The metadata-driven search allows for more precise filtering and reduces the time spent navigating through nested folders, making it especially effective for large document libraries.
Can SharePoint managed metadata be synchronized across multiple site collections automatically?
Yes, SharePoint managed metadata can be synchronized across multiple site collections through the Term Store’s enterprise keywords feature. This ensures consistency in tagging across your organization and allows for centralized management of metadata terms, even in complex multi-site environments.
What are the limitations of SharePoint managed metadata in hybrid environments?
SharePoint managed metadata in hybrid environments has specific limitations, including a maximum of 30,000 terms per term set, and synchronization delays between on-premises and cloud environments. Organizations need to carefully plan their taxonomy structure to avoid hitting these limitations.
How does SharePoint managed metadata integrate with Microsoft 365 compliance features?
SharePoint managed metadata integrates seamlessly with Microsoft 365 compliance features by allowing organizations to create retention policies, sensitivity labels, and data loss prevention rules based on metadata values. This integration enhances content governance and regulatory compliance capabilities.
What are the best practices for migrating existing SharePoint managed metadata structures to a new environment?
When migrating SharePoint managed metadata structures, it’s recommended to:
- First audit your existing taxonomy,
- Clean up unused terms,
- Document the current hierarchy, and
- Use Microsoft’s Migration API with term store mapping.
This ensures proper term relationships and maintains metadata integrity during the migration process.

Liam started his career as a Trainer but realized that Programming and Hacking were more fun. After spending time in infrastructure and security services, he moved to consult for SharePoint where he became a Microsoft MVP. He is also a Microsoft Cert...


