Recording Podcasts via Microsoft Teams Best Practices Guide
During the pandemic, Microsoft Teams has become a popular tool for recording podcasts because it provides an easy way to bring in guest speakers. In this article, Jason Wynn shares his top best practices for recording podcasts using Teams.
With the future of podcasting changing all the time, content creators are starting to realize that hybrid working is starting to become the norm. The ability to be able to record podcasts remotely is now very much how podcasts creators are going to be doing things in the future if they haven’t done so already.
Many organizations are now moving wholly to Microsoft 365 and over 145 million people now use Microsoft Teams each day. That means that over the course of 2020 the number has more than tripled for the daily active users.
The podcast industry is booming
According to a report from Edison Research from 2021, eighty million Americans were listening to podcasts weekly. This converts to 28% of the US population twelve and older now listening to a podcast each week, which represents an increase from 24% from 2020. According to the report, 41% of the total US population that is over the age of twelve, or an estimated 115 million Americans can now be considered monthly podcast listeners, which is a massive growth of 37% from 2020.
What does this mean in the grand scheme of things? Podcasts are being listened to much more frequently. Microsoft Teams is being used much more frequently. Recording podcasts via Microsoft Teams is the next logical step for content creators.
That’s where my own experience of recording my own podcast using Microsoft Teams should come in handy. Microsoft is now fully aware that Microsoft Teams is already being used for recording podcasts, I’ll be detailing how to get the most out of Microsoft’s app and look at how Microsoft Teams will assist in making the platform even better for content creators.
Start with the hardware
I’m lucky enough to have a RØDE NT-USB, which is a phenomenal microphone. I’m able to integrate it into the RØDE Connect app, which is also a really solid software solution for podcasting and live streaming. However, there are plenty of other good microphones on the market.
How to choose your microphone
First of all, you should get yourself a good microphone. There are 4 different types of Microphones: Dynamic, Large diaphragm condenser, small diaphragm condenser, and ribbon microphones. Most USB microphones will use a dynamic system – however, depending on your space and your requirements, this can change.
You should also be using a good microphone arm/boom: This will bring the microphone closer to your mouth and will capture a much cleaner sound. In addition to this, the overall microphone recording level can be reduced, thus reducing the amount of overall sound that is captured outside the microphone.
Why you need a dedicated recording space
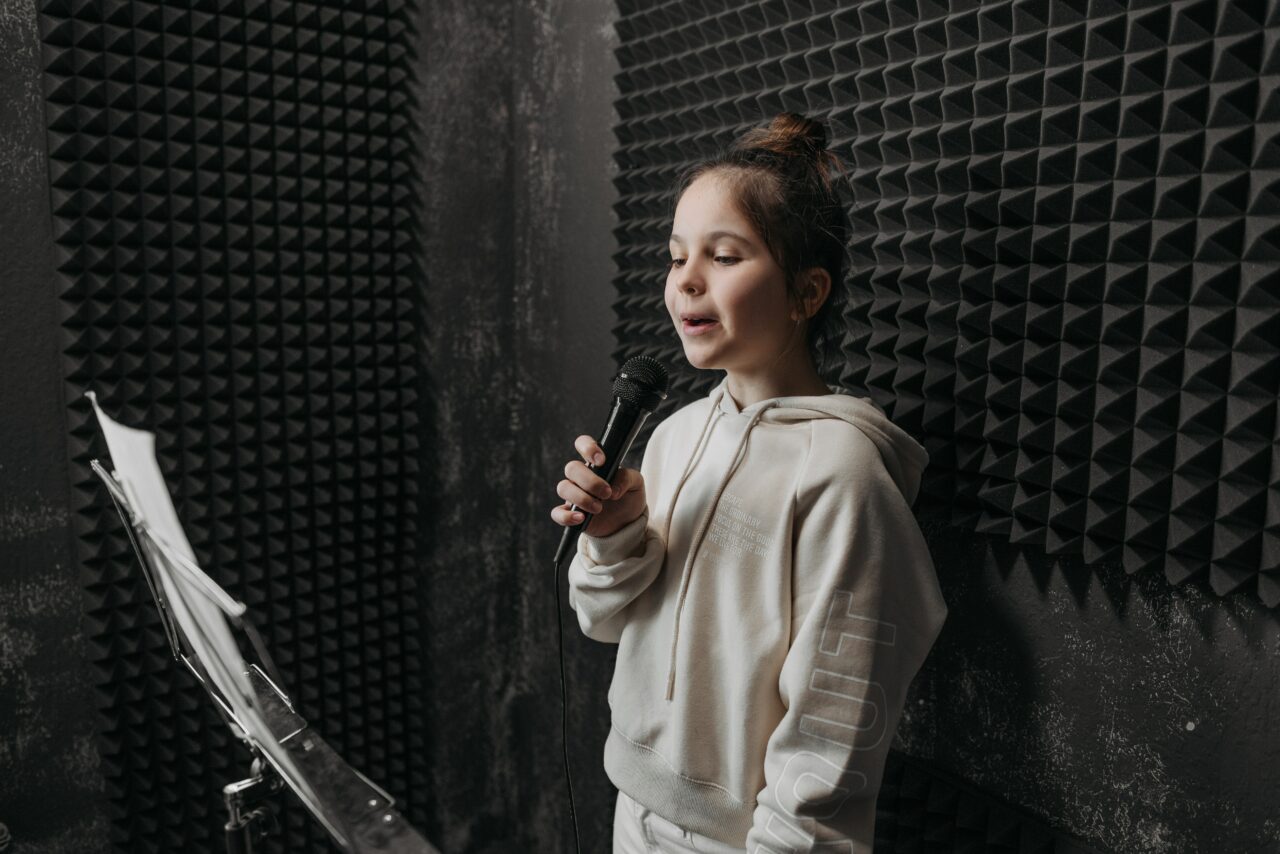
It’s really important to have a recording space separate that’s isolated. And I personally have my own office that’s separated from the rest of my home. By having less ambient noise, you can reduce the overall amount of external sound that needs to be reduced later, and this will reduce the editing time.
I also recommend using good acoustic tiles or thick furnishing where you can. A good example of this is the HexaTile which can help to grab some of the acoustic noises that are spread, while still meeting domestic and business requirements when it comes to building regulations. Likewise, their shape be arranged in a myriad of ways so that they can help absorb a lot of noise in and around the podcaster.
Lastly, you should make sure to unplug all your smart home devices powered by digital assistants. I also find that I regularly get updates on my smart doorbell devices, or get distracted by people opening doors setting off alarms, or drop-ins while I’m unavailable, and simply putting my devices on mute doesn’t stop these alerts.
Best software practices
Before you start, I highly recommend turning off all other applications when recording the Microsoft Teams output. Your Teams status should also be set on Do Not Disturb, then you can get yourself ready for recording studio work.
Check your microphone settings
Where applicable, you should use the raw output monitor of the microphone. This will show you how much noise is being picked up and collected. For example, I never knew how much noise my keyboard made… or my office chair squeaked. To me, these are things I live with on an everyday basis, but with the live monitor feed from the microphone, you soon realize that every keystroke and every shift of your seat resonates and leads to a substantial amount of noise.
You should also record the output of your machine and your microphone. To do that, you can use an app like RØDE connect, which allows you to capture the virtual device. The application will then be used within Microsoft Teams as the input and output for Microphone and Speakers.
I also recommend disabling Automatically adjust mic sensitivity, because we want to oversee the configuration, and we will use the recording application to control the levels from Microsoft Teams as well as the microphones.
Check your Teams settings
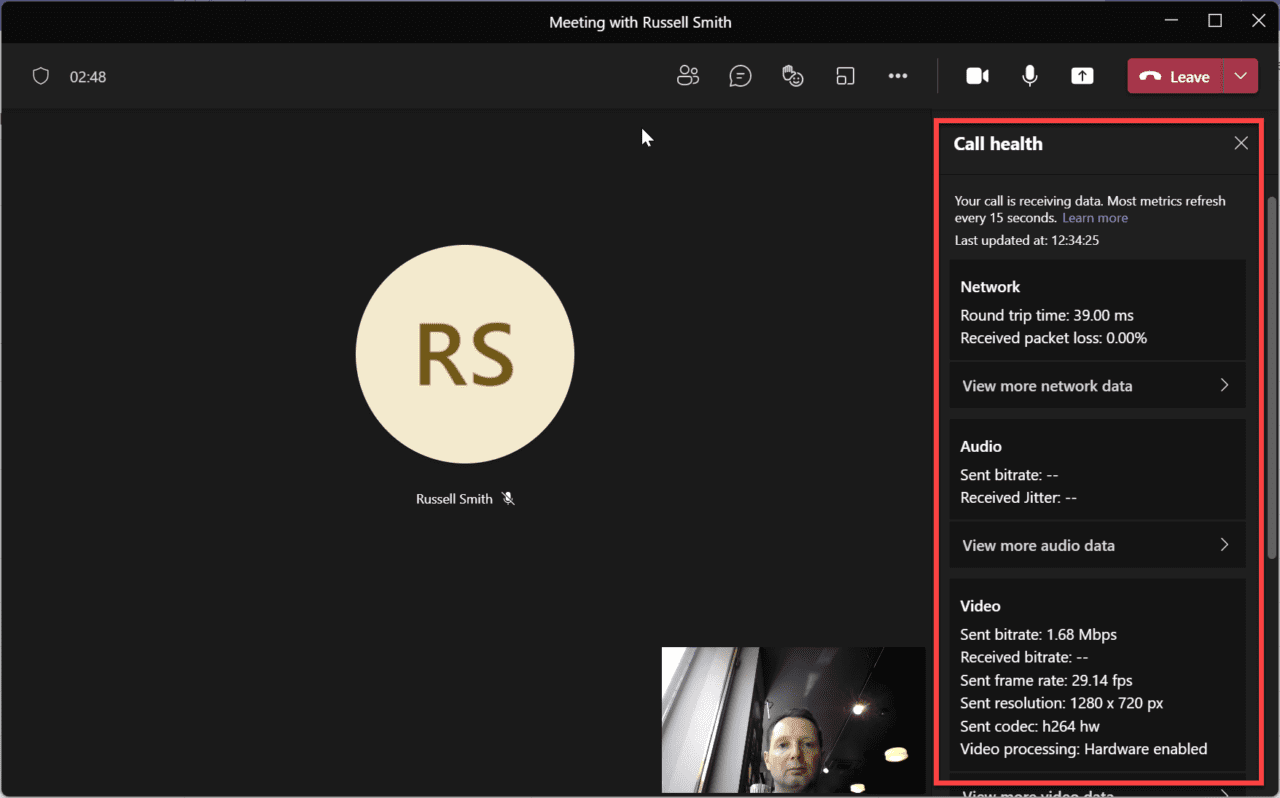
Use Calling Health to validate the send and receive of audio from the client. Call Health can be found by clicking the ellipsis buttons while in a call or meeting.
The Call Health feature helps you troubleshoot your network, audio quality, video quality, and network status. In addition, it allows you to dive deeper in each of these areas: In the network section, it can show round trip time and received packet loss by default, but you can expand this to show Teams send limit, receive limit, round trip time, and packet loss.
When troubleshooting audio quality, Call Health shows what codec you’re using for receiving and sending audio. Under good conditions, the codec should be Satin: This is the new AI-powered audio codec used by Microsoft Teams, which provides higher bitrate and higher bandwidth, but also a more resilient experience on bad networks.
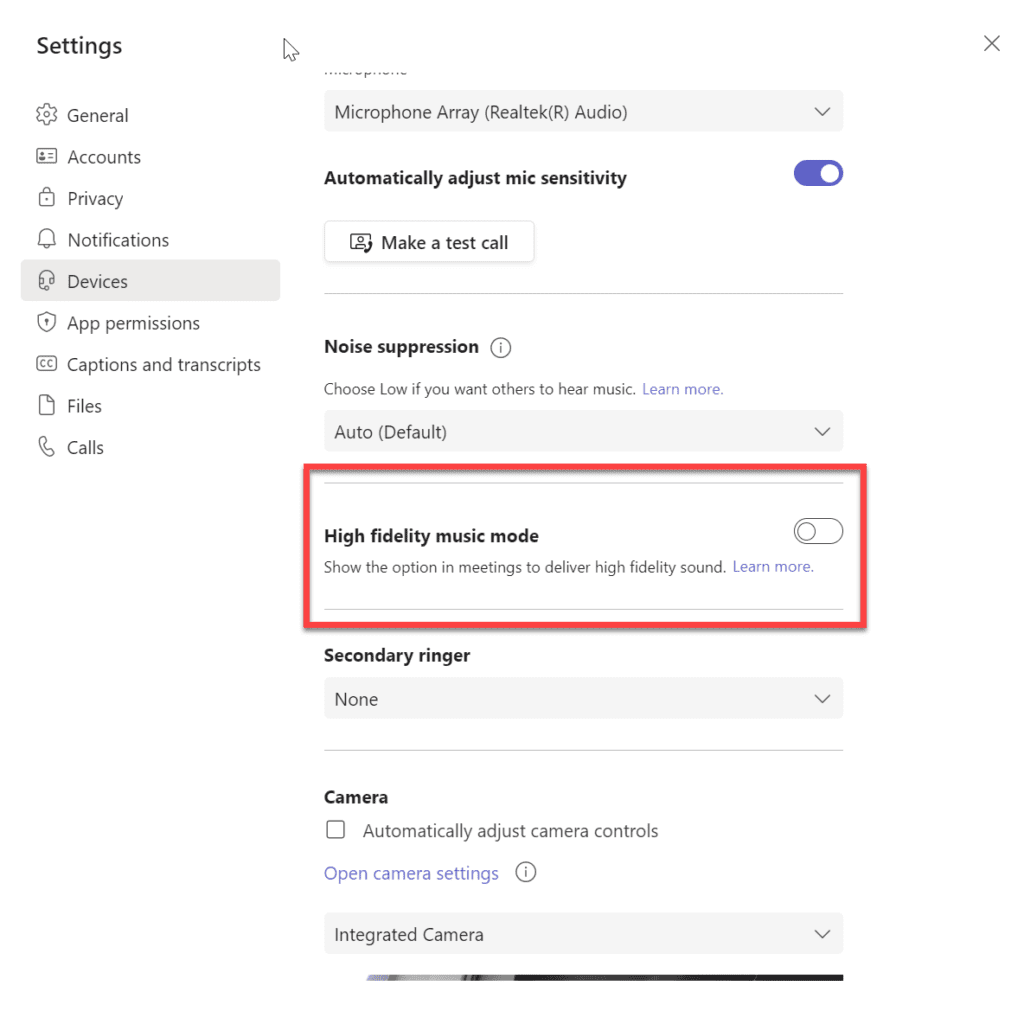
In the very near future, you will be able to enable the new Music mode. Music mode allows you to send higher-quality audio and utilize up to 128kbps to send the audio out. This will help when a higher level of HD sound is required. This will make a significant difference when sending things outside of traditional speech, but this Music mode will also help when you want the absolute best audio quality from Microsoft Teams, which can also be recording a podcast.
To enable Music Mode in Microsoft Teams, you need to click the ellipsis button, choose devices, then scroll to High fidelity music mode and toggle this on.
Microsoft Teams provides a convenient way to record podcasts. And if you follow the best practices outlined in this article, you can increase the production quality of your audio. Other solutions, including Restream, also offer easy ways to record audio and video with guest speakers. But as many people have free access to Teams, it’s often the first tool to look at when searching for a podcasting solution.


