Deploy Windows 10 Using MDT and WDS, Part 3: Deploy Windows 10 from a PXE-Enabled Boot Client

In the second part of this series, I showed you how to customize a Windows 10 image in MDT using a task sequence, and configure WDS. In the third and final part, you’ll test a deployment of Windows 10 over the network on a PXE-enabled boot client.
Install Windows 10 on a PXE-Boot Client
All that’s left to do is install Windows 10 on a client with a PXE-enabled network card. In this lab, I’m using a Hyper-V (gen 2) virtual machine to test this functionality. Let’s start by making sure that your device or VM is set to boot from the network card. The instructions below are for Hyper-V virtual machines. If you’re using another virtualization product or a physical device, refer to the provided instruction manual to modify the device’s BIOS/UEFI settings.
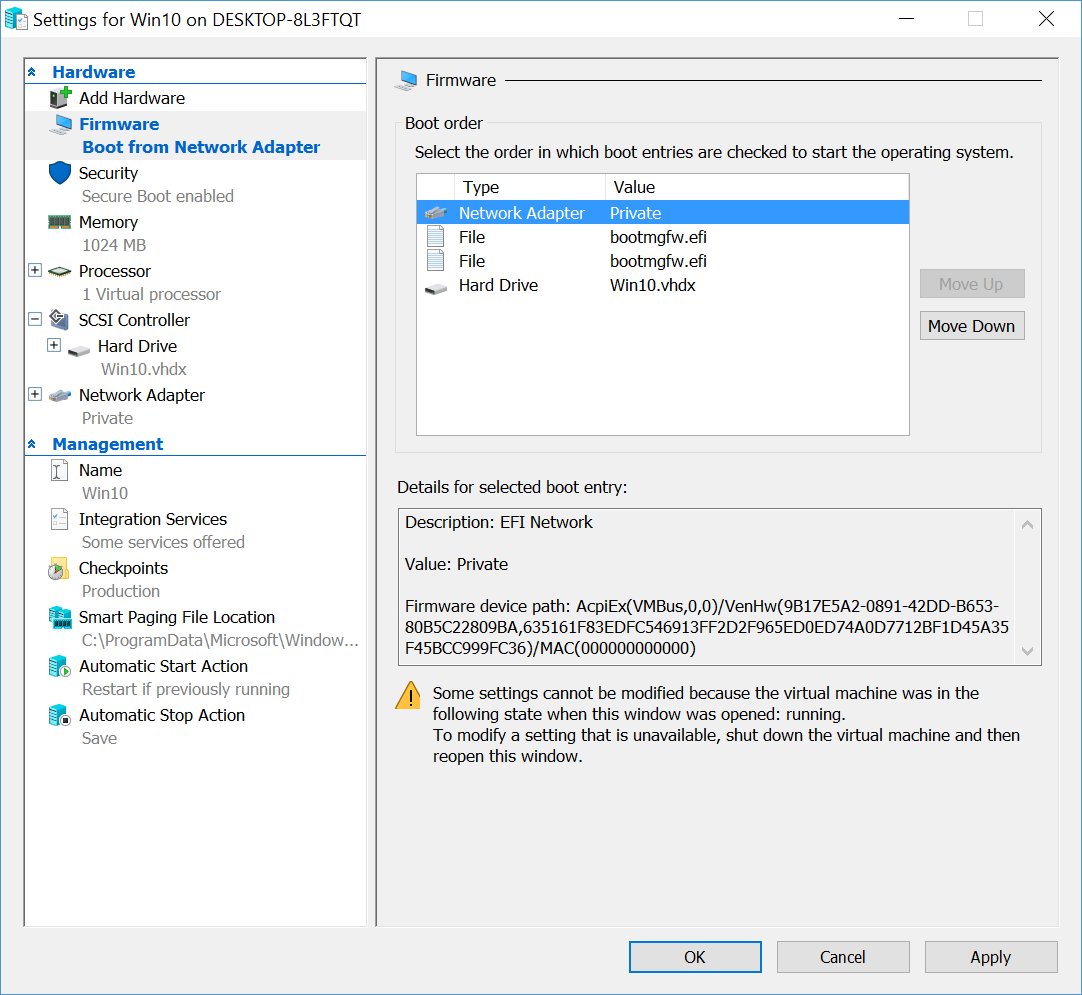
- In Hyper-V Manager, right-click the VM in the list of virtual machines and select Settings from the menu.
- In the Settings dialog box, click Firmware in the list of options on the left, and if Network Adapter is not at the top of the Boot order list, click Network Adapter in the list and use the Move Up button to move it to the top, and click OK.
- Start the VM or physical device. Press F12 when prompted to boot the device from the WDS server.
- The device will boot using the .wim image specified in the WDS server options. Click Run the Deployment Wizard to install a new Operating System on the Welcome screen of the Microsoft Deployment Toolkit window.

- In the User Credentials dialog box, enter a domain username and password that has permission to connect to the deployment share on the MDT server, and click OK.
- In the Windows Deployment Wizard, select the name of the task sequence you’d like to run, and click Next.

- On the Computer Details screen, accept the default settings, and click Next. Alternatively, you can change the computer name, provide credentials to join the device to a domain or change the workgroup name.

- On the Move Data and Settings screen, check Do not move user data and settings, and then click Next.
- On the User Data (Restore) screen, check Do not restore user data and settings, and click Next.
- On the Product Key screen, check No product key is required, and click Next.
- Modify the time and locale options on the Locale and Time screen if required, and click Next.
- On the Ready screen, click Begin.
- When the OS has finished installing, click Finish in the Success dialog box.

In this article, I showed you how to install Windows 10 over the network using MDT and WDS. In the section below, I’ve included some additional information about the process that you might find useful in your testing.
Notes from the Field
- Images created using Microsoft’s online media creation tool cannot be used.
- If DHCP and WDS are installed on the same server, then PXE DHCP options must be added manually.
- WDS must be installed and running before PXE boot clients receive an IP address from DHCP.
- WDS requires a partition formatted with NTDS that is not the system partition.
- Active Directory is not required, but it adds security and management features that would otherwise be unavailable.
- When adding a boot WIM image to WDS, it can be located remotely on a MDT deployment share.
- The PC or VM must be assigned at least 800MB of memory during the Windows 10 install process.
Russell Smith, the Editorial Director at Petri IT Knowledgebase, has over two decades of hands-on experience in IT, in both small business settings and government IT infrastructure projects. Russell started writing for Windows IT Pro Magazine in t...


