How to Configure DNS Server on Windows Server: Your Step-by-Step Guide

This helpful, straightforward guide will help you understand the ‘DNS Server’ role in Windows Server and how to install it and set up your initial configuration for success.
Configure DNS server on Windows – Prerequisites
Before diving in, you definitely want to plan this out and verify some prerequisites. Make sure you have:
- A Windows Server machine (physical or virtual).
- Administrative privileges.
- A static IP address for the server.
- Basic understanding of networking concepts.
Windows Server version considerations
The DNS server role is supported only on supported versions of Windows Server. Today, that includes Windows Server 2016, Windows Server 2019, Windows Server 2022, and Windows Server 2025. Be sure to use Windows Update to Check for Updates and get your server updated.
Network configuration essentials
Be sure to assign a static IP address to your server. Dynamic IP addresses can break DNS functionality because records rely on consistent addressing. You can manage your network adapter settings in the Control Panel or the new Settings app in Windows Server.
Administrative privileges: Your key to control
You’ll need admin rights to install roles and configure DNS settings on Windows Server.
Step-by-Step installation of the DNS server role
Let me continue by showing you how to install the DNS server role on a brand new, fresh Windows Server 2025 VM. This will be in ‘workgroup’ mode, outside my Active Directory lab environment. When you promote a server to a domain controller (DC), the process automatically installs DNS and configures it for you. This demonstration will be in a standalone-type scenario.
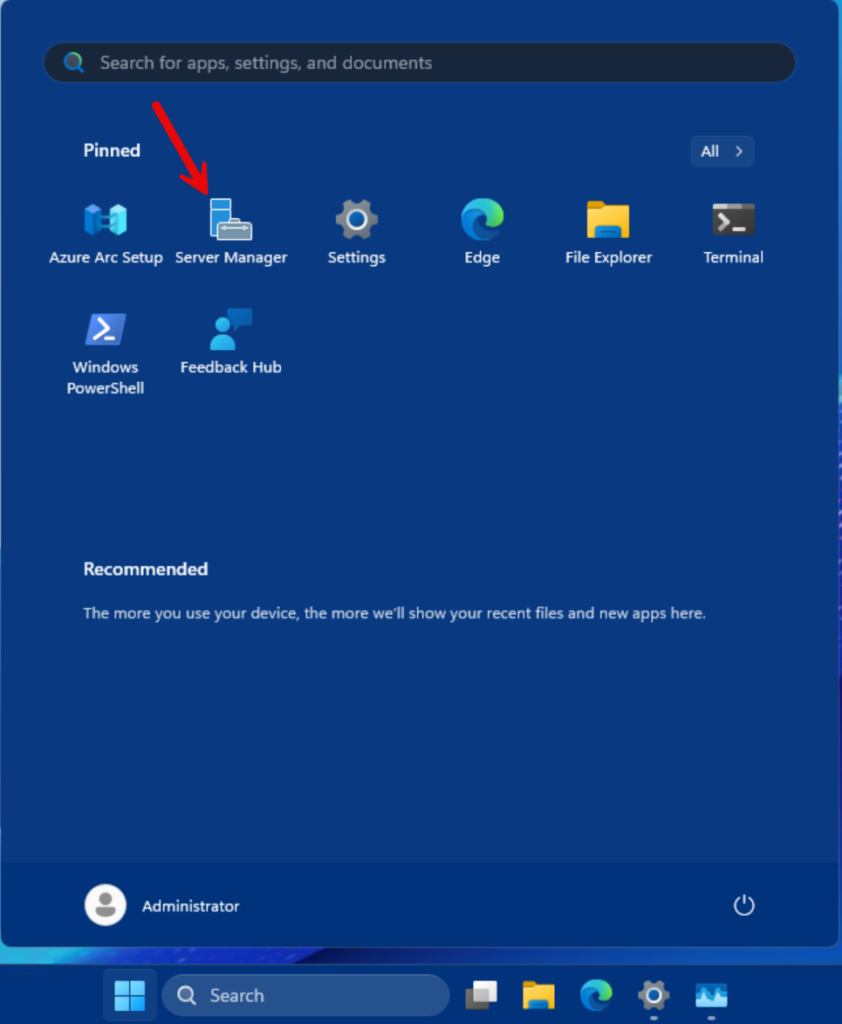
Opening Server Manager
- By default, when you log into modern Windows Server versions, Server Manager will open automatically. If it is not open, click the Start button and click Server Manager.
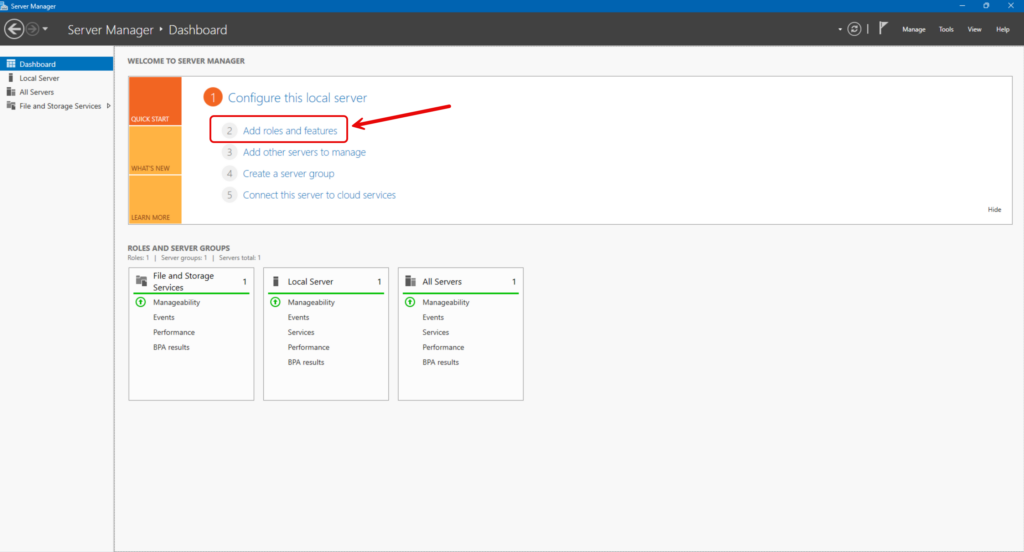
Adding Roles and Features Wizard
- On the Dashboard, click the ‘2 – Add roles and features’ link.
Selecting the DNS Server Role
- Click ‘Next’ about three (3) times.
- Then at the ‘Select server roles’ screen, select the ‘DNS Server’ checkbox.
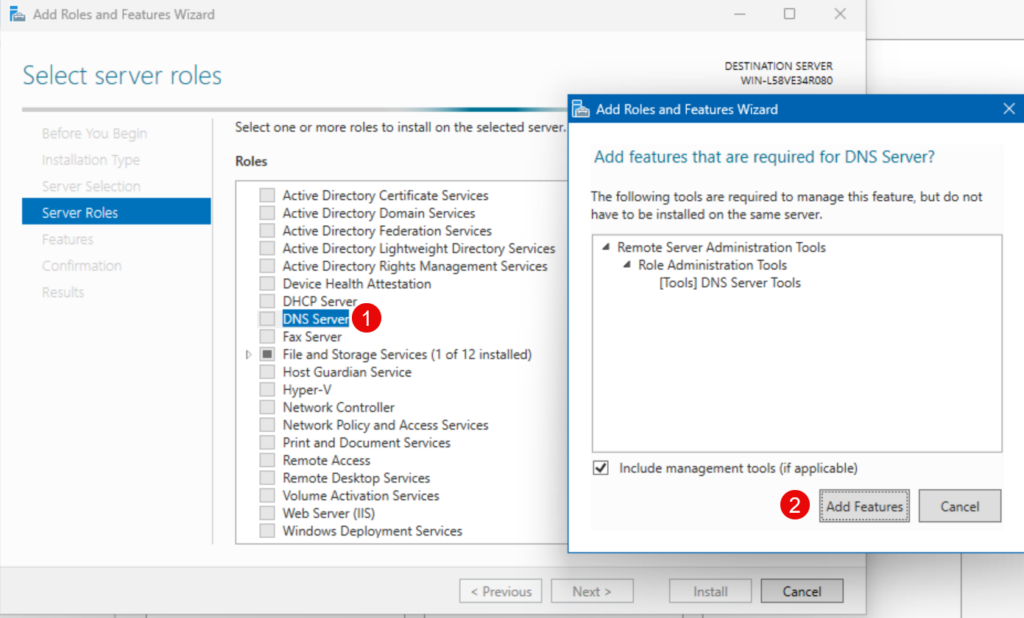
This will confirm that you need to add the DNS Server Tools feature so you can administer it.
- Click the ‘Add Features’ button.
Note – if you get a validation issue stating no static IP addresses were found, make sure you go back and assign a static IP address for this server. DNS is reliant on it.
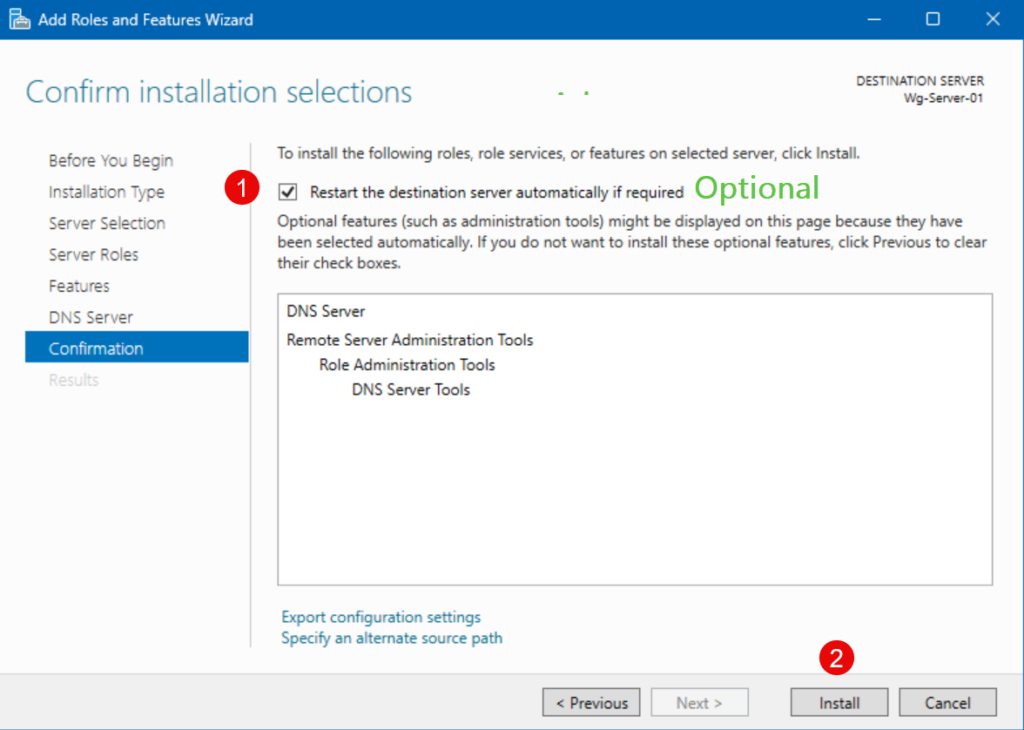
Confirming and installing
- You can click ‘Next’ a few more times. On the last page, ‘Confirm installation selections’, click the Install button.
Initial DNS server configuration: Laying the foundation for your DNS server
There are initial configuration steps you’ll need to complete to make this DNS Server more than minimally useful.
Interestingly, adding the DNS Server role opens up one avenue: Before I installed the role, my server did not have a DNS server specified in its network adapter settings. So, I could ping an ISP’s DNS server or Google’s public DNS (e.g. 8.8.8.8), but any ping request to a DNS name (microsoft.com) failed, because there was no server available to look up that address.
After the role was installed, it set itself as its primary DNS Server. And if you quickly follow me into a specific tab in the DNS configuration, you’ll start to understand why I can now ping microsoft.com and get a response.
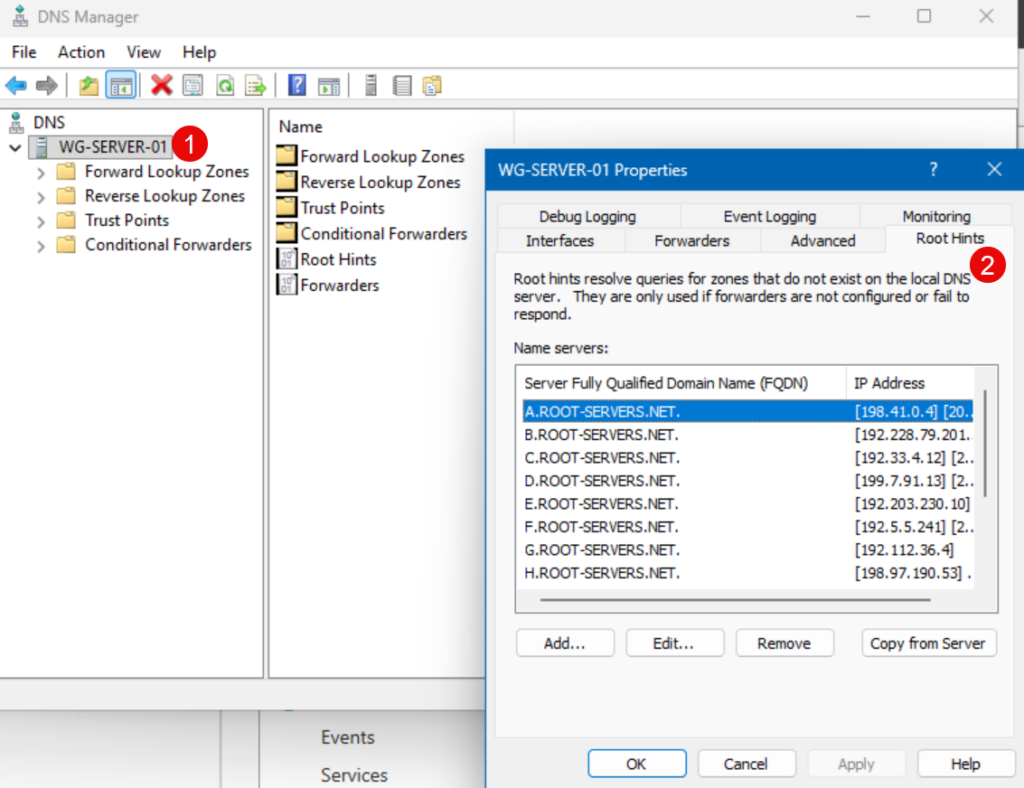
What are DNS root hints?
They’re called ‘Root Hints.’ In the event a DNS server is not configured to forward its clients’ DNS queries, the server will utilize these established 13 global DNS servers to perform lookups.
Creating a forward lookup zone: The core of your DNS domain
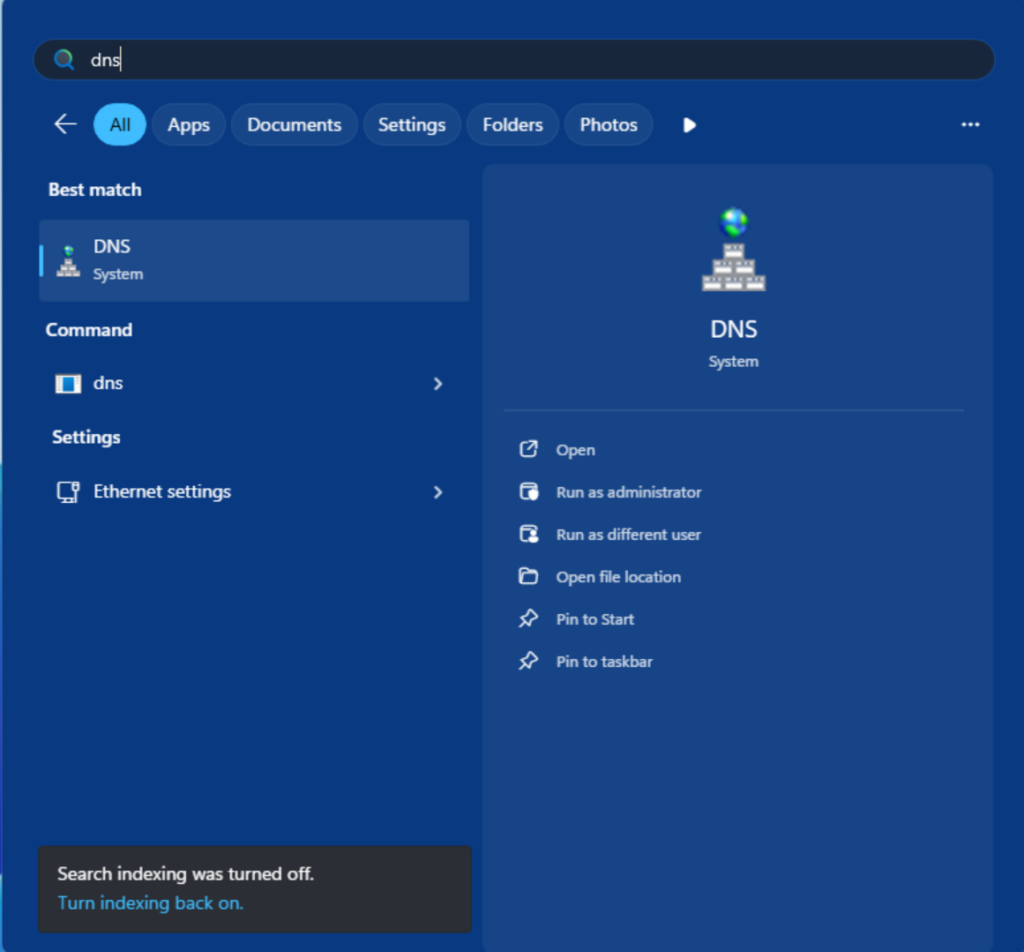
- Anyway, there are several methods to launch the ‘DNS Manager’ applet in Windows Server. The easiest is to click the Start menu, then type in ‘DNS.’
Let’s start the wizard…

- Right-click on ‘Forward Lookup Zones’ and click ‘New Zone…’
- On the ‘Zone Type’ page, make sure ‘Primary zone’ is selected and click Next.
- Then, on the ‘Zone Name’ screen, type in what you want your DNS zone to be named. For demo purposes, I’ll type in ‘reindersconsulting.com’
- You can click Next on the DNS zone file screen.
- Then, with Dynamic Updates, it is best to leave it off, at least for this demonstration. Typically, in an Active Directory environment, this would be on to ease the administration of client devices’ DNS info.
- Then on the last confirmation screen, click Finish.
And we have our first new DNS zone.
Creating a reverse lookup zone
This step is optional but it is recommended for smooth sailing.
What is a reverse lookup zone?
Reverse zones map IP addresses back to names. This is useful for troubleshooting and certain applications. At this point, this is beyond the scope of this article.
Understanding DNS resource records: A, PTR, CNAME, and MX
| Resource record | Function |
| A | Maps a hostname (Wg-Server-01) to an IPv4 address (192.168.1.40). |
| PTR | Used in reverse lookup zones. |
| CNAME Record | Creates an alias for a hostname. Instead of telling your users to type in this server name in their browsers (oracle-business-server-11-west-coast.reindersconsulting.com) they can simply use an alias (oraclewest.reindersconsulting.com) |
| MX Record | Directs email traffic to mail (SMTP) servers. |
Configuring DNS records: Making your server functional
Beyond the ability for this server to be able to do DNS lookups on the Internet, you’ll need to add more records to it to be able to service queries and lookups from clients on your local area network (LAN). Let me explain the basics of the main record types and how to add them in Windows Server.
Adding host (A) records: Pointing domain names to IP addresses
In your forward lookup zone, add A records for each device or service. If you have 4 file servers in your environment, you can add an ‘A’ record mapping each Fully-Qualified Domain Name (FQDN) with its corresponding IP Address.
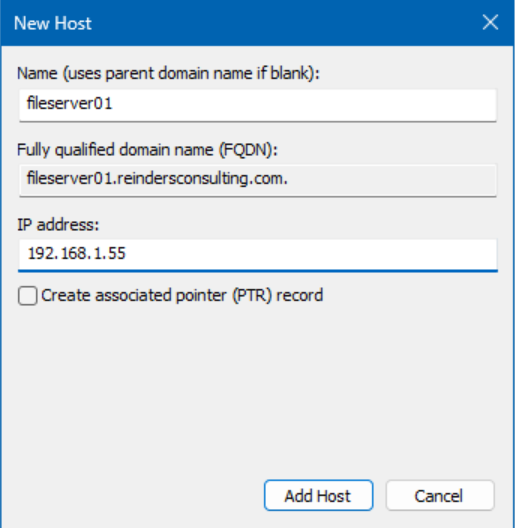
- Again, right-click on your forward lookup zone, and click ‘New Host (A or AAAA)…’
- Enter the server or computer name in the ‘Name’ field and its IP Address in the corresponding field. Click Add Host.
Adding alias (CNAME) records: Creating nicknames
Next, let’s add a CNAME to make things easier for users and IT Pros to remember.
- Along the same vein, right-click on your Forward Lookup Zone, and click ‘New Alias (CNAME)…’
- In the first field, type in the simpler ‘alias’ and then what you want that to point or resolve to in the Fully qualified domain name for target host field. Then, click OK.

Here you can see that after adding the alias, I was able to ping the alias (name) and resolve to the longer FQDN with its corresponding IP address.
Configuring mail exchanger (MX) records: Directing your email traffic
The MX record type is to tell clients and other SMTP servers (on the Internet or your LAN, for example) where to route emails. All you need to do is right-click on your zone, and choose ‘New Mail Exchanger (MX)…’

For these demo purposes, I specify a fictional Internet email delivery vendor’s FQDN for their primary email server. In essence, if an email client on the network routed an email to someone@reindersconsulting.com, this DNS server would then forward the request onto this fictional server on the Internet.
Testing your DNS server: Ensuring everything works as expected
Now that we’ve put these records in place, we can verify that the server responds correctly to client queries. Let’s go through the most common ways to test and validate.
Using nslookup to verify DNS name resolution
Nslookup is a command-line tool to query a DNS server for specific records. Just type in:
nslookup reindersconsulting.com
It should return 127.0.0.1 or localhost, itself. All good!
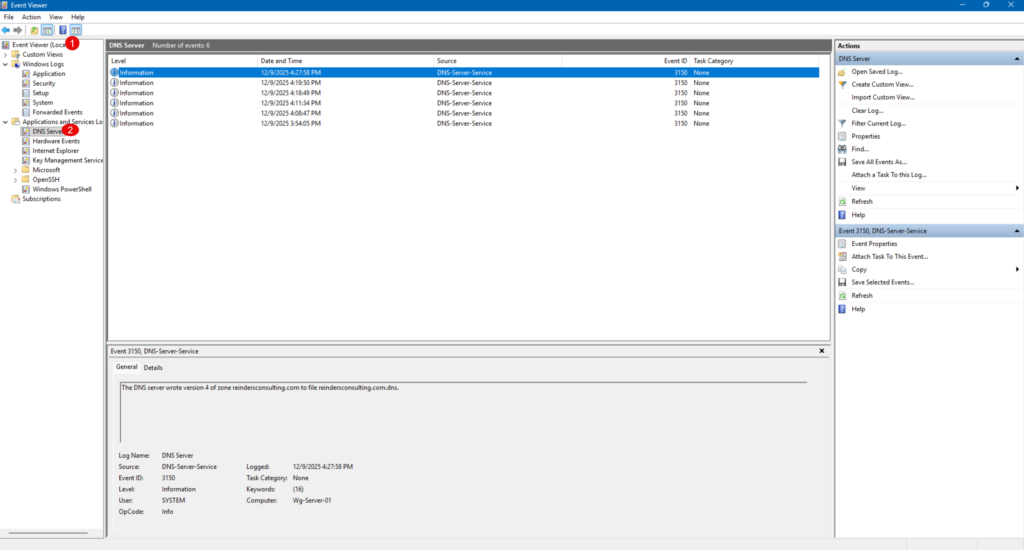
Checking DNS server event logs for errors
It’s a good idea to just check the Event Viewer and click the DNS server section under Application and Services logs to make sure there are no critical errors or troubling warnings.
Client-Side Configuration: Pointing Devices to Your New Server
In the most basic environment, you would now proceed to go to each client device and specify this server’s IP Address as each client’s Primary DNS Server. Then, all local queries would be routed to this new server. If there are any queries the DNS server does not know about, it will either send them to a Forwarder (I’ll get to this soon…) or use the Root Hints for Internet lookups. However, as I said, this is the most basic.
Advanced DNS server management (Beyond the basics)
There are a few more advanced topics I will touch on in this article. These are related to more advanced theory topics and will not apply to every environment out there, including yours. I am including them for completeness.
DNS Security Extensions (DNSSEC): Fortifying your DNS
Enable DNSSEC to protect against spoofing and cache poisoning. DNSSEC stands for Domain Name System Security Extensions. It’s a suite of specifications designed to add a layer of security to DNS, which by default doesn’t verify the authenticity of responses. Traditional DNS can be vulnerable to attacks like DNS spoofing or cache poisoning, where malicious actors redirect traffic to fraudulent sites.
So, why use DNSSEC on Windows Server?
- Protect Against Spoofing: Prevent attackers from injecting false DNS records.
- Integrity Assurance: Guarantees that DNS responses are accurate and unchanged.
- Compliance: Many security frameworks recommend or require DNSSEC for critical infrastructure.
Conditional forwarders: Directing specific queries
These are used to direct queries for specific domains to designated DNS servers. If the local DNS Server receives a query for a record it doesn’t have access to, or know, it will go to the ‘Conditional Forwarders’ tab in your Forward Lookup Zone and forward that query on. When it receives a response, it will then direct the result back to the asking client.
DNS scavenging: Keeping your records clean
DNS Scavenging is the process of routinely going through all the records in each Forward and Reverse Lookup Zone, and purge out old, stale records. If a computer gets decommissioned and is shut off for good, its common ‘A’ record will stay in the zone. But after x number of days the scavenging process will delete that record. The number of days and such is all configurable by you.
Troubleshooting common DNS server issues
Even with a perfect setup, DNS servers can run into problems. Here’s how to diagnose and fix the most frequent issues.
Firewall configuration problems
Symptom: Clients cannot resolve names, or DNS queries fail. Cause: Port 53 (UDP and TCP) is blocked by the firewall. Solution:
- Open Windows Firewall with Advanced Security.
- Ensure inbound rules allow DNS traffic on UDP/TCP port 53.
- If using a third-party firewall, verify similar settings.
Incorrect record entries
Symptom: Name resolution returns wrong IP addresses or fails. Cause: Misconfigured A, CNAME, or MX records. Solution:
- Open DNS Manager and review all records.
- Confirm that A records point to the correct IP addresses.
- Check MX records for proper mail server configuration.
- Use
nslookuporResolve-DnsNamein PowerShell to verify.
Network connectivity woes
Symptom: DNS server is unreachable. Cause: IP misconfiguration or network issues. Solution:
- Verify the server has a static IP address.
- Check connectivity using
pingandtracert. - Ensure the DNS server’s IP is correctly set on client machines.
Understanding the core of DNS: Why it matters
DNS (Domain Name System) is the backbone of the Internet. It translates human-friendly domain names such as microsoft.com into computer-readable IP addresses. Without DNS, navigating the web would mean memorizing long strings of numbers—not exactly user-friendly. Trust me, people would riot.
What is DNS and how does it work?
Think of DNS as the phonebook of the internet (an extremely LARGE phonebook). When you type a website name, DNS looks up the corresponding IP address and directs your browser to the right server. Web servers operate by responding to specific queries for IP addresses, not names like microsoft.com. This process happens in milliseconds, but it’s critical for seamless connectivity.
Why run your own DNS server on Windows?
Running your own DNS server gives you:
- Control over name resolution within your network.
- Performance improvements by reducing external DNS lookups.
- When configured via a DHCP Server, all of your client machines running Windows 10 and Windows 11 will be configured for you.
- Security through internal DNS management and advanced features like DNSSEC.
The next steps: Maintaining your DNS server
After all is said and done, you’ve completed the main project of installing and configuring a new DNS Server role in your environment. However, this is not really a ‘Set-It-and-Forget-It’ process.
You should come up with some routine maintenance and discovery steps. For example, you should regularly monitor logs, verify/validate/update records, and apply security patches. A well-maintained and documented DNS server ensures smooth network operations.
Frequently asked questions
How do I configure a DNS server on Windows?
You can configure DNS by going to Network & Internet Settings → Change adapter options, opening your network adapter properties, and editing Internet Protocol Version 4 (IPv4). Enter the preferred and alternate DNS server addresses manually and save the changes.
What DNS server addresses should I use in Windows?
You can use public DNS servers like Google DNS (8.8.8.8, 8.8.4.4) or Cloudflare DNS (1.1.1.1, 1.0.0.1). These are commonly used for better performance and reliability.
How do I check my DNS server settings in Windows?
Open Command Prompt and run ipconfig /all. The output will show the DNS servers currently assigned to your network adapter.
Can I configure DNS using Command Prompt in Windows?
Yes, you can use the netsh command to set DNS servers from Command Prompt. This method is useful for automation or remote configuration but requires administrator privileges.

Michael has been an IT Pro since 1998. He has worked predominantly in the Windows world including client and server operating systems, on-prem systems engineering (AD, DNS, etc.), and over the last ten years or so has embraced and immersed himself in...