How to Enable Entra ID (Azure AD) Password Protection: A Step-by-Step Guide

As an IT admin, preventing your users from using simple or known-hacked passwords has become critical for the overall security of your enterprise. An excellent step to take is to plan for and deploy Azure AD Password Protection. In this article, I’ll walk you through installing the Proxy service and DC agent in your on-premises Active Directory, then register them with your Microsoft Entra ID tenant.
What is Entra ID Password Protection?
More often than you want to admit, users in your organization often create passwords using common local words like a birthday, a child’s name, a school, or even a famous person. Because these passwords are easy to guess, they open up your enterprise to hackers and major security risks.
To enforce strong and complex passwords in your environment, Azure AD Password Protection provides a global and automatically downloaded banned password list. A local password change request will fail if a user attempts to use a banned password from the file.
The first steps to implement Entra ID Password Protection include installing the proxy service and domain controller (DC) agent software on a few of your on-premises servers. Then you register these with your Microsoft Entra ID tenant.
There are two modes that the solution runs in, Audit mode and Enforce mode:
- Audit mode is used to monitor and log infractions from your users changing their passwords.
- After you pilot the software for a while, you can switch to Enforce mode which will block users from changing their passwords with a banned password.
Entra ID Password Protection licensing
Is Entra ID Password Protection free? Well, that depends. The two downloads you’ll use (the proxy service and DC agent I mentioned above) are no-cost. The only potential cost is listed in the table below.
If your environment is running on hybrid mode with both Active Directory and Azure AD, you will need either Azure AD Premium P1 or P2 licenses for your users. If you happen to have ‘cloud-only’ users and only wish to use the global banned password list, then there will be no costs for your organization.
Here is a small table that details what specific features require Azure AD Premium license plans.
| Users | Azure AD Password Protection with global banned password list | Azure AD Password Protection with custom banned password list |
|---|---|---|
| Cloud-only users | Azure AD Free | Azure AD Premium P1 or P2 |
| Users synchronized from on-premises AD DS | Azure AD Premium P1 or P2 | Azure AD Premium P1 or P2 |
How are passwords evaluated with Entra ID Password Protection?
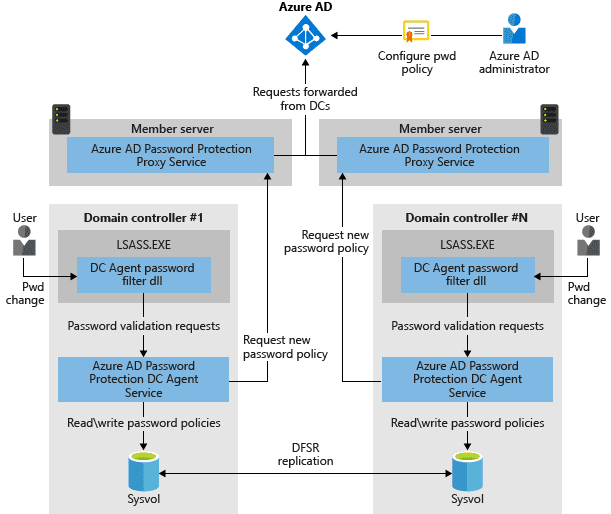
If you look at the architectural diagram provided by Microsoft below, you get an idea of how the tool works.
- A user initiates a password change.
- The DC agent on one of your domain controllers processes the password filter DLL and sends the request to the proxy service on one of your domain member servers.
- The DC agent service processes them by using the current password policy and returns a result of pass or fail.
Global banned password list
Azure AD Password Protection includes a global banned password list. The content of this list isn’t publicly available, but it’s based on the ongoing results of Azure AD security telemetry and analysis of user passwords utilized in Azure AD.
When a user tries to change their password, the desired password will be checked against this list. This will happen automatically for every Azure AD customer.
Custom banned password list
To offer customers more flexibility on what passwords are allowed in your organization, Azure AD Password Protection also supports custom-banned password lists. These lists work alongside the global list mentioned above to enforce your enterprises’ specific requirements in terms of words that may resemble people, products, headquarter sites, etc.
Users will see an error like these when trying to use one of these custom-banned passwords:
- Unfortunately, your password contains a word, phrase, or pattern that makes your password easily guessable. Please try again with a different password.
- Unfortunately, you can’t use that password because it contains words or characters that have been blocked by your administrator. Please try again with a different password.
Password spray attacks and third-party compromised password lists
Another security threat addressed by Azure AD Password Protection is password spray attacks. The majority of password spray attacks submit only a handful of known insecure passwords against each of the accounts in an organization.
Azure AD Password Protection blocks all known weak passwords likely to be used in these password spray attacks. This is based on real-world security telemetry data from Azure AD to build the aforementioned global banned password list. Because third-party websites that contain millions of compromised passwords are geared towards brute-force methods of invasion, those techniques aren’t the best way to improve overall password strength.
What are the requirements for Entra ID Password Protection?
Let’s take a look at the requirements for implementing Azure AD Password Protection. Then I’ll offer some guidance on how to deploy this solution, how many servers to use, how many DCs to install the agents on, and more.
Here are some general Windows Server software requirements from Microsoft to be aware of.
- All machines, including domain controllers, that have Azure AD Password Protection components installed must have the Universal C Runtime installed.
- You need an account that has Active Directory domain administrator privileges in the forest root domain to register the Windows Server Active Directory forest with Azure AD.
- The Key Distribution Service must be enabled on all DCs in the domain that runs Windows Server 2012 and later versions. This service is enabled via a manual trigger start by default
- Network connectivity must exist between at least one domain controller in each domain and at least one server that hosts the proxy service for Azure AD Password Protection. This connectivity must allow the domain controller to access RPC endpoint mapper port 135 and the RPC server port on the proxy service.
- All machines where the Azure AD Password Protection Proxy service will be installed must have network access to https://login.microsoftonline.com for authentication requests and https://enterpriseregistration.windows.net for Azure AD Password Protection functionality.
There are other requirements for the Azure AD Password Protection DC agent and proxy service, and you can check out the support page on Microsoft Learn for more details.
How to implement Entra ID Password Protection
Now that we have all the requirements fresh in your mind, let’s start with the installation steps. We’ll begin with the proxy service.
Deploying the Entra ID Password Protection proxy service
This first install step will typically require at least two member servers in your Active Directory domain. These servers will communicate with Azure AD to maintain a copy of the global and custom banned password lists for your Azure AD tenant.
Note: each server can only provide password policies for a single forest. The server must be joined to the domain. You will also need network connectivity between at least one DC in each domain of the forest and one password protection proxy server.
To install the proxy service, we will first download the software from the Microsoft Download Center.
Here is my Downloads folder on one of my member servers (WS22-FS02).
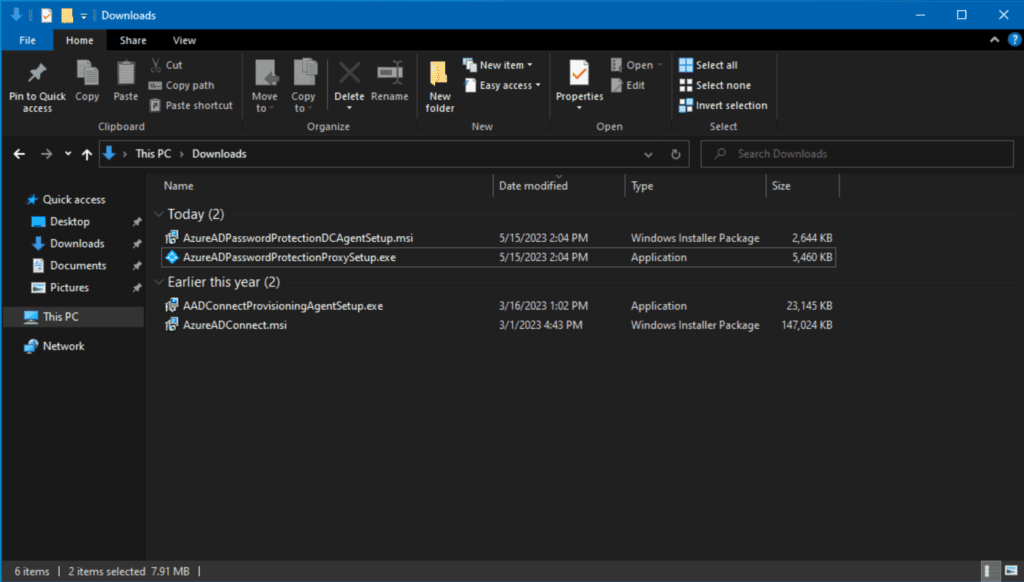
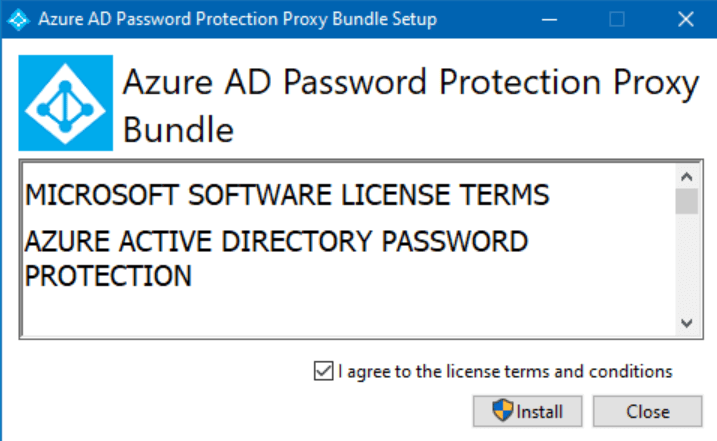
Let’s double-click on AzureADPasswordProtectionProxySetup.exe. We will check the license terms checkbox and click Install.
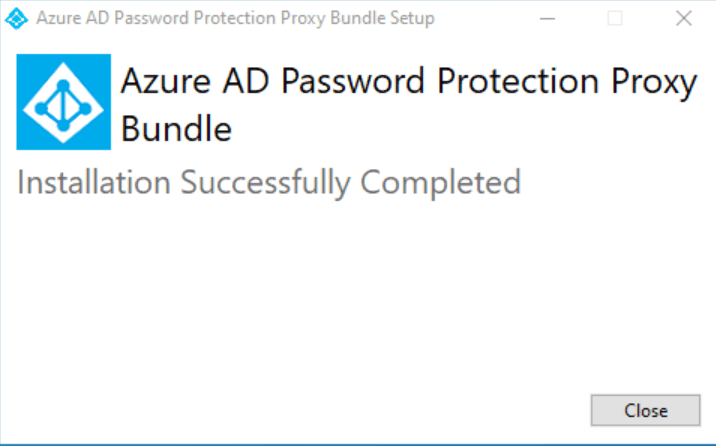
And we’re done!
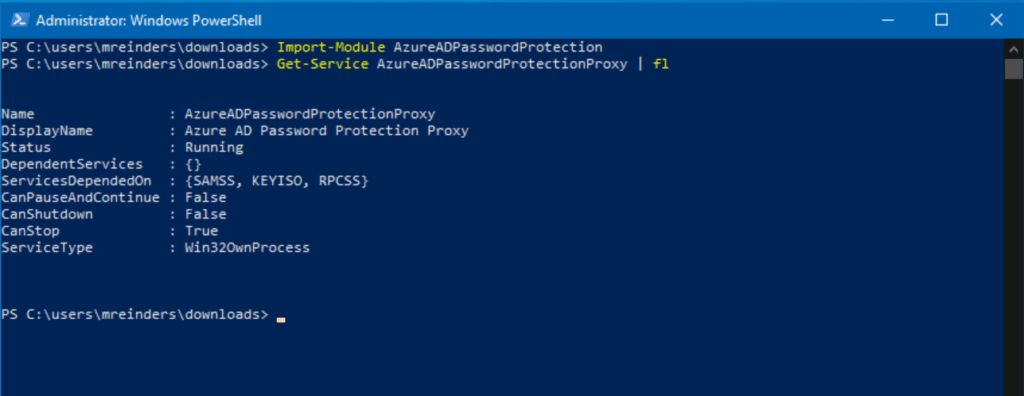
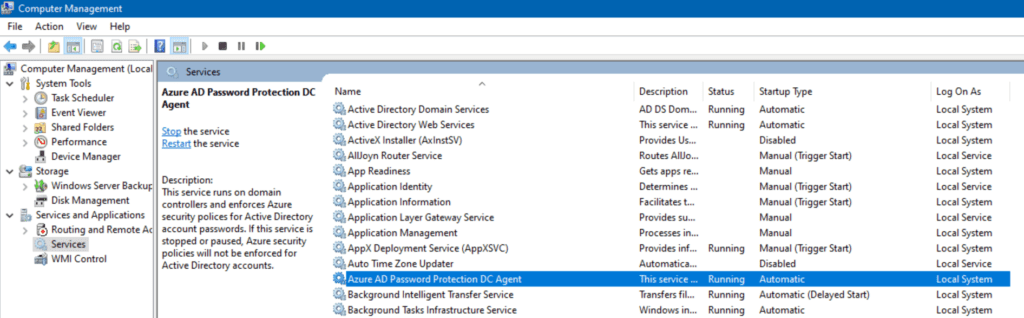
We now turn to PowerShell to finish the setup. Let’s first import the new module that was just installed with the Import-Module command. Then, we will run the Get-Service command to confirm that the service is running.
Import-Module AzureADPasswordProtection

Get-Service AzureADPasswordProtectionProxy | fl
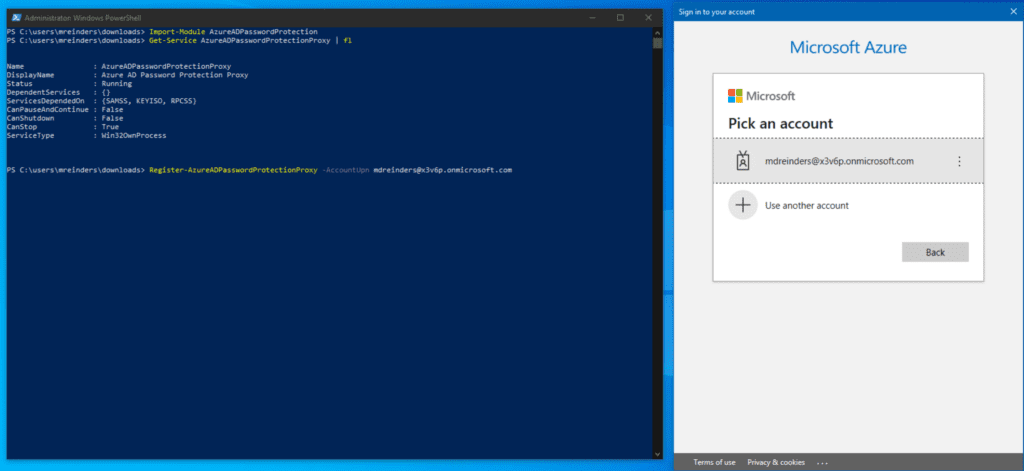
Next, we need to register the idle proxy with our Azure AD tenant. You will need a Global Administrator account to provision your first proxy service in your tenant. Although various authentication methods are available, let’s go with the most common and do it interactively.
Register-AzureADPasswordProtectionProxy -AccountUpn '[email protected]'
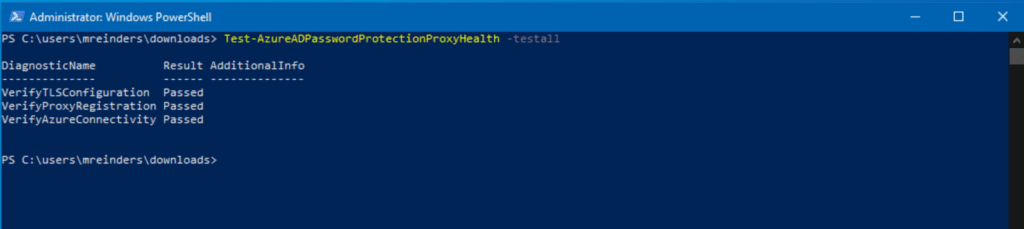
No news is definitely good news. Let’s run a test command and verify the config worked.
Test-AzureADPasswordProtectionProxyHealth -Testall
Yes! Looking good so far. Next, we register our on-premises AD forest with the appropriate credentials to communicate with Azure. You will need to use an account with either Global Administrator or Security Administrator rights, Enterprise Administrator AD rights, and an account with local administrator permissions. Yikes.
Register-AzureADPasswordProtectionForest -AccountUpn [email protected]
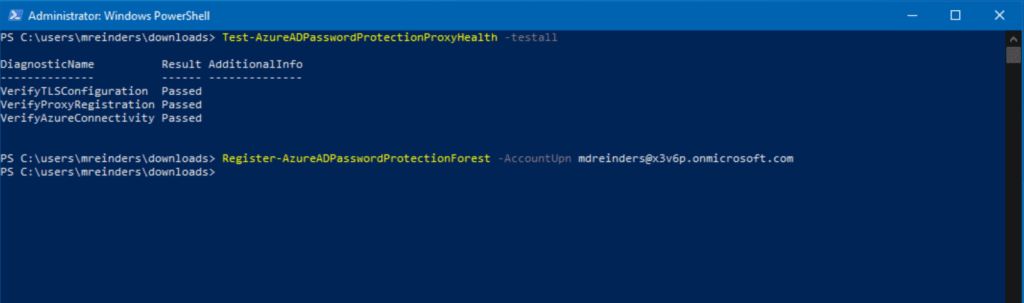
Again, we’re solid. Let’s move on to the DC agent!
Deploying the Azure AD Password Protection DC agent
If that seemed like a lot of steps, don’t worry. There’s literally a single step for installing the Azure AD Password Protection DC agent.
From the earlier download location, you just need to install the .MSI file and that’s it! I’ve logged into one of my DCs (WS16-DC2) and am double-clicking on the AzureADPasswordProtectionDCAgentSetup.msi file.
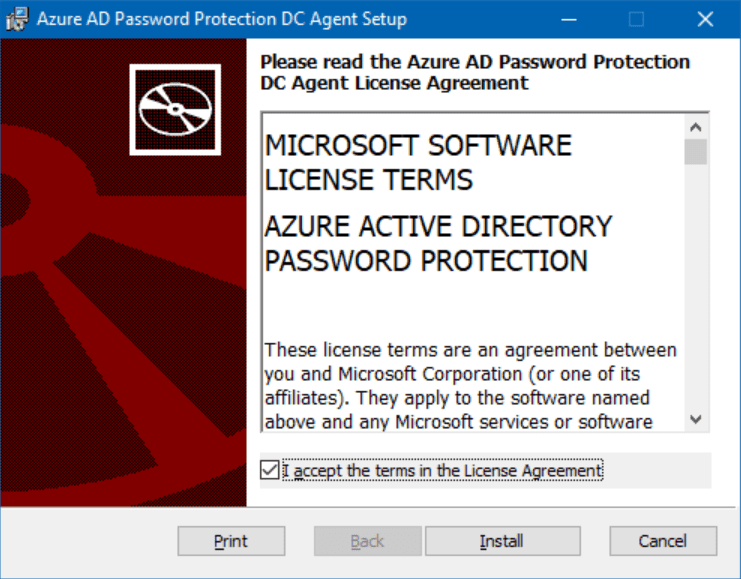
Let’s check the license agreement box and click Install.
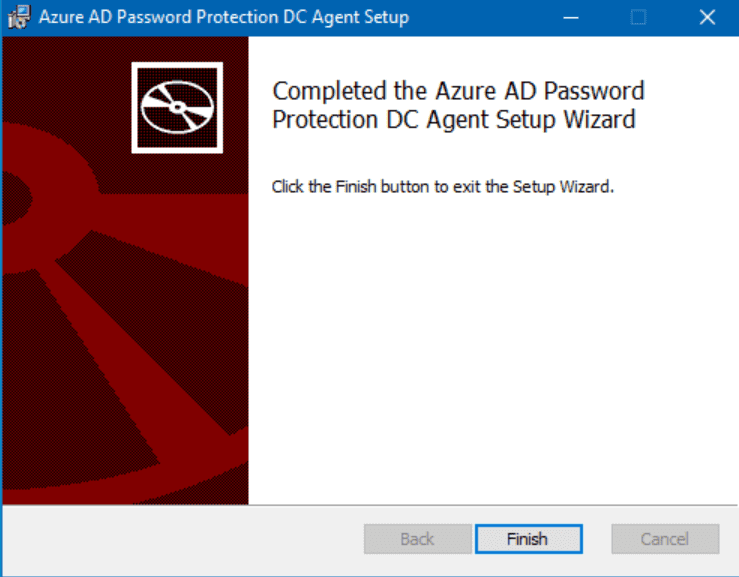
That’s all there is to it! Oh, and a reboot.
Looks like we’re 5 by 5 (Aliens reference, thank you very much…).
Enabling on-premises Azure AD Password Protection (in Azure)
There is one final step. We need to enable this feature in the Microsoft Entra IDadministrative center.
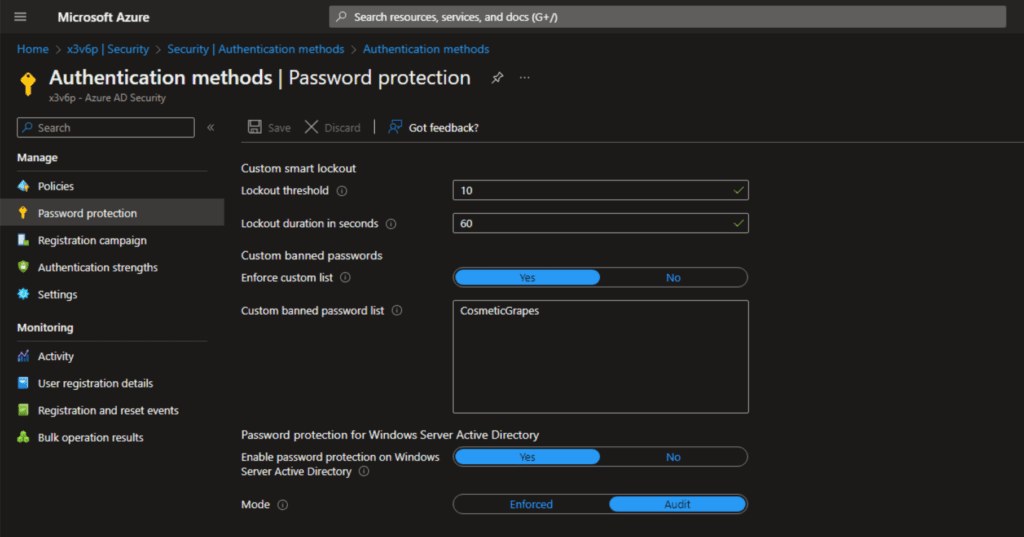
On the left navigation, first, click Security -> Authentication methods -> Password protection.
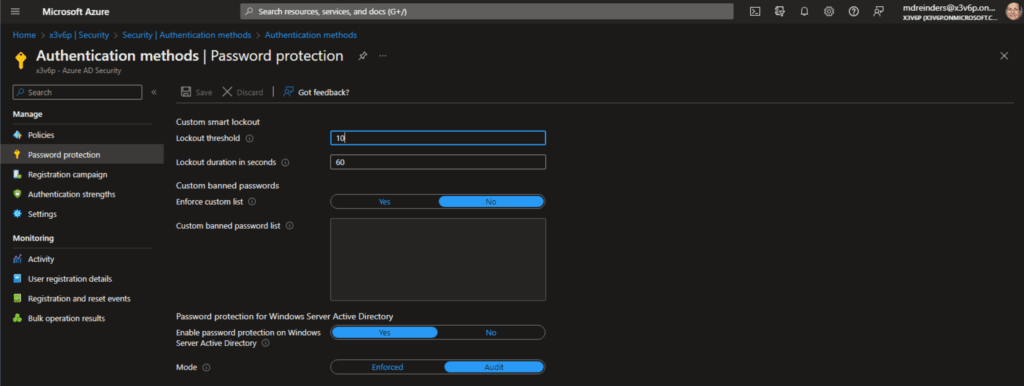
That’s interesting: Here, the Enable password protection on Windows Server Active Directory feature is already enabled and set to Yes. Plus, we are in Audit mode, meaning only banned password change events are logged. Users are NOT blocked… yet. When you switch to Enforce, users WILL be blocked when attempting to change their password from the list.
Enabling Entra ID Password Protection is worth it
This is a relatively easy-to-install solution that will help you control your users’ security. Implementing the custom banned password list will prevent your users from using common publicly known product names, headquarter sites, and even local sports team names from being used as passwords.
If you have any questions or comments, please leave them below, and thanks for reading!
FAQ
What are the advantages of implementing Entra ID password protection in a cloud-first environment?
Entra ID password protection offers several benefits for cloud-first organizations, including real-time password validation against emerging threats, automatic updates to banned password lists, and seamless integration with Microsoft 365 services. The solution also provides detailed reporting on password change attempts and potential security risks without requiring additional infrastructure.
How does Entra ID password protection handle multi-language password restrictions?
Entra ID password protection includes multi-language support for password validation, analyzing common words and phrases across different languages and character sets. This ensures comprehensive protection against weak passwords regardless of the language or locale settings used by your organization.
Can Entra ID password protection be integrated with third-party identity providers?
Entra ID password protection can be configured to work alongside third-party identity providers through federation services, ensuring consistent password policies across hybrid identity environments while maintaining the advanced security features of the Microsoft ecosystem.
What recovery options are available if Entra ID password protection blocks a legitimate password?
Administrators can implement emergency access procedures through privileged identity management, allowing temporary bypasses of Entra ID password protection policies when necessary. The system also includes rollback capabilities for custom banned password lists if policy adjustments are needed.
How does Entra ID password protection impact password reset processes in large enterprises?
Entra ID password protection streamlines password reset workflows by providing immediate feedback on password strength, reducing help desk calls, and enabling self-service password resets that comply with corporate security policies while maintaining user productivity.

Michael has been an IT Pro since 1998. He has worked predominantly in the Windows world including client and server operating systems, on-prem systems engineering (AD, DNS, etc.), and over the last ten years or so has embraced and immersed himself in...