The Ultimate Guide to Installing OpenSSH on Windows
As a seasoned, or even new IT Pro, you’re likely an avid user of Putty, using secure shell (SSH) to connect to Unix/Linux servers, computers, and even Windows machines for an efficient and secure remote command-line experience. Well, did you know Windows 10, Windows 11, and Windows Server 2019 (and Windows Server 2022) include an open-source implementation of SSH?
In this mega ‘how-to’ guide, you’ll learn how to install and configure OpenSSH on Windows. Find out how to connect remotely to Linux, Unix, Oracle, Windows, Windows Server, and other operating systems via the secure command line.
How is SSH implemented in Windows?
There are two separate components of OpenSSH in Windows – an SSH client and an SSH server. Microsoft implemented both in Windows using OpenSSH Client and OpenSSH Server respectively.
And there are also two main methods to install and uninstall these components in Windows. The OpenSSH Client feature is installed by default in higher-end versions of Windows.
The Client is like the functionality of Putty. It allows you to make ‘client’ connections to other servers and devices using various secure protocols.
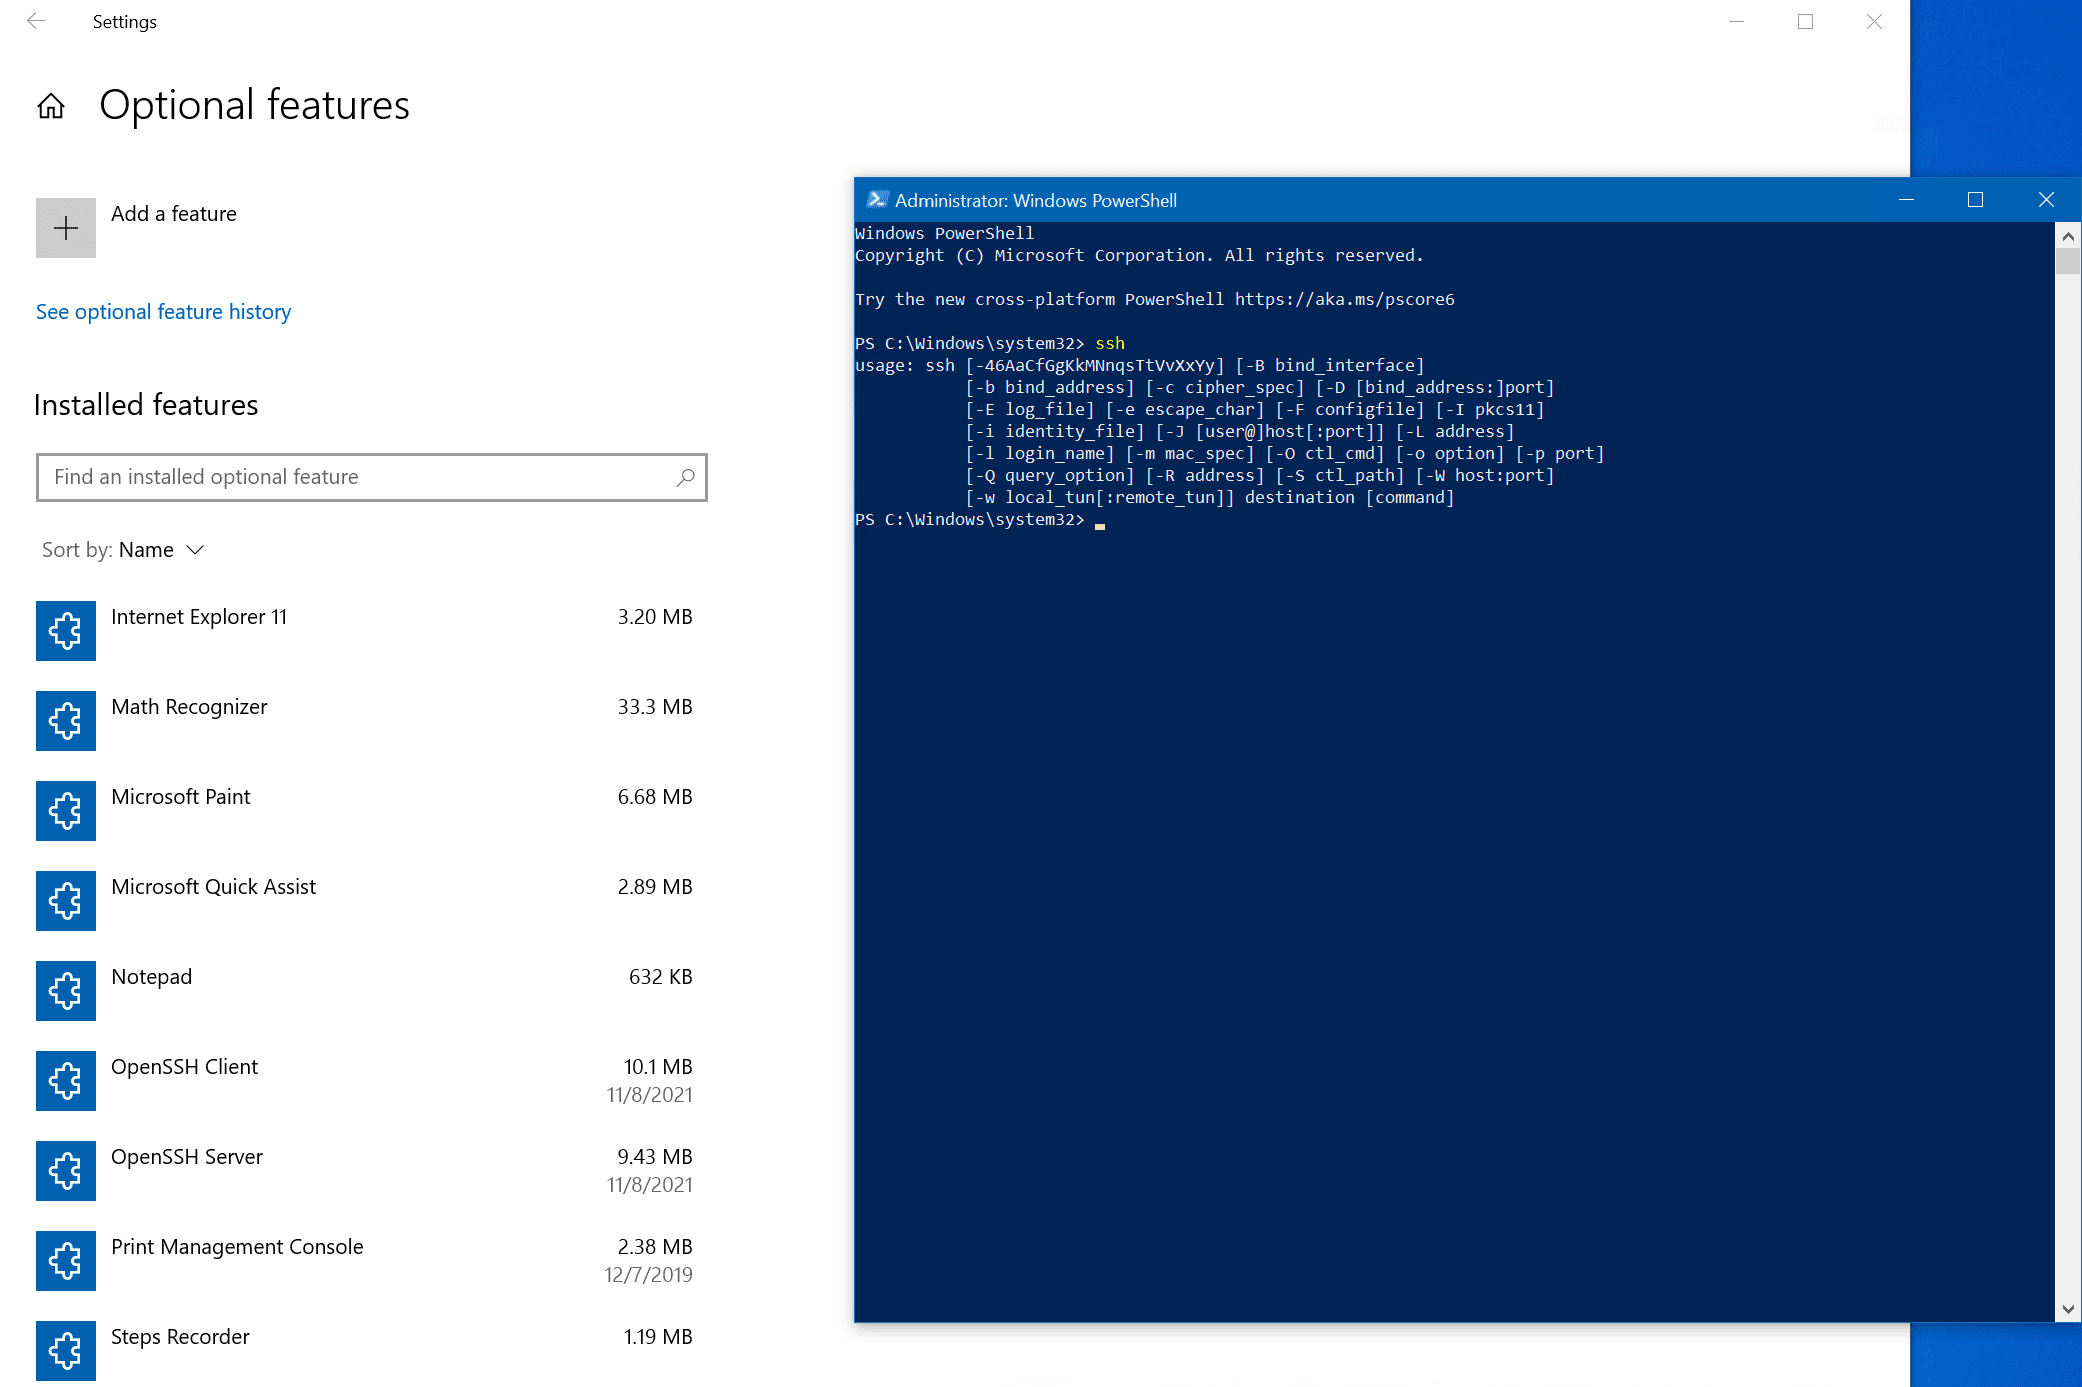
You can confirm if you have the client installed by opening a command prompt or PowerShell prompt and typing ‘ssh’ and hitting Enter. You will be provided with an overview of how to use the ssh command if it is already installed.
Install OpenSSH using Windows Settings
To install OpenSSH Client, let’s first use the more modern approach – Windows Settings.
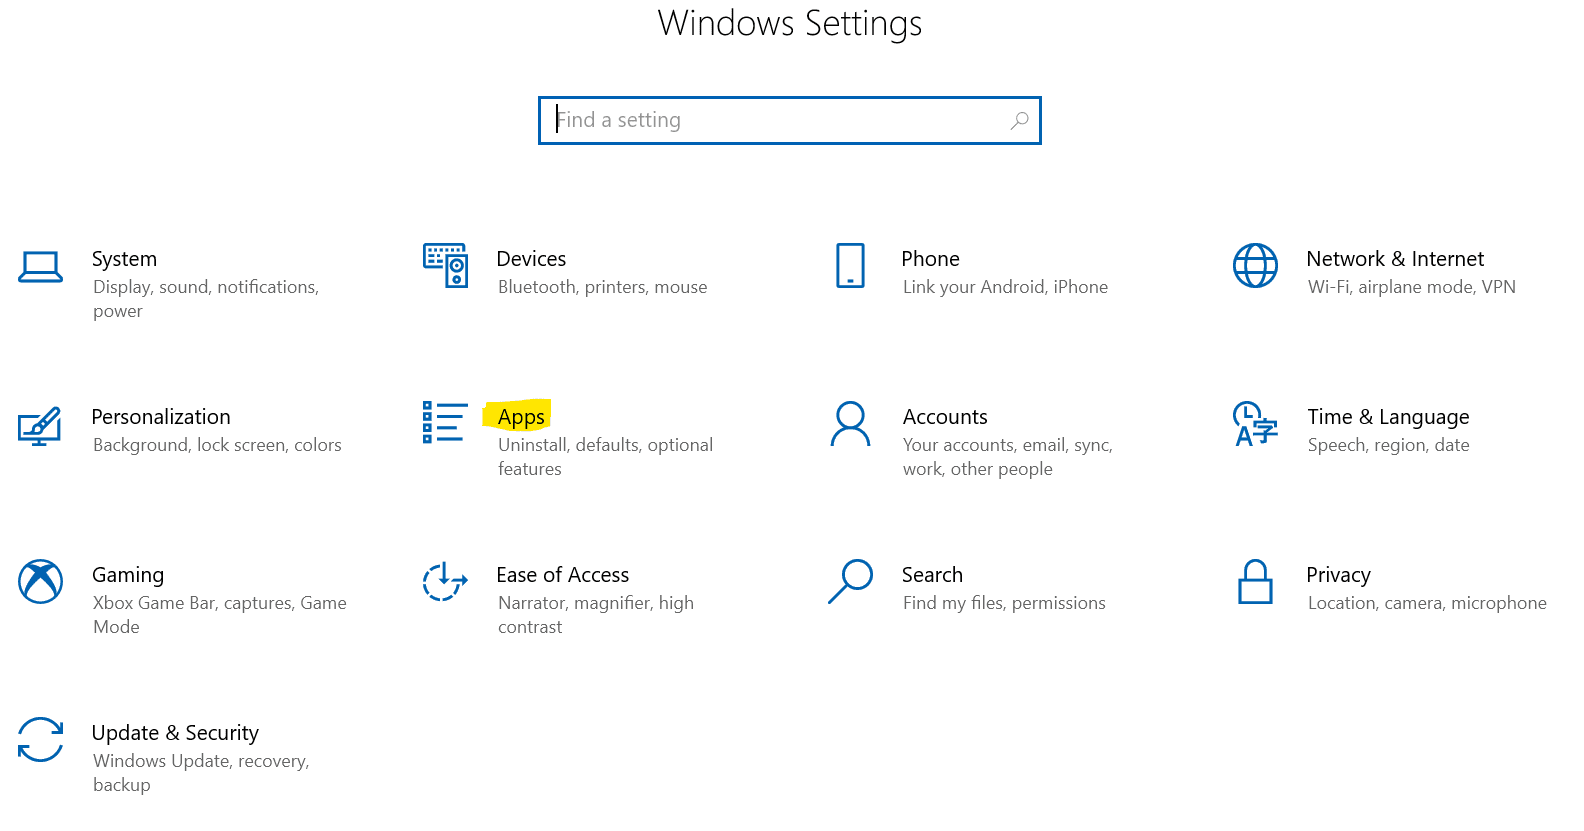
First, click the Start button, then click Settings. Next, click the ‘Apps‘ category.
Click the ‘Add a feature’ ‘+‘ at the top of the ‘Optional features’ window.
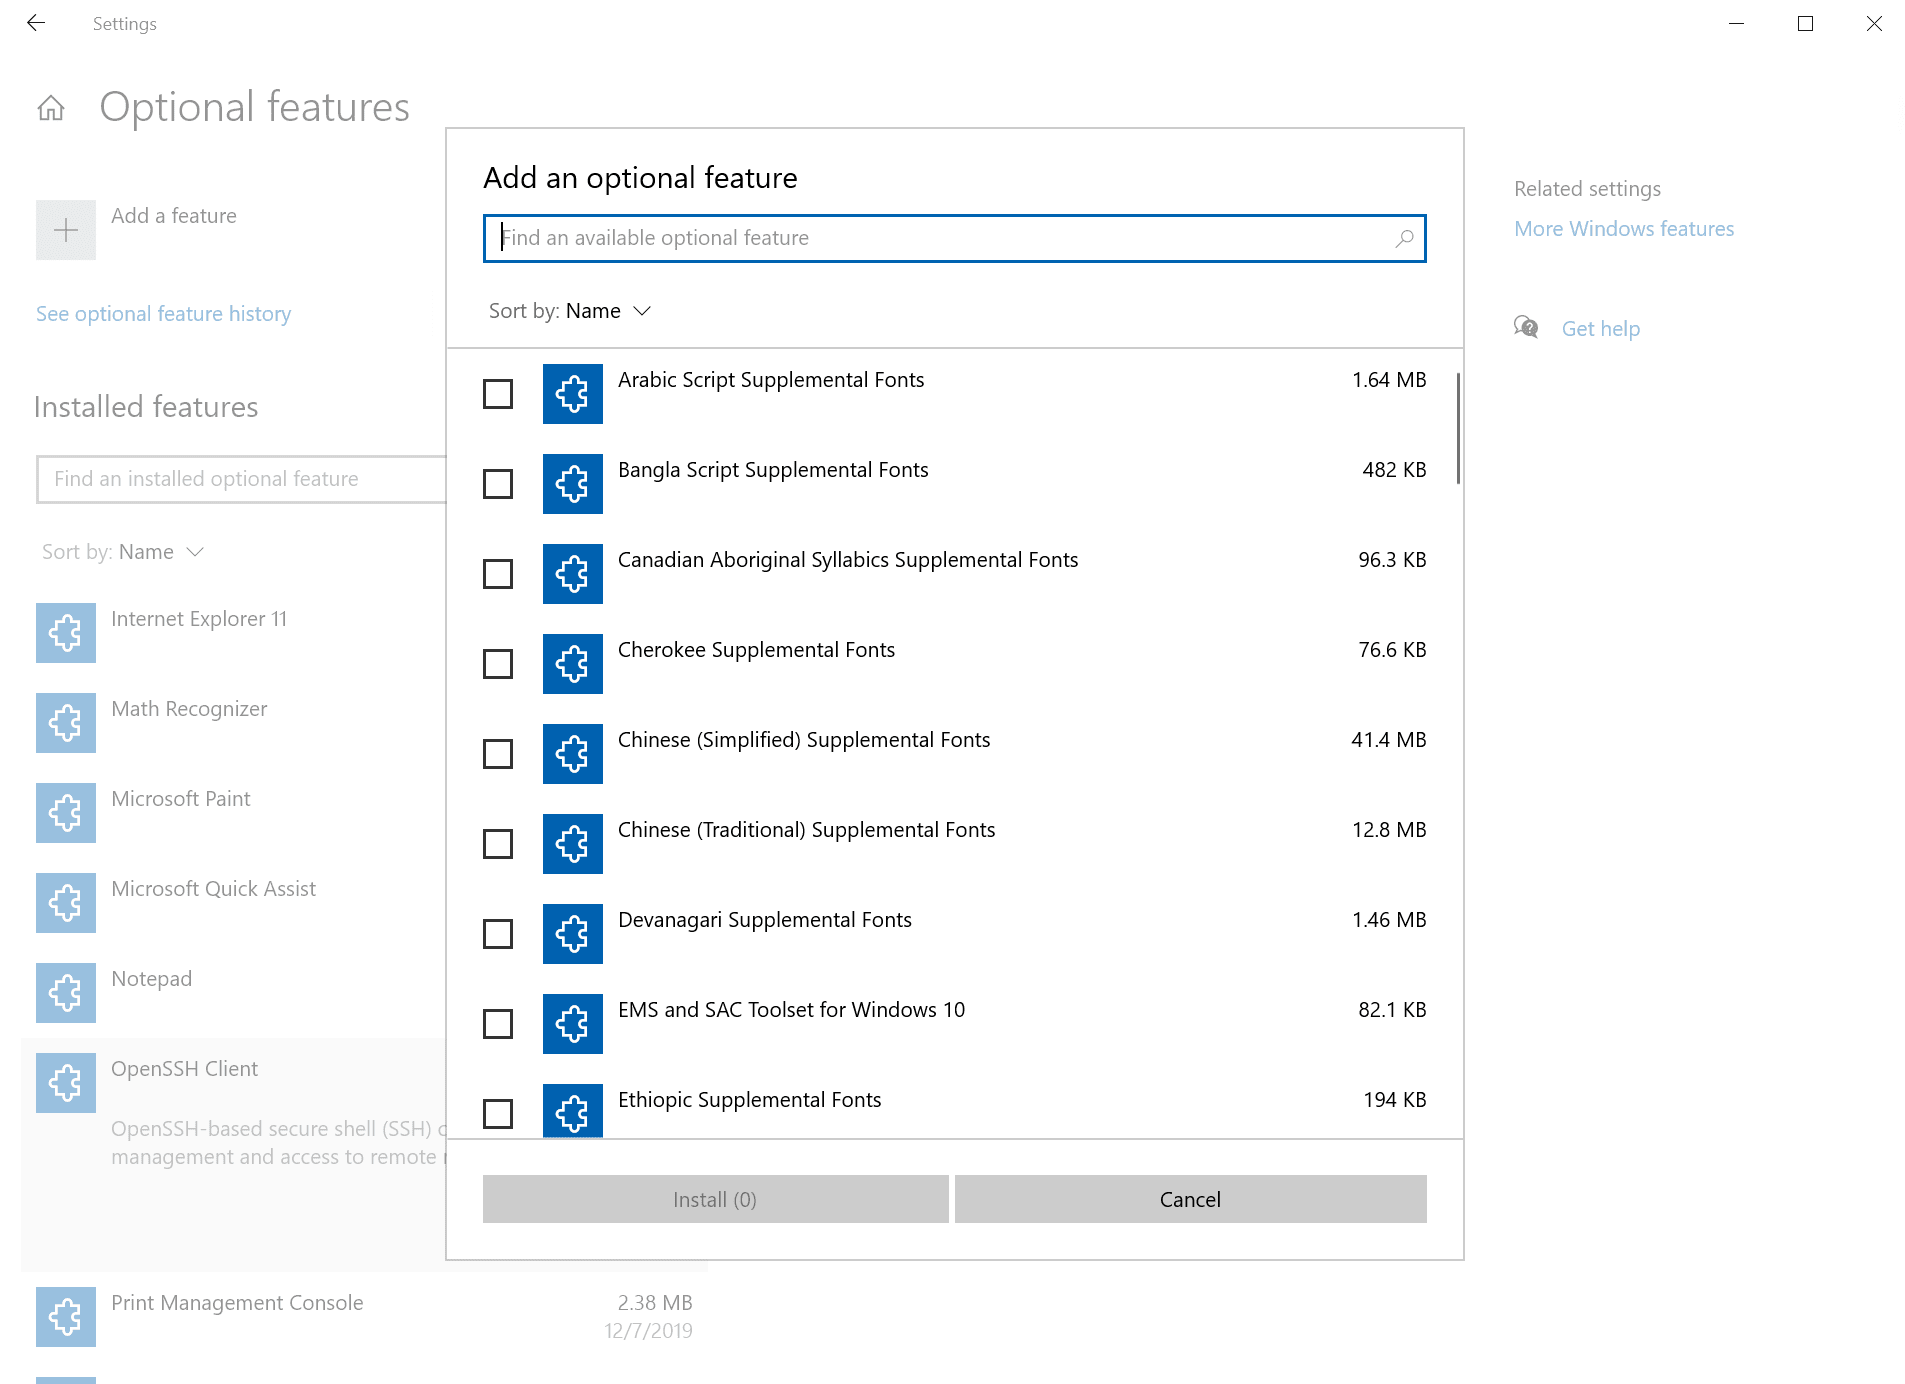
Scroll down to ‘OpenSSH Client’, place a checkmark next to it and click the ‘Install’ button. Wait a few moments, and we’re good!
Install OpenSSH using PowerShell
The other core method to installing OpenSSH is using PowerShell. Fire up an administrative PowerShell prompt and type in this command to install the ‘OpenSSH Client’ feature.
Add-WindowsCapability -Online -Name OpenSSH.Client~~~~0.0.1.0
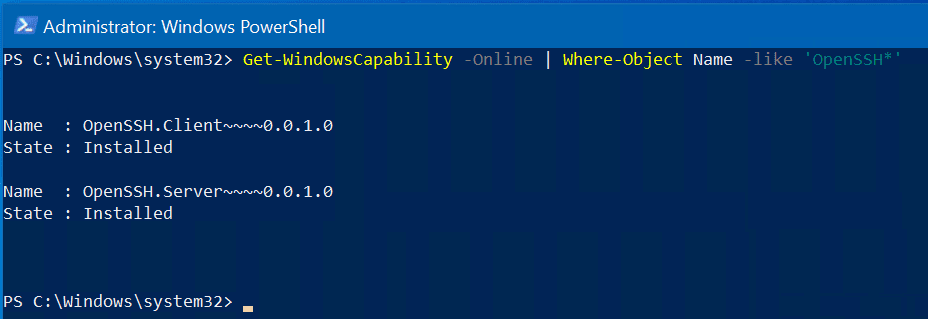
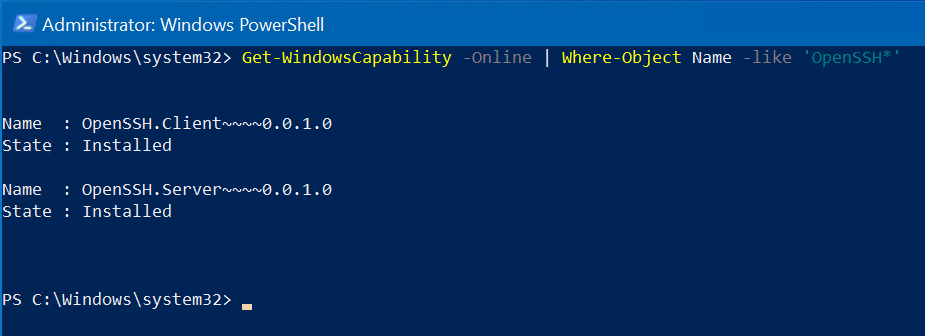
You can run this command to confirm the feature is installed.
Get-WindowsCapability -Online | Where-Object Name -like 'OpenSSH*'
Start and configure OpenSSH Server
As you may have noticed, you can install OpenSSH Client and OpenSSH Server on Windows 10 and Windows Server 2019/2022 (You need at least Windows Server 2019 to host OpenSSH Server). I will now switch to one of my Windows Server 2022 servers and demonstrate how to start up the ‘Server’ part of the implementation and test connections from Windows 10.
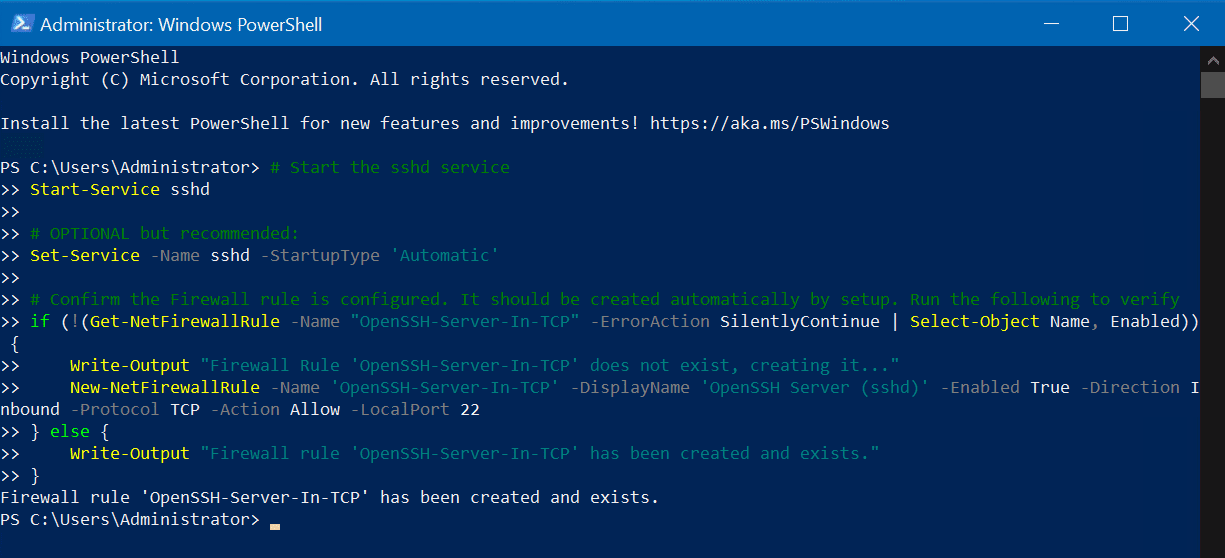
Fire up another administrative PowerShell prompt and run these commands.
# Start the sshd service
Start-Service sshd

# OPTIONAL but recommended:
Set-Service -Name sshd -StartupType 'Automatic'

# Confirm the Firewall rule is configured. It should be created automatically by setup. Run the following to verify
if (!(Get-NetFirewallRule -Name "OpenSSH-Server-In-TCP" -ErrorAction SilentlyContinue | Select-Object Name, Enabled)) {
    Write-Output "Firewall Rule 'OpenSSH-Server-In-TCP' does not exist, creating it..."
    New-NetFirewallRule -Name 'OpenSSH-Server-In-TCP' -DisplayName 'OpenSSH Server (sshd)' -Enabled True -Direction Inbound -Protocol TCP -Action Allow -LocalPort 22
} else {
    Write-Output "Firewall rule 'OpenSSH-Server-In-TCP' has been created and exists."
}
This will start the secure SSH service (Server), set its service settings to ‘Automatic’ so it runs every time the server boots, and verify all the appropriate Windows Firewall rules are in place to allow client connections on TCP localport 22 through Windows Server’s built-in Windows Defender software-based firewall.
Success!
Using SSH in Windows Terminal
If you’ve gotten on the Windows Terminal bandwagon like many an IT Pro that I’ve spoken with, you’ll be pleased to know you can set up new profiles to fire up OpenSSH connections to your favorite servers at the touch of a profile dropdown button!
Let me show you the steps you can perform to add a profile for OpenSSH in your lovely Windows Terminal configuration. This will allow you to open your favorite SSH connection right from the profile dropdown in Windows Terminal, or even launch it when Windows Terminal starts on your computer.
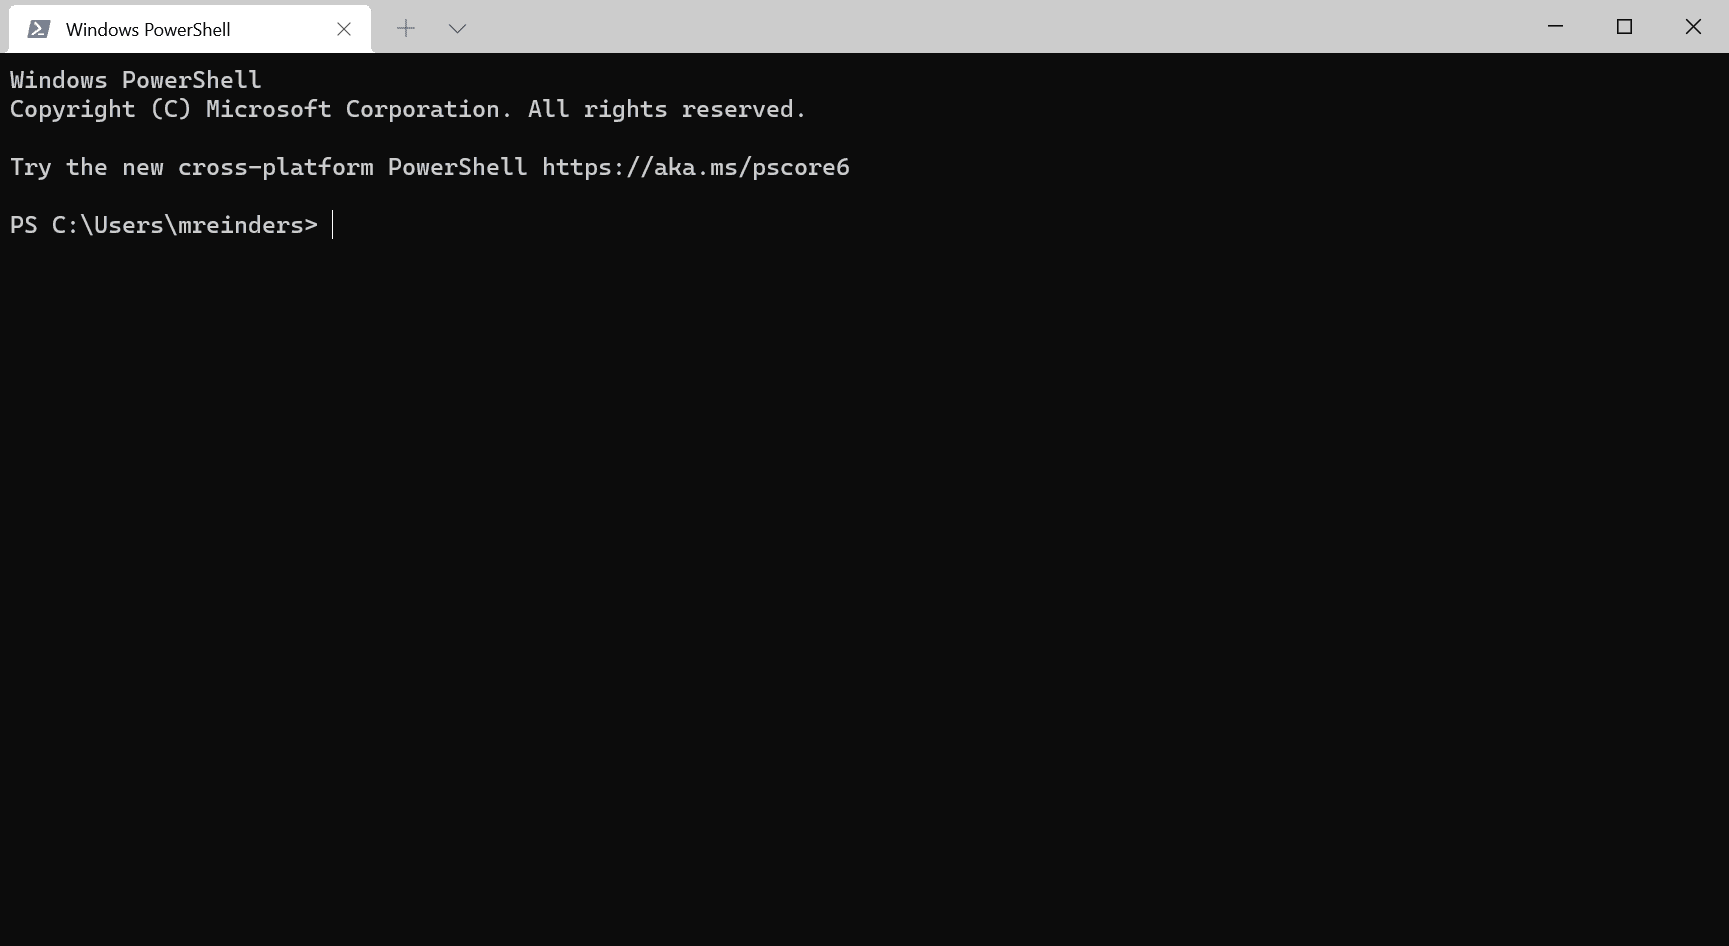
First, launch Windows Terminal if it’s not already running on your computer.
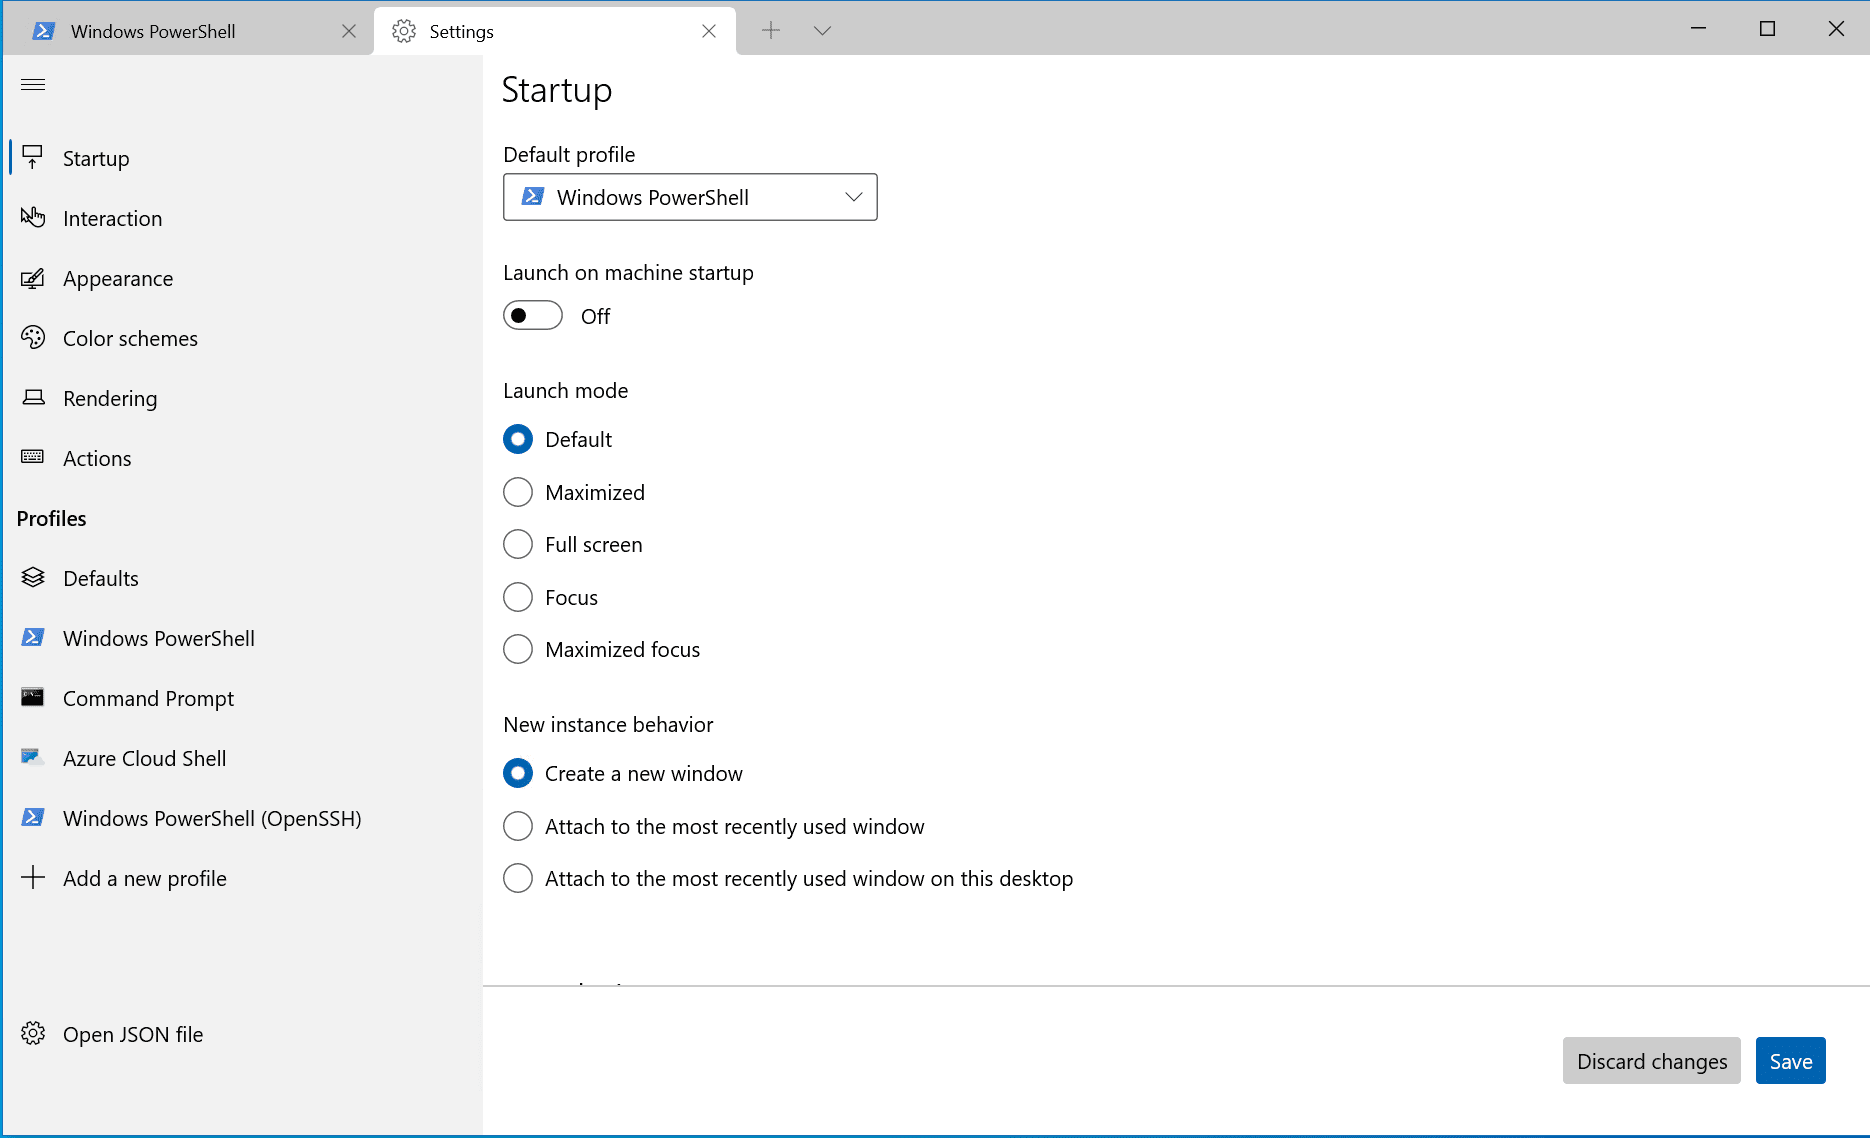
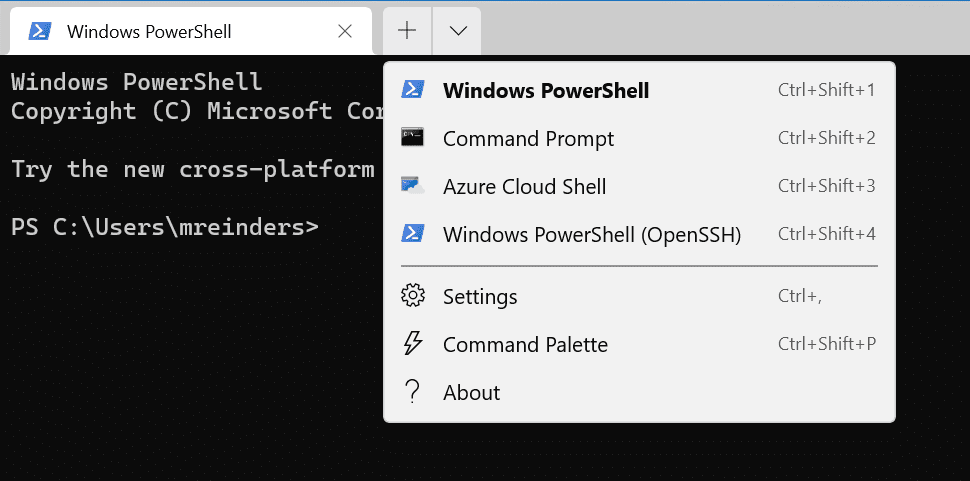
Click the arrow dropdown to the right of the ‘+’ sign and click Settings.
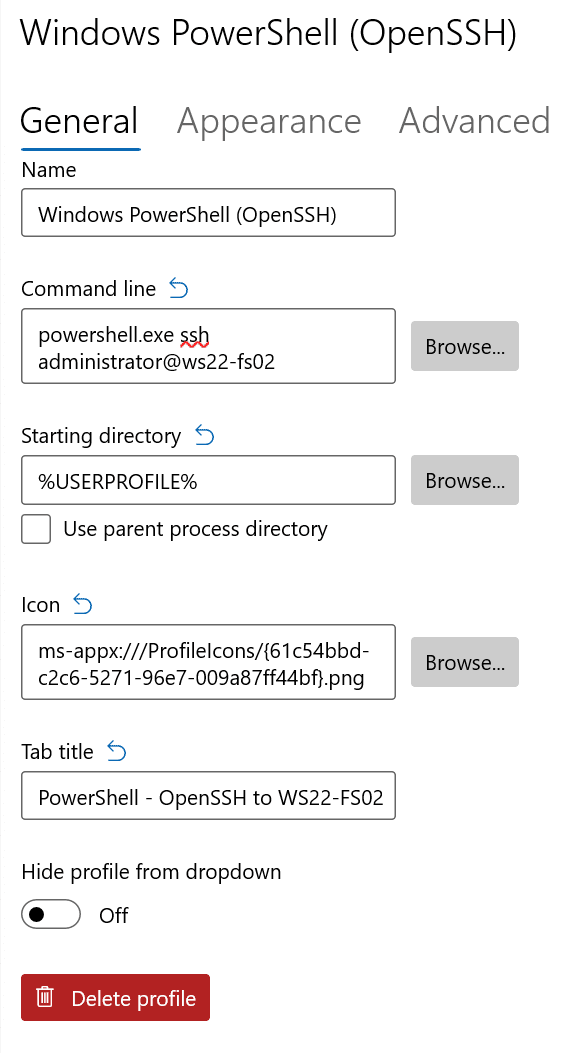
Click the ‘+ Add a new profile’ link at the bottom of the Profiles list. Click to select the ‘Windows PowerShell’ profile to choose as a template and click the ‘Duplicate’ button. You can choose whatever you prefer in the Name, Starting directory, and Tab title fields, including a different icon if you wish, but the key is in the ‘Command line’ field.
You have the option of typing in our custom ‘ssh’ command or appending said command to the end of whichever console you’re launching/using (cmd.exe, powershell.exe, etc.). We are using the following to connect to my ‘WS22-FS02′ server where ‘OpenSSH Server’ is installed: ‘ssh username@servername.’
Or, in our case, ‘ssh administrator@ws22-fs02′. Then, be sure to click Save in the lower-right corner of the Settings page. (Don’t worry if some of the syntax here doesn’t ‘click’ yet…you’ll learn a bit more about connecting to SSH in the next section – Connect to OpenSSH Server.)
Now, click the same dropdown arrow and click your new profile. In my case “Windows PowerShell (OpenSSH)”. You’ll be prompted for credentials (again, you’ll understand in the next section…). Enter them, and voila!
Connect to OpenSSH Server
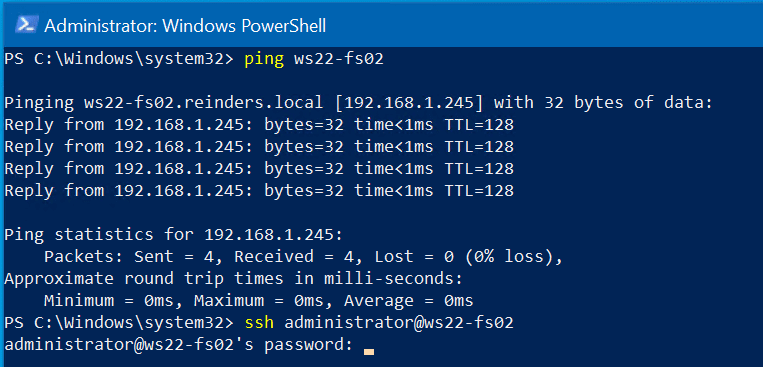
We are making excellent progress. We have our Windows Server 2022 server (WS22-FS02) configured to accept SSH incoming connections. We have the OpenSSH Client feature installed and verified on our Windows 10 system. We’ll first try a basic connectivity test by pinging the server.
We’ll then type in ‘ssh username@servername‘. Because the server’s name is ‘ws22-fs02’, we’ll use ‘ssh administrator@ws22-fs02’. We’ll get prompted for the account’s password because by default, the SSH server in Windows is set to use password authentication.
Enter your password and we’re in!
We are now running an administrative command prompt remotely and securely from our Windows 10 computer, using native open-source SSH. Pretty slick, huh?
Uninstall OpenSSH using Windows Settings
If you ever need to uninstall OpenSSH components for security, compliance, or any other reason, it’s straightforward via Windows Settings. Let’s walk you through.
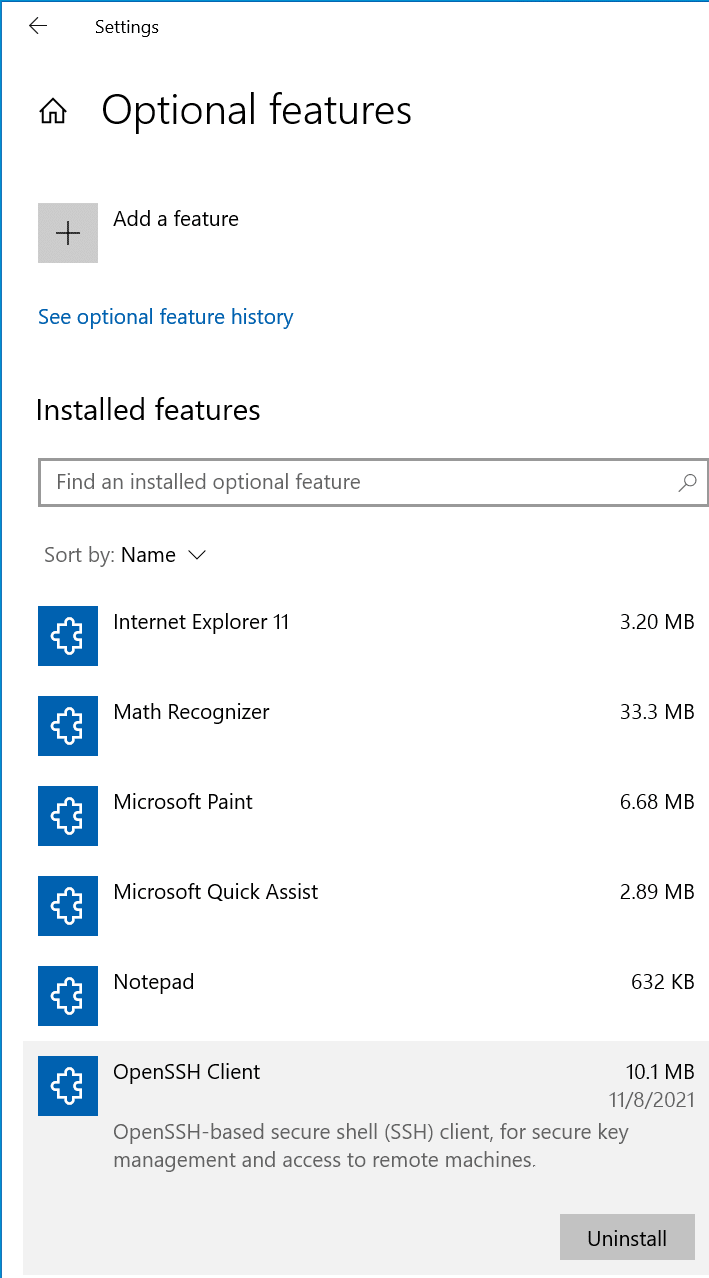
First, click the Start button, and click on Settings. Click the Apps category heading, then Optional Features.
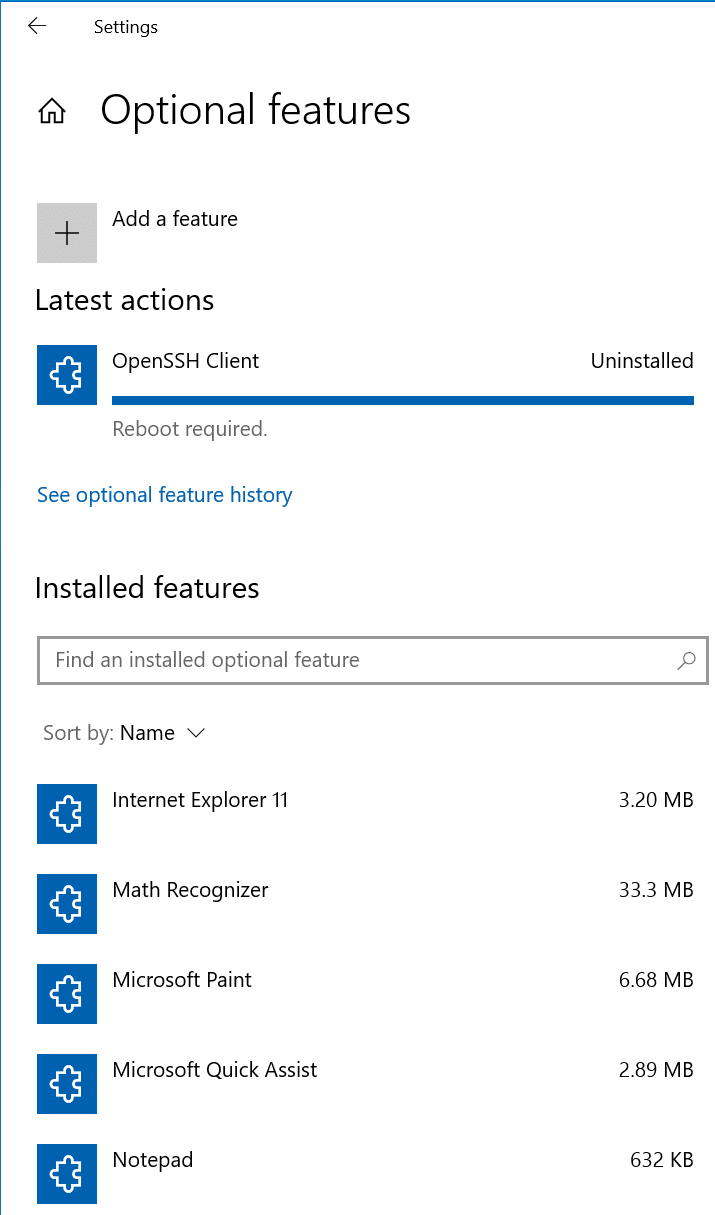
Click ‘OpenSSH Client‘ and click the Uninstall button.
Go ahead and reboot your computer if it prompts you to (assuming you can, should, and no one will yell at you for Rebooting the Exchange Server!!!) One of my favorite online IT Pro videos to watch from many years ago. Some of you will definitely resonate… (The Website is Down #1)
Uninstall OpenSSH using PowerShell
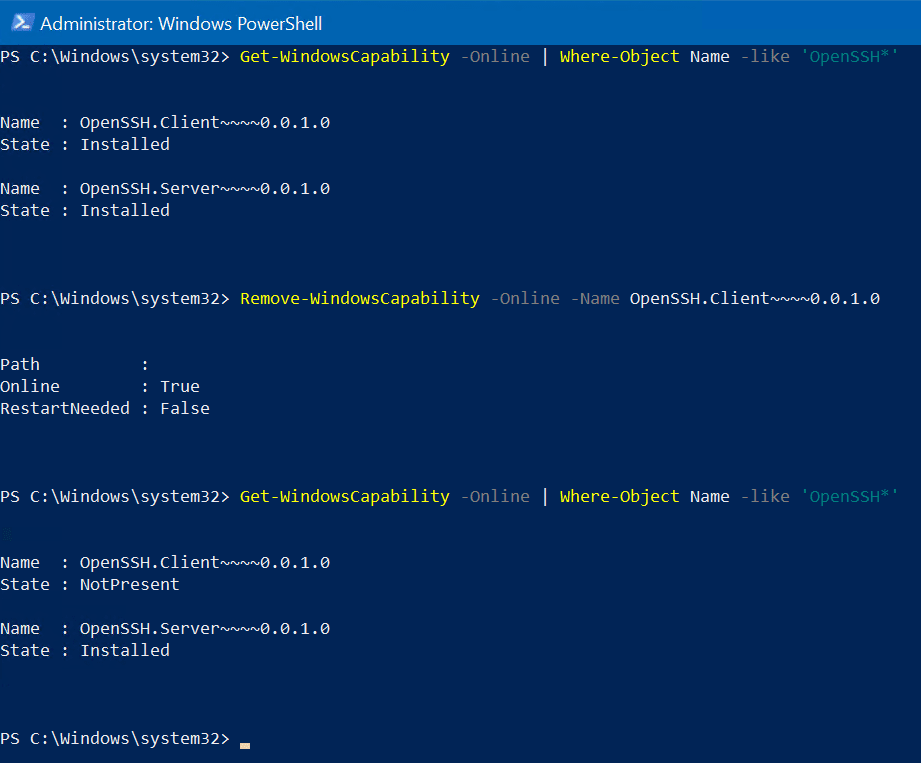
There are strikingly similar PowerShell commands to run to uninstall OpenSSH features in Windows compared to Installing them. I know, right? Mesmerizing. Go ahead and run this command to validate which OpenSSH components are installed on your system.
Get-WindowsCapability -Online | Where-Object Name -like 'OpenSSH*'
Run the following command to uninstall OpenSSH Client from your computer.
Remove-WindowsCapability -Online -Name OpenSSH.Client~~~~0.0.1.0
As you can see, I ran the ‘Get-WindowsCapability’ command again after the feature was uninstalled to confirm. All looks good!
There, that wasn’t so bad. Honestly, it’s pretty straightforward to get up and running fast with OpenSSH in Windows.


