How to Verify Domain Ownership in Office 365
In previous articles, I’ve dove deep into the process of integrating local Active Directory with Microsoft’s cloud-based Office 365 services. This process, known as federating, provides considerable advantages including local one-stop user management and single sign-on capability. As you can imagine, these are worthy goals of many IT admins embarking on Office 365 implementations.
Associate a Registered Domain Name with an Office 365 Account
One of the key steps on the path to successful federation is properly adding and verifying the domain to be federated into Office 365. This process both associates the external domain name to federate with the Office 365 account and proves to Microsoft that we are the owner of the domain and thus have the legal right to do what we’re trying to do. Bad things would happen if Microsoft allowed people to federate domains they didn’t own. Possibly humorous things, but bad things nonetheless.
To associate a registered domain name with an Office 365 account, follow these steps.
- Open Internet Explorer or your favorite web browser.
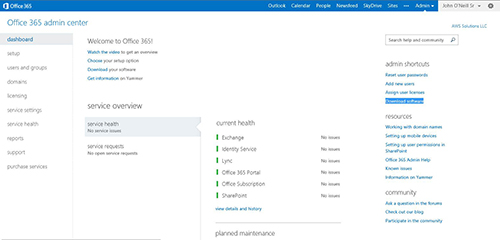
- Navigate to the Office 365 Admin Center.
- Login with a Microsoft Online Services ID with administrative rights to Office 365.
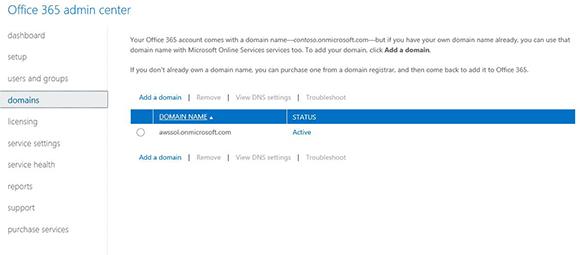
- From the dashboard, click Domains.
- Click Add a domain.
- Click Start step 1.
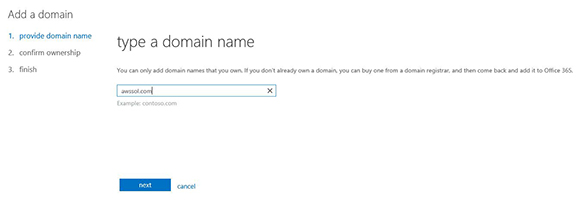
- Type the domain name to federate. This is the same one used as the UPN suffix for user accounts in Active Directory. In this example it’s awssol.com.
- Click Next.
- Drop down the list of step-by-step instructions and select General instructions.
- Scroll down and find the destination or points to value specified for a TXT record. The value will look something like MS=ms34397601. You need to remember this, so copy and paste it into Notepad, write it down, or memorize it like spelling words from elementary school.
- Click Continue later.
- Click Cancel to return to the Office 365 Admin Center domains screen.
Create a DNS TXT Record
To verify ownership of the domain, it’s necessary to create a TXT record in DNS using the value recorded earlier from the Office 365 Admin Center. Microsoft queries the external DNS servers for the domain to be federated checking for the existence of this TXT record. If the record is returned correctly, Microsoft infers we own the domain. If the record isn’t returned correctly things come to a standstill until it is.
Perform the following to create the DNS TXT record on either a Windows Server 2008 R2 or a Windows Server 2012 DNS server.
- Logon to the DNS Server hosting the external DNS for the domain to be federated.
- Open DNS Manager from Administrative Tools.
- Expand Forward Lookup Zones and right-click the domain name being federated.
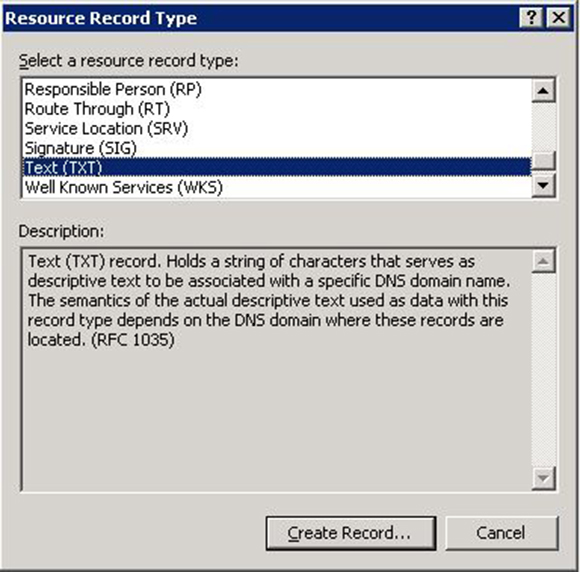
- Click Other New Records.
- Scroll down and select Text, then click Create Record.
- Leave Record name blank, but enter the TXT record destination or points to value obtained from the Office 365 Admin Center into the Text area. If you chose to memorize this information, think of this as the spelling test.
- Click OK.
- Click Done.
- Verify the new Text record is displayed correctly.
- Close DNS Manager.
It’s time to tell Microsoft to get the show on the road and verify that the TXT record has been created.
- Open Internet Explorer.
- Navigate back to the Office 365 Admin Center.
- Login again with your Microsoft Online Services ID.
- From the dashboard, click Domains.
- Click Setup in progress next to the domain being added.
- Click Start step 1.
- Click Done, verify now.
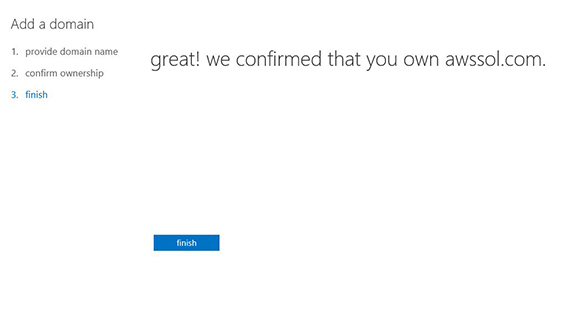
- When the confirmation is successful, click Finish.
- Click Start step 2.
- Click the radio button next to I don’t want to add users right now.
- Click Next.
- Click Start step 3.
- Clear all checkboxes, then click Next.
- Click Finish.
Now that the domain is added to Office 365 and Microsoft has verified proper ownership, it’s possible to plow ahead and complete setting up federation. If you’re not sure how, then be sure to check out my three-part series on the subject (part one is “Active Directory Integration with Office 365: Installation“) here at Petri.
One of the beauties of this whole deal is that since local AD is actually being federated with Windows Azure AD behind the scenes, the benefits of federation can be extended beyond Office 365 to other Microsoft cloud services such as Windows InTune. I love getting more bang for my buck!


