How to Install WSL2 on Windows 10 and Windows 11

The Windows Subsystem for Linux 2 (WSL2) allows Windows 10 and Windows 11 users to run a Linux distribution without using a virtual machine. Recent versions of Windows 10/11 make it very easy for developers to get started with WSL2 and run Linux repositories natively. In this article, I’ll explain how to install WSL2 on Windows 10 or Windows 11, and I’ll also show you everything you can do with WSL2 on Windows.
Install WSL2 on Windows 10 and Windows 11
You can install WSL2 on Windows 10 or Windows 11 by running the following PowerShell command (with admin privileges):
wsl --install
This command will install WSL2, the virtual machine platform, as well as the Ubuntu Linux distribution for you. Reboot your PC to see them appear in your Start Menu.
Keep reading for more detailed instructions on how to install WSL2 on a virtual machine or on an older version of Windows 10 version 1909 or older.
What is the Windows Subsystem for Linux 2 (WSL2)?
Many people across various user bases cried joy when Microsoft announced the Windows Subsystem for Linux in 2016. This developer-focused feature allows a wide variety of users to run a Linux environment natively in Windows 10 and Windows 11 without needing to dual boot or use a virtual machine. All the required technology is now a part of Windows.
There are two versions available: WSL1 and WSL2. In May of 2019, WSL2 was announced with some significant new features, most notably a native Linux kernel utilizing some core Hyper-V functionality. A key performance improvement included substantially faster read/write I/O operations.
Installing WSL2 on modern versions of Windows 10 and Windows 11
What are we waiting for? Let’s get started with the technical requirements to install WSL2 on modern versions of Windows 10 and Windows 11
Technical requirements for installing WSL2
- Windows 10 version 1803 or newer
- (Optional) You need to run Windows 10 version 2004 (or higher) or Windows 11 to be able to use the simple installation commands below.
- x64 or ARM processor.
- Virtualization attributes must be enabled in your system’s BIOS.
- If you are planning to install WSL2 on a virtual machine, you need to have nested virtualization enabled. I will cover that later on in the article.
Microsoft initially had quite a few steps required to get WSL1 installed and working about seven years ago. You’ll discover those in the section below if you’re running Windows 10 version 1909 or earlier (By the way, what didn’t you upgrade already?)
Once you are running Windows 10 2004 or newer (build 19041 or newer), you’ll be able to get up and running with minimal effort. Let’s jump in!
Enabling WSL2 with PowerShell
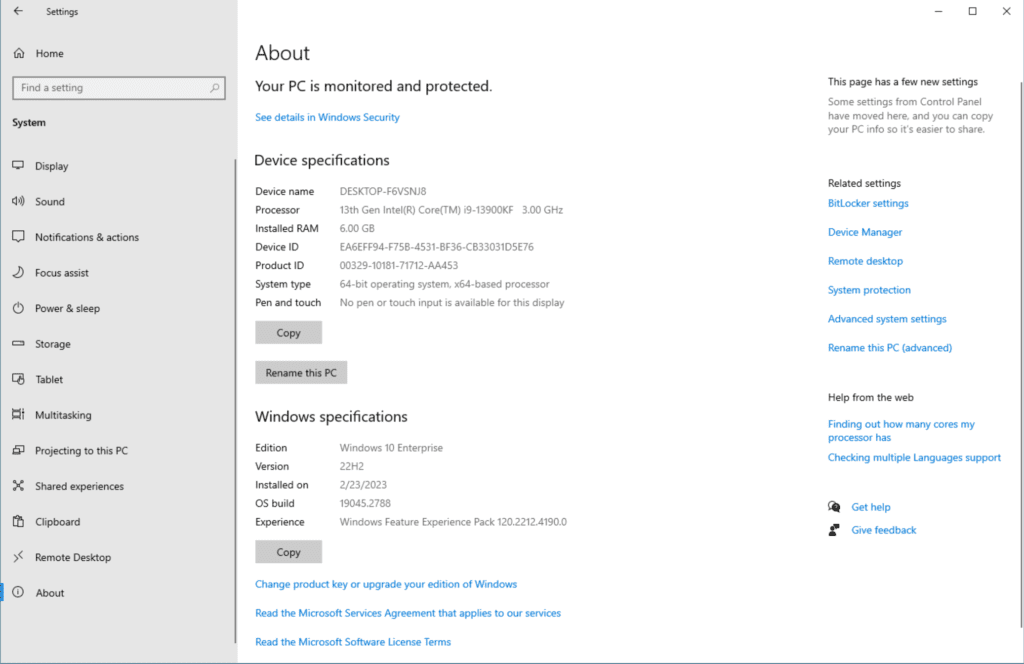
I will be using my Hyper-V lab on my (new) desktop computer. I have a VM running Windows 10 Enterprise version 22H2. However, you only need version 2004 or newer – just being complete.
- To start, open a PowerShell prompt with admin privileges.
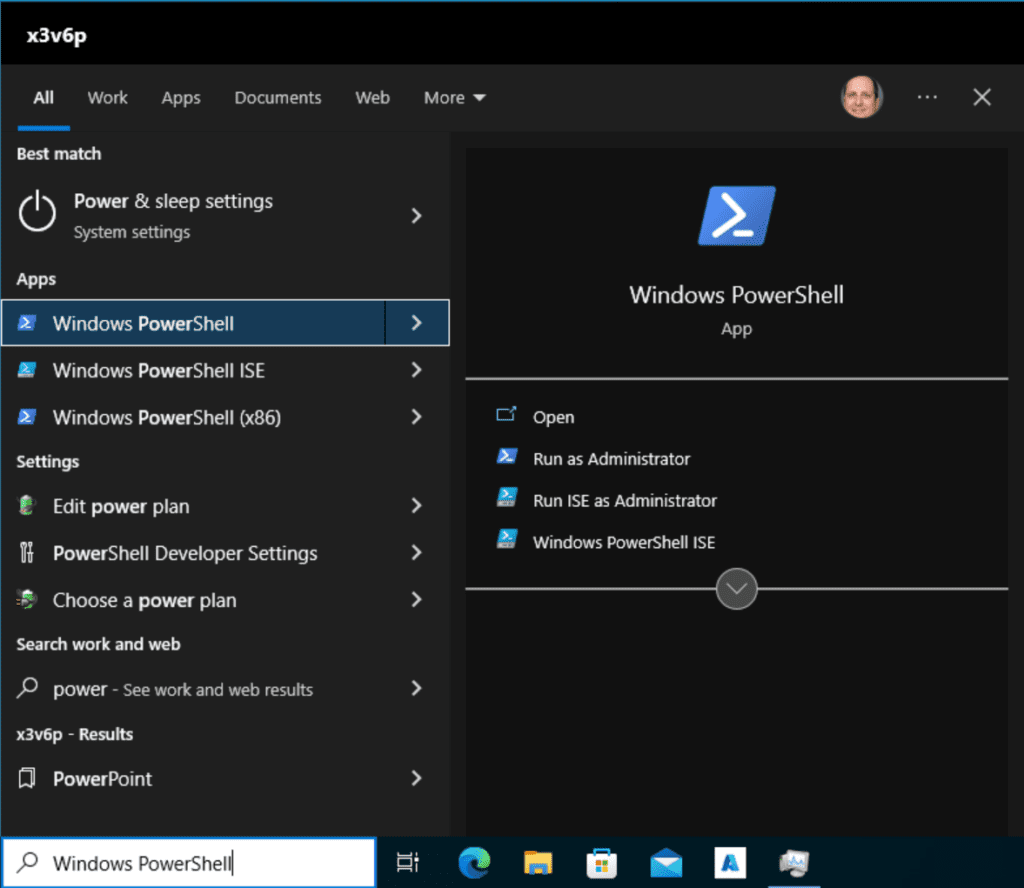
- Enter the following command to install WSL2:
wsl --install
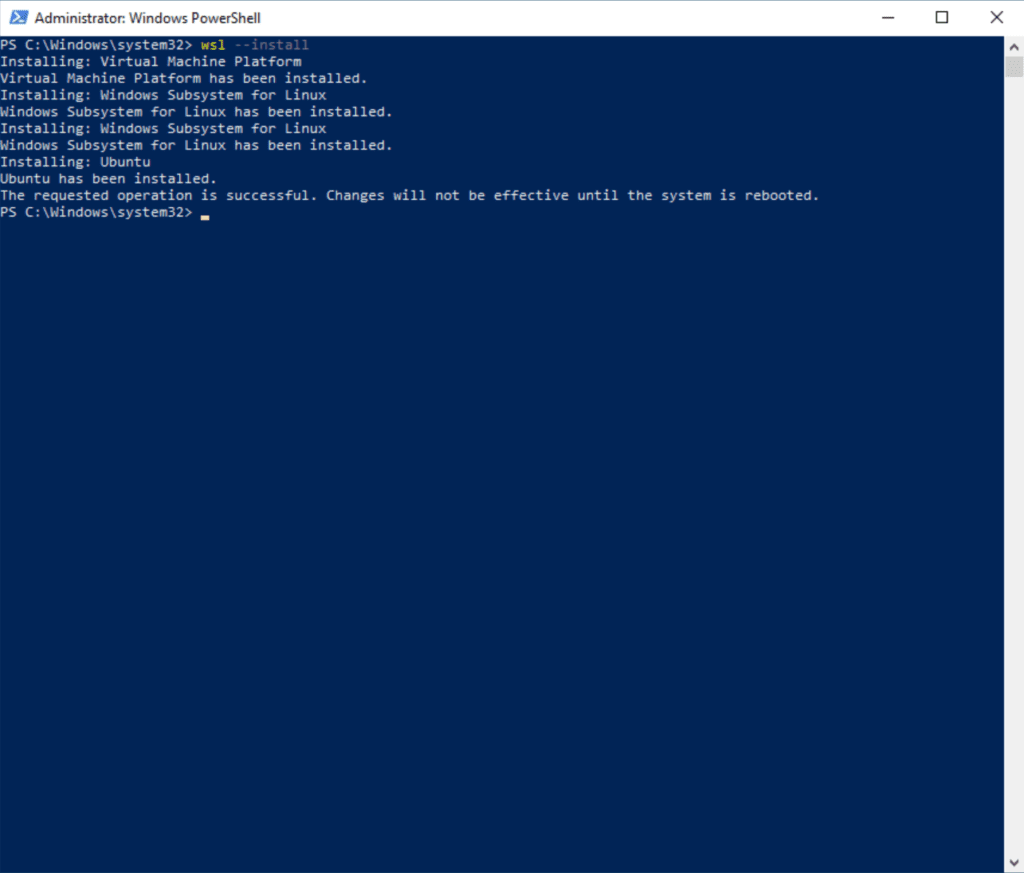
Watch it go! The command installs the Virtual Machine Platform, Windows Subsystem for Linux, and even installs the Ubuntu Linux distribution for you. How nice. Next, let’s restart.
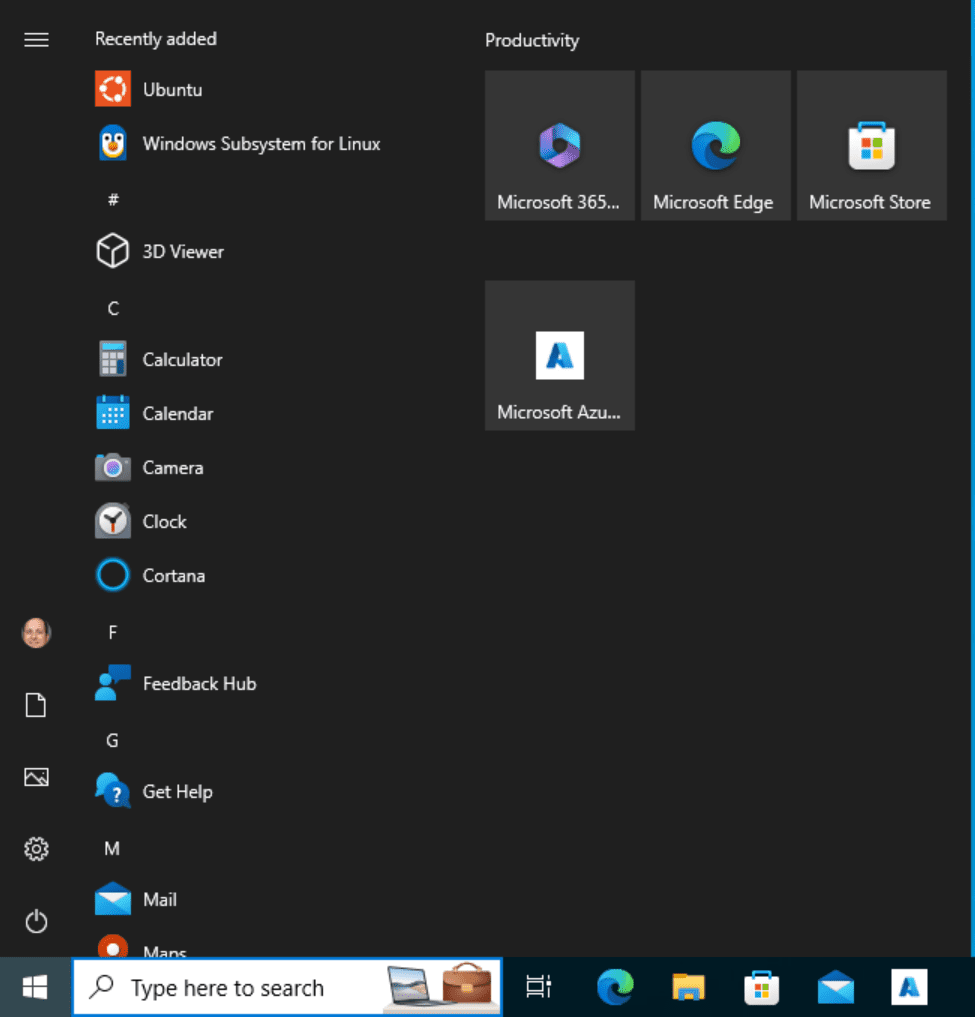
After a reboot, you’ll notice that Windows Subsystem for Linux and Ubuntu now appear in the Start Menu.
Plus, on my system, Ubuntu launched on its own. Another nice touch. However, in my case, we encounter a temporary issue regarding virtualizations.
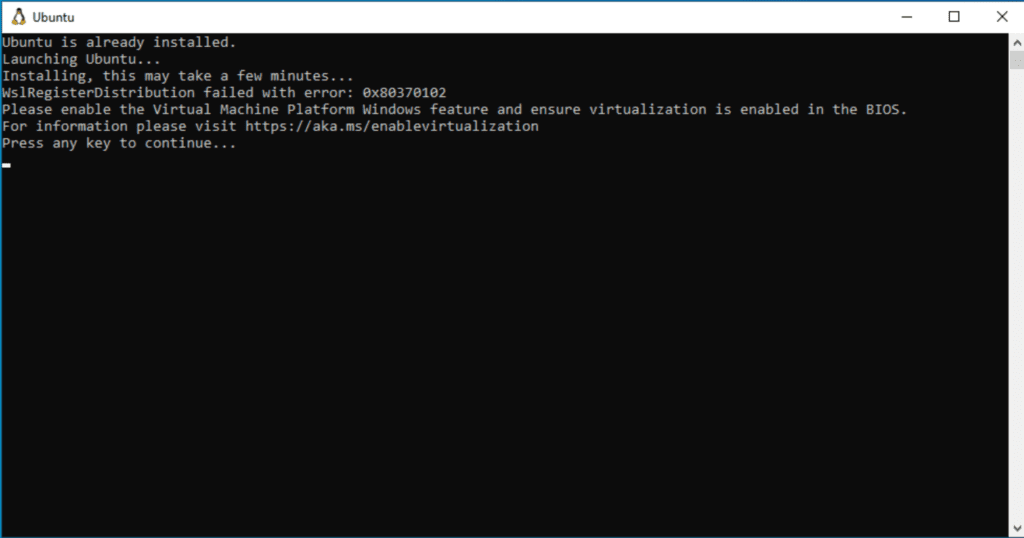
As I stated above, WSL2 uses a subset of Hyper-V technologies. Because of this, your computer’s BIOS (UEFI) needs to have CPU virtualization features enabled.
If this was a physical desktop or laptop (or server), you would boot into your BIOS settings and confirm these are enabled. But in this case, I am already running a virtual machine. So, I need to run a PowerShell command on my host computer to enable special flags on the VM I am using.
- I will power down my VM and run this command.
Set-VMProcessor -VMName "Windows 10 22H2 - AAD - x3v6p (Petri)" -ExposeVirtualizationExtensions $true
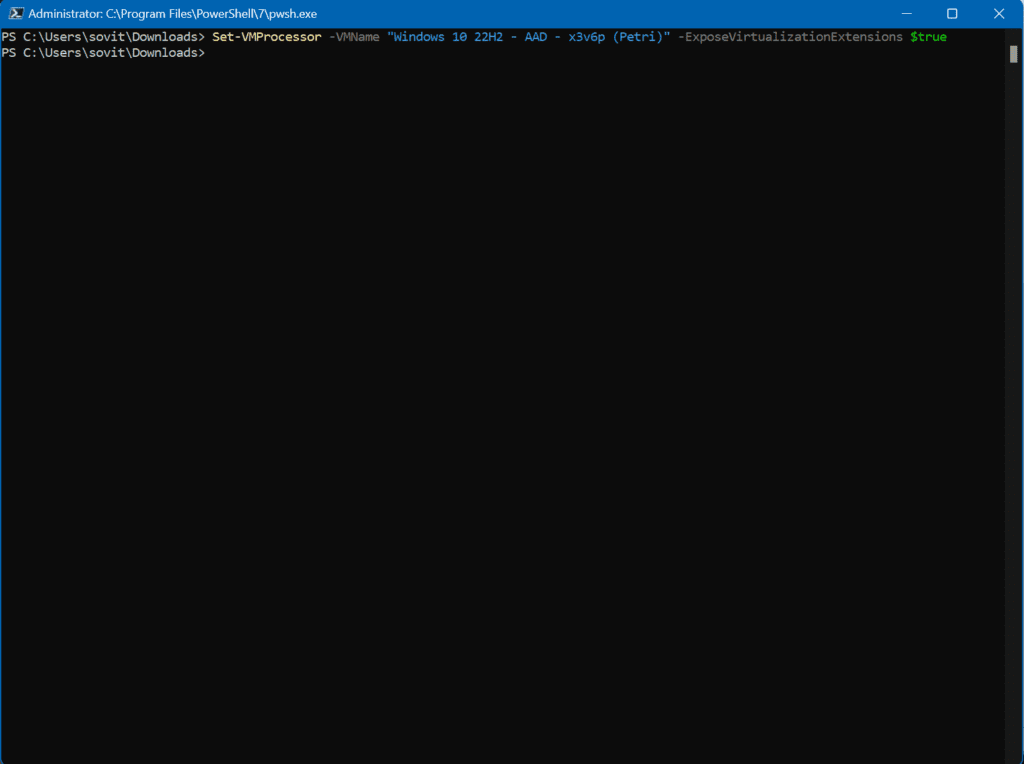
- Now, I can power up my VM and run Ubuntu from the Start Menu.
Success, Ubuntu now works after enabling nested virtualization.
Post-setup tasks and best practices
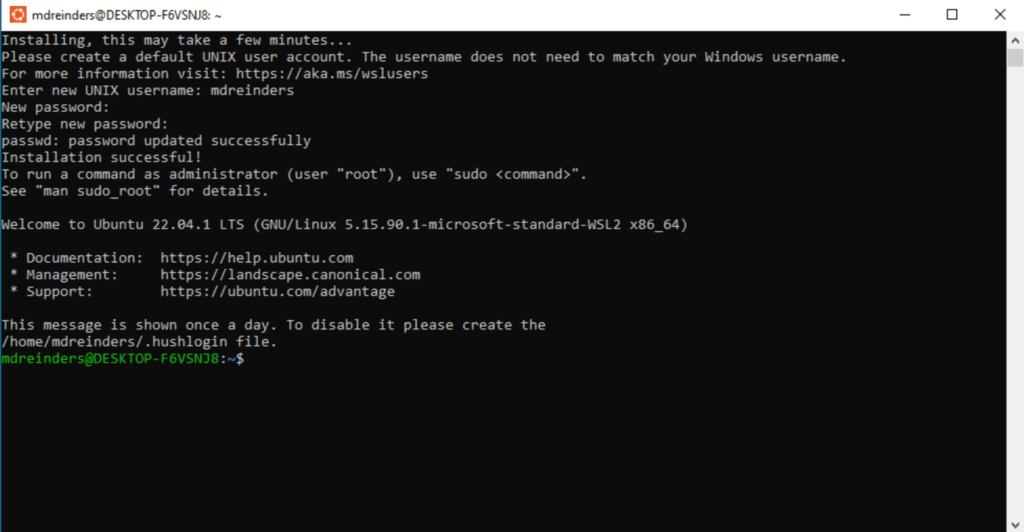
After I launched Ubuntu, I was prompted to create a UNIX username and enter a password (twice). I did that and voila! Ubuntu 22.04.1 LTS running natively on Windows 10. Pretty slick.
As a Linux learner, I do have a decent amount of commands at my disposal. I have a few things I run whenever I fire up a new distro. You can run the following command to get updates for the core modules in this flavor, then upgrade said modules in one fell swoop!
sudo apt-get update && sudo apt-get upgrade -y
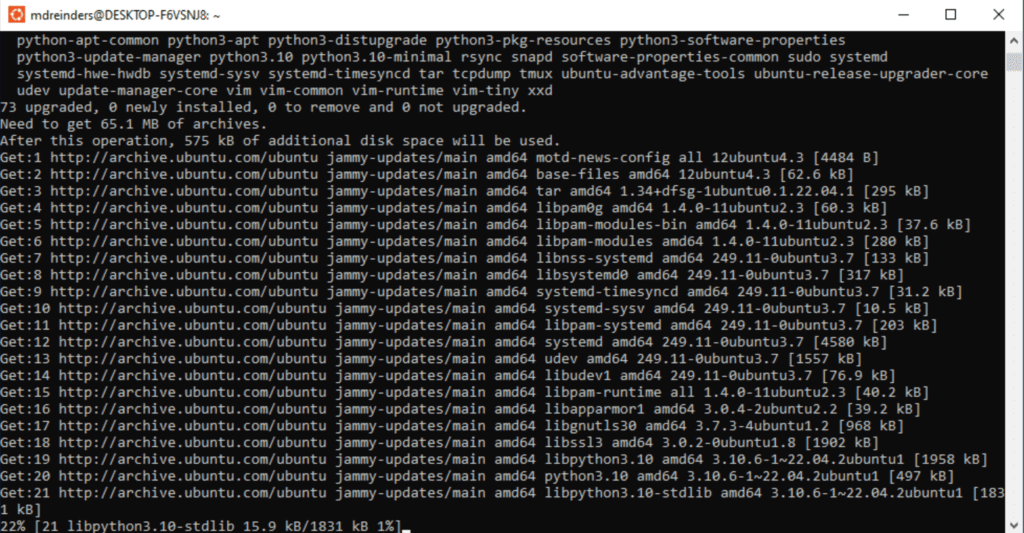
Now we have the newest and most secure modules in our Linux distribution.
Installing WSL2 on older versions of Windows 10
If you happen to be running Windows 10 version 1909 or earlier on your PC, you will need to hop through considerably more hoops. But, don’t fret, the command line helps here. It’s not that bad. Plus, it gives you an excuse to remain familiar with your favorite pal, PowerShell.
Enabling WSL2
Let’s begin. I just installed Windows Terminal so I can copy and paste.
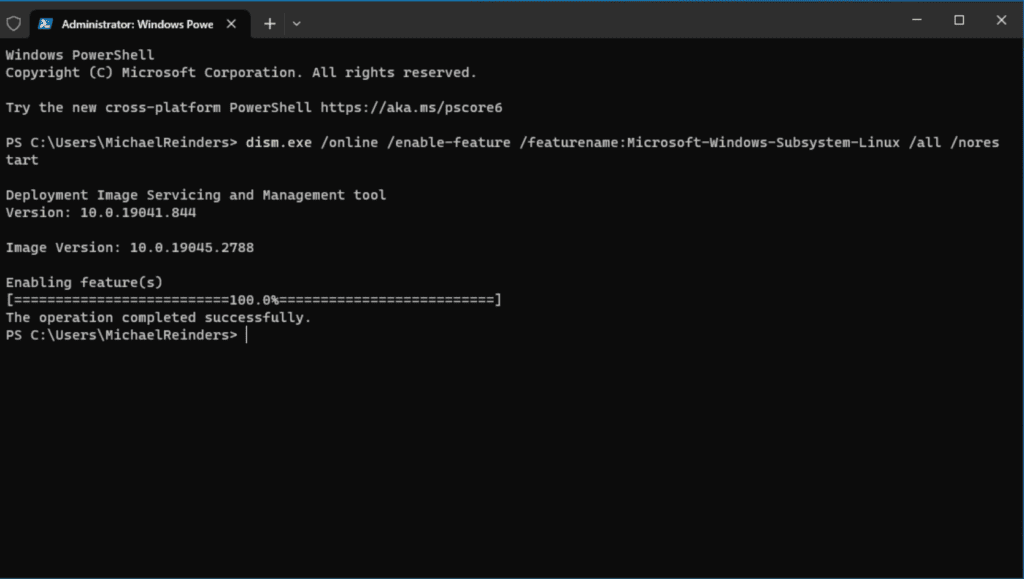
- Open an administrative Terminal window and run this command to install Microsoft WSL.
dism.exe /online /enable-feature /featurename:Microsoft-Windows-Subsystem-Linux /all /norestart
Next, we will enable the Virtual Machine platform feature. Again, if you happen to be running this in a VM, you need to make sure you’ve enabled the virtualization flags for the VM. As I already did it above, I don’t need to perform the steps here.
- Run the following command to enable WSL, and then reboot.
dism.exe /online /enable-feature /featurename:VirtualMachinePlatform /all /norestart
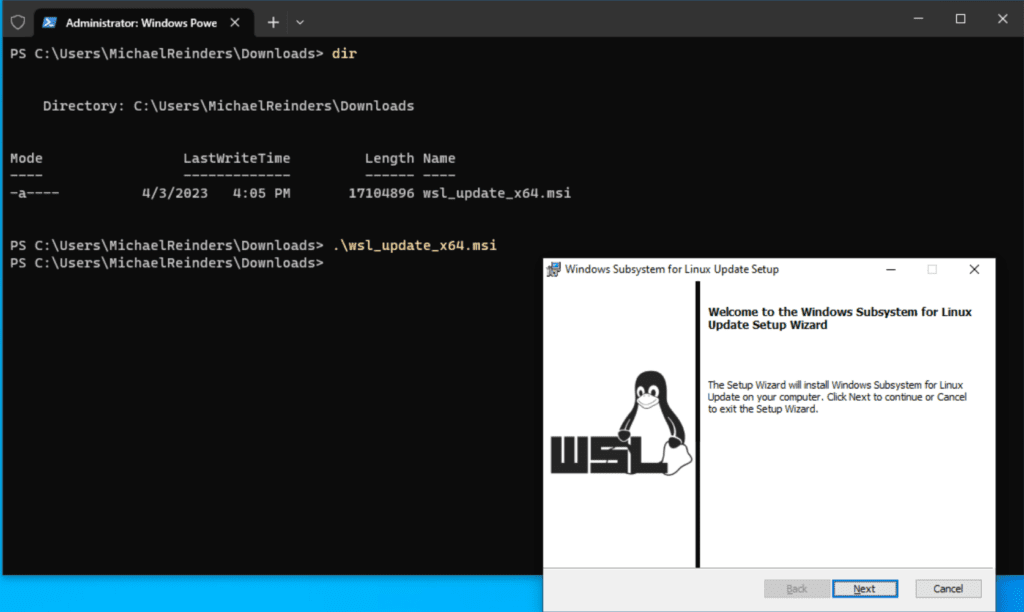
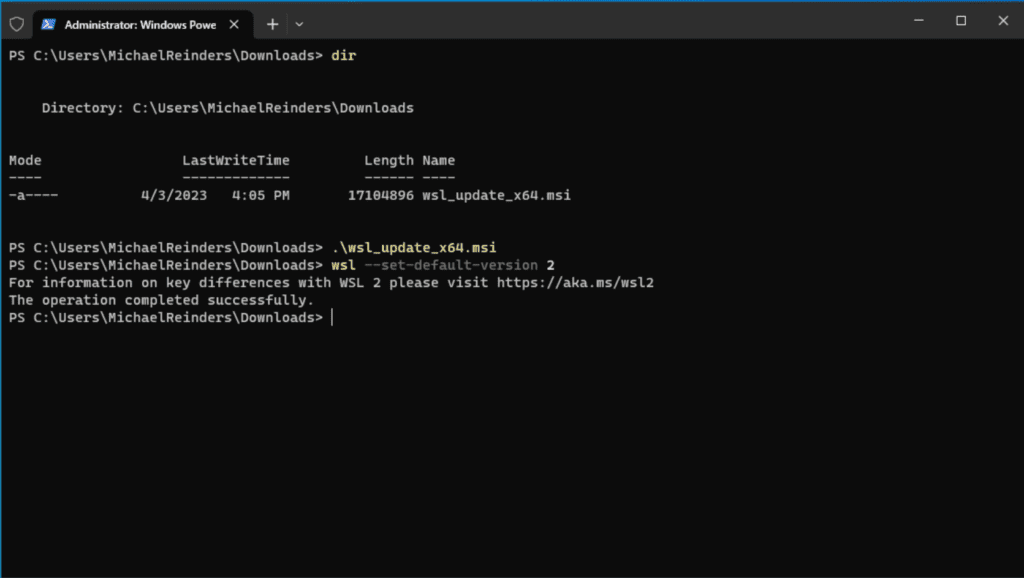
- After the reboot, download the ‘WSL2 Linux kernel update package for x64 machines’ via this link. Make sure to run it from a command prompt with admin rights.
Next, this should already be done, but we will make sure the default version of WSL used in future distros will be the newer ‘WSL2’.
- Use the command below to ensure that all future Linux distros will be using WSL2:
wsl --set-default-version 2
Ok, we are almost there. From here, we can open the Microsoft Store and search for distributions. You can use keywords like ‘ubuntu’, ‘suse’, ‘opensuse’, etc. Here are a good number of direct links from Microsoft to get you started.
- Ubuntu 18.04 LTS
- Ubuntu 20.04 LTS
- Ubuntu 22.04 LTS
- openSUSE Leap 15.1
- SUSE Linux Enterprise Server 12 SP5
- SUSE Linux Enterprise Server 15 SP1
- Kali Linux
- Debian GNU/Linux
- Fedora Remix for WSL
- Pengwin
- Pengwin Enterprise
- Alpine WSL
- Raft(Free Trial)
And that’s it! After you click ‘Get’ on each Store item, it will install and prompt you to run through its respective user provisioning.
After installing the Linux distribution of your choice, I recommend to go through the additional steps and best practices I detailed earlier in my article.
Tips and tricks for WSL2
There are countless things to accomplish in the world of Linux, and venturing off into that lovely world is outside the scope of this article. The potential here to increase productivity by running native Linux distros is boundless. However, the first tip I highly recommend is using Windows Terminal.
Windows Terminal
Windows Terminal is the most useful tool you have to run WSL2, especially when you’re running multiple distros. Each time you launch Windows Terminal, it will check and discover local WSL distros you can launch right in the same window.
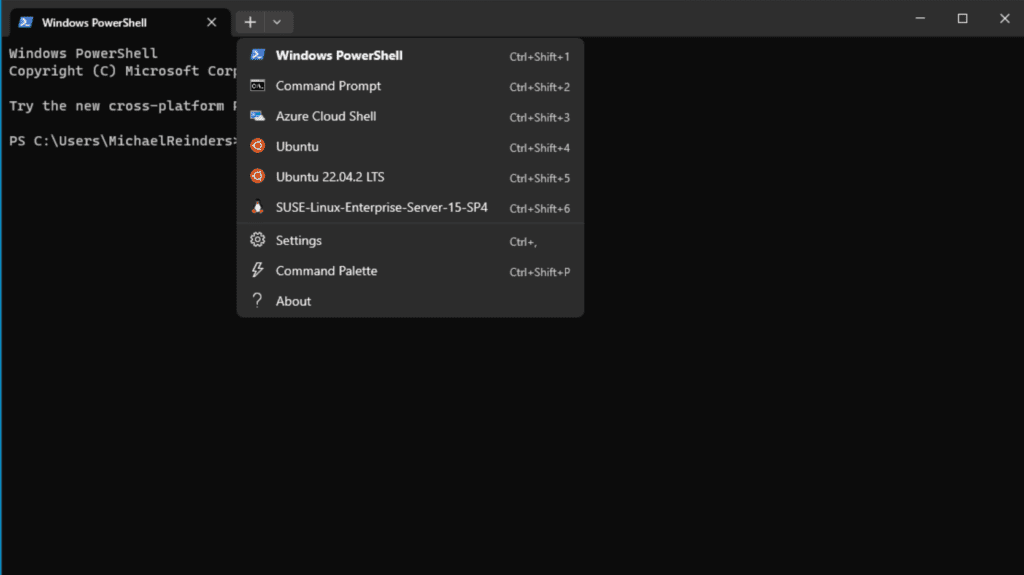
As you can see, Terminal knows what distros I have. I can open a new tab in Terminal, each running a different flavor of Linux.
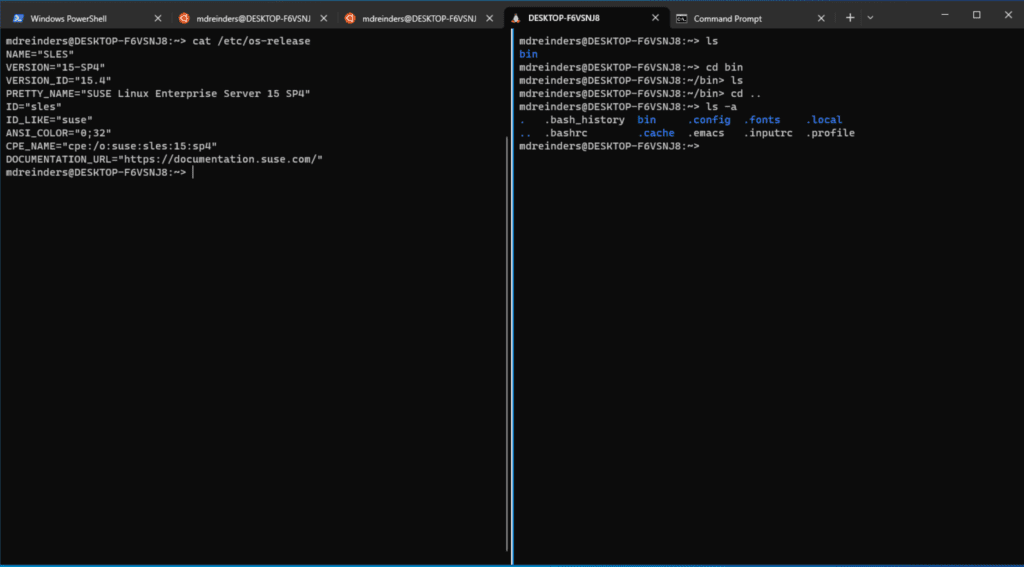
Very cool! And I’m a Windows user!
Can you use WSL1 and WSL2 simultaneously?
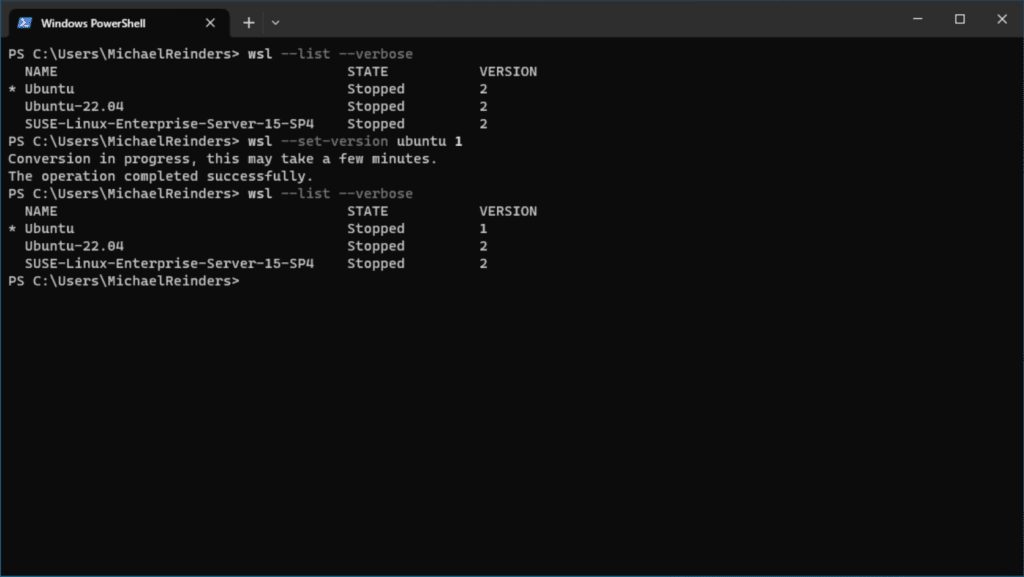
In case you’re asking about the two versions of WSL, yes, you can certainly run some distros on WSL1 and some on WSL2. You can run the following command to list all the distros you have installed and what version they’re running.
wsl --list --verbose
I have 3 distros at the moment and they are all WSL2. That is the default.
Want to convert one of them to WSL1? Go ahead and run the following command. After the ‘–set-version’, you enter the distribution name (in this case ‘Ubuntu’), and there it is.
wsl --set-version ubuntu 1
WSL1 vs WSL2: How to choose?
As Microsoft explained on a support page, There are reasons why you may need or want to use WSL1 for some of your scenarios. The first one would be a project that requires cross-compilation using both Windows and Linux tools on the same files
File performance across the Windows and Linux operating systems is actually faster in WSL1 than it is in WSL2. As a result, if you’re using Windows applications to access Linux files, you will currently achieve faster performance with WSL1.
The second use case where using WSL1 beats WSL2 is if your project files must be stored in the Windows file system. If you use your WSL Linux distribution to access project files on the Windows file system, which cannot be stored on the Linux file system, you will achieve faster performance across the OS file systems by using WSL1.
Advantages to running native Linux distributions in Windows
There are many advantages to running native Linux distributions in Windows 10/11 with WSL2. You don’t need to worry about having another computer, or even another virtual machine. A subset of core Hyper-V technology was developed solely for this purpose. Plus, using Windows Terminal to have a handle on ALL your local distros, PowerShell, command prompt… it’s a truly wonderful solution.
There are several hooks for developing applications with Visual Studio. You can read these Microsoft documentation links for more information.
- Walkthrough: Build and Debug C++ with Microsoft Windows Subsystem for Linux 2 (WSL2) and Visual Studio 2022 | Microsoft Learn
- Get started using VS Code with WSL | Microsoft Learn
- Targeting the Windows Subsystem for Linux from Visual Studio – C++ Team Blog (microsoft.com)
Thank you for reading – please leave a comment below with a question!

Michael has been an IT Pro since 1998. He has worked predominantly in the Windows world including client and server operating systems, on-prem systems engineering (AD, DNS, etc.), and over the last ten years or so has embraced and immersed himself in...