How to Upgrade from Windows Server 2019 Core to Windows Server 2022 Core
Continuing my mini-series on providing IT Pros valuable assistance and guides moving their workloads, roles, and Server-based applications to Windows Server 2022, here is my guide to upgrading, in-place, from Windows Server 2019 ‘Core’ to Windows Server 2022 ‘Core.’ Thankfully, the overall setup routine is similar to using the GUI (Desktop Experience) in Windows Server. But, there are some nuances and a few extra steps. Let’s get to it!
Quick Background – What is ‘Core’?
Now, now. Microsoft would be very disappointed if they heard some IT Pros asking what the ‘Core’ installation of Windows Server is and what it’s used for – the Core installation option is the recommended option. Why? Largely for security purposes and a more nimble, efficient installation base. Being able to manage servers remotely is efficient, and oftentimes, easier. Remote management tools, like Windows Admin Center, make it very simple to monitor, manage, and perform all server-related tasks. Excluding the GUI offers a more robust and safe environment, harder for hackers to exploit.
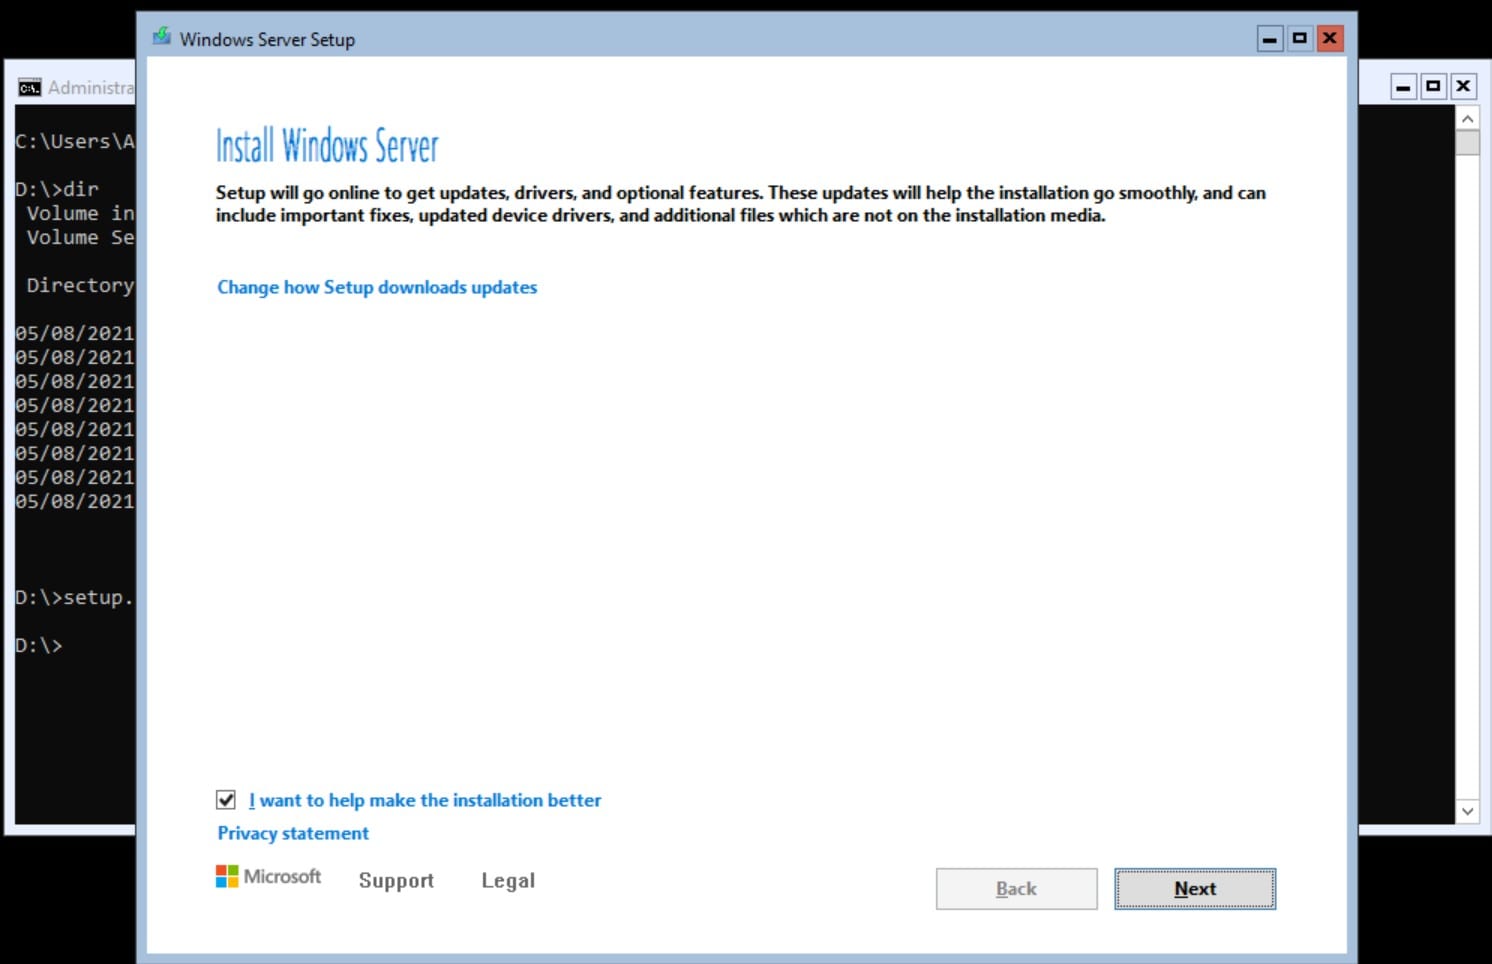
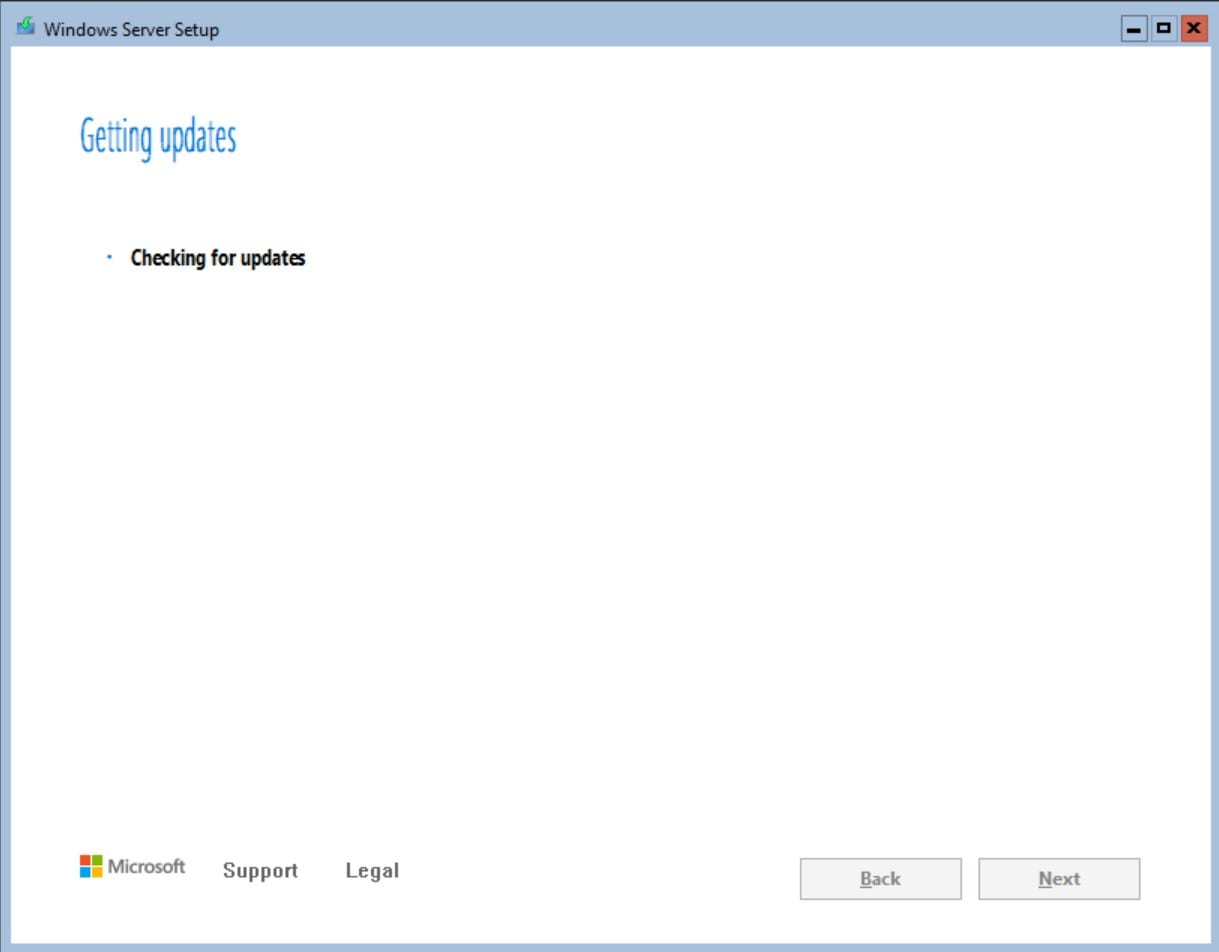
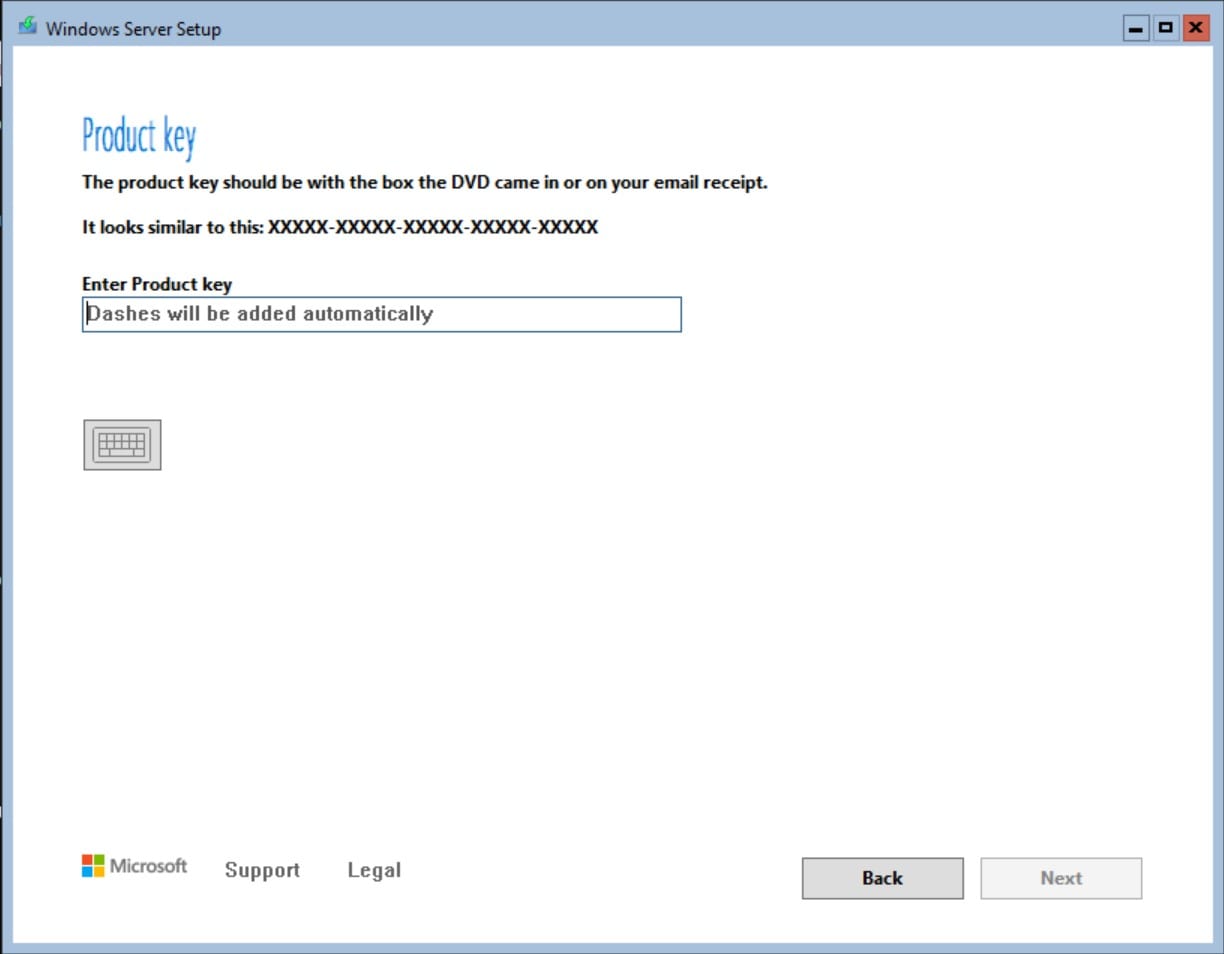
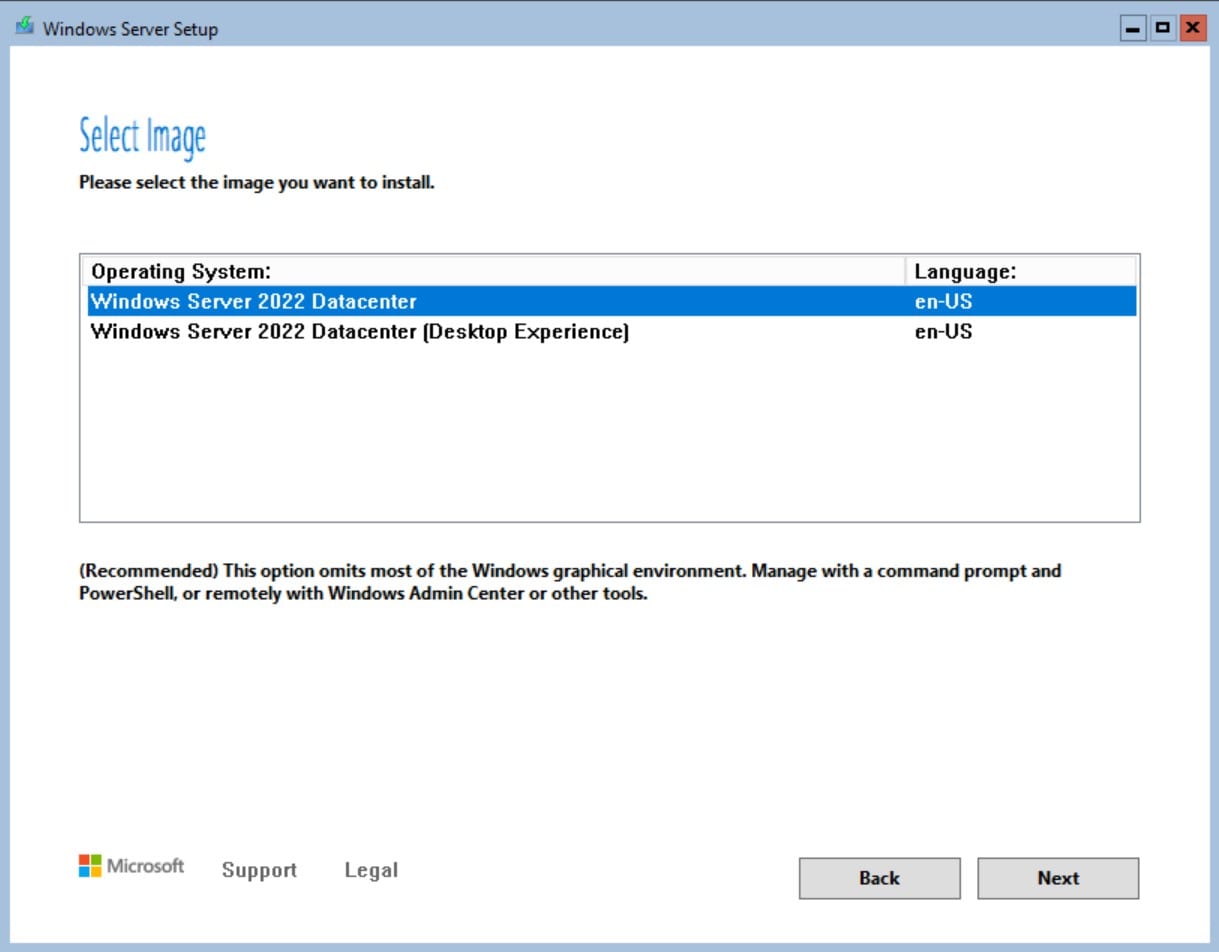
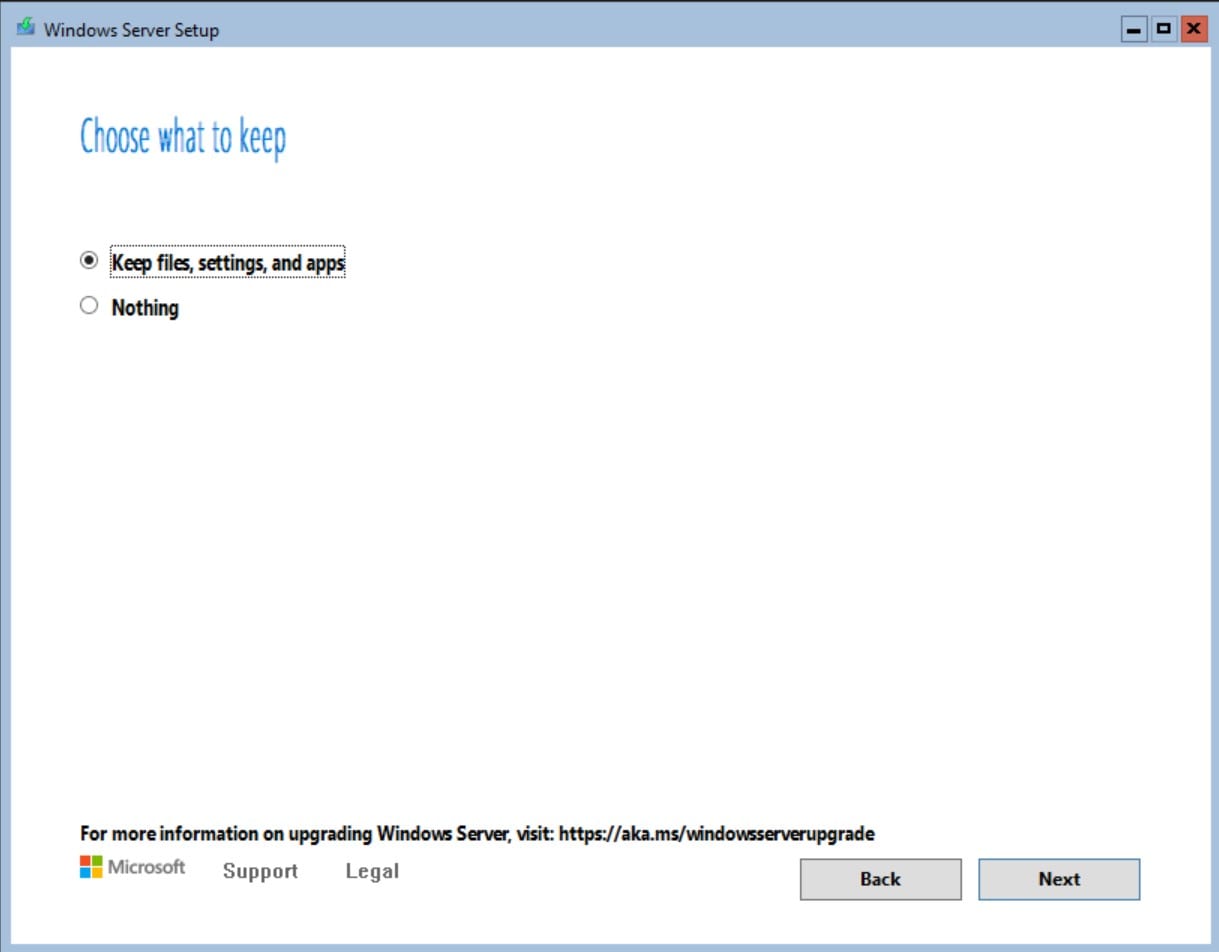
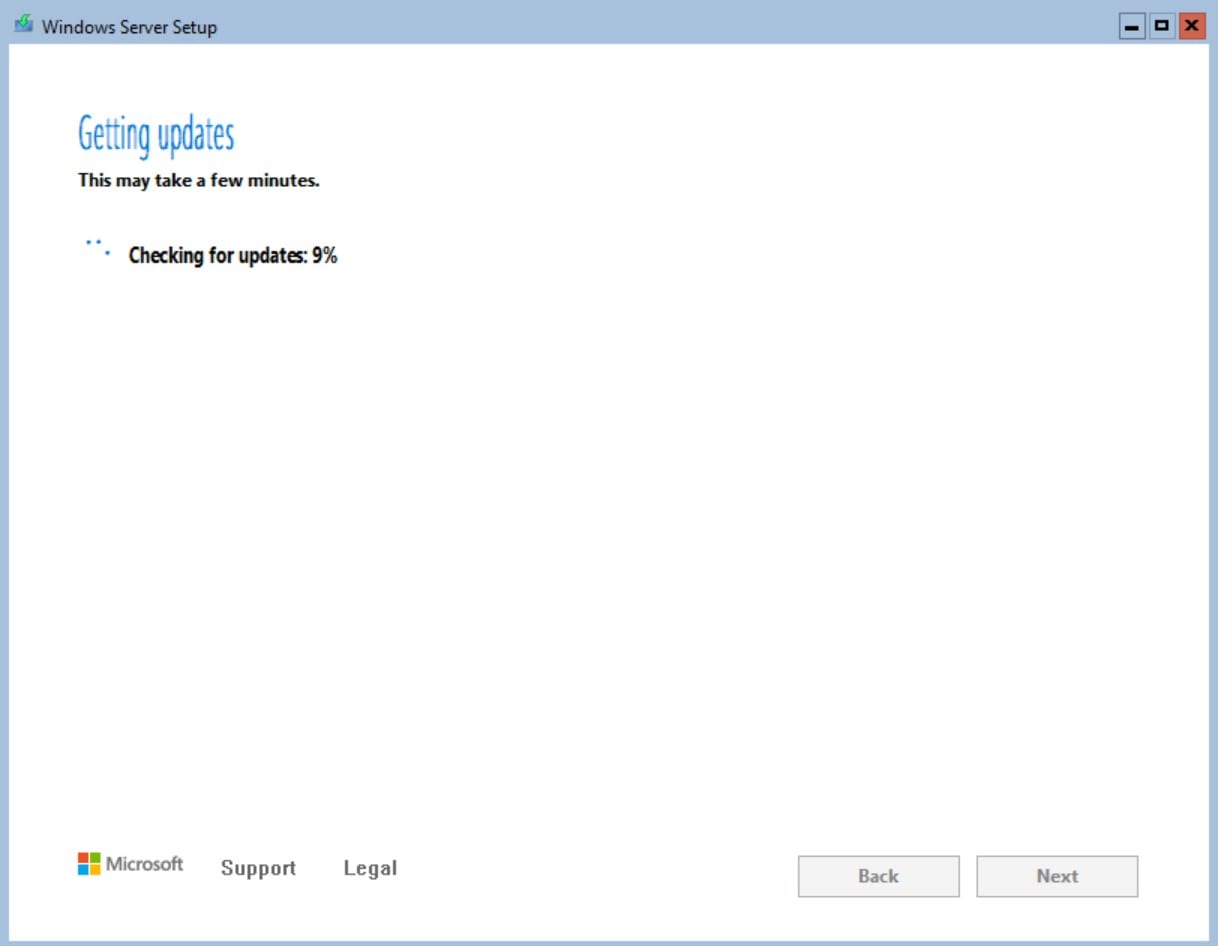
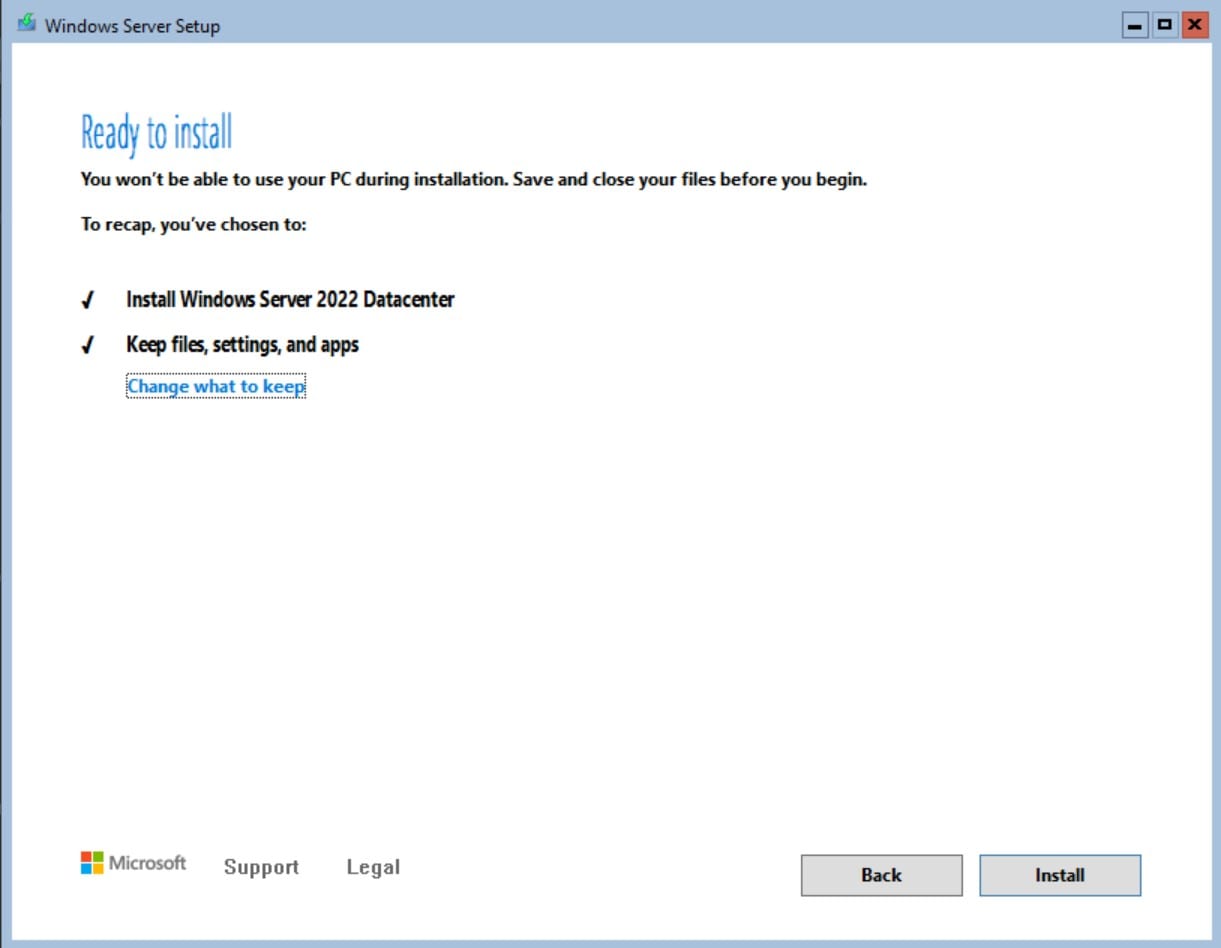
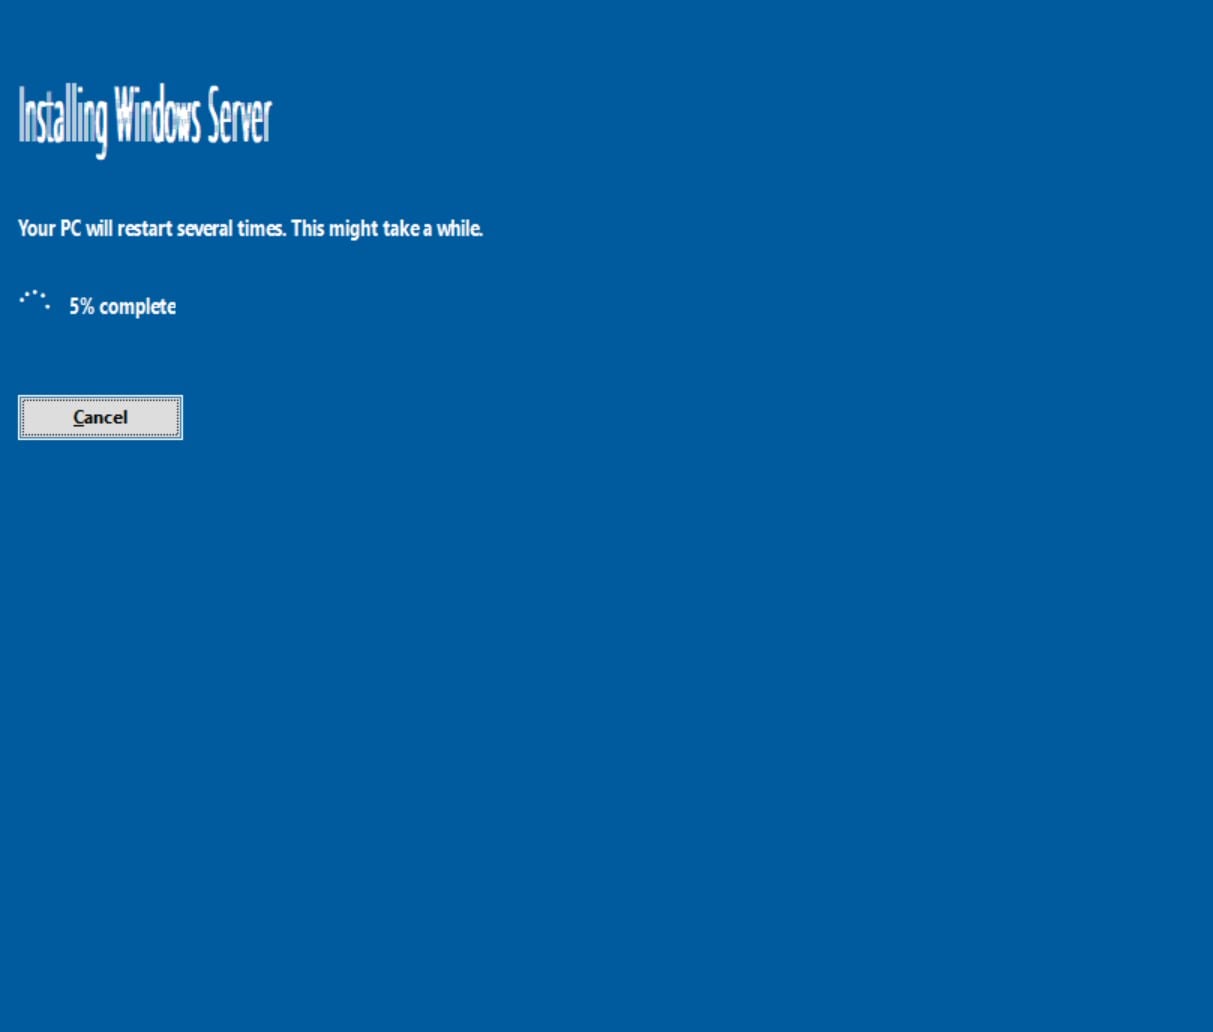
Because the vast majority of the GUI, or the Desktop Experience, is not installed, the footprint is much smaller. The fundamental structure of the O/S affords a smaller attack vector. There is no ‘explorer.exe’ to hack or exploit. There is a command-line and a limited graphical footprint. When you see the Windows Setup screens below, it looks, well, let’s be honest – not so elegant…that’s because the rich GUI development arena is missing. The engineering and development teams simulate a GUI as best they can. It’s similar to how developers sprinkled ASCII characters on your monochrome command-line only monitors to ‘draw’ things on your screen.
To manage these Core servers, you can run commands at the command line, run PowerShell cmdlets natively in the shell, or use other GUI remote management tools from other systems, like Windows Admin Center, Computer Management, and other MMC-based tools (DHCP, DNS, WSUS, IIS, etc.). For all you WAC (Windows Admin Center) fans, I’ll write up a post on this very helpful, and constantly updated tool in the coming weeks!
Upgrade Steps Outlined
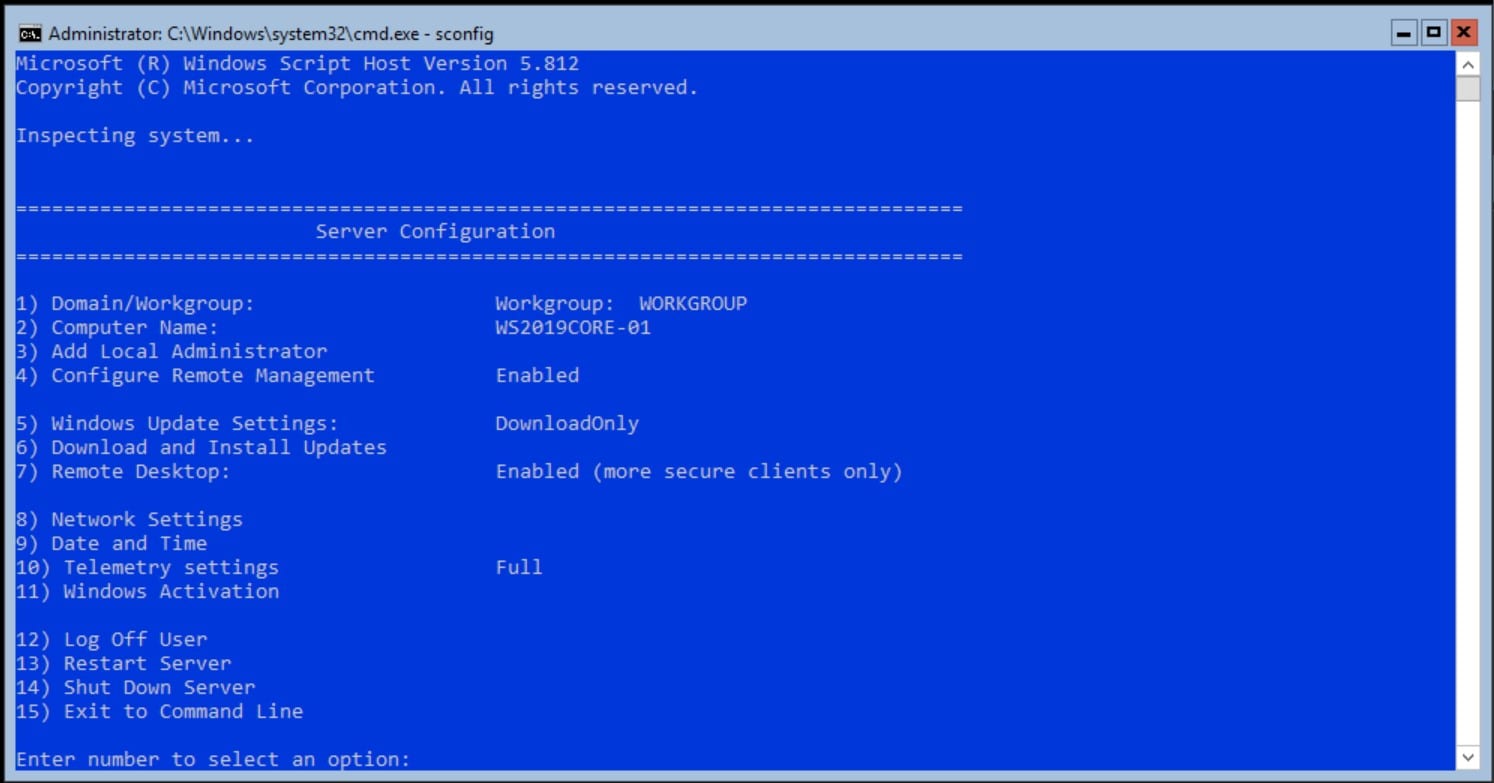
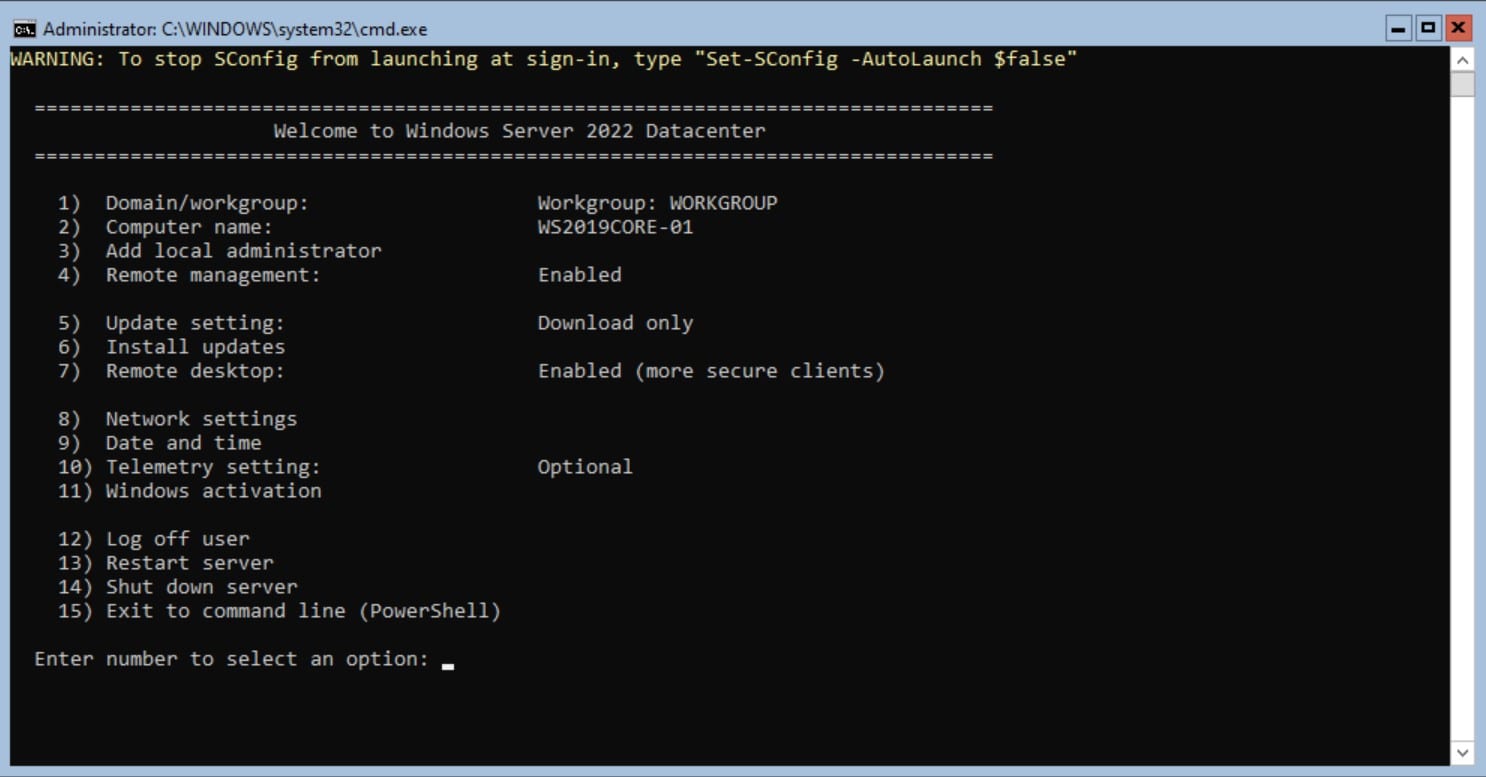
If you read my article on upgrading from Windows Server 2012 R2 to Windows Server 2022, you saw the initial steps to copy the ISO for Windows Server 2022 to the desktop, right-click on it, choose Mount, and then run setup.exe. But, there is no desktop. Only this shell…
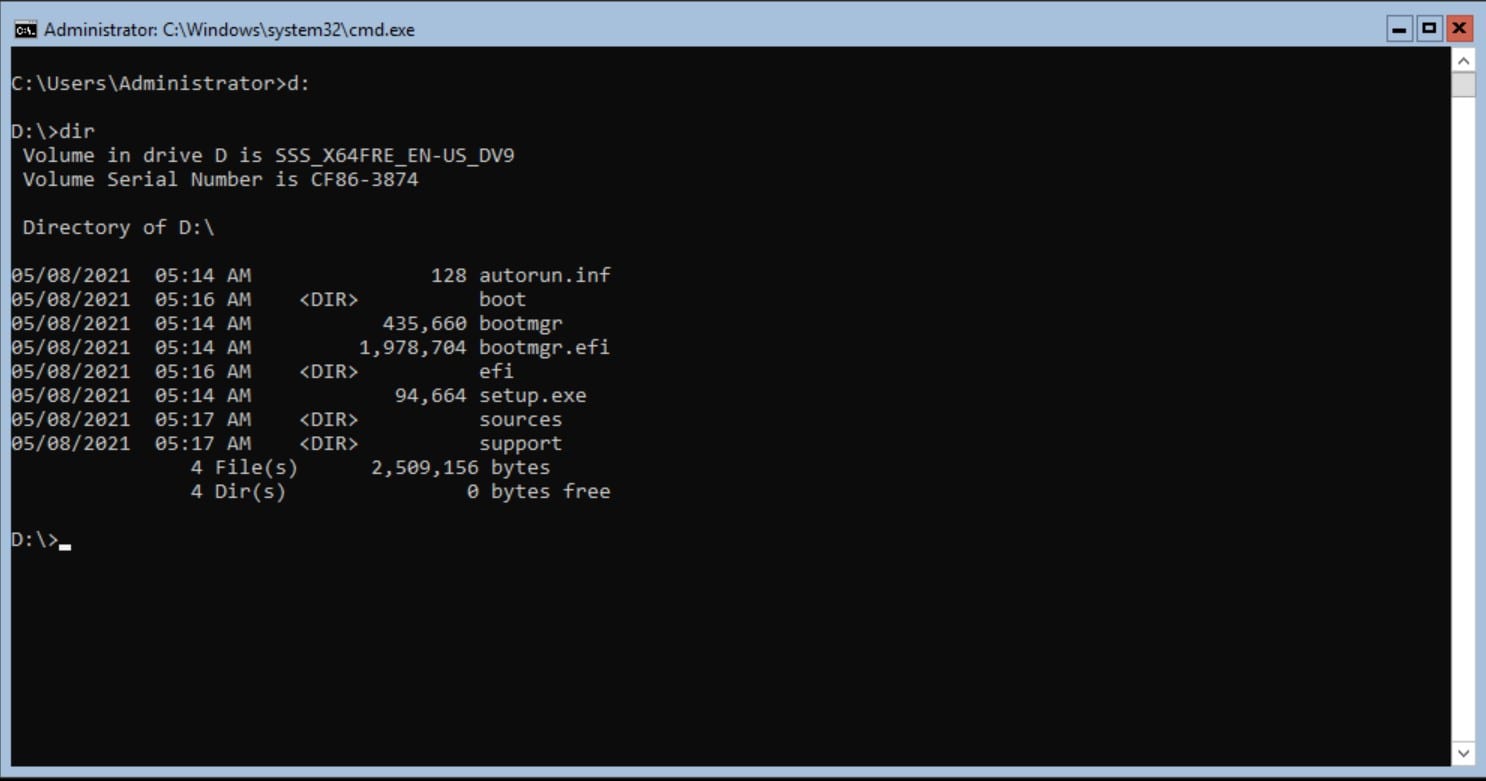
Now what? Well, the ‘workaround’ for this missing GUI element is to mount the ISO directly to your server. If you’re using Hyper-V or VMWare, just mount the ISO for Windows Server 2022 as the server’s DVD Drive. If you’re using a physical server, insert your USB stick with the installation media in the server, or use iDrac or CIMC remote tools to virtually mount the ISO. Then, choose option (15) to ‘Exit to Command Line’, and, at the command line, type:
D: (or whichever drive letter your ISO is mounted to)
then
setup.exe
Related Article:


