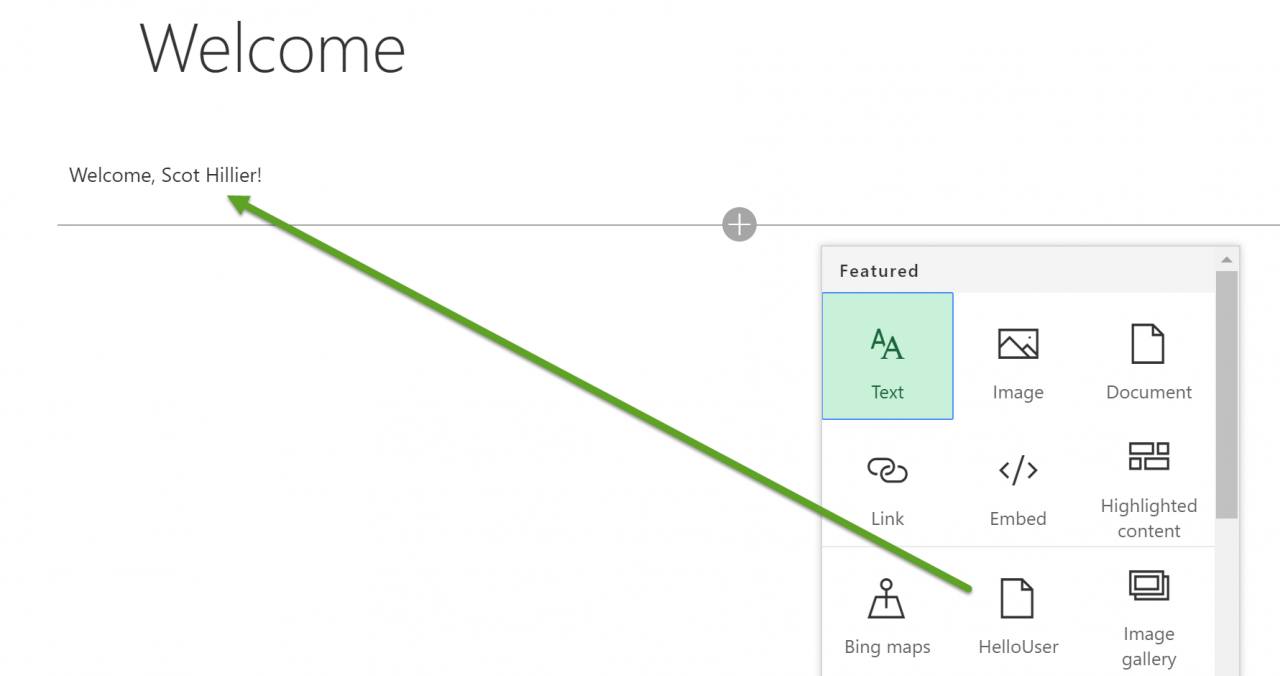
Deploying ReactJS Web Parts Through the SharePoint Framework
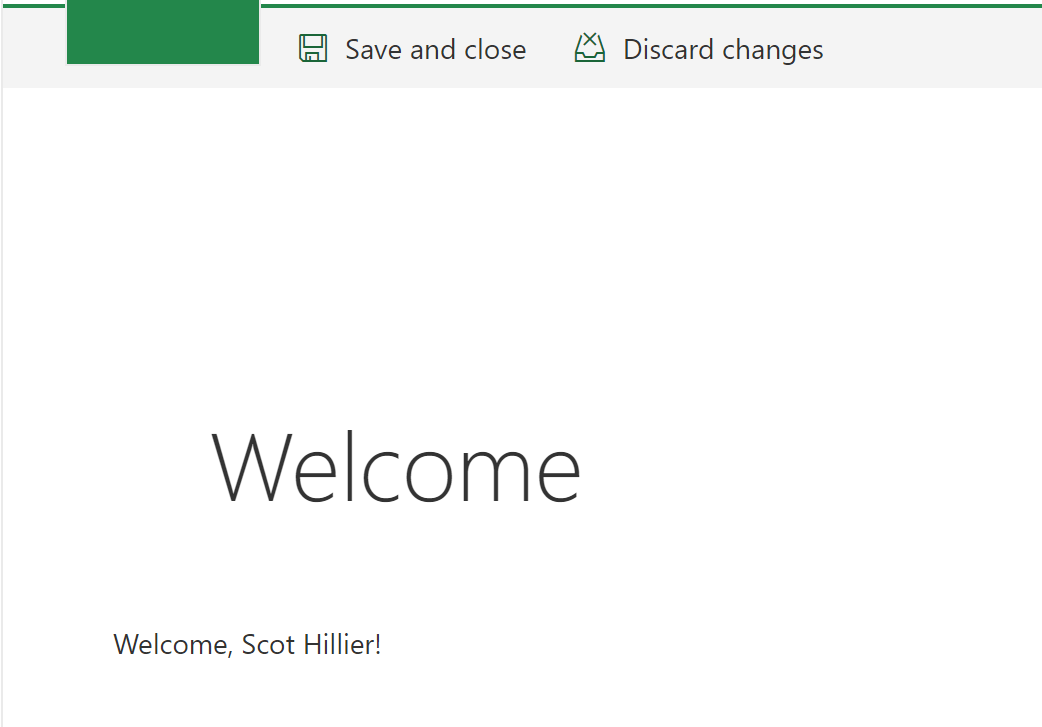
In a previous article, I showed you how to create a client-side web part using ReactJS and the SharePoint Framework. The web part used the SharePoint API to retrieve the current user’s name, which was then displayed in a welcome message.
In this article, I will show you how to package and deploy the web part to Office 365.
Client-side web parts consist of bundled JavaScript, CSS, and other asset files. They also consist of a package of manifest information. The general strategy is to put the asset files in some central location like a content deployment network (CDN). From there, the SharePoint Framework will load them. The manifest information is packaged and uploaded into the App Catalog. It can then be made available to sites and pages. When a web part is added to the page, the SharePoint Framework loads the required assets from the CDN.
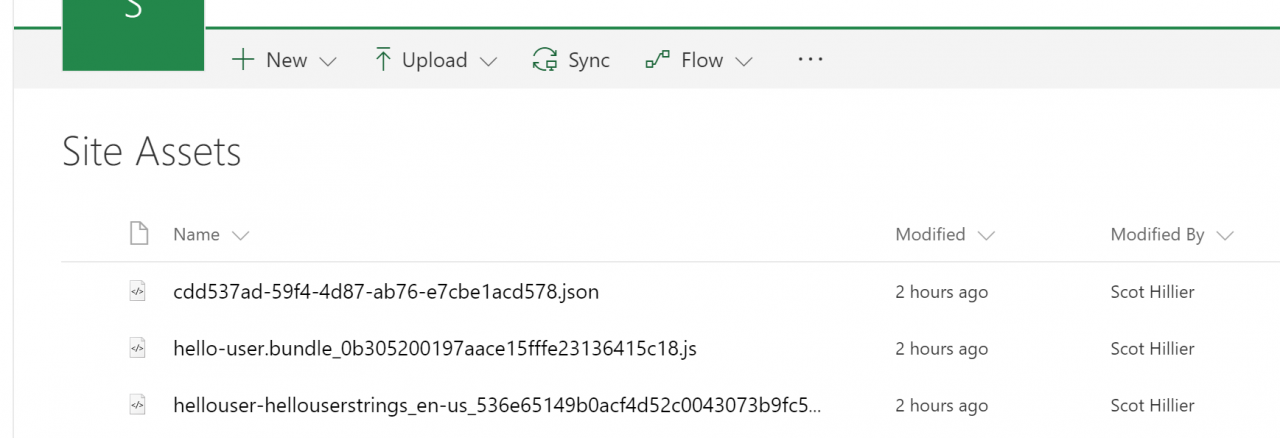
As an alternative to using a CDN, the associated asset files could be uploaded into a SharePoint library such as Site Assets. The nice thing about using a document library is that you do not need any separate infrastructure to host a CDN. For this article, I will make use of this approach and show how easy it can be.
Configuring the Deployment
Before packaging the web part, you must make some changes to the configuration files used to control the build process. Within the web part project, you start by editing the write-manifests.json file located in the config folder. In this file, you enter the path to the CDN, where the asset bundle will be uploaded as the cdnBasePath value. For this project, the value will refer to the Site Assets library.
{ “cdnBasePath”: “https://mytenant.sharepoint.com/SiteAssets/” }
When packaging the web part, there are some external assets that you will not want to bundle. The primary example of such external resources can be found in the ReactJS framework libraries. External references are defined in the config.json file. The externals section allows you to specify the cloud-based CDN for the framework files.
“externals”: {
“react”:”https://unpkg.com/[email protected]/dist/react.js”,
“react-dom”: “https://unpkg.com/[email protected]/dist/react-dom.js”
},
Packaging and Deploying the Web Part
Once the configuration files are updated, the package can be created. The web part is packaged by invoking a gulp task package solution. The gulp task can package assets for debugging or final production deployment. In order to package for production deployment, you must use the –ship option.
package-solution –ship
Executing the gulp task will create an SPPKG file. This contains the manifest information. The associated assets will not be included in the package. Instead, these files are dropped into the temp/deploy folder. After packaging, you can upload these asset files from the deploy folder to the Site Assets library you referenced in the cdnBasePath value.
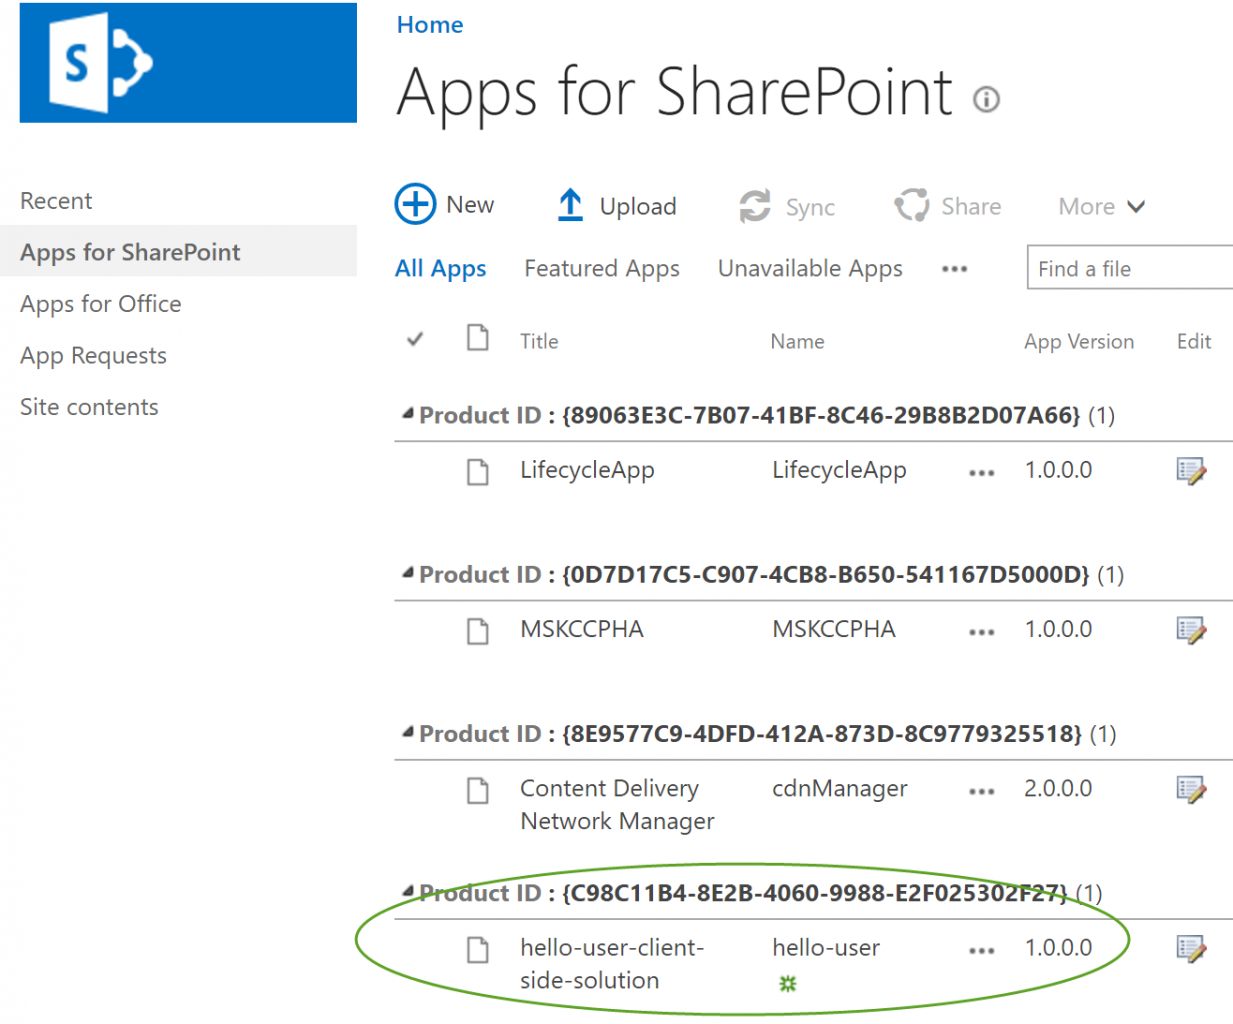
The SPPKG file is uploaded to the App Catalog associated with the SharePoint site. If it does not exist, you can create an App Catalog from the SharePoint administration page. You will find this under the Apps section. If the App Catalog exists, this section will contain a link to the existing catalog. Once you access the catalog, simply upload the package.
Adding the Web Part to a Page
Once the package is uploaded to the App Catalog, it must be added to the site where you want to use the web part. On the Site Contents page, you can add a new App and select the package you just uploaded. Once this is done, you can finally add the web part to a page.
Summary
Packaging and deploying web parts for production is straightforward. First, update the configuration files. Second, build the package file and final production assets. Third, upload the production assets to SharePoint. Fourth, upload the package to the App Catalog. Fifth, activate the associated app package to the target site. Finally, add the web part to a page. It is very simple to use.


