Create GPOs Using the Security Compliance Manager Tool
In Using the Microsoft Security Compliance Manager Tool on Petri, I showed you how to get started with Microsoft’s free Security Compliance Manager (SCM) tool, how to manage security and Group Policy settings, and how to track changes to baseline security templates. In today’s Ask the Admin, I’ll show you how to export security templates as Group Policy Objects (GPOs).
Create a Group Policy Object Based on a SCM Template
Before you can apply SCM settings to servers in an Active Directory domain, you need to export the settings to a Group Policy Object, which can then be linked to a forest, domain or Organizational Unit (OU).
Export SCM Template Settings as a GPO Backup
If Security Compliance Manager is not already open, launch it from C:\Program Files (x86)\Microsoft Security Compliance Manager.
- In the left pane of the Security Compliance Manager window, select the security template you created in part two of this series.
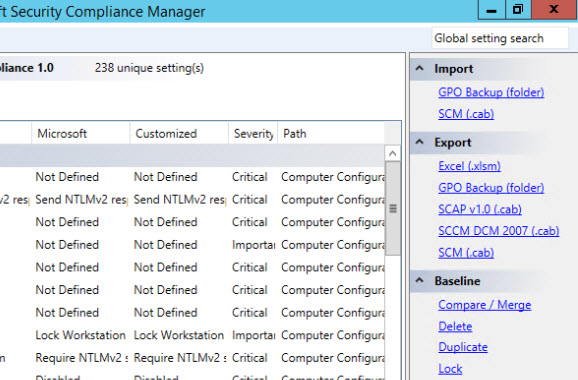
- In the right pane of SCM under Export, click GPO Backup (folder).
- In the Browse For Folder dialog, select or create a new folder within which to store the backup files and click OK. File Explorer will then open showing the exported Group Policy Object backup.
Using the Group Policy Management Console (GPMC), we can create a Group Policy Object from the backup we just made. For the purposes of this demonstration, I’ve installed GPMC on the same computer as the Security Compliance Management tool. To install GPMC on Windows Server 2012 or later, type install-windowsfeature –name gpmc in an elevated PowerShell prompt and press ENTER. Alternatively, GPMC is part of the Remote Server Administration Tools (RSAT) for Windows 10, and can be downloaded here.
Import Settings to a New Group Policy Object
To successfully create a Group Policy Object using GPMC, the console must be started with a domain user account that has permission to create new Group Policy Objects in the domain.
- To start GPMC, open Server Manager using the icon on the desktop taskbar. Alternatively, you can use the icon on the Start screen.
- In Server Manager, select Group Policy Management from the Tools menu.
- In GPMC, expand your Active Directory (AD) forest and domain in the left pane.
- In the left pane of GPMC, right click Group Policy Objects and click New.
- In the New GPO dialog, give the new GPO a name and click OK.
- Expand Group Policy Objects in the left pane of GPMC, right click the GPO you just created and select Import Settings… from the menu.
- In the Import Settings Wizard, click Next.
- As there are no settings in our GPO, click Next on the Backup GPO screen.
- On the Backup location screen, click Browse and select the backup folder created using SCM. Click Next to continue.
- On the Source GPO screen, select the desired GPO backup and click Next.
- Wait a second while the wizard scans the backup, then click Next on the Scanning Backup screen.
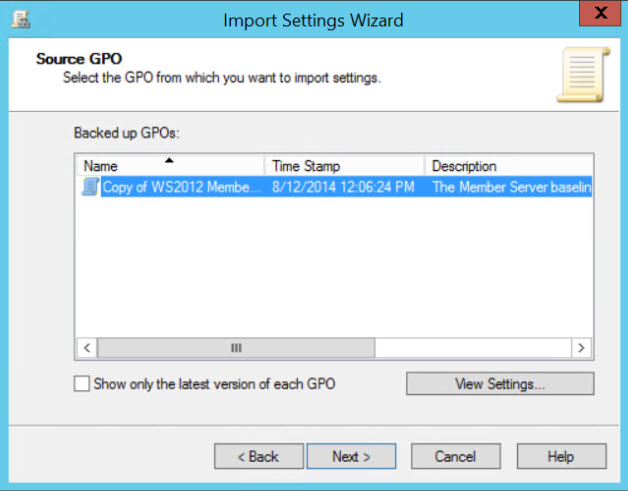
If the GPO backup contains references to security principals and/or UNC paths, you will be shown the Migrating References screen. If the GPO contains unique UNCs or security descriptors referencing names of servers or domains, you may need to use a migration table to map them to the new GPO.
Map Unique Security Descriptor and UNC Path References
I know that this GPO backup can be used to create a GPO in the target domain without worrying about mapping security descriptors and UNC paths, but let’s check to make sure that is the case.
- On the Migrating References screen, check Using this migration table to map them in the destination GPO and then click New.
- In the Migration Table Editor window, click Tools and select Populate from Backup from the menu.
- In the Select Backup dialog, make sure the backup location is set to the location of the GPO backup created in SCM, under Backed up GPOs select the GPO backup you created in SCM and then click OK.
In the Migration Table Editor window, you’ll see the security descriptors and UNC paths listed. If any of them will not work in the target domain, you can type the appropriate path or name in the Destination Name column. In this example, I don’t need to make any changes as all the security descriptors listed will work in the target domain.
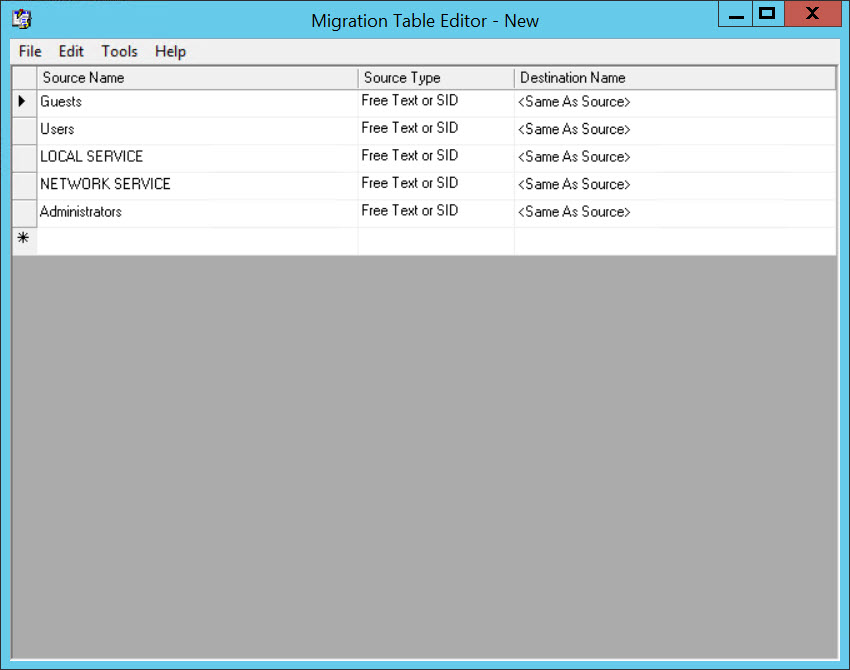
- If you made any modifications to the table, select File and then Save from the menu to save the migration table to a location of your choice. Otherwise, close the Migration Table Editor window, and click No when prompted to save the table.
- If you saved a migration table that you need to use to map the references in the GPO backup for the target domain, click Browse on the Migrating References screen and select the migration table that you just saved.
- If you don’t need to use a migration table, as in my case, check Copying them identically from the source.
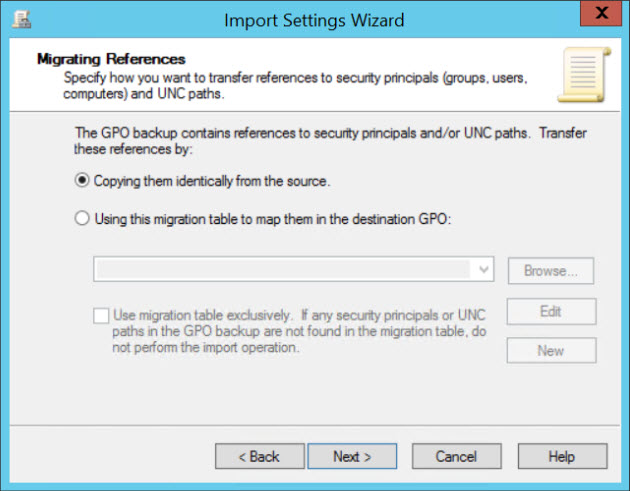
- Now click Next on the Migrating References screen to continue.
- On the Completing the Import Settings Wizard screen, click Finish to complete the operation.
- Click OK to close the wizard.
- Make sure that your GPO is selected in the left pane of GPMC and click the Settings tab in the right pane. Expand Windows Settings, and Security Settings on the Settings tab and you should see the GPO is now populated with the settings defined in SCM.
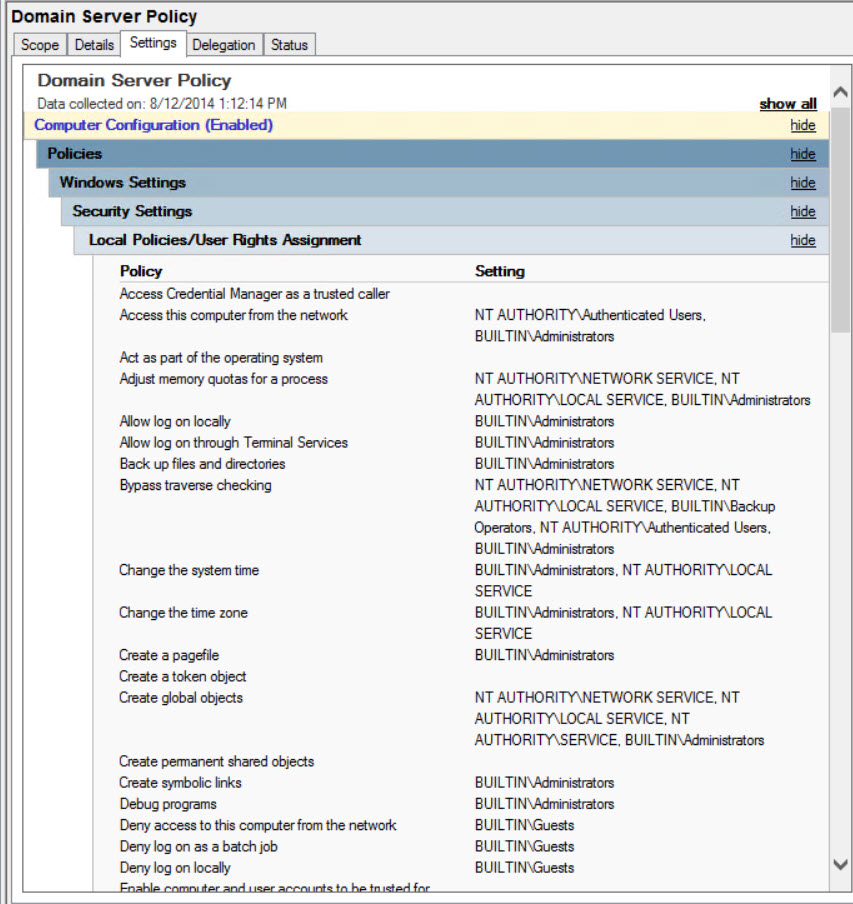
Now that we have a GPO based on the settings configured using the Security Compliance Management tool, you can link the GPO as required in your AD forest using GPMC. For more information on using GPMC and linking Group Policy Objects, see Working with Group Policy on Petri.
In the final part of this series, I’ll show you how to secure standalone Windows servers using Security Compliance Manager.


