How to Install the Windows PowerShell Cmdlets for Windows Azure AD and Office 365
How can I install the Windows Azure Active Directory cmdlets for PowerShell?
For those who need to manage large Office 365 or Windows Azure AD deployments, the Azure and Office 365 management portals don’t offer enough flexibility to manage user accounts in bulk or provide automation capabilities. PowerShell can help administrators overcome these limitations. In this Ask the Admin, I’ll show you how to install the Windows Azure AD cmdlets for PowerShell, which can also be used to manage Office 365.
Install Microsoft Online Services Sign-in Assistant
The PowerShell cmdlets require that the Microsoft Online Services Sign-in assistant be installed on the same management machine, and be at least version 7.250.4551.0 or greater. The current Release to Web (RTW) version of the sign-in assistant is 7.250.4303.0, so you will need to install Microsoft Online Services Sign-In Assistant for IT Professionals BETA, which contains version 7.250.4551.0, before you will be able to authorize to Office 365 using PowerShell. If you are using a 64-bit version of Windows, download the 64-bit msi.
Install Windows Azure Active Directory Module for Windows PowerShell
Now download the 32-bit or 64-bit version of the Windows Azure Active Directory Module for Windows PowerShell, as appropriate for you management device. Once downloaded, run the AdministrationConfig-EN msi file.
- Click Next in the installer dialog.
- Check I accept the terms in the License Terms and click Next.
- Click Next on the Install Location screen.
- Click Install to start the process.
- Give consent or enter administrative privileges if prompted.
- Click Finish to complete the procedure.
Connect to Office 365 Using PowerShell
To connect to your Office 365 subscription, you need to enter your administrative credentials.
- Switch to the Start menu and type powershell.
- Right-click Windows Azure Active Directory Module for Windows PowerShell in the search results and select Run as administrator. Give consent or enter administrative credentials if prompted.
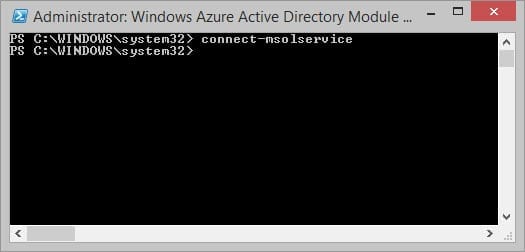
- In the command prompt window, type connect-msolservice and press Enter.

- Now enter your Office 365 administrator username and password in the pop-up dialog and click OK.
You should now be ready to go to run PowerShell cmdlets against your Office 365 subscription.


