Windows Sudo: Elevating Privileges the Linux Way in Windows
Execute commands with elevated permissions without switching contexts - Linux style.

With the introduction of Sudo for Windows, Microsoft has brought a familiar Linux privilege escalation tool to Windows users. It enables administrators and power users to execute commands with elevated permissions without switching contexts, streamlining workflows, and enhancing security.
This article examines how Windows Sudo operates, its advantages, configuration options, and its comparison to traditional Windows privilege management.
What is Windows Sudo?
The Sudo command is a Linux tool that elevates a user’s permissions temporarily from an unelevated console session. Sudo has been added to Windows to allow all users the same access to perform secure commands without compromising the running shell session. Admins and IT Pros ‘run as administrator’ seamlessly in the console session, granting temporary administrator privileges.
Microsoft announced the open source status of Windows Sudo at their Build conference this past May 2025. You can access the source code on GitHub.
Comparing Sudo and RunAs
There are similarities between Windows Sudo and using the RunAs command.
What is RunAs?
RunAs is a built‑in Windows tool that lets you launch programs, scripts, or commands under a different user account than the one you’re currently signed in with. Here is the basic syntax:
runas /user:<UserName> "<ProgramPath>"RunAs allows for switching to any account, but it always needs that account’s password and usually spawns a new window.
Windows Sudo vs RunAs
But Sudo in Linux lets you quickly elevate privileges in the same shell, often without re‑entering credentials if cached. Sudo now brings that same quick‑elevation feel to Windows, but at the time of writing, it’s admin‑only and still evolving.
Here’s a table to help you understand the inherent differences and when it’s best to use which tool.
Comparison: Windows Sudo vs. Runas in Windows
| Feature | Windows Sudo | Runas |
|---|---|---|
| Origin | Linux/Unix-inspired | Native Windows |
| Privilege Escalation | Requires a password each time (unless /savecred is used, which is risky) | Opens a new process with different credentials |
| User Experience | Can run commands inline (like Linux sudo) | Always launches a separate window |
| UAC Integration | Works alongside UAC (can bypass some prompts) | Respects UAC (triggers prompts if needed) |
| Credentials Handling | Can cache credentials (future updates may refine this) | Requires password each time (unless /savecred is used, which is risky) |
| Security Granularity | Currently no fine-grained policy control (like sudoers) | No built-in command restrictions (relies on user permissions) |
| Use Case | Best for admins/developers needing quick elevation | Better for running apps as a different user (not just admin) |
| Automation | Easier in scripts (no new window) | Harder to automate due to pop-ups |
| Security Risk | May reduce UAC friction (riskier if misused) | More explicit but less convenient |
Prerequisites
The only prerequisite is you need to be running Windows 11 version 24H2 or newer. Sudo has not yet been released for Windows 10, although Microsoft may add it in the future.
How do I enable Windows Sudo?
The procedure to ‘turn on’ Sudo is rather simple.
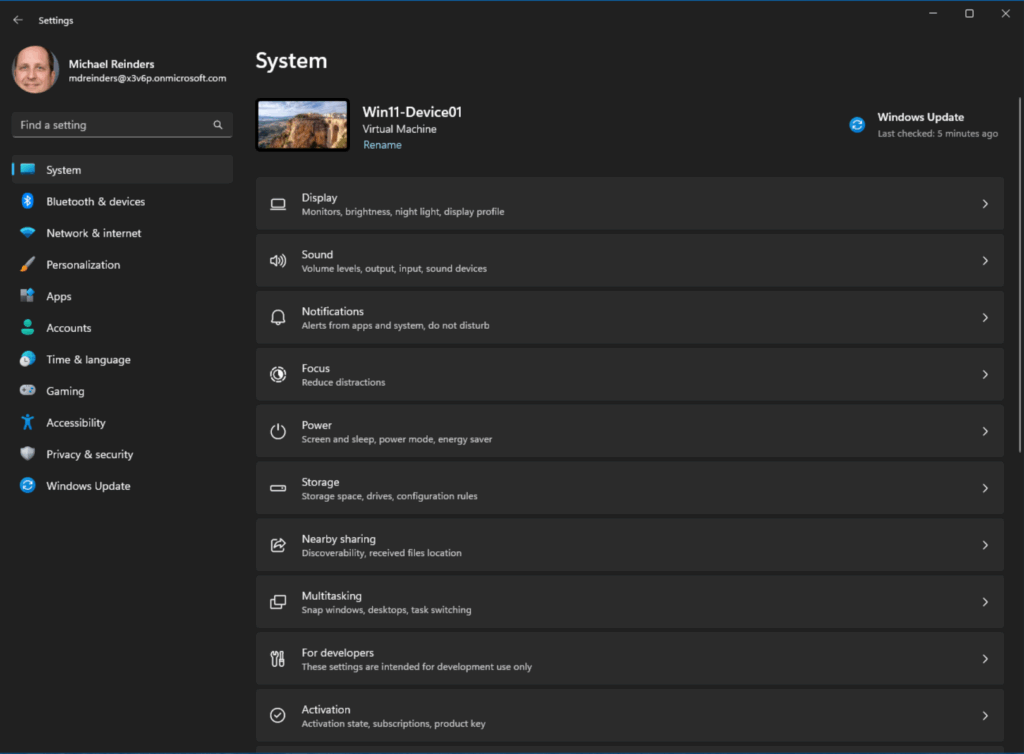
- Open the Settings app from the Start menu.
- Click the ‘For developers’ section.
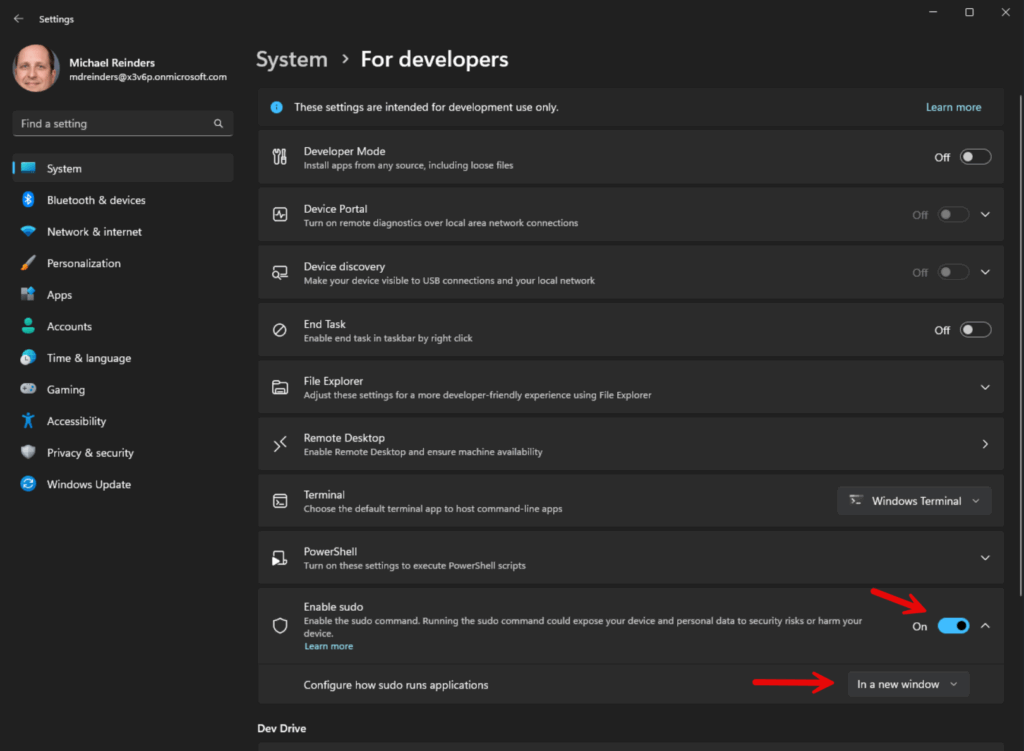
- On the ‘Enable sudo’ option, click the toggle to enable it (On).
If you click the caret on the right to expand, you’ll see the ‘Configure how sudo runs applications’ option. I’ll get to this next.
Configuration options
As I just mentioned, there is one major or high-level configuration option you’ll want to be aware of before using Sudo. It has to do with how sudo interacts with the user.
New window
The first option is In a new window. The ‘forceNewWindow’ attribute is the default configuration option using Sudo. You use Sudo in this way to run your commands in a new window. This is similar to running ‘runas /user:admin’ on the command line.
Input closed
With Input closed (disableInput), this option will run the elevated command in the current window, but with the input handle closed. In this scenario, the elevated process will not be able to see any input from the current console session it’s running in.
This is most helpful when you want to run a command as an administrator but do not want the command to receive any input from the window. This is inherently more secure.
Inline
The last option, Inline (normal), is most similar to how sudo behaves on Linux – the elevated process will be run in the current window, and the process will be able to receive input from the current shell. This is mostly used when you want to run a command as an administrator and you want sudo to receive input from the working console window.
It’s the most convenient and seamless but it comes with tradeoffs in terms of security. I will get to this important security topic soon.
You can use the dropdown in the Enable sudo section of For developers in the Settings app or run this command at an elevated command line (admin console):
sudo config --enable <configuration_option>Change <configuration_option> to either forceNewWindow, disableInput, or normal.
How to Windows Sudo
To use Windows Sudo, you prepend ‘sudo’ to the command you want to run as an administrator. You can use PowerShell, Windows Terminal, or a command prompt.
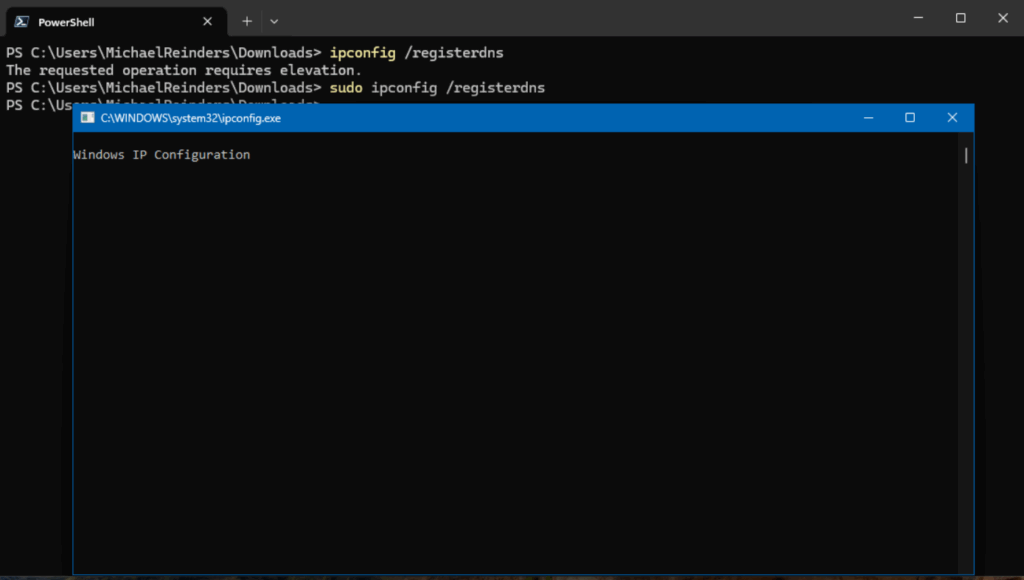
As an example, if you wanted to run netstat -ab with admin privileges, you could run:
sudo netstat -ab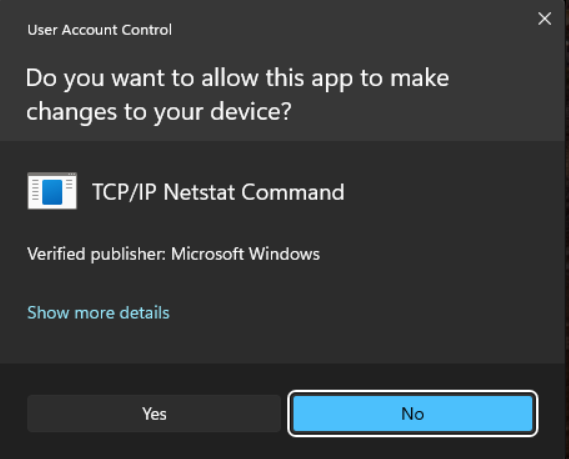
As you can see, when I ran the command first from my standard Terminal session (not in administrator mode), it did not execute the command. Instead saying it needs elevation. When I ran the same command with ‘sudo’ at the beginning, it opened a new window and ran the netstat command.
Here’s another example. You need admin privileges to run ‘ipconfig /registerdns.’ If I try to run this in Terminal, I get the same message. But when using sudo, it opens a new window and executes the command. Nice, clean, and seamless.
Security considerations when using Windows Sudo
As with any tool or function that elevates permissions in real-time, you need to be aware of what you’re opening up when executing Windows Sudo. Because Windows Sudo can be used as a potential escalation of privilege vector, you should be aware of the following security risks involved.
Input Closed (inputClosed) or Inline (normal) security risks
There are inherent risks associated with running sudo in the Input Closed (inputClosed) or Inline (normal) configurations. It is possible for malicious processes or threads to attempt to circumvent the elevated process by hijacking it and using the established connection by the unelevated sudo.exe and the elevated sudo.exe process. This bypasses the User Account Control (UAC) prompt traditionally used by Windows to alert users of potential security risks.
Risk of over-privileged users
- Excessive Sudo Usage:
- Just like in Linux, frequent use of Sudo can lead to habitual privilege escalation, increasing the risk of accidentally executing harmful commands.
- Unlike traditional UAC, which requires explicit consent per action, Sudo (in inline mode) may make elevation feel less restrictive, leading to misuse.
- Lack of Fine-Grained Permissions:
- Linux’s
sudoersfile allows precise control over which commands a user can run with elevated rights. - As the feature stands today, Windows Sudo lacks granular policy controls, meaning any admin-enabled user can run any command with elevated privileges.
- Linux’s
Credential theft and lateral movement risks
- Password Caching Concerns:
- If Sudo is configured to cache credentials (similar to
sudo -iin Linux), an attacker with user access could exploit this to maintain persistence. - Windows currently does not implement a timeout-based cache by default, but future updates may introduce this feature.
- If Sudo is configured to cache credentials (similar to
- Malware and Script Exploitation:
- A malicious script or application could abuse Sudo to silently escalate privileges if the user is already authenticated.
- Unlike UAC, which requires manual approval per session, Sudo could be exploited in automated attacks.
Bypassing traditional UAC protections
- UAC vs. Sudo Behavior Differences:
- UAC (User Account Control) prompts are designed to interrupt unintended elevation requests, acting as a safeguard.
- Sudo (especially in “New Window” or “Input-disabled” mode) may reduce friction for elevation, making it easier for attackers to trick users into running malicious commands.
- Potential for UAC Bypass Techniques:
- If Sudo is misconfigured, attackers might use it to circumvent UAC restrictions, particularly if users disable UAC entirely for convenience.
Thank you for reading my post on Sudo for Windows. Please leave a comment or a question below for further discussion.
Frequently asked questions
Is there a sudo for Windows?
- Yes — Microsoft has recently introduced a built-in “sudo for Windows” feature (starting in Windows 11, version 24H2 and newer) that lets you run commands with administrative (elevated) privileges directly from a non-elevated console session.
- However, this Windows version of sudo is not identical in functionality to the Unix/Linux
sudo— it has more limited scope (for now). - Before this feature existed, Windows users have also used third-party tools (e.g. gsudo) or scripts/aliases to approximate sudo-like behavior (i.e. elevate a command on demand) in cmd/PowerShell.
How to run sudo command (on Windows)?
If your system supports the built-in Windows sudo:
- Enable sudo
- Go to Settings → System → For Developers, and turn on the Enable sudo toggle.
- Optionally, you can configure how sudo runs commands (in a new window, inline, or with input disabled) via that settings page or via a command line (like
sudo config --enable <mode>). - You might need to run such config commands from an already elevated console.
- Using sudo
- Open a normal (non-elevated) Command Prompt, PowerShell, or Windows Terminal.
- Prefix the command you want to run with
sudo, e.g.:sudo netstat -abThat launches the command with administrator rights (you’ll see a UAC prompt) - Depending on your sudo mode configuration, the elevated command may run in a new window, inline in the same window, or with input disabled.
If your Windows version does not natively support sudo, you can use third-party utilities like gsudo (via winget, choco, etc.) or create a small sudo.cmd wrapper that runs Start-Process -Verb runAs ... to simulate sudo.

Michael has been an IT Pro since 1998. He has worked predominantly in the Windows world including client and server operating systems, on-prem systems engineering (AD, DNS, etc.), and over the last ten years or so has embraced and immersed himself in...