


Why IT Pros Should Be Using Azure Resource Groups

Have you ever used a resource group in Azure? If you have never consciously used a resource group, then it’s time to start reconsidering. Resource groups have become an important way in which we logically group and manage elements of a service, such as storage accounts, virtual machines, and so on. In this article, I’ll explain what resource groups are and why they are something you need to start using.
New versus Old
Resource groups were something I had never heard of when I started to learn Azure. I worked in the old Management Portal, deploying individual items such as storage accounts, virtual networks, and virtual machines with no consideration of how these items would be logically grouped by Azure. It was up to me to remember how a virtual machine was networked and where that virtual machine stored its virtual hard disks.
And then along came the Azure Preview Portal, which is now known as the Azure Portal. We are expected to now do most of our GUI-based management in the Azure Portal. Not everything is moved across from the Management Portal, but what’s left is scheduled to move in the not-so-distant future.
The Azure Portal introduced us to resource groups. Everything that’s deployed in Azure is a part of a resource group, no matter what management tool you use, and whether you explicitly create a resource group or not. That’s why if you have just started using the Azure Portal after using the Management Portal for some time, you might see a lot of default resource groups for each Azure region that you’ve deployed into.
Why Use Azure Resource Groups?
Resource groups are a way to logically group assets of a service. Imagine you are deploying a new application in Azure; There’s going to be:
- A storage account
- A virtual network
- A cloud service for classically deployed services, or a load balancer for ARM-based deployments
- One or more virtual machines
- And possibly other resources
We can create each of these items inside the same resource group. Now when I sign into a large Azure subscription, I can:
- Browse my resource groups, which are my services.
- See all of the assets of a resource group by browsing into it.
- Quickly assign delegated admin rights to all the elements of a service by assigning those rights to a resource group, which are then inherited by all members of that resource group.
Creating a Resource Group
There are two ways to create a new resource group:
- Explicitly create one in advance.
- Create one while deploying a new resource. Note that all deployed assets are members of a resource group.
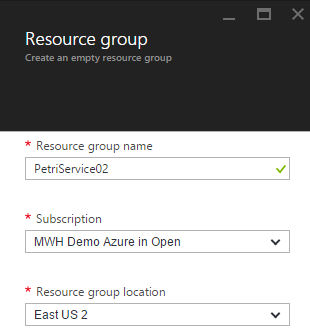
To create a resource group in advance:
- Sign into the Azure Portal.
- Click Browse > Resource Groups.
- Click + Add.
- Name the resource group, confirm the Azure subscription, and set the region.
Note that all of the members of a resource group must be in the same Azure region as the resource group.
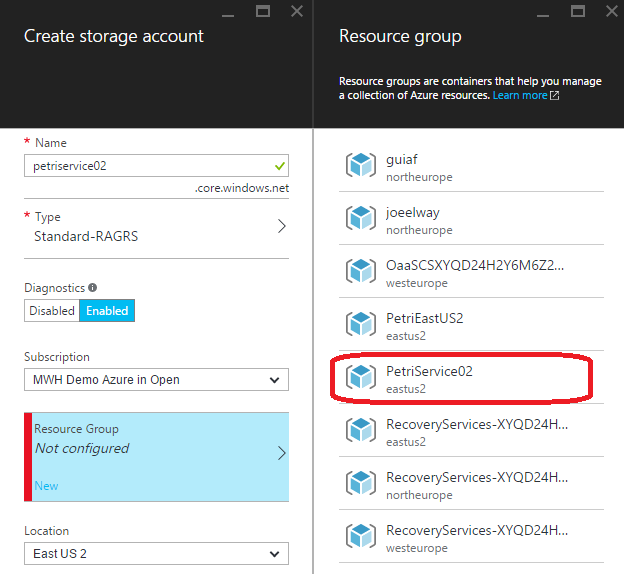
When you deploy something new, you can deploy it into that resource group or create a new one. The wrong approach here is to just accept the default resource group. Instead, create a resource group that’s named after the service so you can tell what elements are related to each other, even if you won’t do any administration delegation.
In the following example, I’m creating a new storage account. In the past I would have ignored the Resource Group setting. Now I will either click New to create a new resource group if I had not already done so, or I will select an existing one. Note the resource group that I previously created. Every element of this service, which includes storage, networking, virtual machines, and so on, will be added to the same resource group.
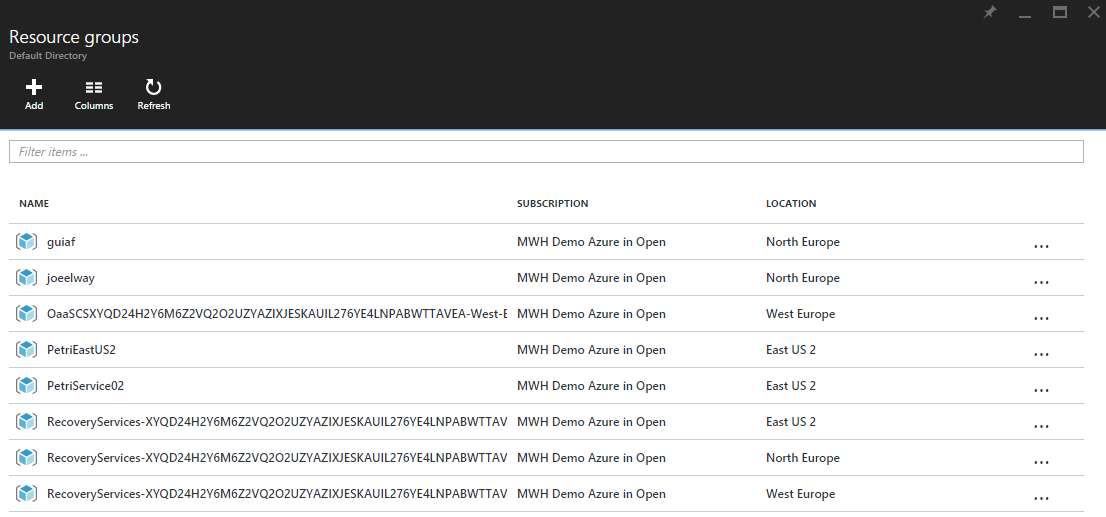
Using Resource Groups
If I get into the habit of deploying assets into resource groups, then I can easily see my services by browsing Resource Groups in the Azure Portal.
Expanding a resource group allows me to quickly see all of the assets of that service:
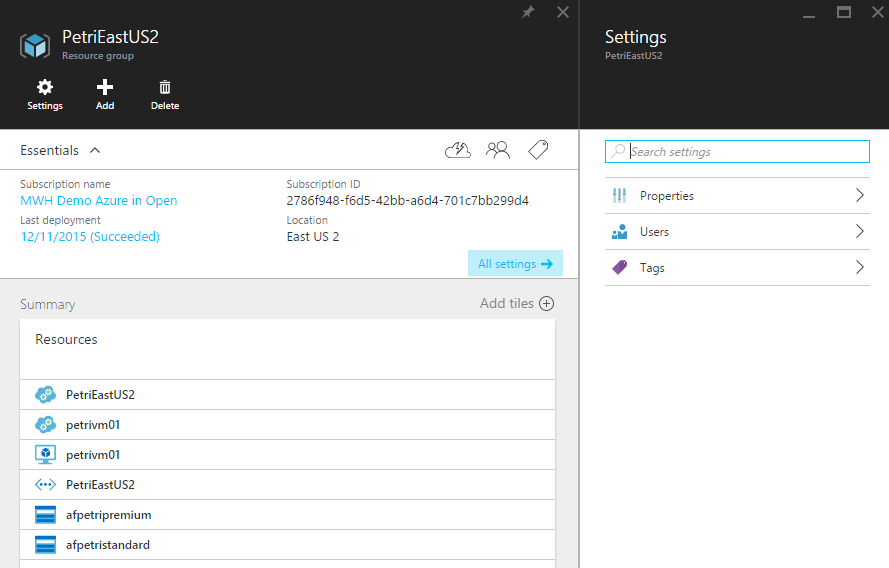
You can also customize the blade of the resource group to display valuable monitoring, performance, and spending information. This dashboard approach is greatly valued by administrators and generates lots of revenue for System Center consultants working with SCOM on premises.

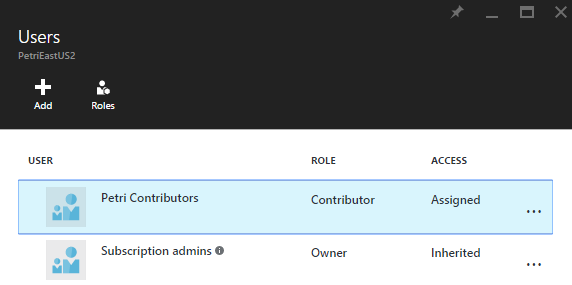
Resource groups give you a simple way to grant role-based admin rights. You can learn more about that in Delegating Admin Rights in Azure on Petri.
It only takes a few more clicks to use Resource Groups, but once you get into the habit, you’ll find the additional organization and ability to manage security to be a huge time saver. Resource Groups might even be a job saver if it helps prevent you from deleting the wrong things when trying to save money!