


Delegating Admin Rights in Microsoft Azure
In this article, I’ll explain how you can use the resource group functionality of Azure to implement role-based access control (RBAC) and limit administrative access and rights within an Azure subscription.
Role-Based Access Control (RBAC)
I’ve been puzzled by how rarely I am asked about implementing RBAC for additional administrators. I think this might be because most people are still in the early days of learning Azure and haven’t thought about long-term ownership. Also, many large enterprise Azure customers are consuming Azure via direct billing; in other words, each developer or tester has their own account that they expense. And yes, I have witnessed this shadow IT approach.
However, as knowledge expands, the adoption of Azure becomes more integrated, starting with Azure Active Directory (Azure AD or AAD). Security and compliance officers will start to pay attention to Azure, and people will want to learn how to implement RBAC. In other words, we can limit rights and privileges in Azure to:
- Just the required amount of rights
- And just to the required people
Let me answer the question before you ask it: yes, we can implement delegated administration in Azure.
Subscription Admins
The Subscription Admins group is similar to Domain Admins or virtualization super users in an on-premises environment. The wrong approach to granting rights to Azure is to add people to this group.
Let me repeat this more clearly: do not add people to Subscription Admins just to grant them quick access to your Azure subscription.
Like all super user groups, we should limit membership to a small number of people. Not everyone should be a vSphere admin. Not everyone should be a domain admin. Not everyone should be a member of Subscription Admins. And this is why we implement delegated administration — limiting people to the rights they need over the resources that they work with, giving them just enough administrative rights to do their job and no more.
Requirements
The most important aspect of this solution is that you need user accounts and groups. Azure, like all of Microsoft’s commercial cloud services, uses Azure AD to store these accounts and their credentials. The good news is that if you’ve implemented Office 365, then you probably have already populated Azure AD and just need to reveal the domain in your Azure subscription.
If you don’t use Office 365 or the other SaaS offerings from Microsoft, then look into using either:
- Azure AD Sync: A shared sign-on solution that replaced DirSync, that copies your user accounts and passwords to Azure AD.
- ADFS: A more complex solution that redirects sign-in from the cloud to your on-premises AD.
You will manage Azure AD in the legacy management portal, but I suspect that will change early in 2016. You will use the newer and less complete Ibiza portal to manage rights.
Resource Groups
If you’re like me, and you’ve used the older management portal as your primary tool, then resource groups were something that you didn’t use or you thought that you didn’t use them. A resource group is a logical container that aggregates elements of a service together. The feature was introduced in the Ibiza portal, and even if you just use the older portal, everything that you created in Azure is deployed into a new or existing resource group.
Resource groups allow us to quickly delegate administrative rights. For example, let’s assume that I am creating a new web application that requires:
- A storage account
- A virtual network
- Web servers
- Application servers
- Database servers
- And more elements
I can deploy each of these elements into a single resource group, and this allows me to manage the service as a single unit.
And one of the nice features of resource groups is that I can grant rights to that service via the resource group, or to just one element of the service. If there is a group of devs that own this application, then I can quickly grant them rights via the resource group. Maybe there’s one machine that is a test system; I can grant rights to that to the testers.
Azure AD Groups
Anyone that has learned basic Windows Server administration understands U -> G -> P; Users go into groups, groups are assigned permissions. It’s then easy to add or remove rights to and from a user by adding them to or removing them from a group that’s already assigned rights.
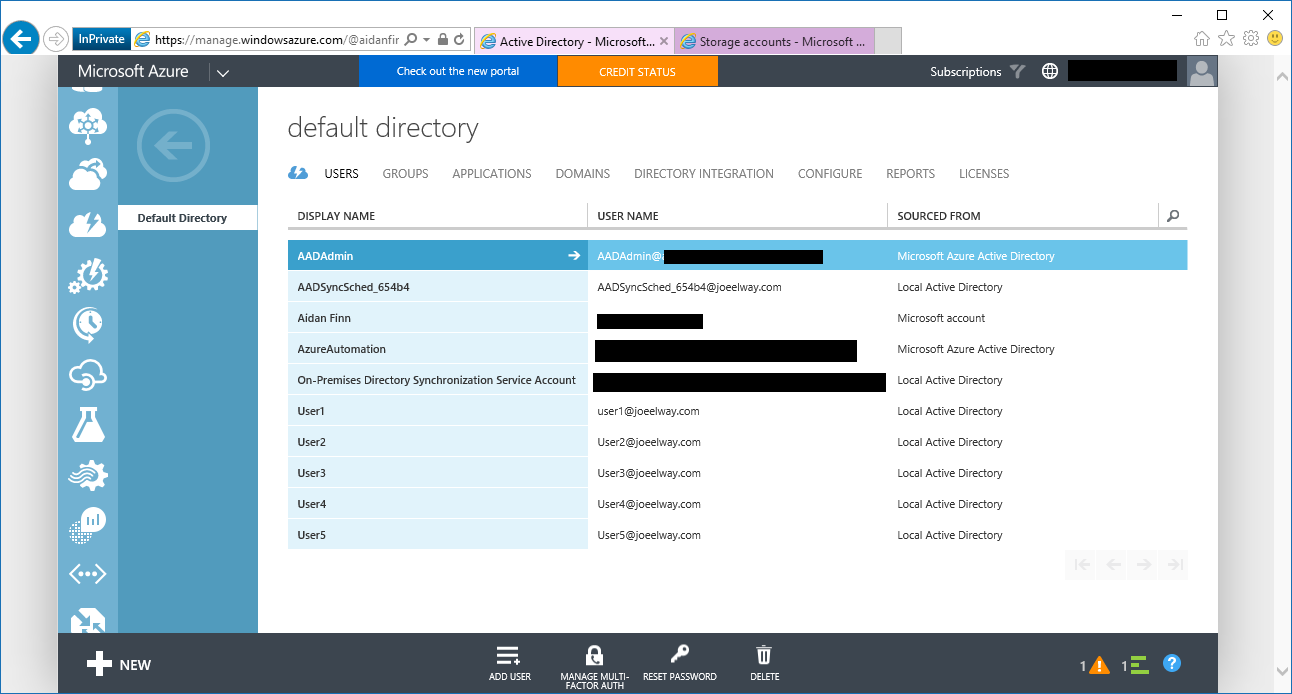
Group administration is done in Azure AD, and we do that work today in the older management portal. Browse to Active Directory and into your default domain. A tab called Groups is where we manage the groups in Azure AD.
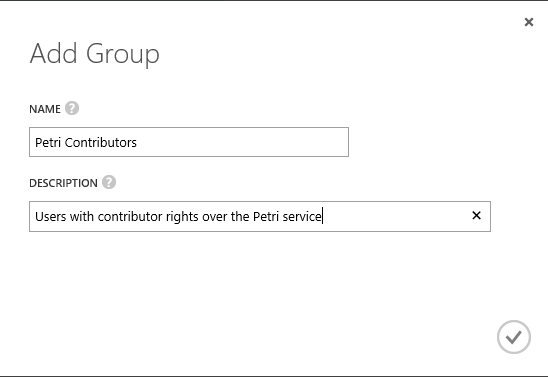
Click Add Group to create a new group of users. Give the group a unique name (try naming it after the purpose of the group) and give it a meaningful description (this self-documentation will help months/years after today).
Then you can navigate into the group, click Add Members, and select users that you want to grant rights to. I added two non-admin accounts, [email protected] and [email protected], to the group.
Granting Administrative Rights
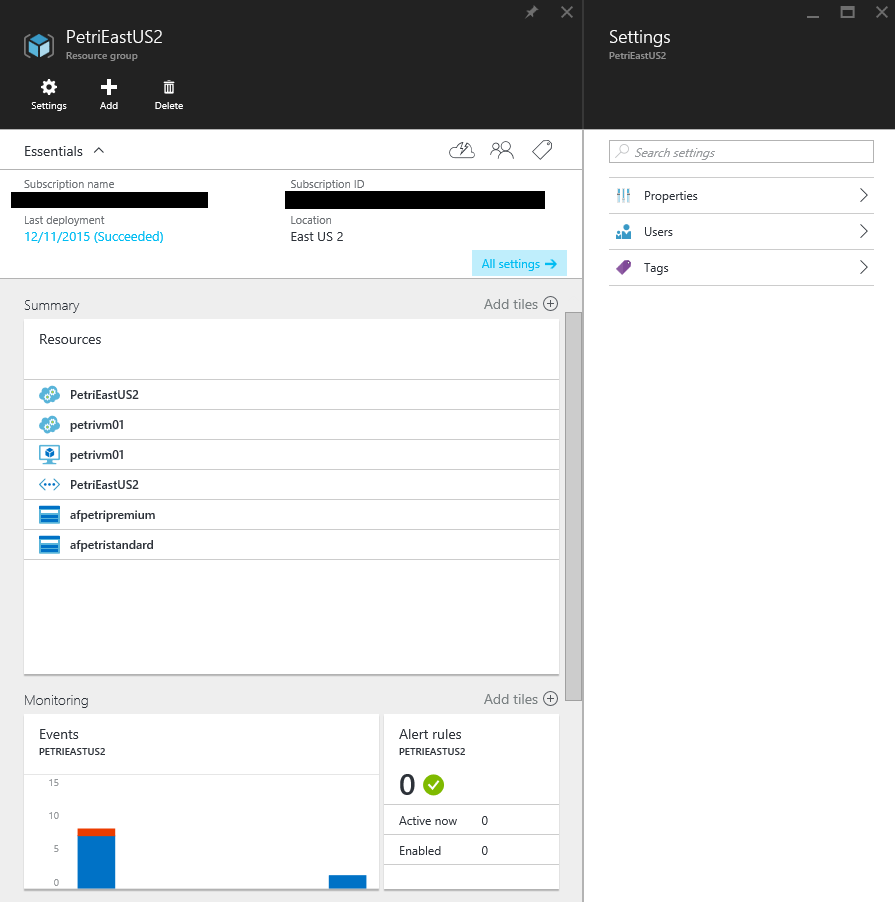
Now you’ll log into the Ibiza portal and browse to the resource group that contains your service. If you expand All Settings, you should see a setting called Users. This is where we grant permissions to all elements of the resource group.
Navigate into Users. There you will see that Subscription Admins have inherited rights over all elements in the subscription. Click Add and an Add Access blade will appear.
The first sub-blade allows you to select a role for the users. This blade allows you to define what rights you are granting. Two commonly used ones will be:
- Owner: Full administrative rights, including the ability to grant permissions.
- Contributor: They can do everything except grant permissions.
There are many more permissions that you can explore — the Ibiza portal has a quick description of what each role allows.
The Add Users blade allows you to select either a user or a group to grant the above permission to over the resource group. Don’t assign permissions to users – use groups intead! If the list is long then you can start to type the group name in the search box. I searched for “Pet” and the list shrank to just show the “Petri Contributors” group. Select the group and click OK to close the Add Access blade. A few seconds later the permission is granted and you can log in to test it out.
Resource Permissions
You can also grant permissions on individual resources, but this requires more effort to implement and track. Imagine granting permissions to files instead of folders!
You can view and manage resource permissions by browsing to the resource, expanding All Settings, and clicking Users. There you can view inherited permissions or grant additional permissions. Note that elements of my Petri service inherited the Contributor role being assigned to Petri Contributors from the resource group.
Verifying Rights
Tip: If you’re like me, then you have several work and Microsoft accounts that you use on one machine. Use a browser in private or incognito mode to prevent user account crossover.
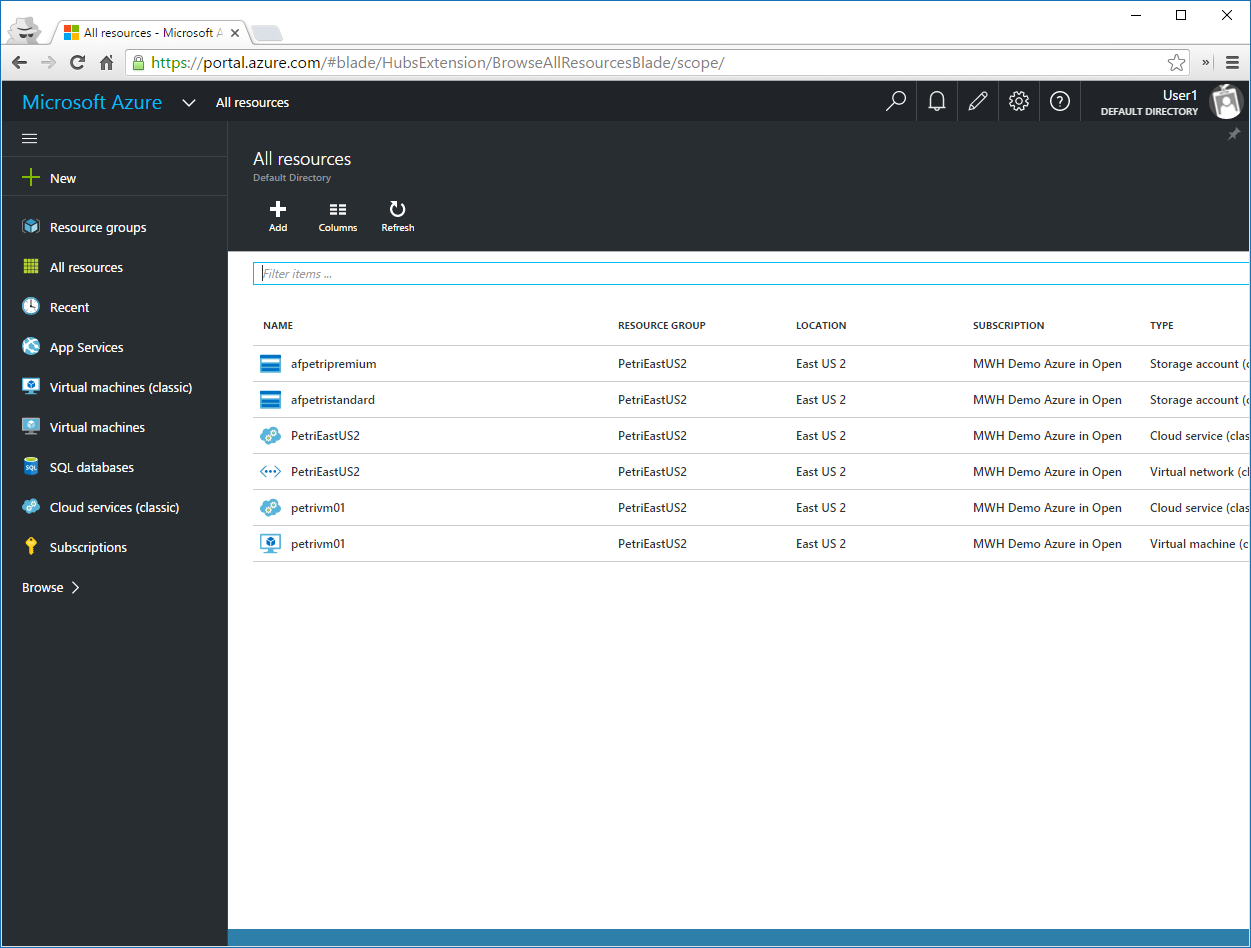
I logged into the Ibiza portal using the user1 account, opened All Resources, and my view and rights are limited to the elements of the above resource group. As a contributor, User1 can do anything to these resources except manage permissions.
Tips
Here are a few ideas for you to consider:
- Azure AD: Get started with Azure AD as soon as possible. Don’t create a few users in Azure AD just to get you started – I can bet that “just to get you started” becomes production. Make the most of AD integration to simplify (for users) and control (for you and the company) access from Active Directory.
- Use resource groups: It doesn’t matter what portal you use, resource groups are created for anything new in Azure. Ibiza is the long term management experience, so it’s time to start using it now, and it’s time to start putting your assets into well thought-out resource groups.
- Naming standards: Come up with naming standards for your resource groups, resources and groups. This will help you track and configure permissions.
- Groups: When I was a sys admin, I created groups for every shared folder in advance and assigned the required permissions. This gave me lots of control, and made it easy for others to grant permissions. Consider creating groups for every resource group to grant owner, contributor, and any other required roles. Granting and revoking access will then just be a matter of adding a user to or removing a user from a group.
- Documentation, communication & enforced: Good naming standards will help, but nothing is a process or standardized unless it is clearly documented, communicated, and enforced.