How to Enable Telnet Client in Windows 11 and Server 2022
Telnet is a client/server protocol used for accessing remote servers. As the name might suggest, Telnet was originally used on terminals that only required a keyboard because everything on the screen was displayed in text, usually from a mainframe computer. The terminal used Telnet to remotely log in to a mainframe server or other computer. But in recent years, Telnet has fallen out of favor because it doesn’t provide a secure way to communicate with remote servers.
Nevertheless, Telnet still has its uses today. For example, it can be useful for checking connectivity to a remote server. You can use a Telnet client to try and access a port on a remote server. For example, if you are troubleshooting connectivity issues. Or you can use Telnet to enter some commands and run them on a remote server and the output will be returned in the Telnet client.
You can use Telnet for accessing remote servers if using strong authentication and encryption over the network isn’t critical. One example is connecting to an SMTP server. You might issue some commands to a remote SMTP server to test sending email. The commands below start the Telnet client and then create a connection on SMTP port 25 to a mail server. Then a message is sent before closing the connection.
telnet
set localecho
open mail.contoso.com 25
ehlo contoso.com
mail from: <[email protected]>
rcpt to: <[email protected]> notify=success,failure
data
subject: test email
This is a test for Argo
.
quit
And while Telnet has never been a critical Windows tool, there is a Telnet client built into Windows 11 and Windows Server 2022, although it isn’t enabled by default. In this guide on how to enable Telnet Windows Server, I will show you how to enable the Telnet client using the GUI and command line.
Install the Telnet client using the GUI
Using the GUI to install the Telnet client in Windows 11 and Windows Server 2022 differs a little. Let’s start with Windows Server 2022.
Install the Telnet client in Windows Server 2022
Follow the instructions below to install the Telnet client using Server Manager.
- Log in to Windows Server 2022 with an administrator account.
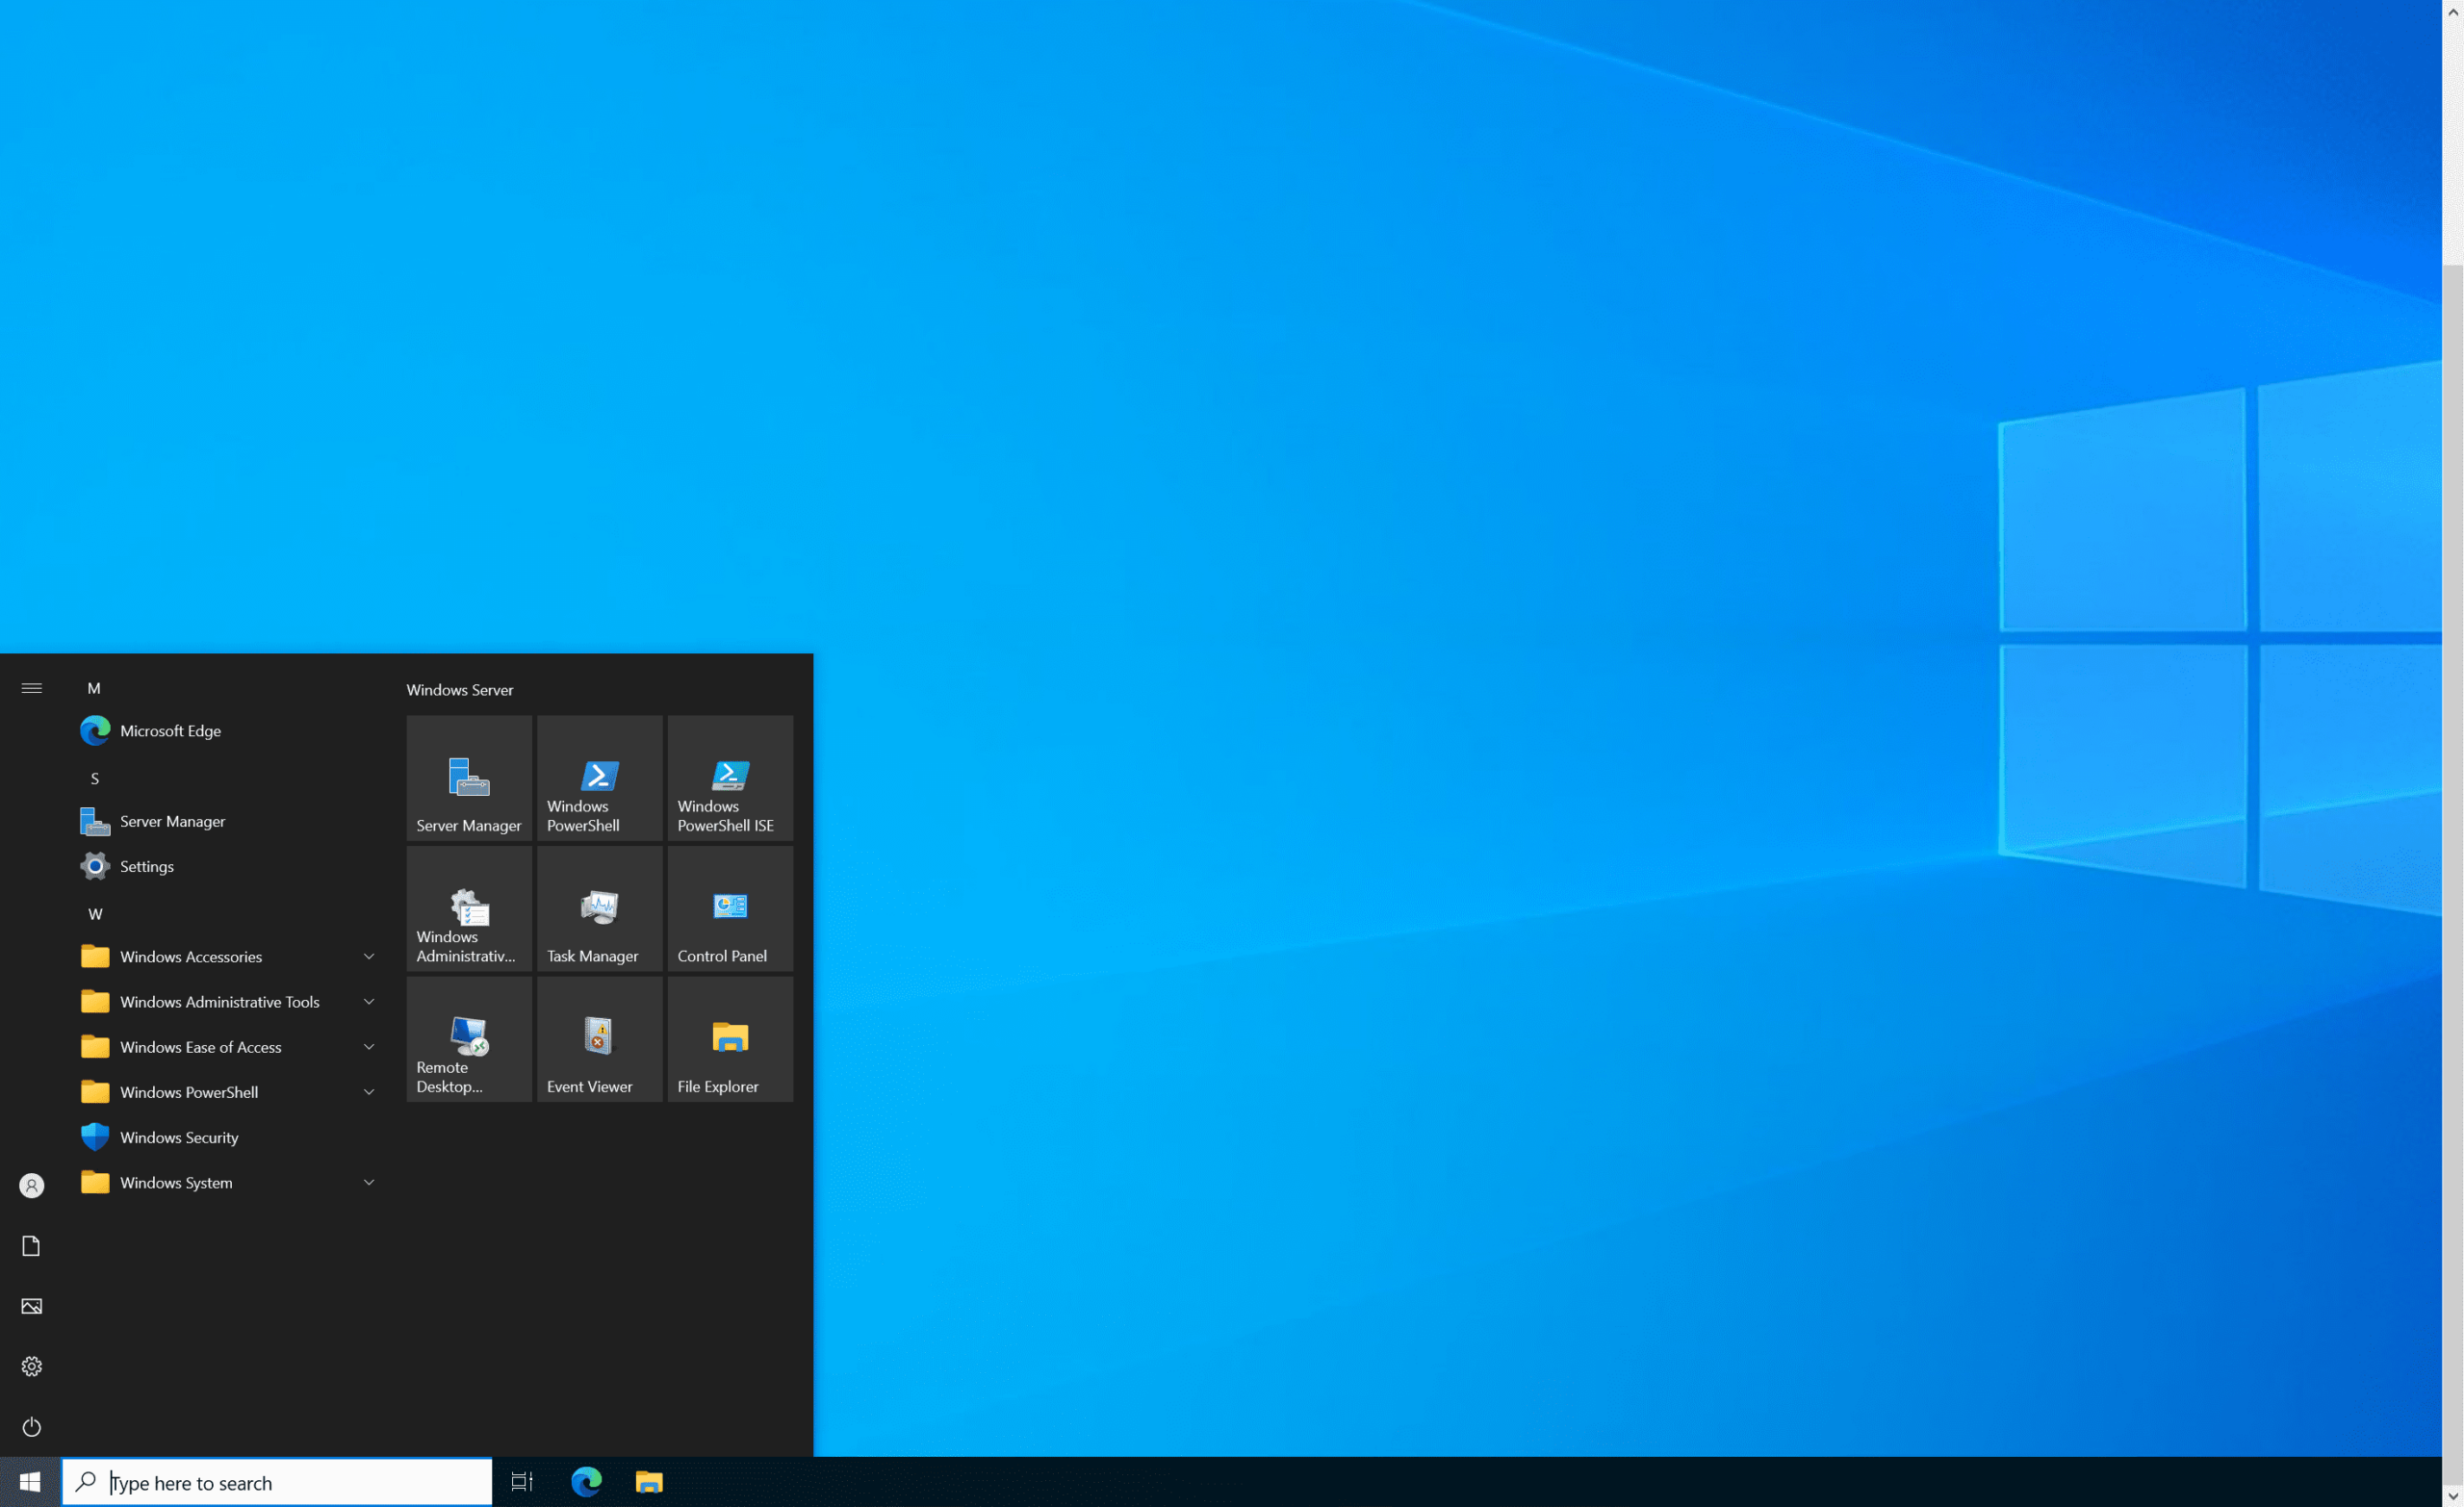
- Open Server Manager from the Start menu.
- Click the Manage menu in the top right corner and then select Add Roles and Features.

- In the Add Roles and Features Wizard, click Next on the Before you begin
- Click Next on the Select installation type
- On the Select destination server screen, make sure that your local server is selected in the list of servers and then click Next.
- Click Next on the Select server roles
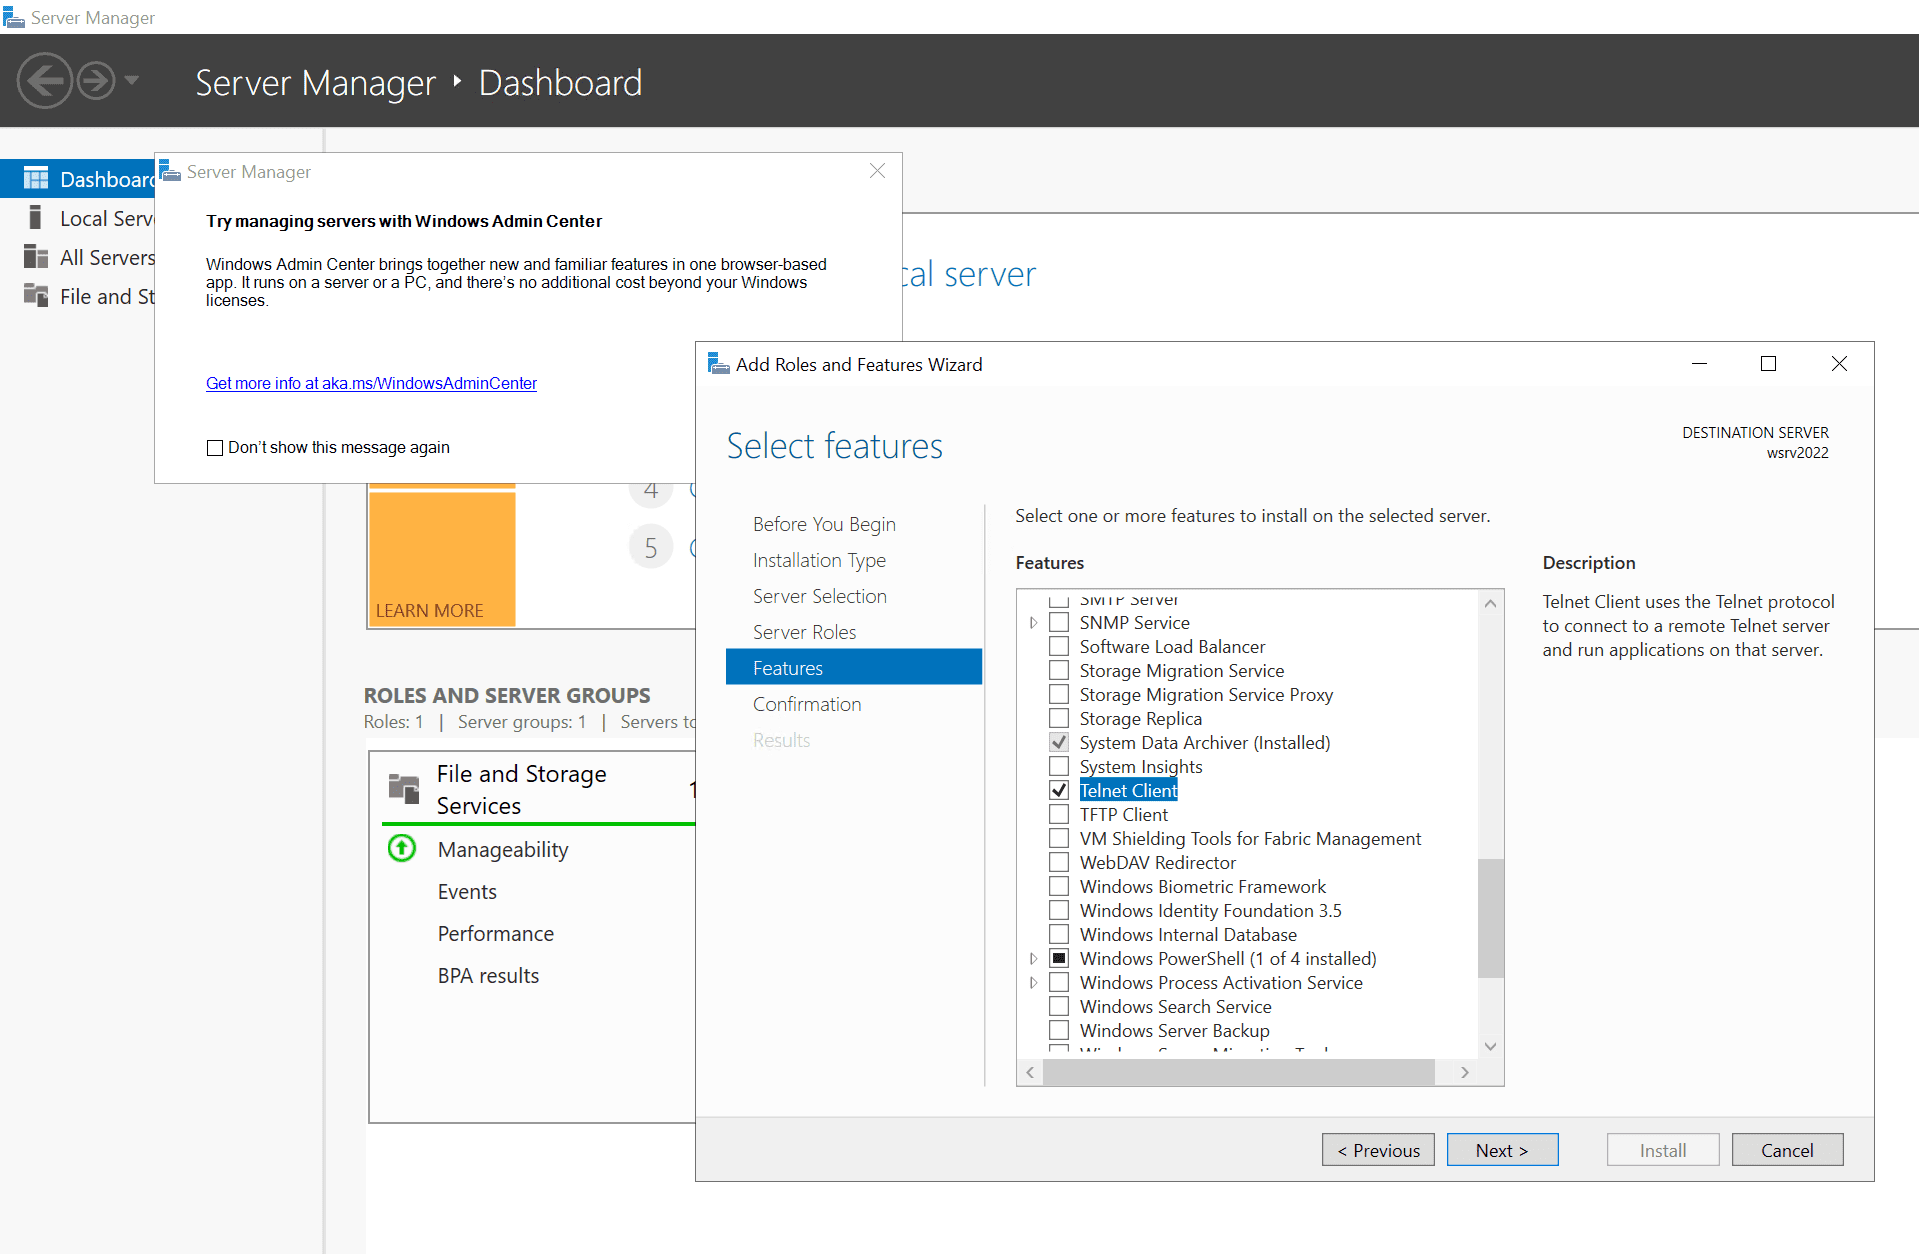
- On the Select features screen, scroll down the list of available features, check Telnet Client, and click Next.
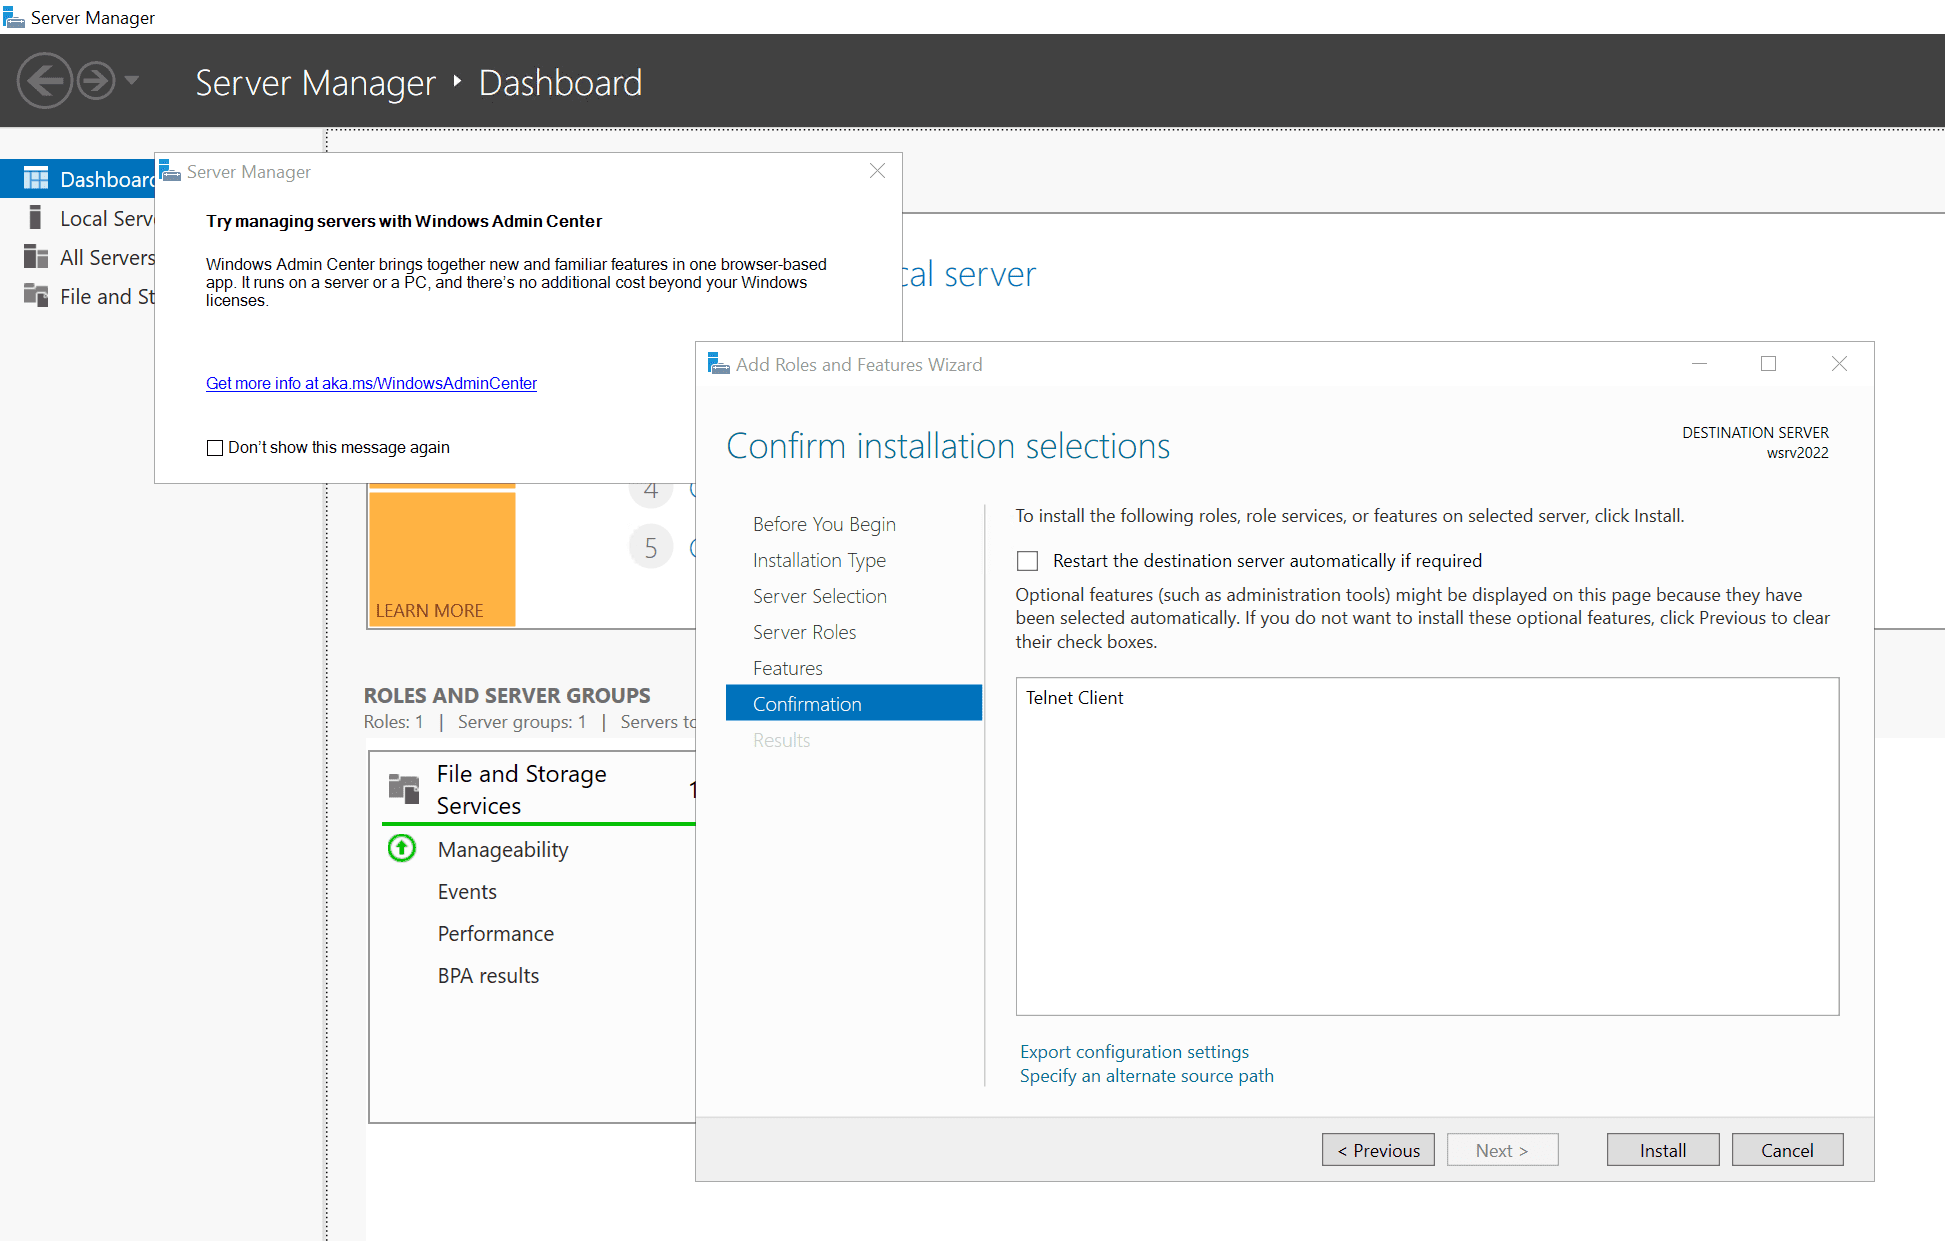
- Click Install on the Confirmation installation selections
- Close the Add Roles and Features Wizard.
Install the Telnet client in Windows 11
Follow these steps to enable Telnet Windows Server on Windows 11
The Telnet client is installed using the legacy Control Panel in Windows 11.
- Click the Search icon on the taskbar.
- Type control panel and then select Control Panel from the list of results under Best match.

- In the Control Panel, click Programs.

- Click Turn Windows features on or off under Programs and Features.

- In the Windows Features window, scroll down the list of available features, check Telnet Client, and then click OK.

The Telnet client will now be installed on Windows 11.
Install the Telnet client using the command line
The Telnet client can be installed using PowerShell or the DISM command-line tool. The following methods work in Windows 11 and Windows Server 2022.
Install the Telnet client using DISM
To install the Telnet client using DISM, following the instructions below.
- Open the Start menu on the taskbar.
- Type cmd and then make sure that Command Prompt is highlighted in the list of search results.

- In the panel on the right, click Run as administrator.
- Give consent or provide an administrator username and password as prompted.
- In the command prompt window, type the command below and press ENTER.
dism /online /Enable-Feature /FeatureName:TelnetClient
- In the command prompt window, type y and press ENTER to restart Windows 11.

Install the Telnet client using PowerShell
To install the Telnet client using PowerShell, following the instructions below.
- Open the Start menu on the taskbar.
- Type powershell and then make sure that Windows PowerShell is highlighted in the list of search results.
- In the panel on the right, click Run as administrator.

- Give consent or provide an administrator username and password as prompted.
- In the PowerShell window, type the command below and press ENTER.
Enable-WindowsOptionalFeature -Online -FeatureName TelnetClient
- In the PowerShell window, type y and press ENTER to restart Windows 11.

And that’s it. The Telnet client is now installed.
FAQs
Can I enable Telnet on Windows Server Core Edition using PowerShell?
Yes, you can enable Telnet on Windows Server Core Edition by using the Install-WindowsFeature Telnet-Client PowerShell cmdlet. This method is particularly useful for headless server installations where GUI access isn’t available.
Does enabling Telnet on Windows Server affect system security?
When you enable Telnet Windows Server features, it’s important to understand that Telnet transmits data in plaintext. For production environments, it’s recommended to use SSH instead, but Telnet can be safely used for internal testing and troubleshooting.
Will enabling Telnet Windows Server features require additional ports to be opened?
Yes, when you enable Telnet Windows Server functionality, you’ll need to ensure port 23 is open for Telnet communications. However, you can configure different ports through Windows Firewall settings if required.
Can I enable Telnet Windows Server features in a clustered environment?
Yes, you can enable Telnet Windows Server features across clustered nodes, but you’ll need to implement the configuration on each node separately. It’s recommended to use Group Policy for consistent deployment across multiple servers.
Is it possible to enable Telnet Windows Server through Azure Arc?
Yes, you can remotely enable Telnet Windows Server features through Azure Arc-enabled servers using PowerShell remoting or Azure Policy. This allows for centralized management of Telnet functionality across hybrid cloud environments.
Russell Smith, the Editorial Director at Petri IT Knowledgebase, has over two decades of hands-on experience in IT, in both small business settings and government IT infrastructure projects. Russell started writing for Windows IT Pro Magazine in t...