


Configure Remote Desktop Services Collections in Windows Server 2012 R2

In this article, I’ll show you how to configure Remote Desktop Services collections in Windows Server 2012 R2.
RDS collections are groups of RD Session Host servers with a shared set of RemoteApps, session host, or VDI desktops that can be published to users. A collection can contain either remote desktops or RemoteApps, not both at the same time.
Use Server Manager to Create Collections
Before you start, you’ll need to already have RDS deployed in your environment. For more information on deploying RDS, see Installing Remote Desktop Services in Windows Server 2012 R2 on the Petri IT Knowledgebase.
- Log in to the RD Connection Broker with administrator privileges.
- Open Server Manager from the taskbar or Start screen.
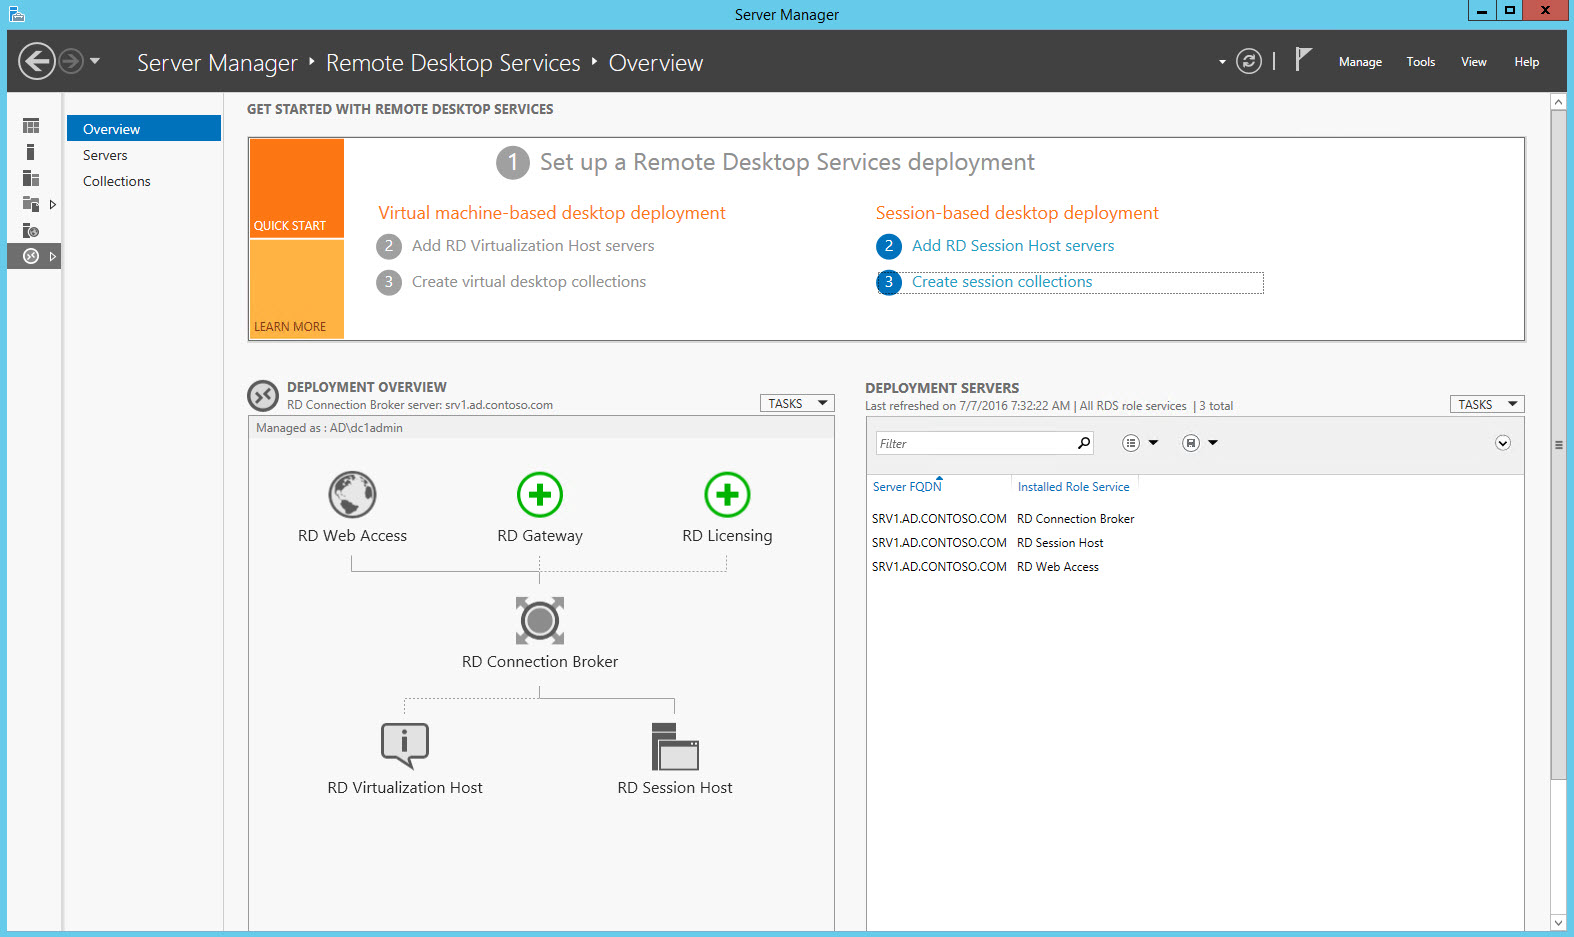
- In Server Manager, click Remote Desktop Services in the list of options on the left.
- In the Quick Start box at the top of Server Manager, click Create session collections below Session-based desktop deployment.
- In the Create Collection wizard, click Next on the Before you begin screen.
- On the Collection Name screen, type a name and optional description for the new collection, and then click Next.
- On the Specify RD Session Host servers screen, add RD Session Host servers from the Server Pool by selecting them from the list and then clicking the arrow in the middle of the screen. When you’re done adding servers, click Next.
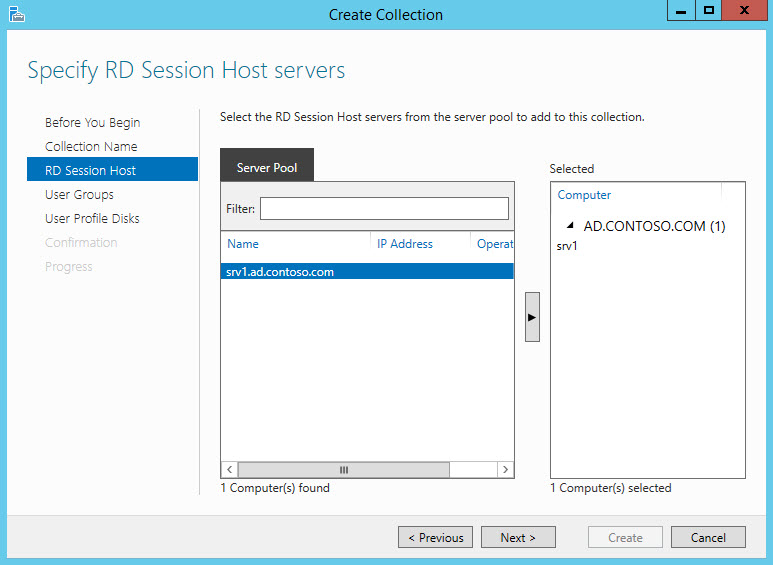
Note that the server I’m logged into is a member of Server Manager’s Server Pool, and it happens to be the only RD Session Host server in my RDS deployment. To add RD Session Hosts to the collection, they must be members of the Server Pool. For more information on working with Server Manager, see Managing Windows Server 2012 with Server Manager on the Petri IT Knowledgebase.
- On the Specify user groups screen, add the domain users that can access this collection. By default, all domain users get access, but you can change this using the Add and Remove buttons. When you’re done selecting groups, click Next.
User Profile Disks
Roaming profiles are not always an effective solution and in RDS environments can prove even more problematic. Microsoft has gone some way to solve the problem by creating user profile disks in RDS, starting in Windows Server 2012. Each collection can be directed to a file share that stores a virtual disk for each user, and contains application data and settings. The virtual disk is only accessible in the given collection, so if a user is a member of a different collection, they will have different settings and app data.
In this demo, we’ll configure user profile disks for the collection later so that we don’t have to manually set NTFS file and share permissions.
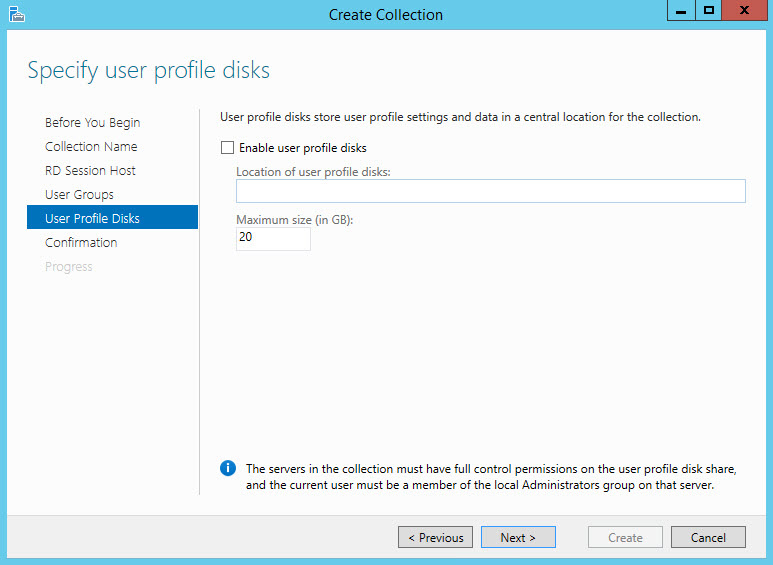
- On the Specify user profile disks screen, clear the box before Enable user profile disks and click Next.
- On the Confirm selections screen, click Create to complete the process.
- Once the collection has been created, click Close on the View progress screen.

Back in Server Manager on the overview screen for Remote Desktop Services, you should now see your new collection listed under Collections on the left. Before completing the steps below, you need to have a network share created that RDS will use to store user profile disks. For more information on creating shares, see Create a File Share in Windows Server 2012 R2 Using Server Manager on Petri.
When you create the share, accept the default share and NTFS permissions. If the share is on the same device as the RD Connection Broker, the necessary permissions will be added to the share in the steps below. If the share is located on another server, make sure that the RD Connection Broker has full access to the share and NTFS full control permissions on the folder.
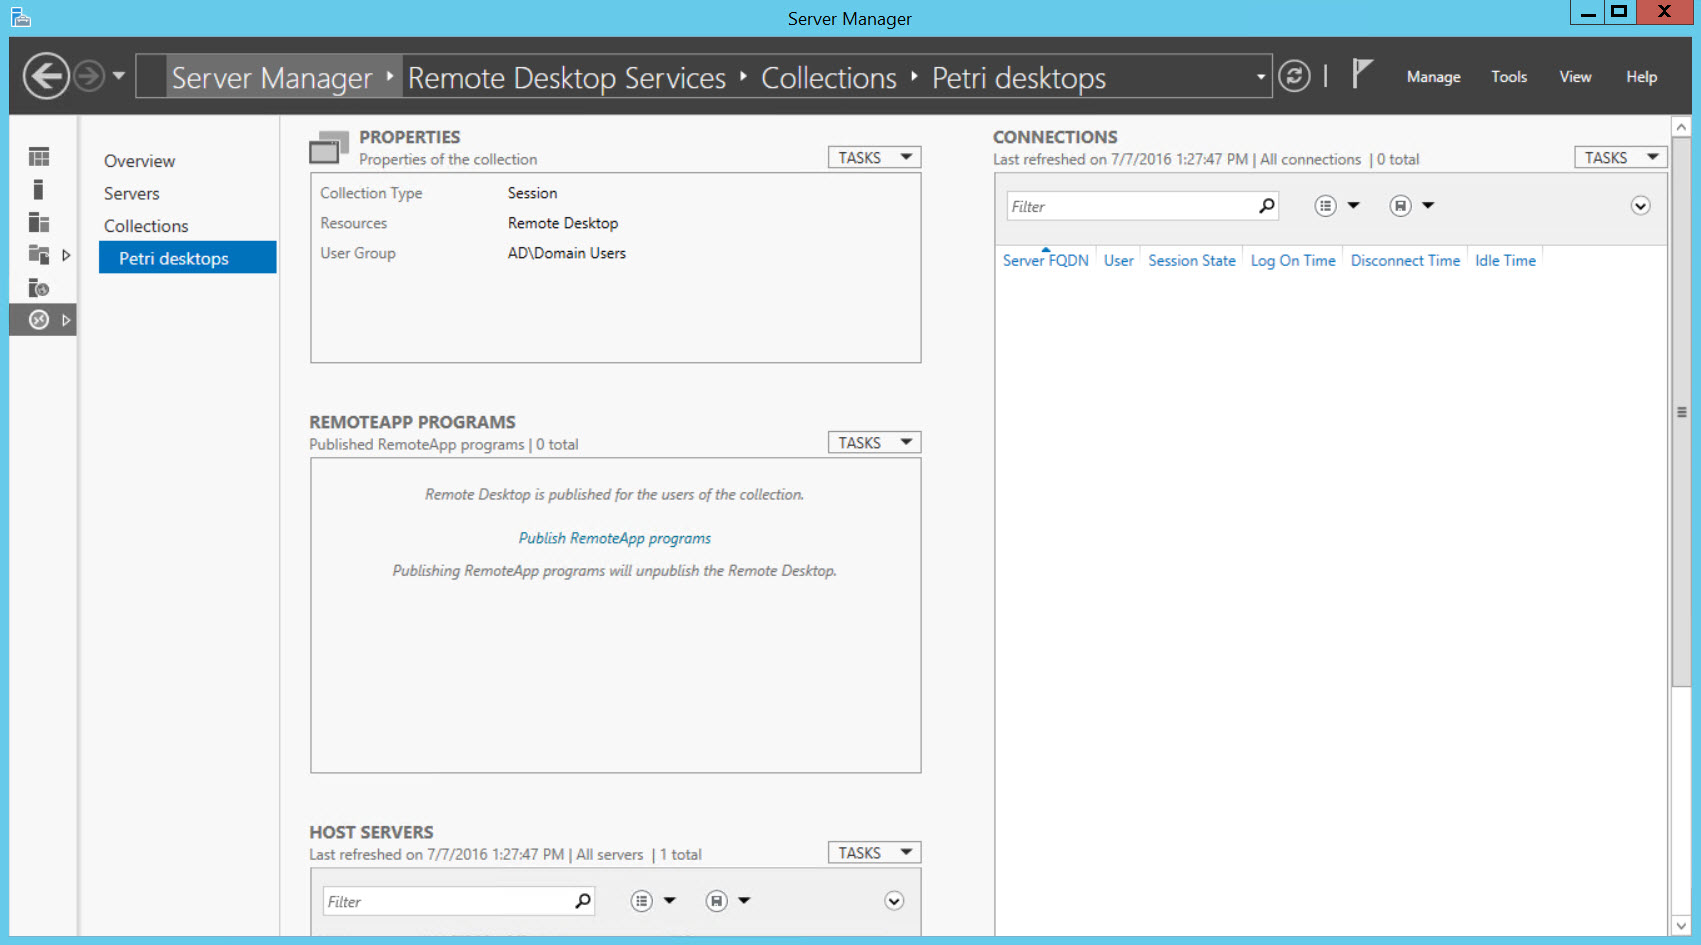
- Select the new collection by clicking it in the list of Collections on the left of Server Manager.
- Select Edit Properties from the dropdown menu to the right of the Properties box.
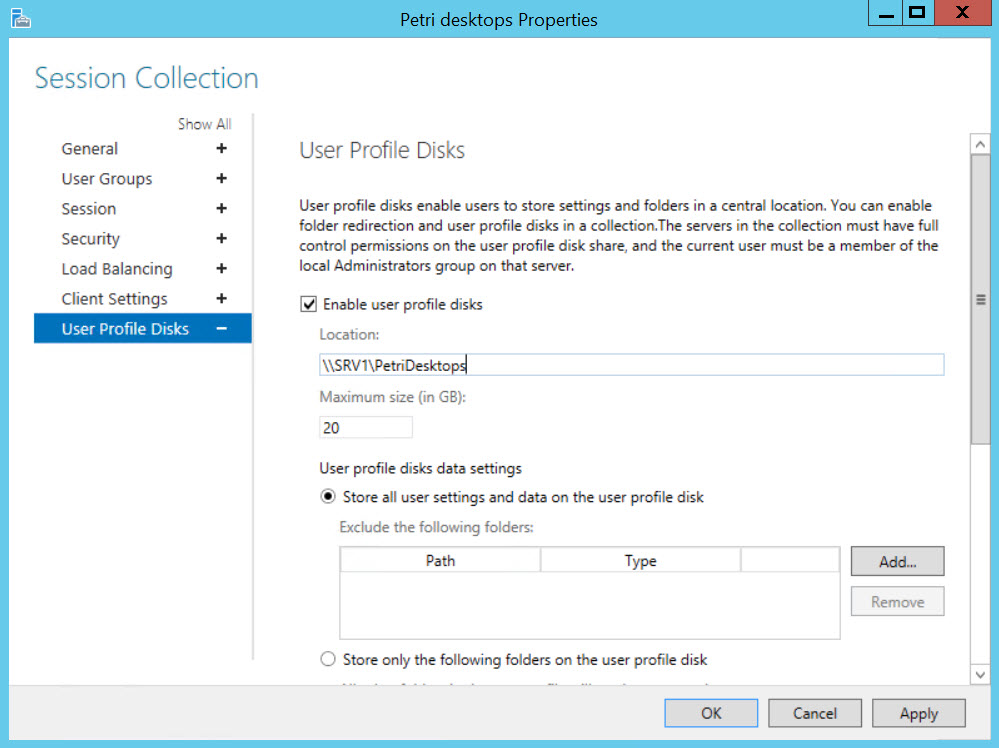
- In the Properties dialog for the collection, click User Profile Disks on the left.
- On the User Profile Disks screen, check Enable user profile disks and enter the path to the share you created.
- Leave all other default settings in place and click OK.
In this article, I showed you how to set up a collection in Remote Desktop Services, including user profile disks.