Setup a SharePoint 2013 Development Environment: Installation
Are you ready to perform a basic SharePoint 2013 development environment installation? You will really find it helpful to have an installation available just so that you can get your feet wet with the basic operations of SharePoint 2013, such as creating web applications and site collections, or working with service applications. It also serves as a great place for doing some proof of concepts like testing workflows and site hierarchies, and it also lets the system administrator get some practice on some important operations like practicing how to backup SharePoint 2013.
This article shows you how to do a basic installation of SharePoint 2013 in strictly a development or pilot installation. Some of the steps in this article do things very differently than if you are creating a SharePoint farm that would be used by other people, or anything that would turn into a production environment later. The end result is a simple and complete SharePoint 2013 installation that you can use to explore the features and abilities of SharePoint with a minimal amount of setup time. This is part two in a three-part series on setting up a SharePoint 2013 dev environment. In part one, I covered Setting Up a SharePoint Development Environment: Prepare a Hyper-V VM. Later, in part three I’ll discuss farm configuration in a SharePoint 2013 development environment.
SharePoint 2013 Development Environment: Installation Prerequisites
To begin with, I’m using SharePoint 2013 Evaluation Edition and a Hyper-V VM. I’m going to use just one VM for running everything SharePoint needs, including Active Directory, SQL Server, and SharePoint itself.
The VM needs to have the following steps taken to make sure that it’s ready:
- Install AD-Domain-Services and promote the VM to a domain controller.
- Ensure that a connection to the Internet can be made.
- Disable Loopback Check per TechNet article 896861.
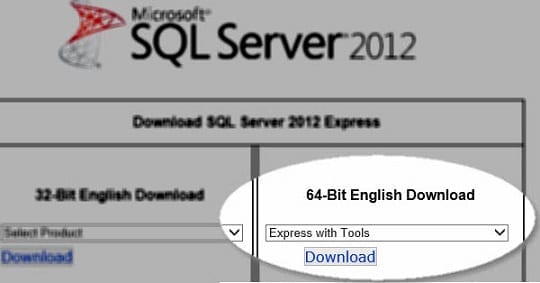
I’m also going to install SQL Server 2012 Express on this server. You need an account to administer the farm, so open the SharePoint Management Shell and enter:
New-ADUser –Name “SPFarm” –samaccountname “SPFarm” –AccountPassword (“P@ssWord!123” | ConvertTo-SecureString –AsPlainText -Force) ––PassThru | Enable-ADAccount
Install SQL Server 2012 Express
You don’t need to make any special considerations when installing SQL Server 2012 Express with Management Tools.
- Install New Instance.
- Accept License Terms.
- Include SQL Server Updates.
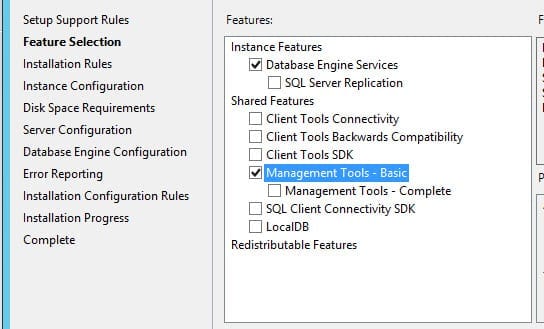
- Features: Only Database Engine and Management – Basic.
- Everything else is defaults. Click Next, next, next, finish.
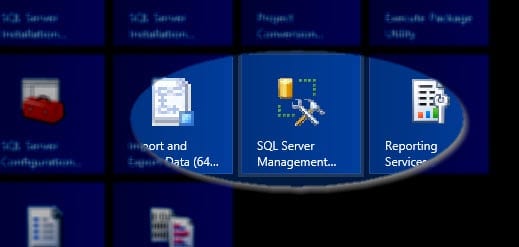
Once installed, you’ll need to open SQL Server Management Studio from the Start Screen.
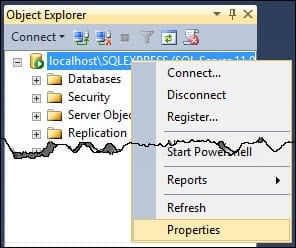
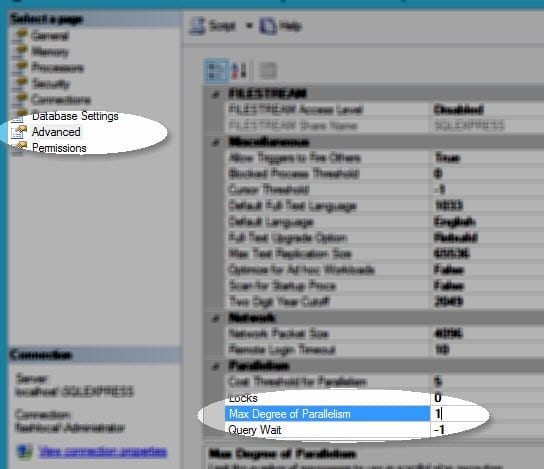
Log into localhost\SQLEXPRESS and then right-click the database server and select Properties.
Under Advanced, select Max Degree of Parallelism from the Parallelism and change this setting to 1.
Next, you need to assign permissions to the SPFarm account.
- Expand the security tree.
- Right-click Logins and select New Login.
- Enter SPFarm for the User name on the General page.
- On the Server Roles page, grant dbcreator and securityadmin privileges.
- Close out of the SQL Server Management Studio.
Installing the SharePoint 2013 Prerequisites
To add the prerequisites, you’ll need to mount the ISO. The easiest way to do this is through Hyper-V. Unfortunately, Hyper-V doesn’t load IMG files into the virtual DVD-ROM drive, and that’s the format that the SharePoint Server 2013 Evaluation is downloaded as. All you have to do is change the file extension on the SharePoint 2013 server download from “IMG” to “ISO” and Hyper-V will be able to see the ISO and mount it to the Virtual DVD drive.
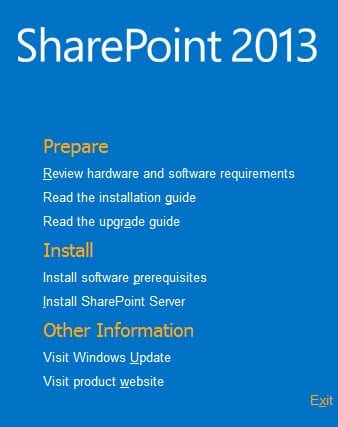
- After the ISO is mounted, it should autoplay. If it does, then choose Install Prerequisites from the splash screen.
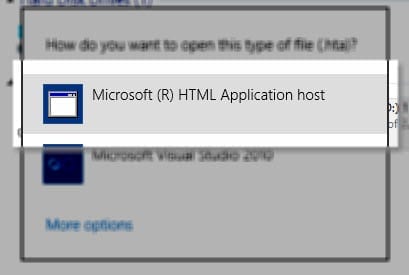
- If it does not autoplay, then double-click the DVD drive to start the installer. Now that you’ve gotten SQL installed, there is a prompt about how to open the .HTA application.
- Select, and then choose Install Prerequisites. You’ll need to accept the terms and conditions during the process.
The nice thing about mounting the ISO image through the Hyper-V VM instead of mounting the IMG or ISO file directly from the OS of the virtual machine is that the connection will persist through the reboots that the VM will need to do. It will reboot (usually more than once) during the prerequisite installation.
- Once it restarts, the prerequisite installer starts again. If, for some reason, your drive is not mounted anymore and you get an error message that it can’t find the drive, then you’ll have to restart the prerequisite installer after you mount the drive again.
You won’t lose your progress by restarting this process. All of the items previously installed or configured will be skipped over, so you’ll be right back to where you were.
Installing SharePoint Server 2013
- Double-click the DVD drive again, and this time select Install SharePoint Server.
- Enter the license key for SharePoint Server 2013. You can get it at the SharePoint 2013 trial download page. Scroll down the page, because it’s near the bottom. Once the key is entered, then click Next.
- Put a check in the box to accept the terms and conditions, then click Next.
- Normally, you would ensure that “Complete” is chosen for the Server Type. However, since this VM is a domain controller, the option is not given. Complete is chosen for us, because Stand-Alone can’t be installed on a DC. All you have to do is accept the default file locations and click Next.
- After the SharePoint 2013 Server installation, leave the check in the box to Run SharePoint Product Configuration Wizard, then click Finish.
SharePoint 2013 Product Configuration Wizard
Working through the Products Configuration Wizard is going to be straightforward.
- At the Welcome screen, click Next.
- Click Yes at the notice that some services may stop.
- Click Create a new server farm then click Next.
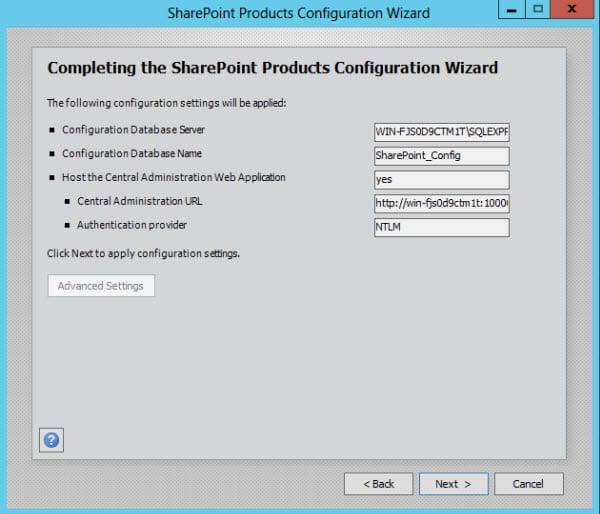
- Database Server: localhost\SQLEXPRESS.
- Database Name: SharePoint_Config.
- Enter your SPFarm credentials, then click Next.
- Enter a passphrase then click Next.
- Specify port number (something easy to remember, like 10000).
- Choose NTLM then click Next.
Once completed, you’ve gotten your own private SharePoint installation all ready for the final steps. Service applications still need to be created, and web applications setup. In the end, you’ll be all set to explore the features of SharePoint 2013.
But Remember, We Took Some Shortcuts!
This is a great way to get setup with a basic SharePoint installation, but there are some things that we would never do in a production environment.
- By using the SharePoint Products Configuration Wizard, we created a database with a GUID in the name, which makes the databases harder to read. By using PowerShell to create the SharePoint Farm we can have databases that are consistent and easier to work with.
- We didn’t use a dedicated SharePoint setup account, which would be used in a production installation.
- We typically wouldn’t install SharePoint on a domain controller or use SQL Server Express.
In the end, this SharePoint 2013 DEV environment can be very useful for our own education and experience, and the shortcuts we took helped us to get our environment up in as quickly and in as few steps as possible.


