Fix “RPC Server is Unavailable” Error in Windows Server 2008 R2 Remote Disk Management
One of the coolest features of the Windows Server 2008 R2 Server Manager application, is the fact that you can now remotely connect to a server running Windows Server 2008 R2, and manage roles, features, services, disks and other aspects of the remote server. This was not possible in Windows Server 2008.
The steps needed to enable remote management are listed in my Enabling Remote Management in Windows Server 2008 R2 article.
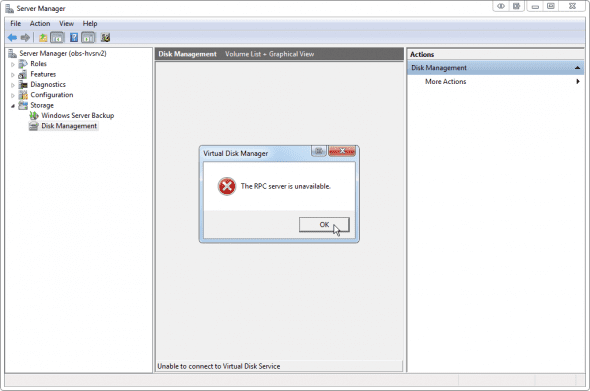
A few days ago I was asked by one of my readers about a strange error he was getting. It seems that whenever they tried to connect to a remote server and use the Disk Management snap-in, they got this error:
Virtual Disk Manager
The RPC server is unavailable
And this is what it looks like:
Searching Google for an answer brought a few results, but I thought I’d list it here for my other readers, as it seems that the configuration steps that are needed in order to get remote disk management going are a bit vague.
In order to remotely manage disks on a Windows Server 2008 R2 machine, you need to perform the following tasks:
Target Server
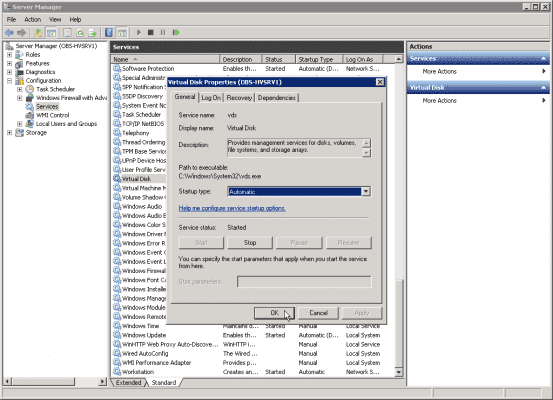
On the target server (the one you want to connect to) you need to set the Virtual Disk Service (VDS) to Automatic, and start it.
Open a Command Prompt window and type the following command:
sc config vds start= auto
Next, type:
net start vds
BTW, this can also be done through the Services snap-in if you’re more comfortable with it.
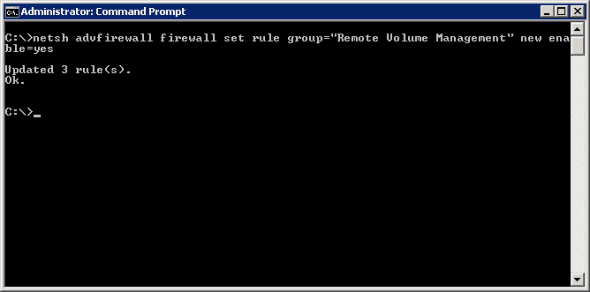
Next, type the following command to enable the remote-volume-management firewall exceptions:
netsh advfirewall firewall set rule group=”Remote Volume Management” new enable=yes
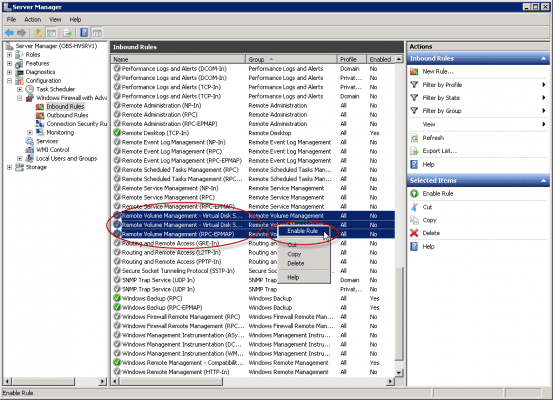
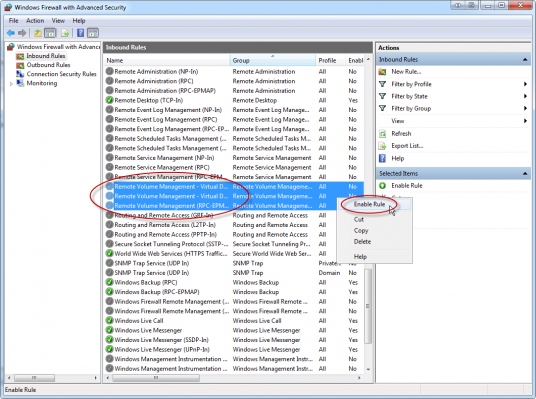
Again, this can also be done through the Windows Firewall with Advance Security snap-in if you’re more comfortable with it.
Now, proceed to the next step.
Client Machine
You need to enable the following Firewall rules on BOTH source and target servers. Most documents and manuals fail to specify that, and unless you enable the rules on both machines, you will not be able to connect.
So, open a Command Prompt window and type the following command to enable the remote-volume-management firewall exceptions:
netsh advfirewall firewall set rule group=”Remote Volume Management” new enable=yes
Again, this can also be done through the Windows Firewall with Advance Security snap-in.
Once you enable these Firewall rules on both the source and target servers, you will be able to connect to the remote server.
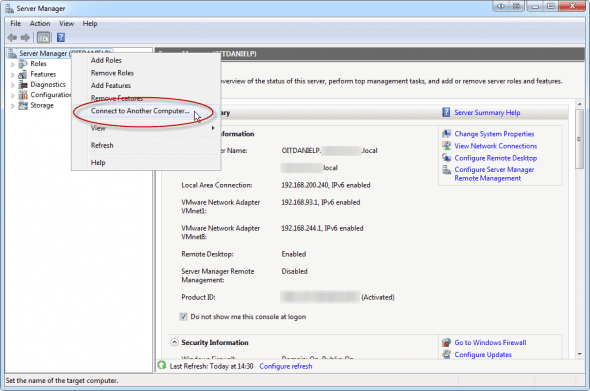
Open Server Manager, right-click Server Manager and select “Connect to Another Computer”.
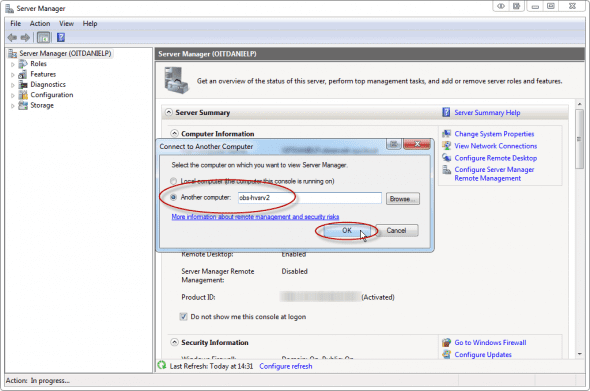
Enter the name of the remote (target) server and click “Ok”.
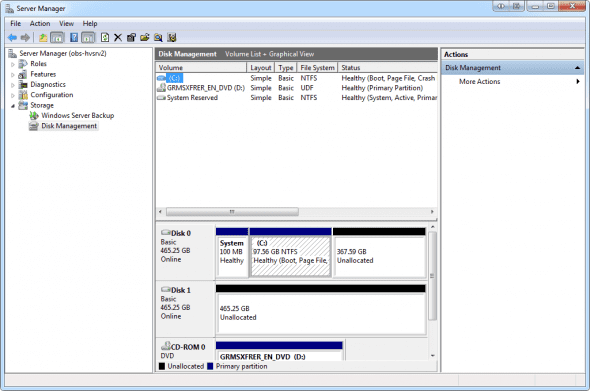
If all is well, you will be able to use Disk Management remotely.
Lesson learned.


