Manage Windows Server 2008 R2 Core with SCONFIG
As you probably know by now, in Windows Server 2008, the Server Core installation provides a minimal environment for running specific server roles, which reduces the maintenance and management requirements and the attack surface for those server roles.
The Server Core installation option of Windows Server 2008 and R2 provides the following benefits:
- Reduced maintenance – Because the Server Core installation option installs only what is required to have a manageable server for the AD DS, AD LDS, AD CS, DHCP Server, DNS Server, File Services, Print Services, Web Server and Hyper-V server roles, less maintenance is required than on a full installation of Windows Server 2008.
- Reduced attack surface – Because Server Core installations are minimal, there are fewer applications running on the server, which decreases the attack surface.
- Reduced management – Because fewer applications and services are installed on a server running the Server Core installation, there is less to manage.
- Less disk space required – A Server Core installation requires only about 1.5 gigabyte (GB) of disk space to install and approximately 2 GB for operations after the installation.
- Lower risk of bugs – Reducing the amount of code can help reduce the amount of bugs.
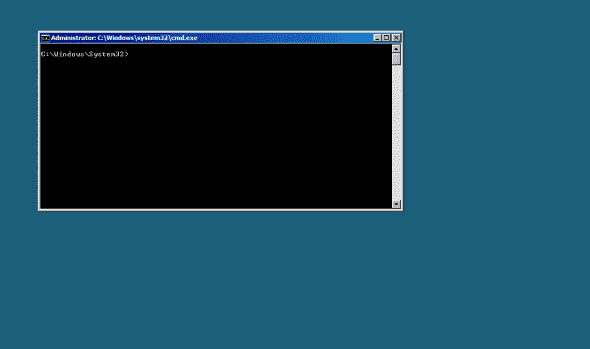
While Server Core itself is, in my opinion, one of Microsoft’s greatest positive investments in the past 3 years, one of the major implementing pains for Core is the lack of GUI-based management tools. For those that have never seen a Server Core, this is the way it looks:
Pretty scary, if you’re not used to CLI tools.
BTW, it’s not that Server Core cannot run GUI-based tools. In fact, there are a bunch of tools that still run fine on Core, such as Task Manager, Notepad, Regedit, and a couple of Control Panel Applets. In addition, you may be able to run many 3rd-party software such as Mozilla Firefox and others. In addition, the management tasks for Server Core can be performed remotely by using GUI-based MMC Snap-Ins, as long as you initially configure the machine with a proper IP address, add it to a domain (if needed) and open the correct Firewall rules and ports.
Luckily for us, most of this pain has been solved by usage of the either manually created scripts, 3rd-party graphical user interface tools, and lately in R2 – the SCONFIG tool.
SCONFIG was initially developed for Microsoft Hyper-V Server 2008, a free virtualization platform that is based on Windows Server 2008 RTM Core and that has the Hyper-V role pre-installed. There have been clients who have gone ahead and copied the script onto their Core installations on other machines. Since then, SCONFIG was made a part of the R2 release of Windows Server 2008.
With SCONFIG you can manage many aspects of the Server Core machine. SCONFIG dramatically eases server configuration for Windows Server 2008 R2 core deployments. With SCONFIG, you can easily set your system up, get it on the network so you can easily manage the server remotely.
Note that SCONFIG is also localized in almost 20 languages.
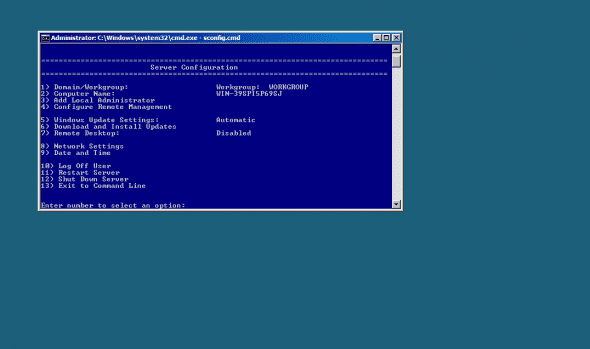
To run SCONFIG simply enter sconfig.cmd in the command prompt window, and press Enter.
Navigation through SCONFIG’s options is done by typing a number or letter representing the correct configuration or information option. These tasks include:
1) Join a Domain/Workgroup
2) Change Computer Name
3) Add Local Administrator
4) Configure/disable Remote Management
5) Windows Update Settings
6) Download and Install Updates
7) Enable/disable Remote Desktop
8) View/change Network Settings
9) View/change Date and Time
10) Log Off User
11) Restart Server
12) Shut Down Server
13) Exit to Command Line
For example, to enable remote management of the machine, one would:
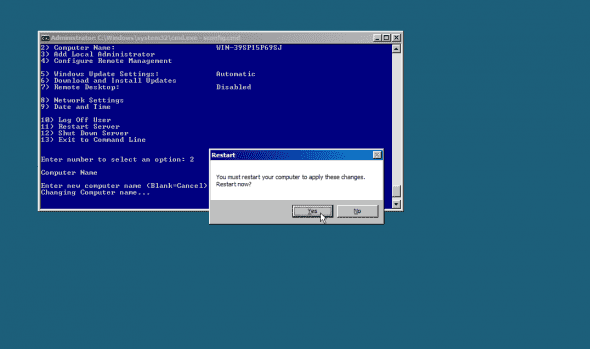
Press 2 to configure a computer name. Reboot.
Press 1 to join to a domain. Reboot.
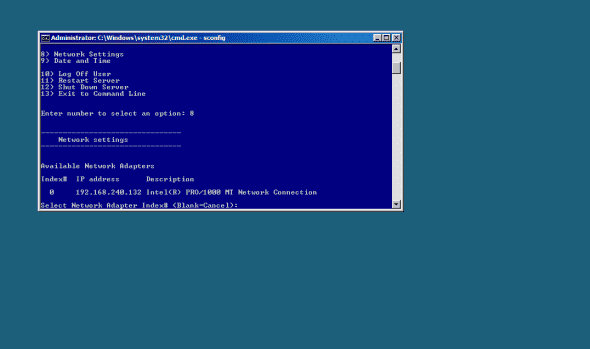
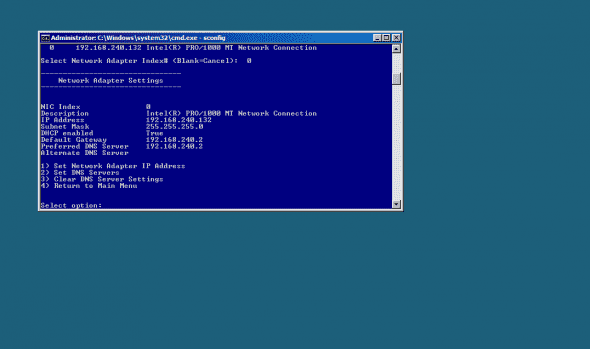
Press 8, 0, 1 to set the computers IP address.
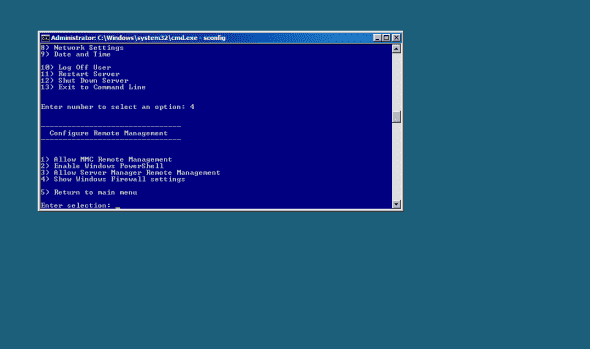
Press 4 and then configure remote management.
SCONFIG can get up and running within a couple of minutes, and best of all, it’s built-in so you do not need to download and install any 3rd-party tool. However, as with most tools, there are some things that you cannot do with SCONFIG, such as install server roles or features, or run DCPROMO and so on. For those, you need to either know the command line tool, or use a script or 3rd-party tool. For example, read my “Installing Active Directory on Windows 2008 Server Core” article.
<!– For such an example of tools please read my "Manage Windows Server 2008 R2 Core with Visual Core Configurator 2008” article. –>


