- Blog
- SQL Server
- Post
How to Install SQL Server 2022

SQL Server 2022, the latest release of Microsoft’s relational database product is nearing the finish line. In this guide, we’ll show you how to install SQL Server 2022 with the default, typical setup configuration.
Planning and prerequisites
Before we get started with the installation of SQL Server 2022, the first thing to accomplish is to register (painless) for the public preview, also known as the CTP 2.0 (Community Technology Preview) release. You can do that on this page, where you can also download the 64-bit version of SQL Server 2022 for Windows.

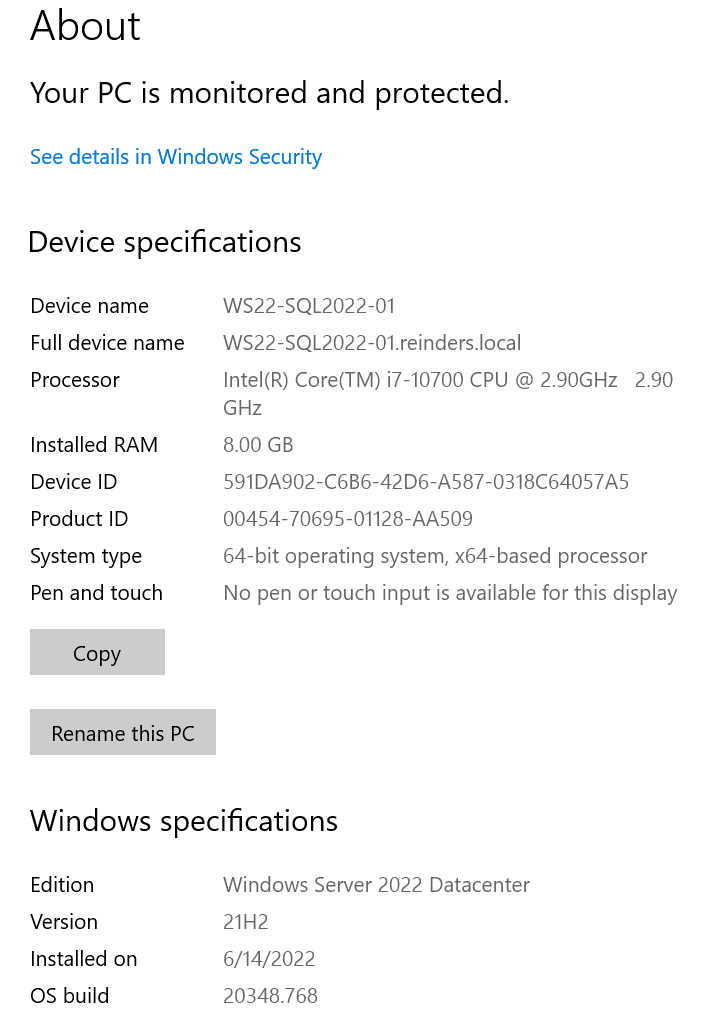
Once you have the ISO file downloaded and copied to your server, we can start the installation. For the purpose of this guide, I built a new Windows Server 2022 VM in my Windows Server 2022 Active Directory Hyper-V lab environment and joined it to my domain. My Hyper-V VM is all patched up and I allocated 4 vCPUs and 8 GB of RAM to it.
In File Explorer, I right-clicked on the ISO and clicked ‘Mount.’
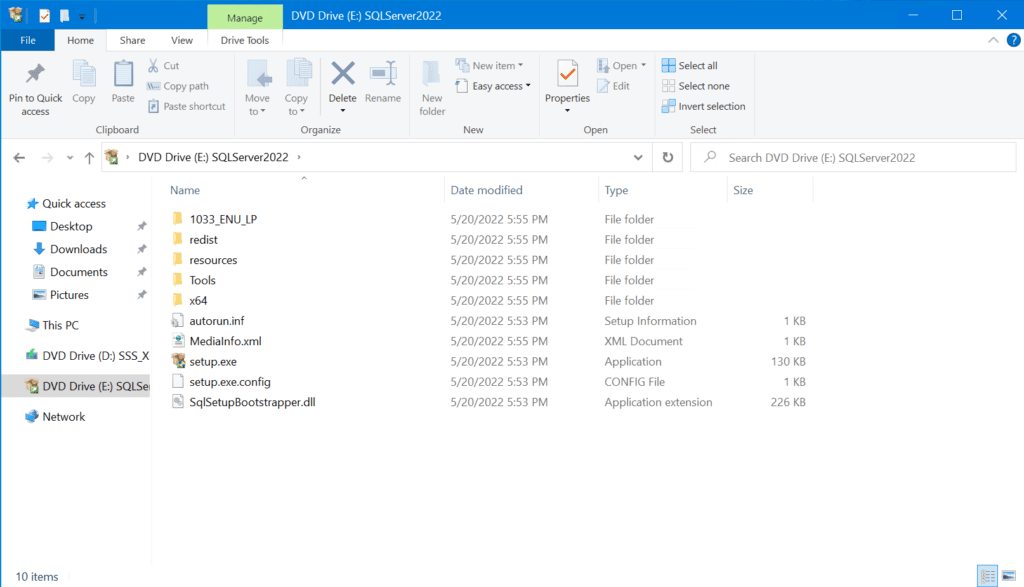
In the folder, double-click on setup.exe, and away we go!
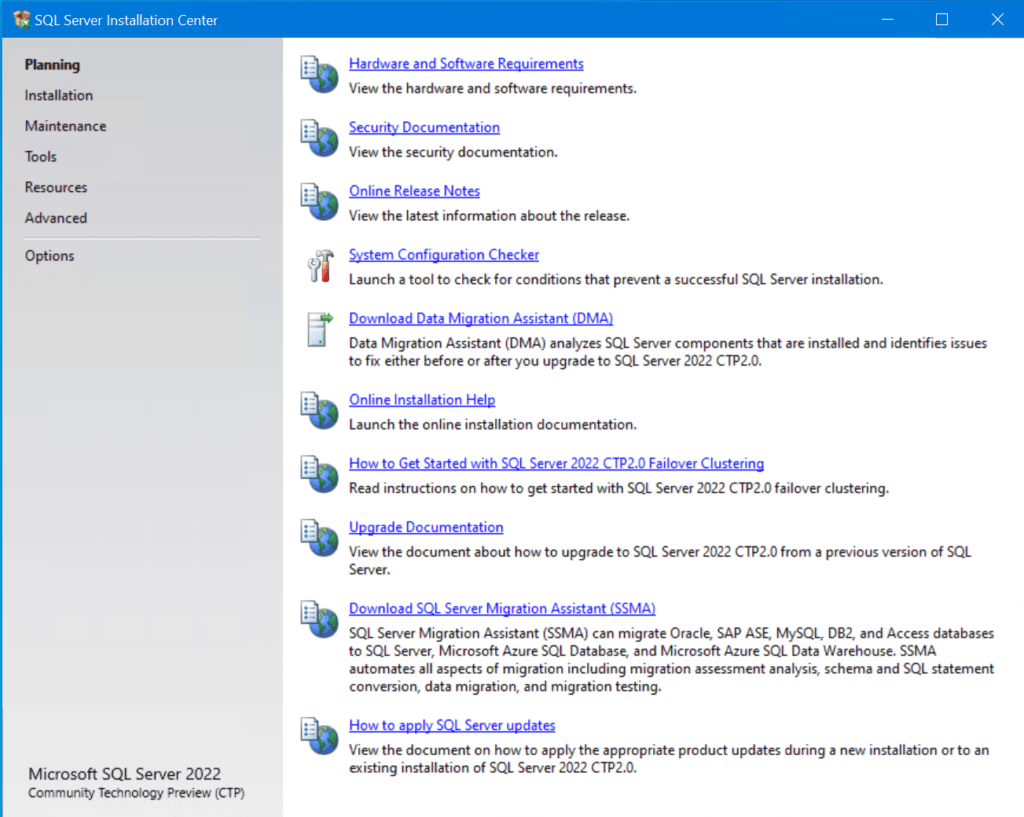
There is a lot of preparatory work database administrators and IT Pros need to perform to ensure a successful SQL Server 2022 install. There are plenty of documentation links in the ‘Planning’ category of the Setup program. I encourage you to read this as it will be very helpful to offer guidance, avoid unnecessary setup issues, and validate that you are performing the best installation scenario for your environment.
At a bare minimum, I also recommend running the System Configuration Checker to make sure the essential prerequisites of your server configuration are met.
Installing SQL Server 2022
To initiate the installation, first, click the ‘Installation‘ category on the left, then choose the top choice ‘New SQL Server stand-alone installation or add features to an existing installation.’
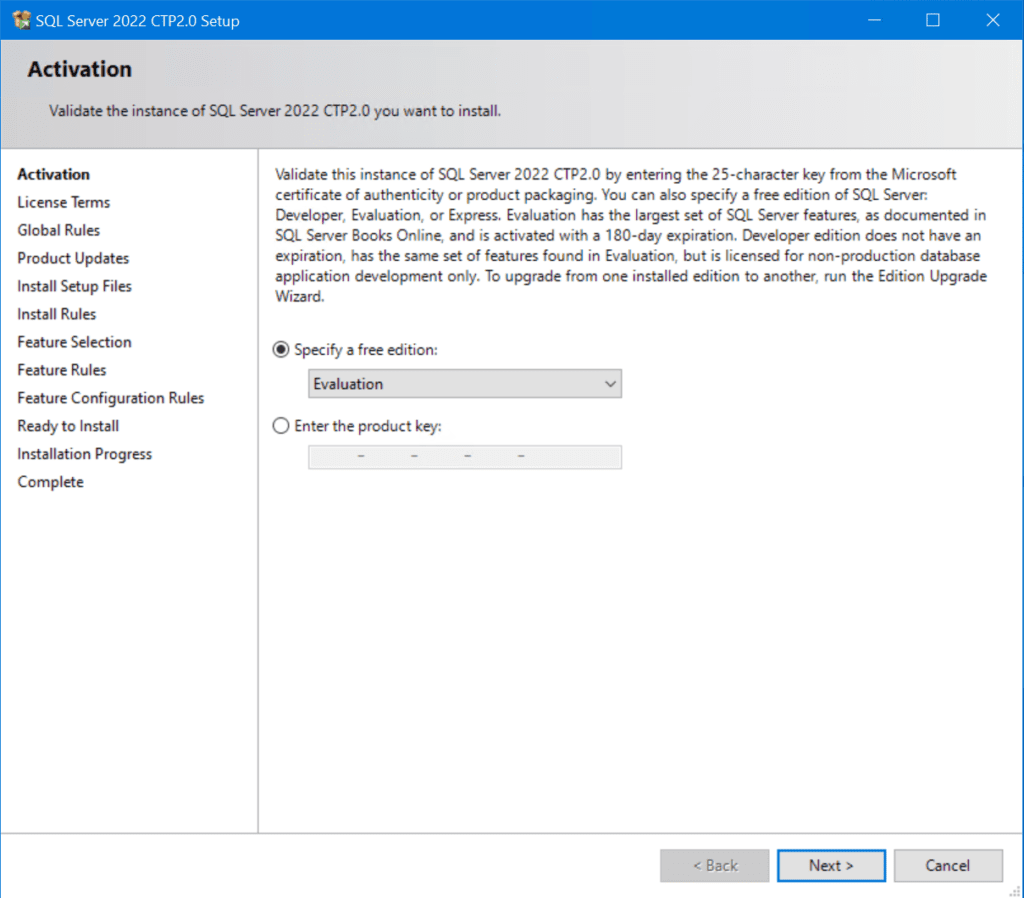
On the Activation screen, you can keep it set as ‘Evaluation.’ In a production environment, you would likely be entering a Volume License Key (VLK) of some sort.
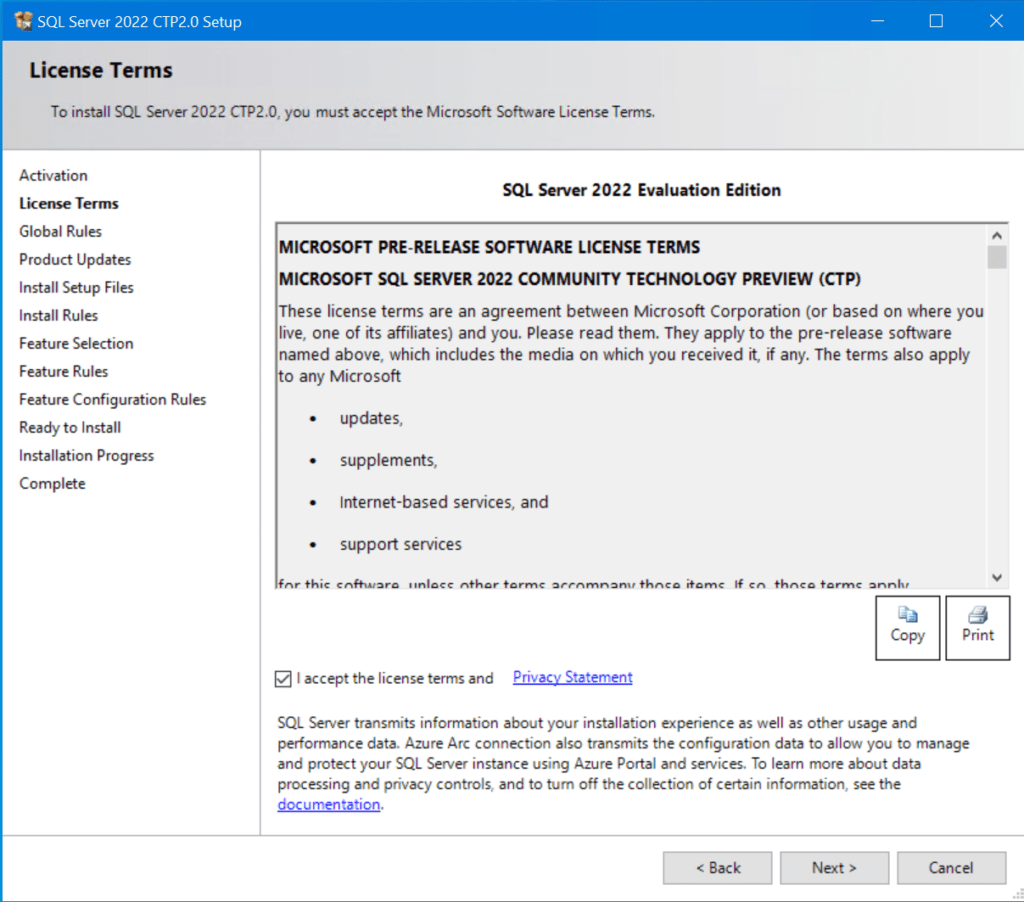
On the License Terms screen, check the box to accept the terms and click Next.
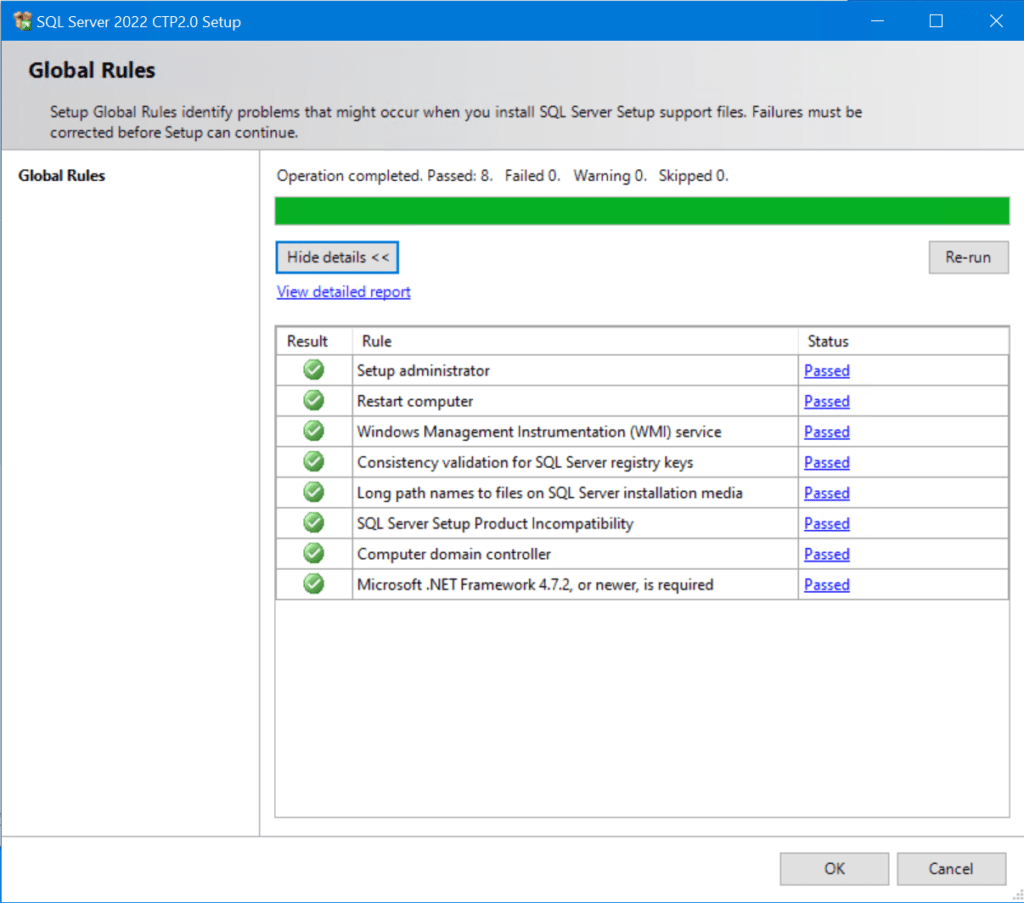
The next category, Global Rules, will perform the same prerequisites checks we ran before we started setup. Nothing new to see here. 🙂
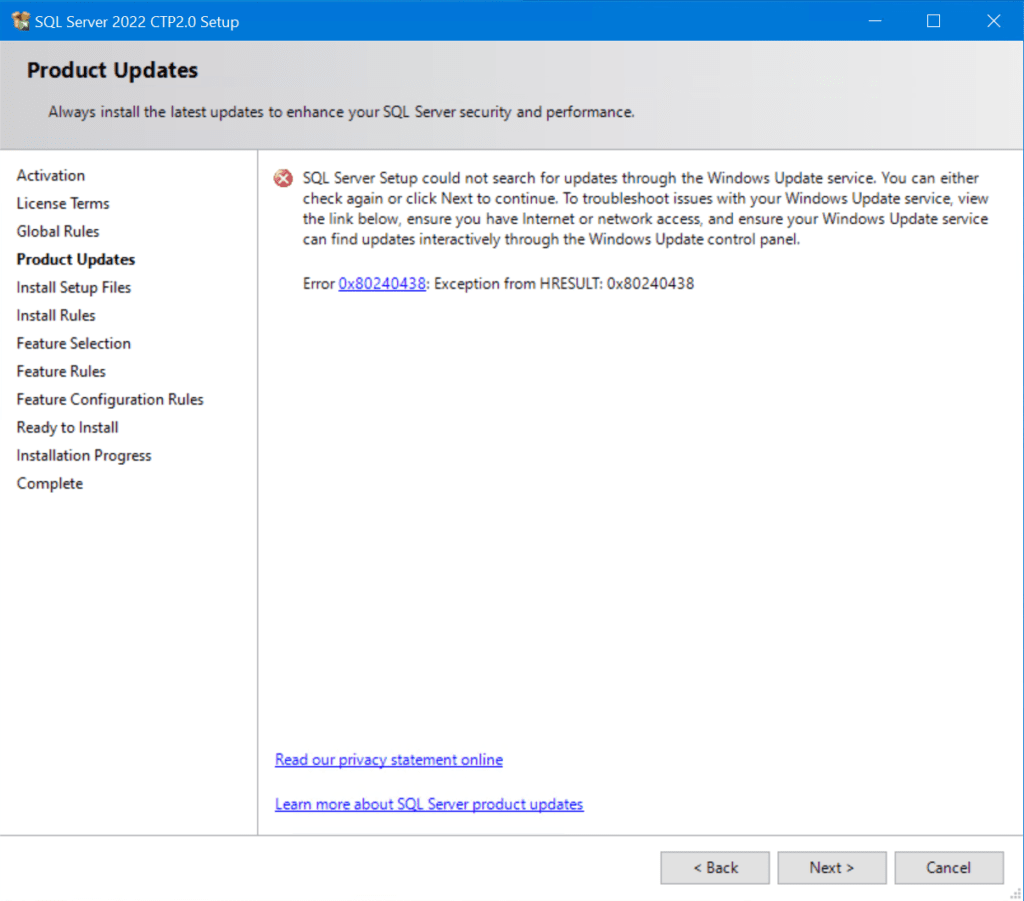
On the Product Updates page, I got an error about SQL Server Setup being unable to search for updates. I am going to assume this is an issue in the ‘CTP 2.0’ release as my server has Internet access in Edge, and I can get updates in Windows Update. We’ll let this one slide for now. Click Next.
The next categories are Install Setup Files and Install Rules. The first one is a piece of cake, but the second one will run another check on the current config.
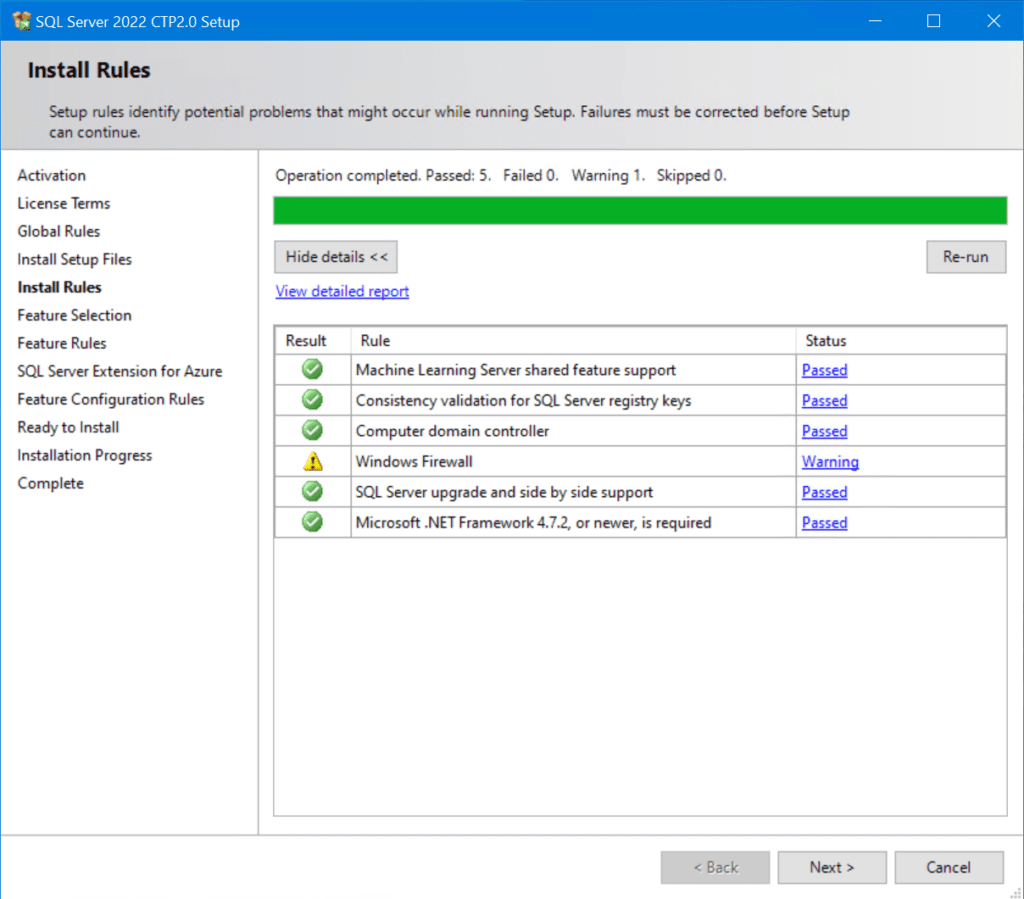
The warning on the ‘Windows Firewall‘ section is normal. Windows Firewall is enabled on my server (default). In order for SQL traffic and remote access to SQL to function correctly, you need to make sure the appropriate ports are open and available.
Next, we have the intricate ‘Feature Selection‘ phase. There are quite a few options here, and this is definitely when we get to the meat of the setup program.
The most common feature to select here is ‘Database Engine Services.’ This literally provides the service to manage SQL databases on the server.
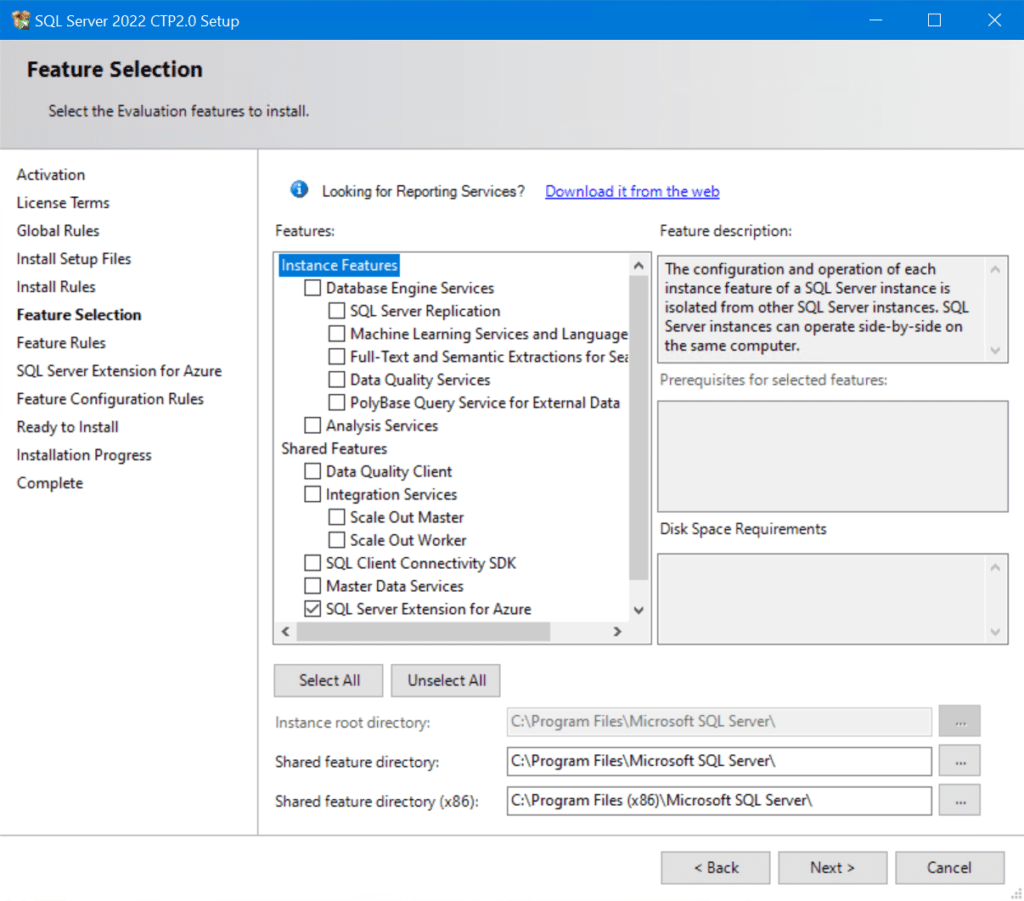
There are many options available here. Click on each one to get a Feature description. For the purposes of this post, I will keep things relatively simple and choose ‘Database Engine Services‘, and click Next.
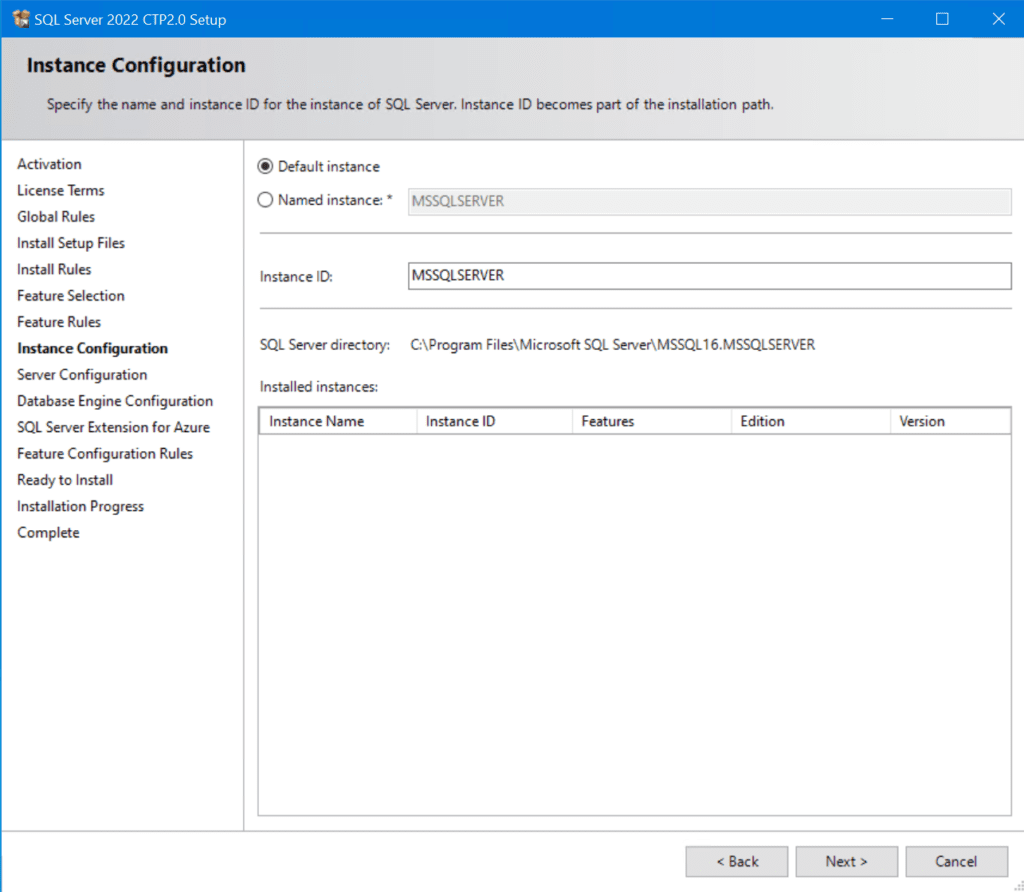
On the ‘Instance Configuration‘ category screen, I will keep the default instance name (MSSQLSERVER).
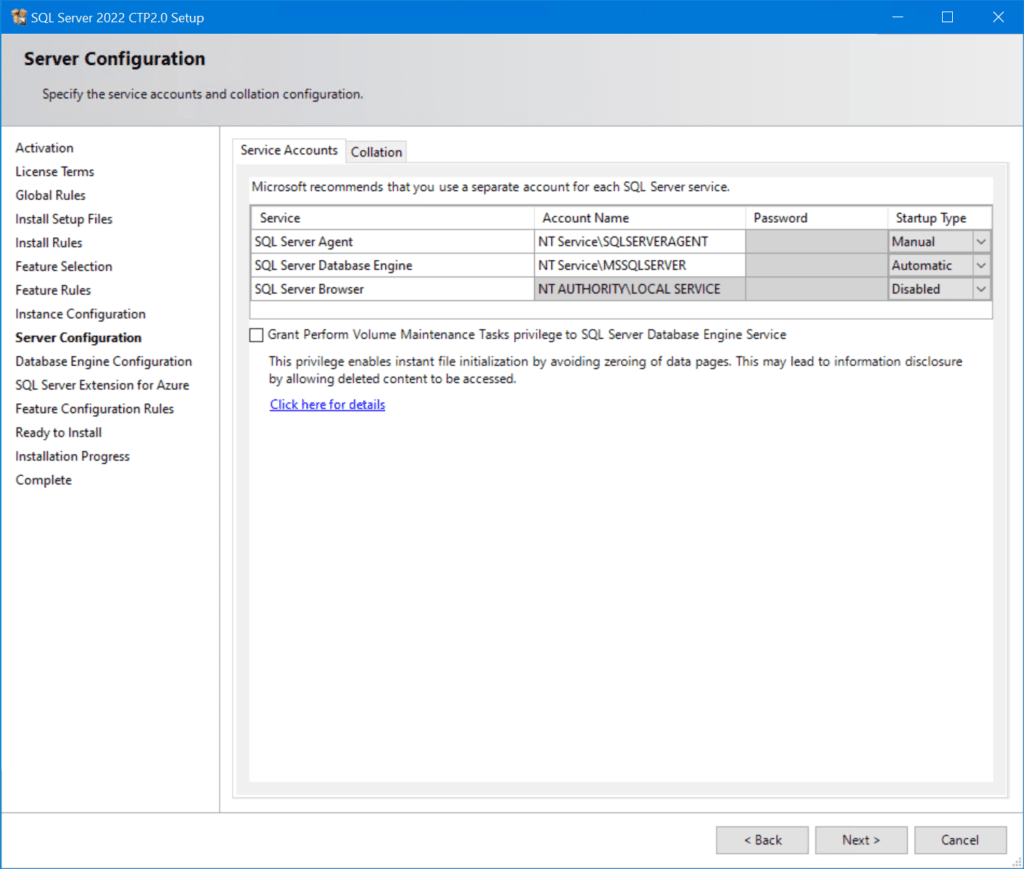
On the ‘Server Configuration‘ screen, this is where you will specify SQL service accounts for the various SQL roles supporting SQL Server. I highly recommend you create a service account for the SQL Server Database Engine. Again, for my purposes here, I will keep the defaults as this configuration will still work fine.
Alright, we are ready to tune the guts of the database engine service. On the Database Engine Configuration screen, we have several tabs to confirm and make changes to.
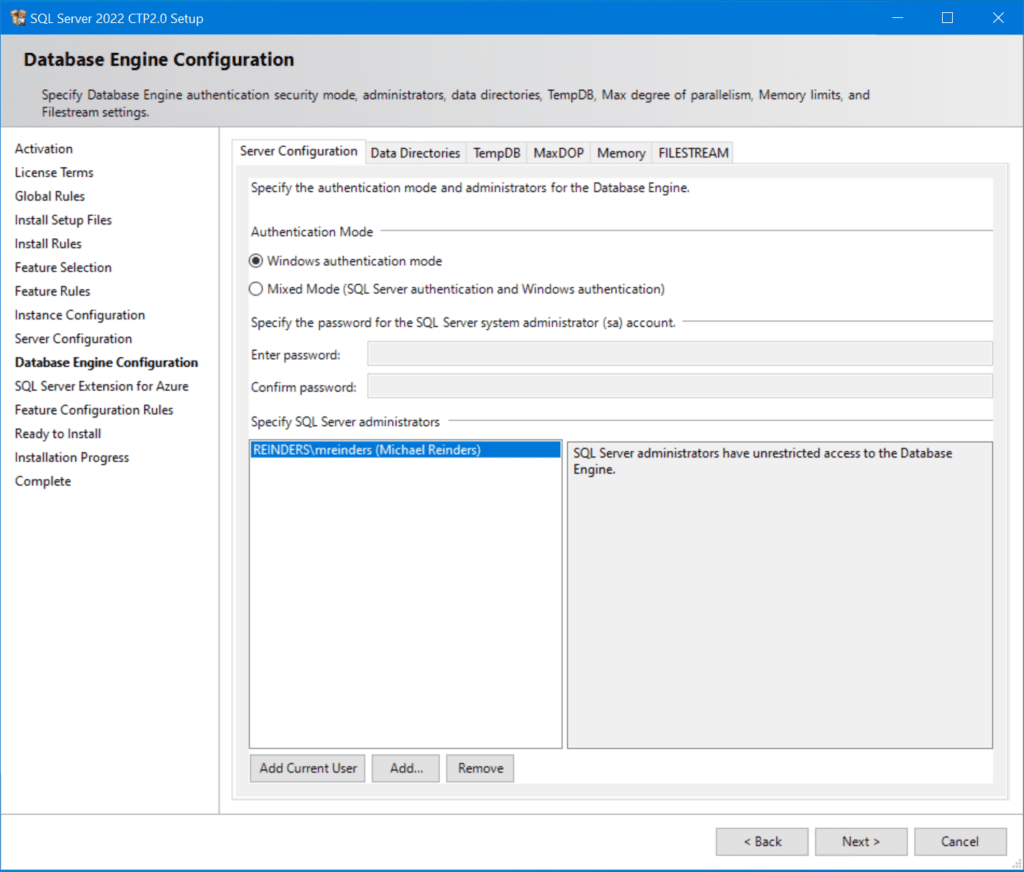
Typically, I click the ‘Add Current User‘ button to add the account I’m logged in with to the list of SQL Server administrators. Again, this won’t be necessary or even a security best practice in your environment. For now, though, we’re good.
You can click the ‘Add...’ button to add additional SQL admins. The ‘Authentication Mode‘ options are outside the scope of this post. You can read more about these options on this support page.
Click the ‘Data Directories‘ tab on top. Again, for best practices purposes, you’ll want to isolate the User database, User log database, Backup directories, etc. on separate partitions. Separate physical volumes are even better if you have that option on your physical server or in your virtual environment (or Azure).
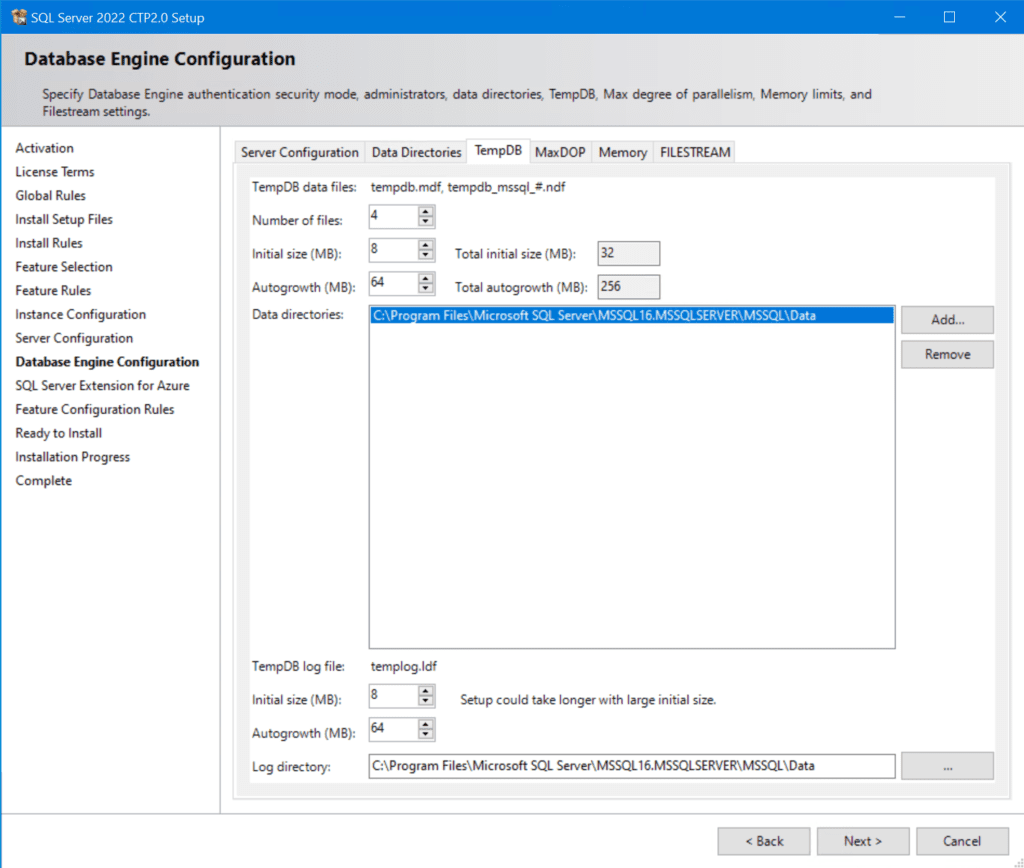
Next, click the ‘TempDB‘ tab, and try to specify an alternate drive to house the Temp databases. There are other options available to tune SQL Server 2022 even further to suit your needs.
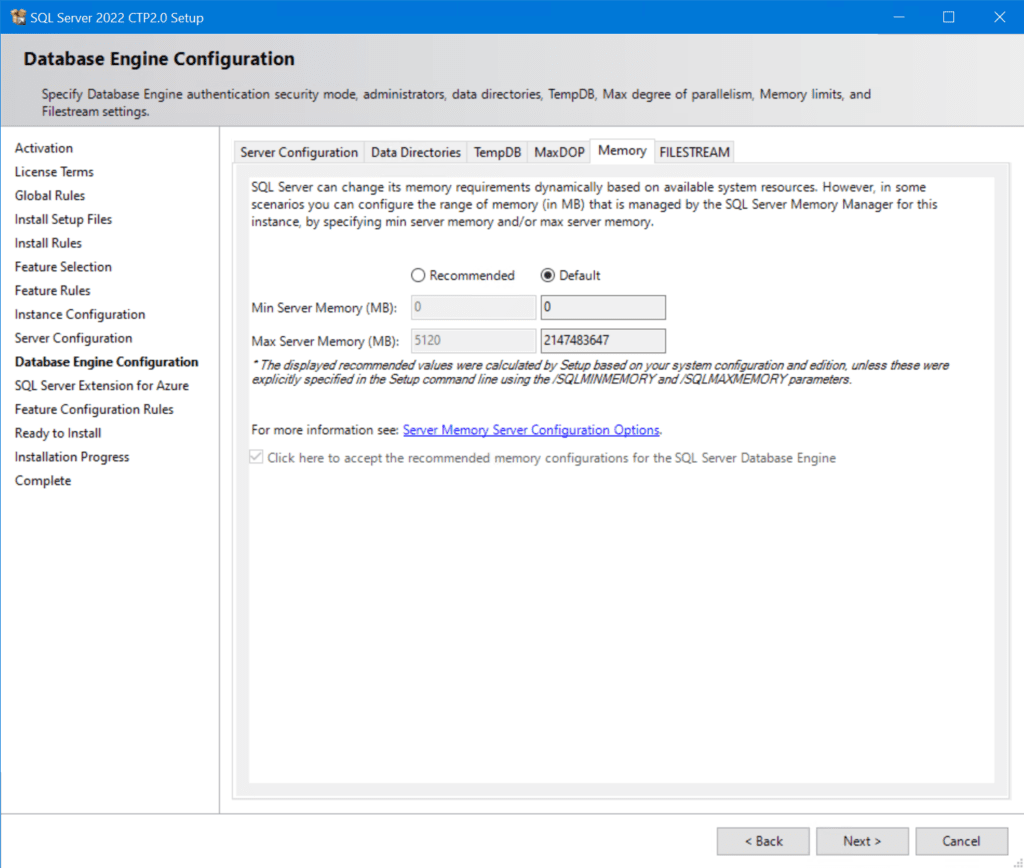
Then, click the ‘MaxDOP‘ and ‘Memory‘ tabs to further tune the amount of logical CPU (or vCPU) cores for this SQL Server instance and the amount of memory you want to allow for SQL Server 2022.
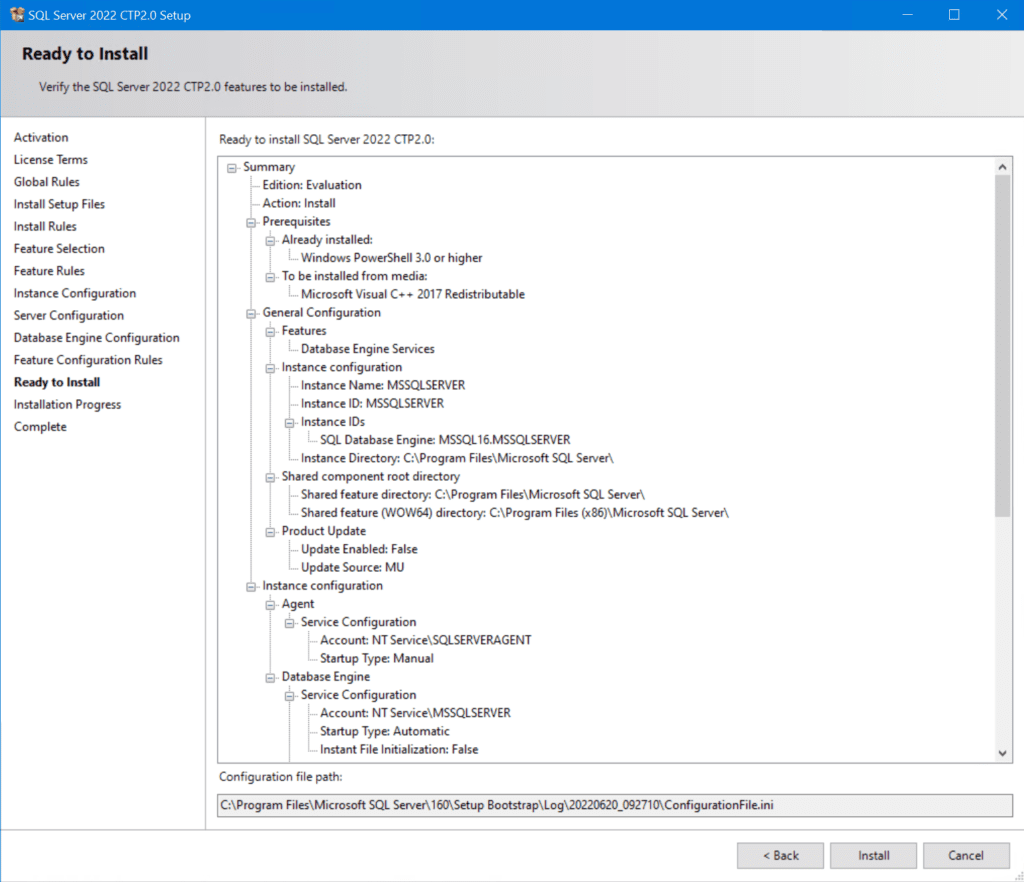
Click Next and we’re getting close. 🙂 We’re on the ‘Ready to install‘ screen where you can confirm everything you’ve entered to make sure you didn’t miss anything. You can also take screenshots here for your documentation and also find an .INI file in the ‘Configuration file path:’ field below. Once you’re done, click Install!
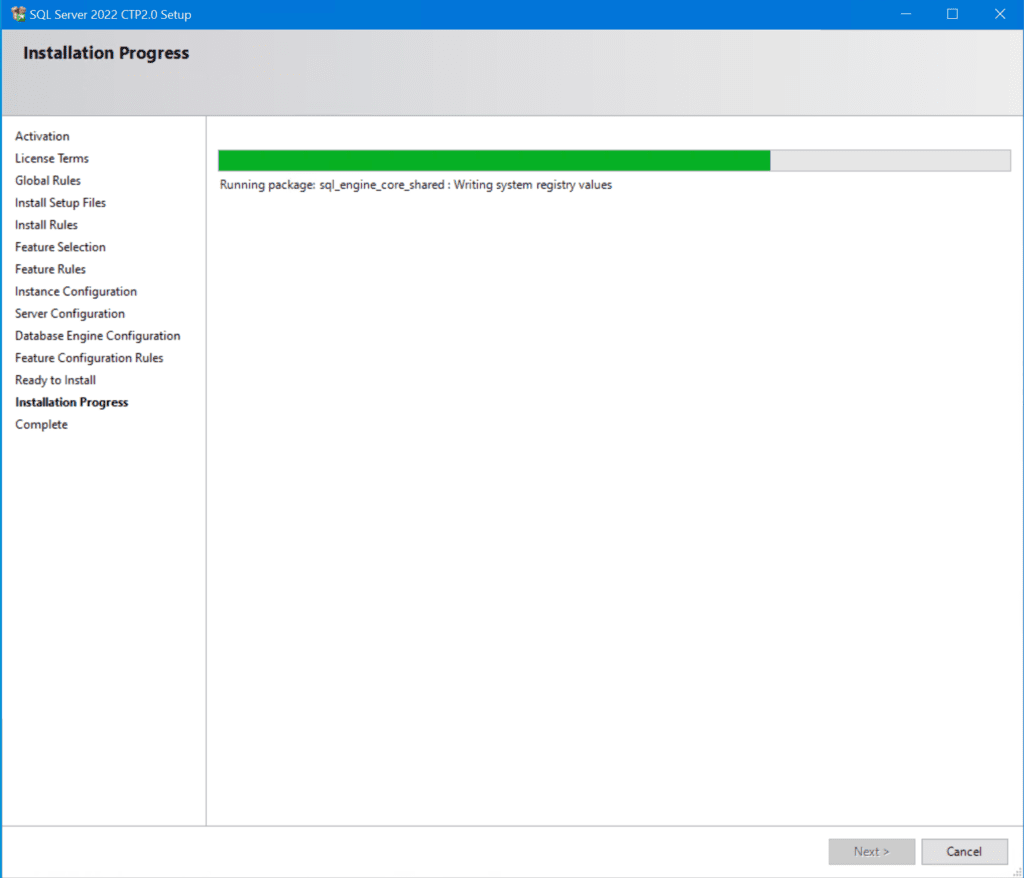
Now, on the ‘Installation Progress’ screen, SQL Server is being installed.
And, we are done! A SQL Server Setup ‘Complete’ state with a whole lot of green! 😉
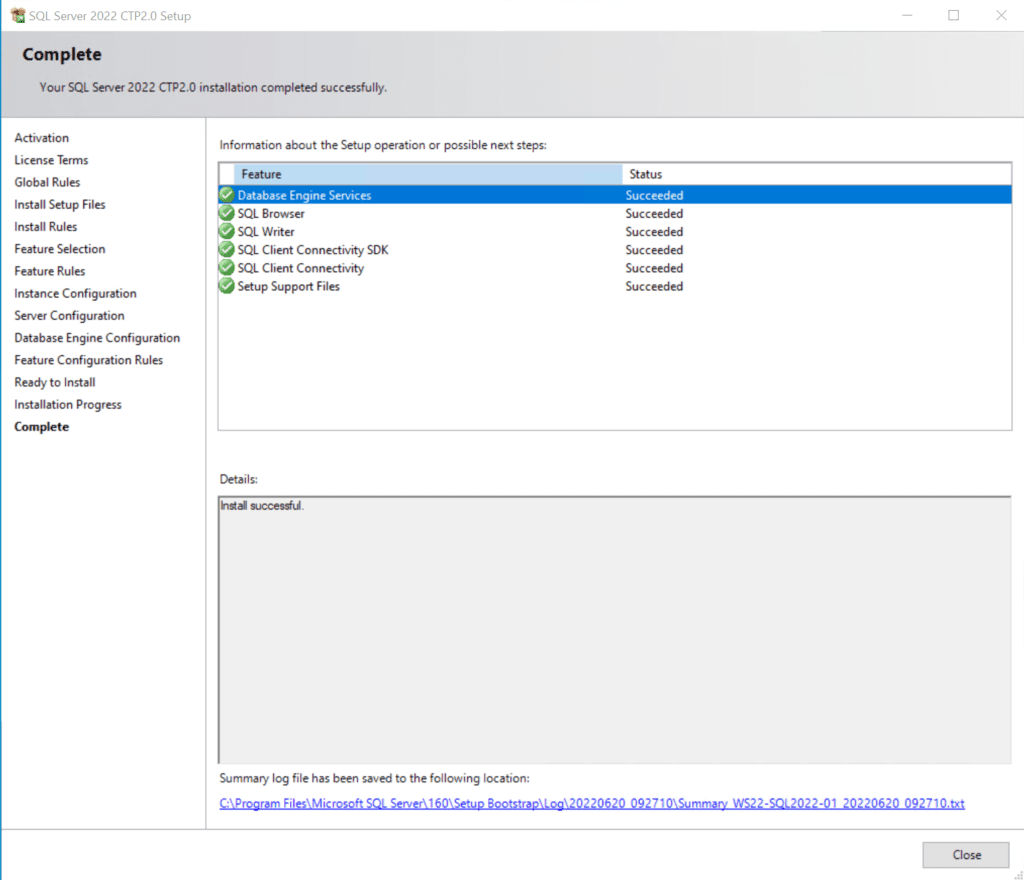
Congratulations! We have successfully installed SQL Server 2022 in our lab environment. Pretty slick, I must say. But really, there is a lot of power behind SQL Server. And of course, there are many SQL topologies that may fit your needs: Setting up SQL Server Replication, creating a Windows Failover Cluster to house redundant and robust SQL clusters, and the list goes on and on.
Installing SQL Server Management Studio
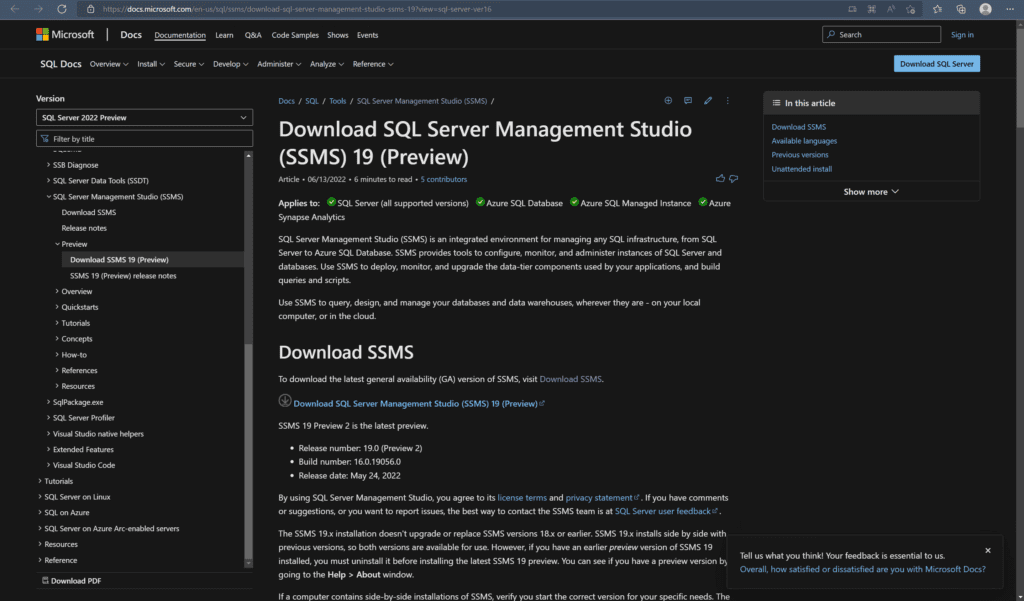
Before we close, I suggest you take this opportunity to install the latest version of the management tool for SQL, SQL Server Management Studio (SSMS). As of this writing, the latest version is 18.12. However, you will need the newer release, SSMS 19, currently in preview, to administer SQL Server 2022. The link to download SSMS 19 is available on this page.
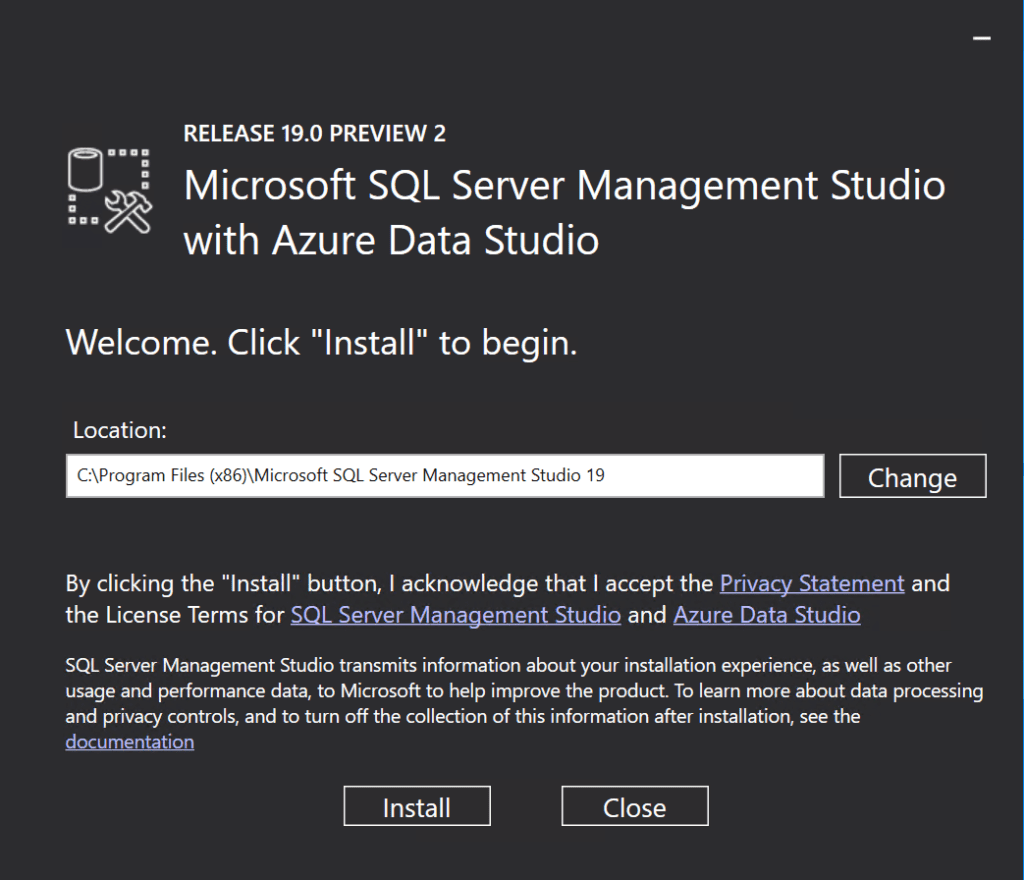
Start the Setup program and you come to this installation screen. Click Install.
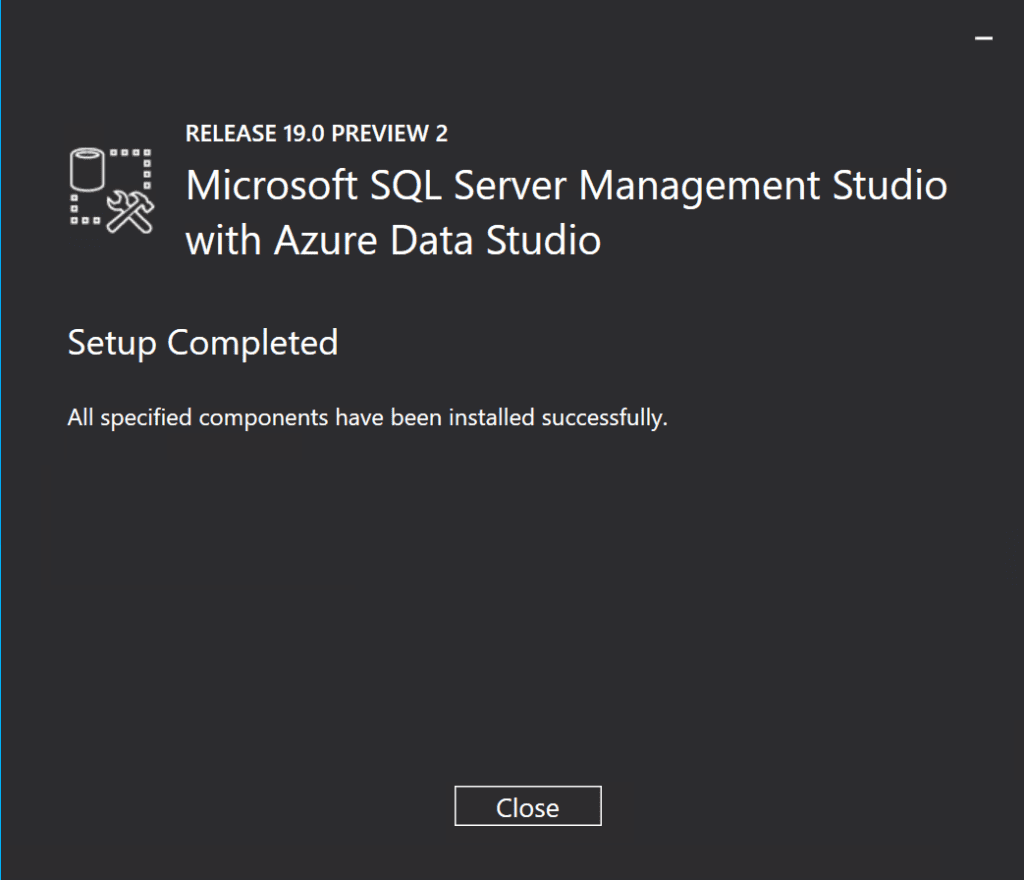
And, we’re good.
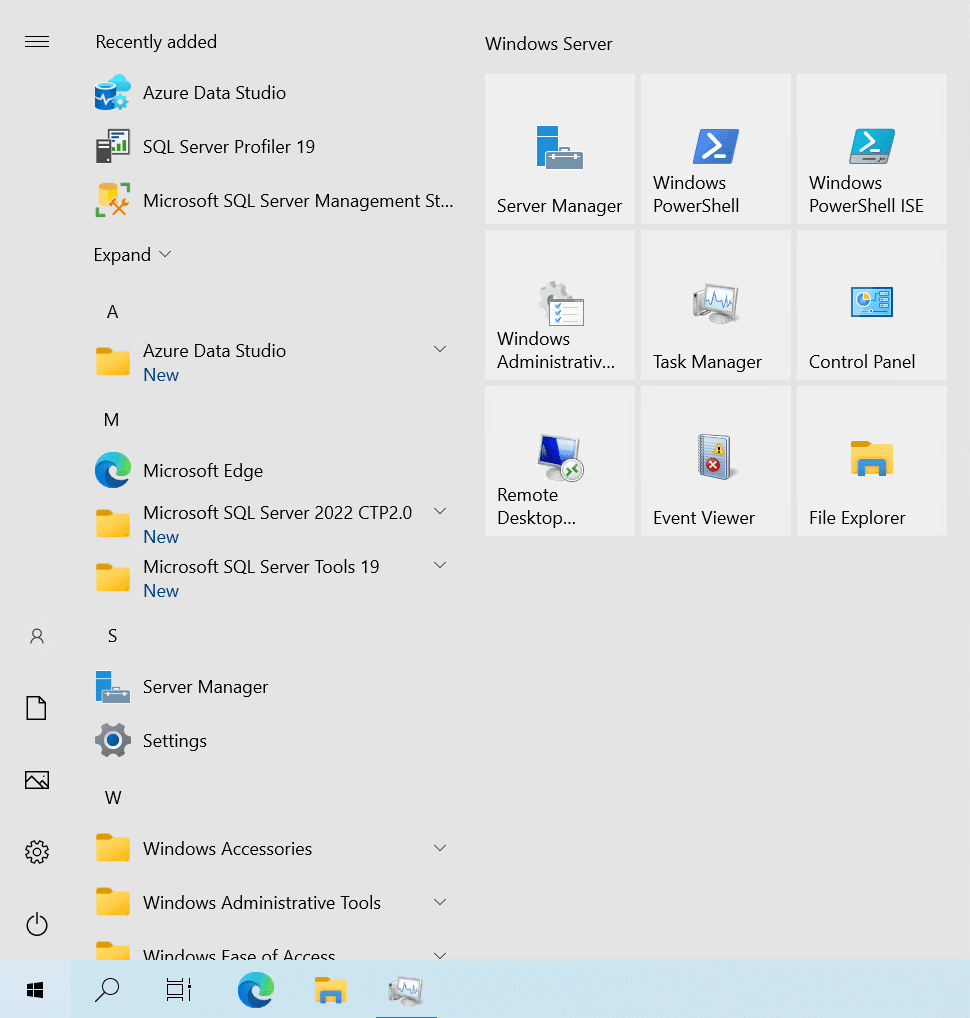
Let’s launch it from the Start Menu.
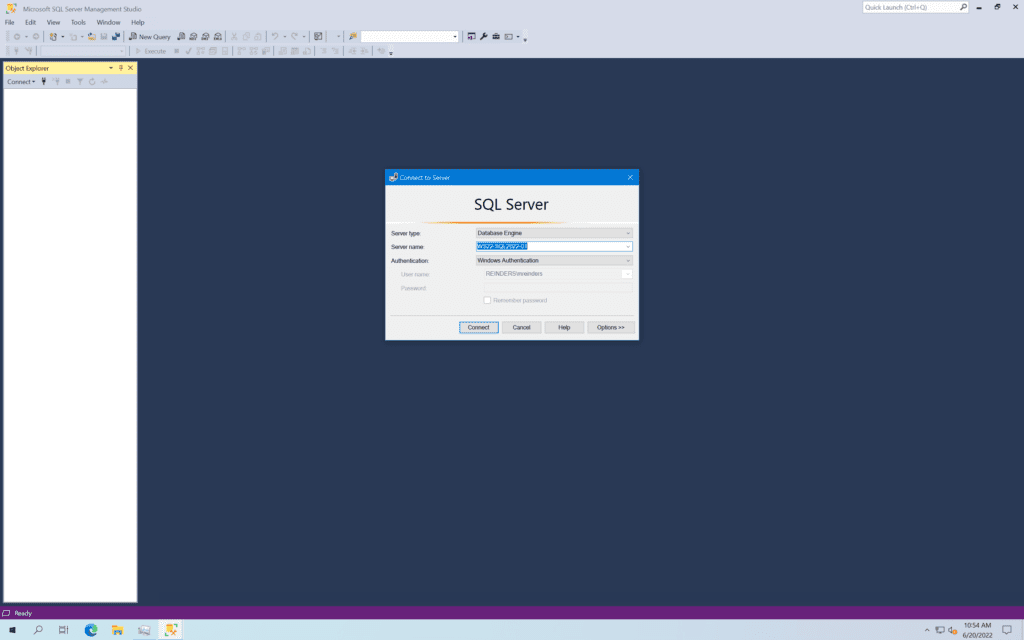
With the defaults, I can click the Connect button to log in to SQL Server with my logged-in account. (If you recall, I added it as a SQL admin to grant this exact access…)
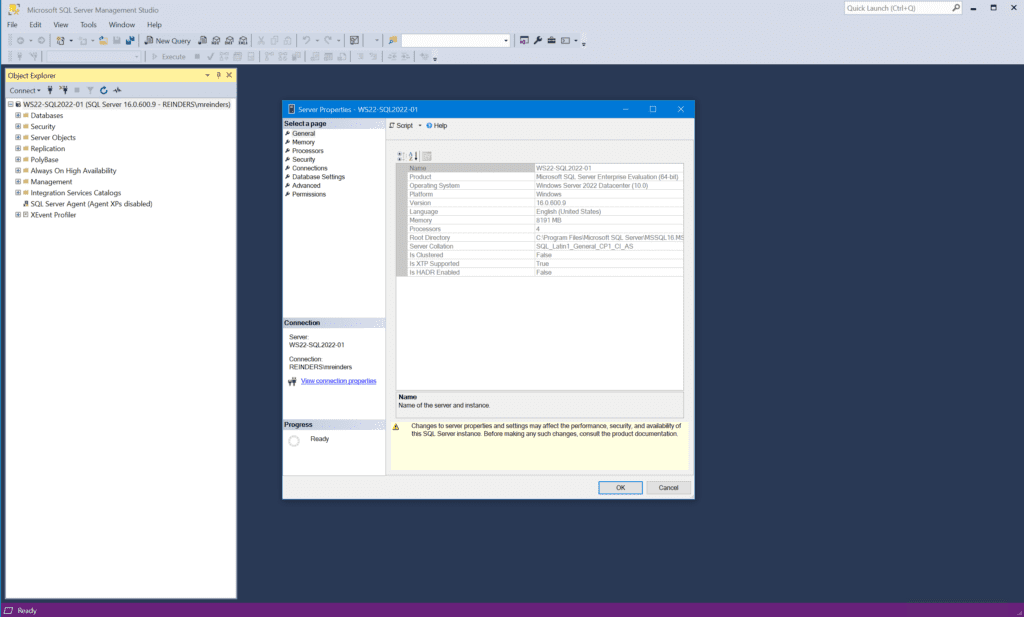
I right-clicked on the name of the server at the top of the Object Explorer window and clicked Properties to get that screen. You can make many configuration changes to SQL Server here.
Conclusion
Thank you for reading. I hope this helps you on your journey to SQL Server 2022 in the coming months and years. Please leave a comment or question below!
Related Articles:
- Essential SQL Server: Creating Databases and Tables

Michael has been an IT Pro since 1998. He has worked predominantly in the Windows world including client and server operating systems, on-prem systems engineering (AD, DNS, etc.), and over the last ten years or so has embraced and immersed himself in...