Getting Started with hMailServer

hMailServer is a free email server for organizations, businesses, and individuals which is easy to install and simple to use. Find out how to install and configure hMailServer in this overview.
What is hMailServer?
Have you ever wondered if there were any decent alternatives to Microsoft Exchange as your mail server? Well, there is! hMailServer is an open-source, free email server for Microsoft Windows environments.
Honestly, I wasn’t aware of this solution. It was first developed in late 2002 by Martin Knafve. Since that time, it has become one of the most popular email servers for Windows.
After looking over its features, it does remind me of MDaemon back in the 90s. Those were the days…
The core features of hMail Server
The main components of hMailServer include a simple installation and configuration procedure, built-in security measures (support of SSL certificates, integration with virus scanners, email black list servers, and SPF/MX lookups), integrations with other software products via a COM library, and many more. I’ll get into more of these features later on.
Is hMailServer secure?
The security of hMailServer depends on what steps you take during its initial setup, installation, and configuration. Out of the box, it won’t be secure. There will be no secure email transfer occurring at all.
The default ports like 110 (POP3), 25 (SMTP), 143 (IMAP) are insecure. However, when you add an SSL certificate and create new bindings in the software, you’ll gain secure transfer of email via ports 995 (POP3 SSL), 465 (SMTP SSL), and 993 (IMAP SSL).
I highly recommend you purchase a 3rd-party SSL certificate for the hostname of your new hMailServer before sending or receiving emails, especially for a professional business email account. Leaving an insecure POP3/SMTP email server on the Internet is not the smartest thing to do these days.
How to install hMailServer
Next, I’ll go through the basics of the installation of hMailServer.
Ready to download hMailServer? Great. You can visit the download page of hMailServer to obtain the installation program via this download link. As of this writing, I’ll be installing version 5.6.8 (build 2574) released in October of 2021.
Prerequisites
There are a few high-level prerequisites you’ll need to consider when planning your installation. I cover hardware, software, and database requirements below. But here are a few others not to forget.
Network and port requirements
You need to make sure some combination of these ports are open on your server and in your firewall-protected network.
- 25 (SMTP)
- 465 (SMTP SSL/TLS)
- 587 (SMTP Send)
- 110 (POP3)
- 995 (POP3 SSL/TLS)
- 143 (IMAP)
- 993 (IMAP SSL/TLS)
Also, you will be needing a few DNS records on the Internet to facilitate other email servers being able to route your email to your hMailServer. This includes MX records, A records, and maybe even a CNAME record. I’ll address this down below.
Hardware requirements
There really aren’t any ‘hard’ requirements. Looking at the software’s homepage, there are no specific memory, CPU, disk storage requirements. I would imagine 4GB of memory would be a good minimum, at least a 2-core server or 2 vCPU virtual machine (VM) would suffice, for the basics.
If you are planning to use this to handle hundreds of users, then you would want to make sure you have 8, 16, or more GBs of RAM, plenty of disk storage, and 4, 6, or 8+ vCPUs to handle the load. Not only will your users be making POP3/IMAP connections to the server, but the server will also be receiving inbound emails and sending emails out to the Internet.
Here are the ‘supported’ operating systems to run version 5.6.x of hMailServer:
- Windows Server 2012
- Windows Server 2008
- Windows Server 2003
- Windows 7
- Windows Vista
- Windows XP Professional SP3
Disclaimer: Only the top version of Windows above is supported by Microsoft (and Windows Server 2012/R2 goes out of support in October 2023!). I highly suggest NOT using it. Let me trim this down to a list that you should use:
Although these newer server OSes aren’t listed on their homepage, you should feel confident installing the software on newer versions of Windows Server. I’ll be installing the software on a Windows Server 2022 VM.
Database requirements
You have a few options when it comes to database engines to house your email configuration and mailbox databases. hMailServer comes with SQL Server Compact Edition (CE) that you can use for testing and non-commercial use cases. If you plan to create a commercial email server, you need to choose one of these external database engines:
- MySQL 4 & MySQL 5
- MSSQL aka Microsoft SQL Server 2000, 2005, and 2008.
- PostgreSQL 8
And, to add to this, I would highly assume you could use a supported version of Microsoft’s SQL Server, too, including:
- SQL Server 2019
- SQL Server 2017
- SQL Server 2016
And, lest I forget, there is one more lovely prerequisite you need to be aware of: ‘.NET Framework 2.0’. Yes, this software was built against the .NET Framework 2.0 SDK, so we need to make sure we have the runtime installed. Thankfully, we simply need to install the ‘.NET Framework 3.5 Feature’ as this includes .NET 2.0 and 3.0. Let me show you how to do that with PowerShell.
Launch an administrative PowerShell prompt by right-clicking on the Start button and clicking ‘Windows PowerShell (Admin)’.
Enter the following command.
Install-WindowsFeature Net-Framework-Core
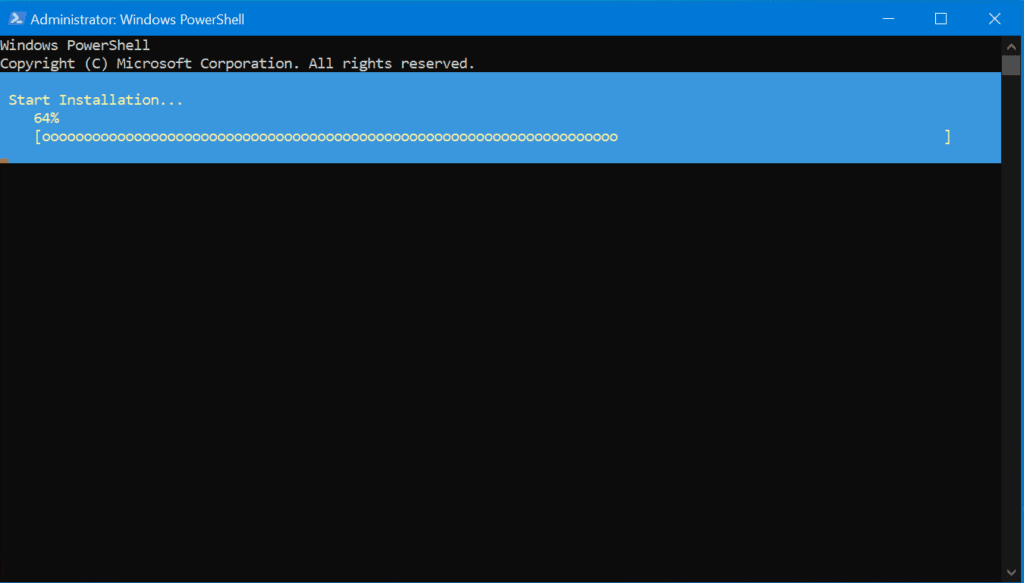
And, we’re all set!

Installation
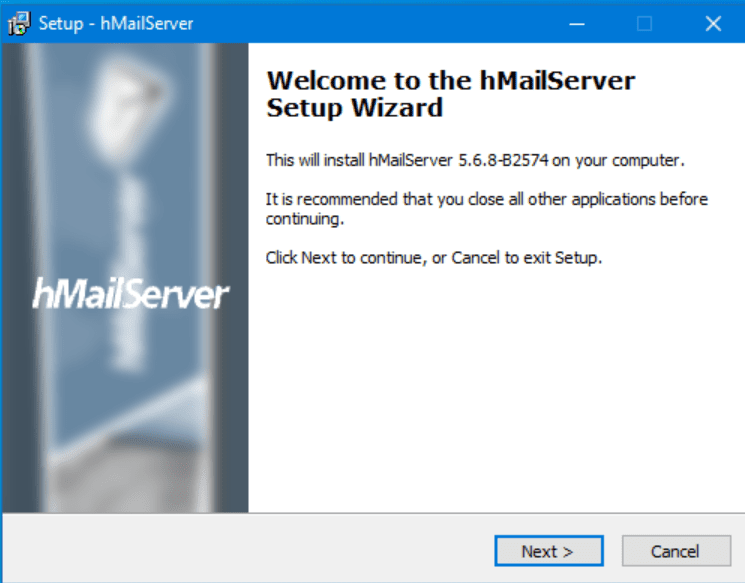
Let’s go through the installation wizard next. Double-click on the downloaded file to start the Setup program.
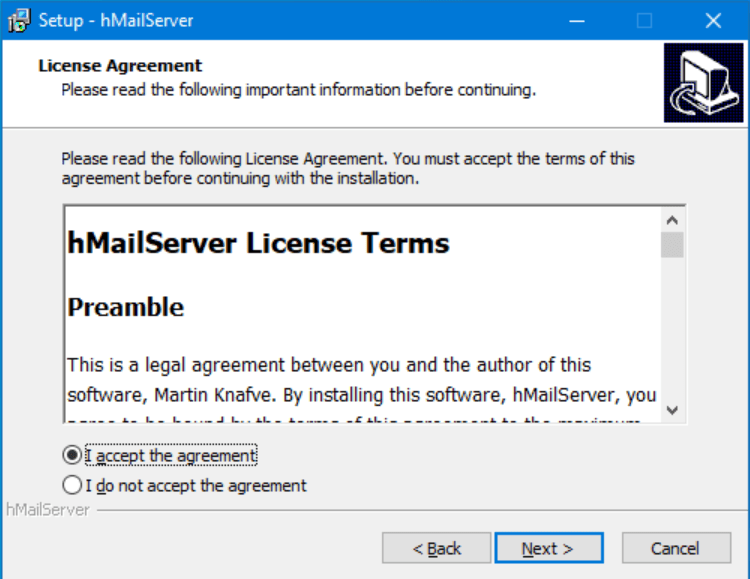
Click Next and then choose to accept the license agreement.
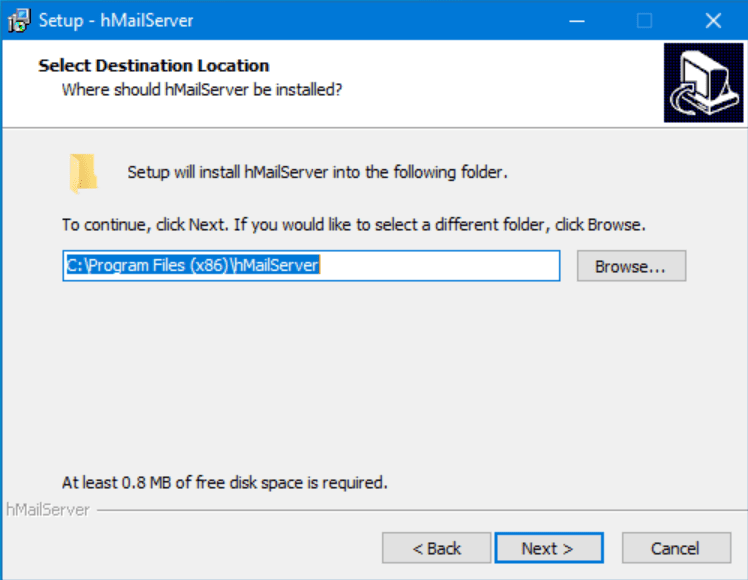
If you want to change the destination folder for the software, go ahead. The default location is in the program files folder on your C: drive. Then, click Next.
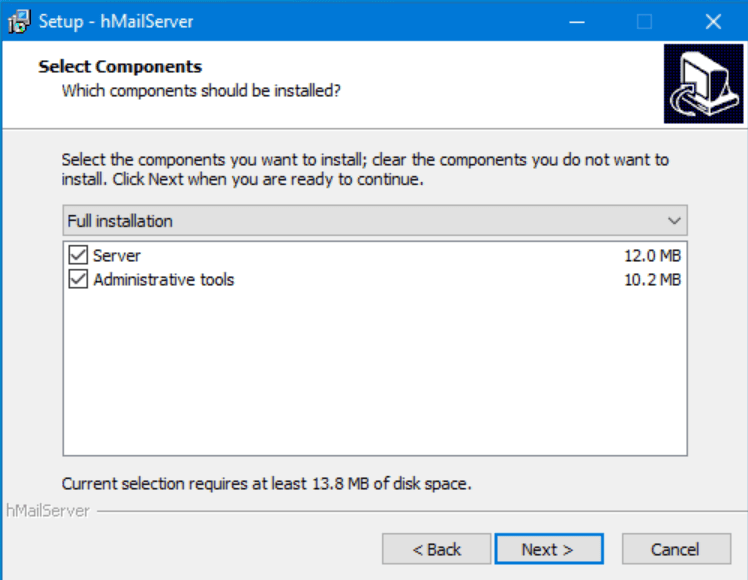
I recommend keeping the ‘Full installation’ type. Click Next.
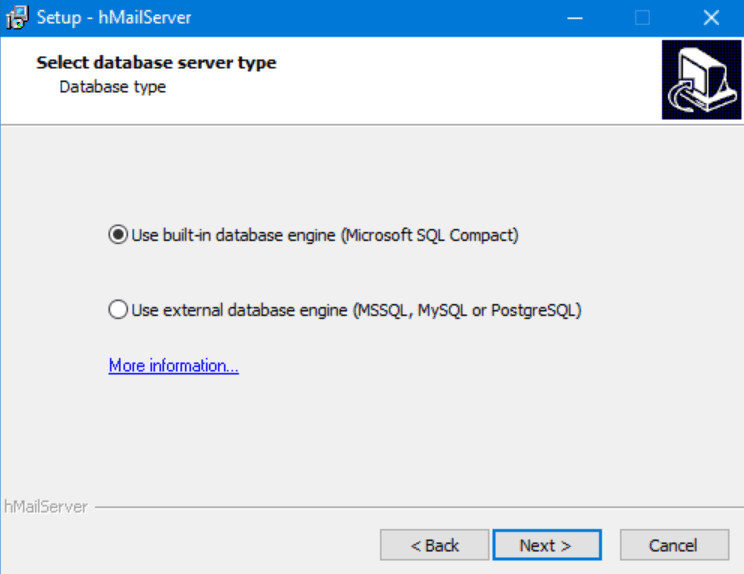
Choosing the database server type, you can choose between the built-in (Microsoft SQL Compact), or an external choice (full MS SQL Server, MySQL, or PostgreSQL). For these purposes, I’ll keep the built-in and click Next.
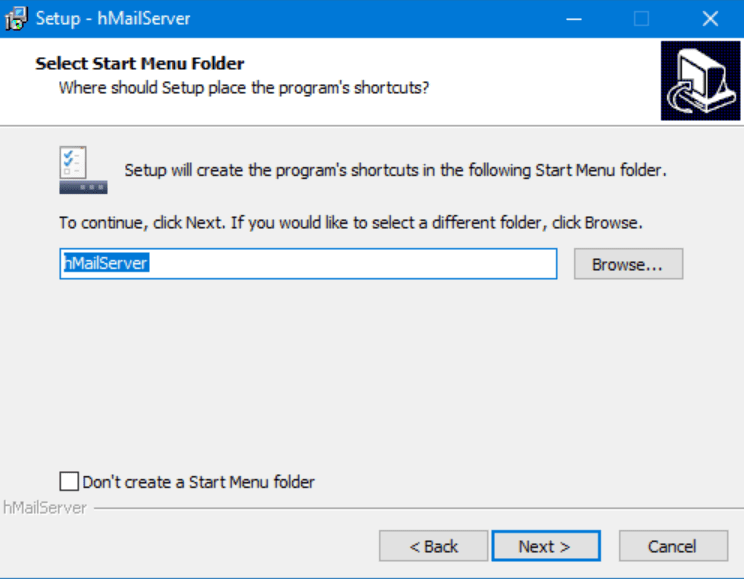
You can change the name of the Start Menu folder if you want. Click Next.
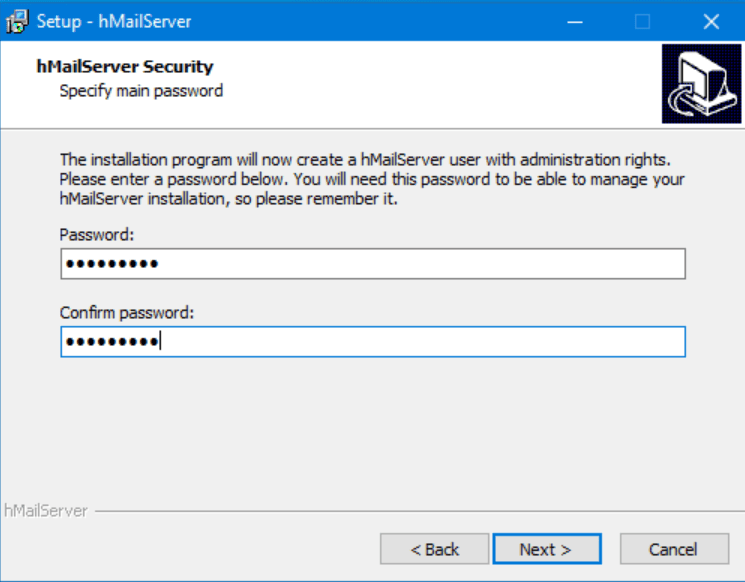
Here, you’ll need to enter an administrative password for the administrative user being created by Setup. Be sure to make this password secure, and don’t lose it! You’ll need it to configure the software.
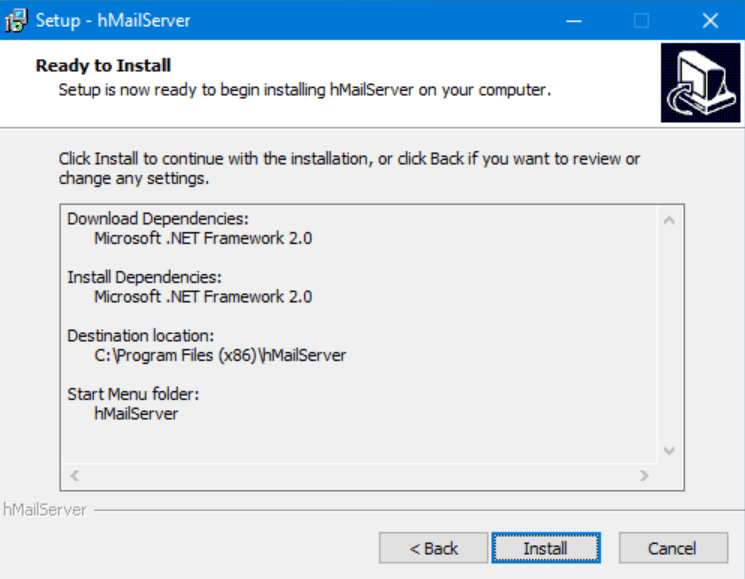
Here’s the ‘Ready to Install’ screen. If you need to make any changes, feel free to go back and make them, then click Install.
Congratulations, the hMailServer software is now installed.
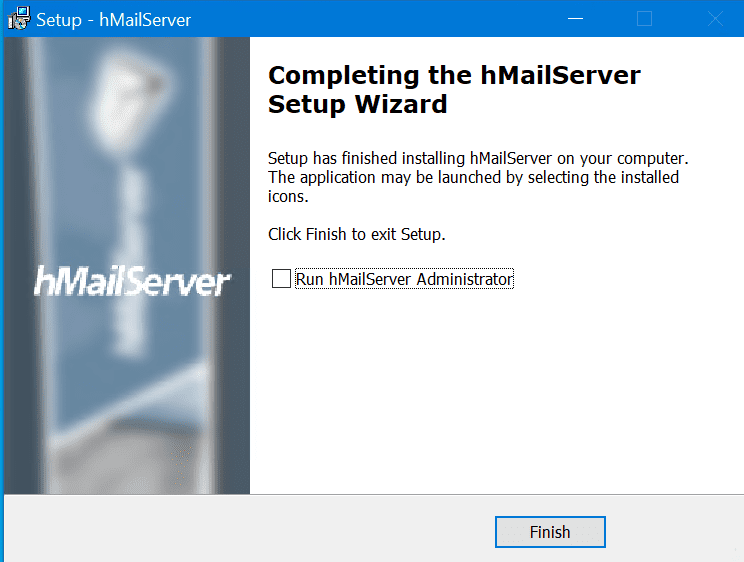
To handle server administration, let’s launch ‘hMailServer Administrator’ from the Start Menu.
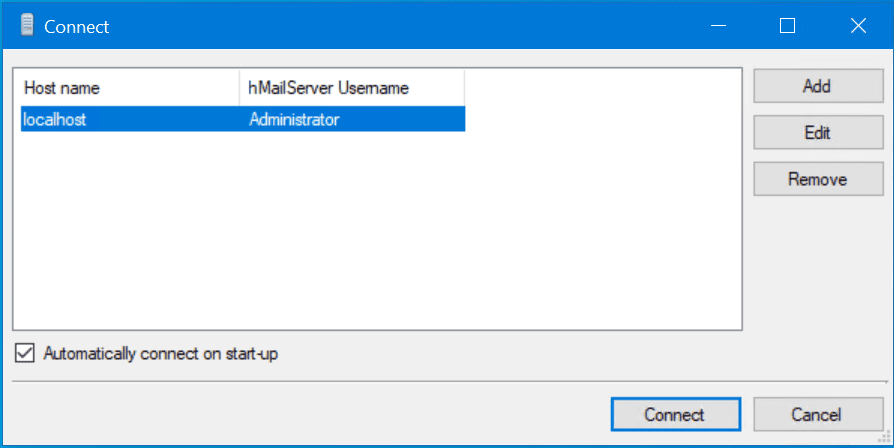
Go ahead and check the box ‘Automatically connect on start-up’ to bypass this in the future. If you happen to have a remote hMailServer, you could enter its hostname, Fully Qualified Domain Name (FQDN), or IP address here using the administrative management tools.
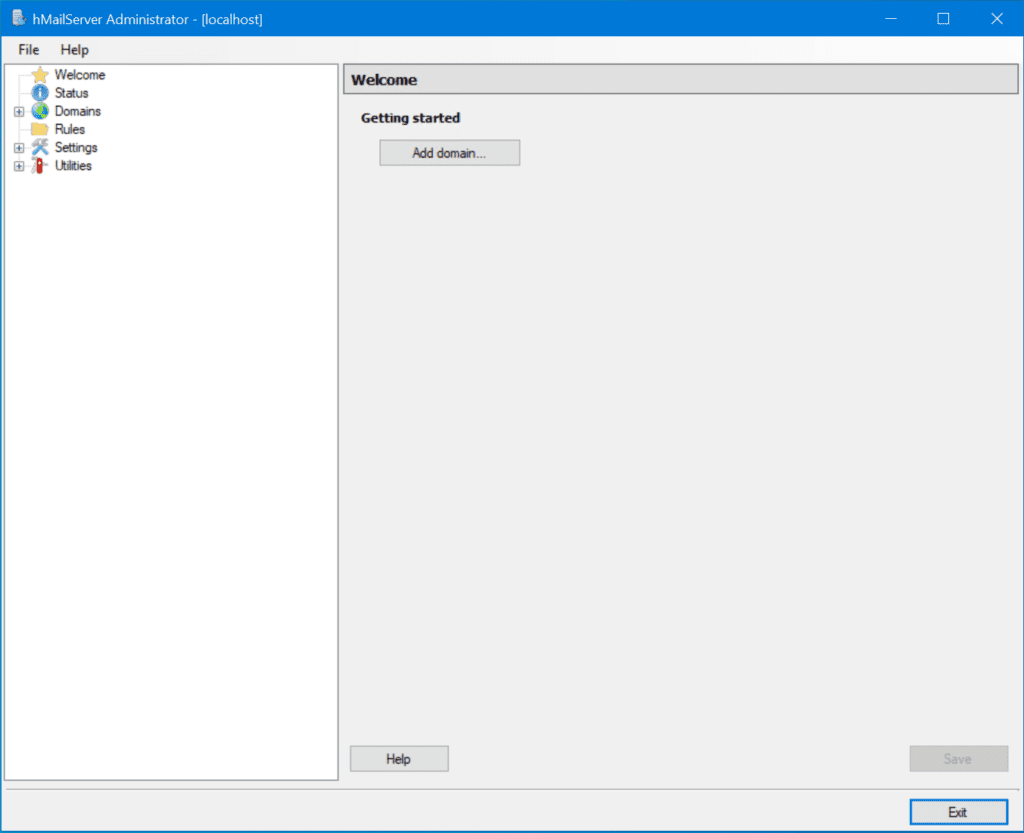
Click Connect and enter the hMailServer admin password you created during Setup. Here’s the Welcome page.
DNS configuration
As I mentioned above, there are a few DNS records that will be required for the full functionality of the software to work. First, let’s handle external records (on the Internet). The first is an MX record.
An MX DNS record is a record that tells how/where to deliver an email to a specific domain. This record needs to point to the ‘external’ [IP] Address of your hMailServer. As an example, an email destined to @reindersconsulting.com could go through hmail.reindersconsulting.com.
Next, you would need an external A record. This tells DNS servers what IP address is associated with hmail.reindersconsulting.com.
Your network administrators would be able to assign an external IP address for your hMailServer. A common scenario is having a ‘one to one’ NAT setup on your edge firewall. This allows inbound traffic to your hMailServer’s external IP Address to ‘translate’ to its internal (LAN) IP Address (say, 10.0.1.154).
Now, to cover internal records, the simplest scenario is an A record for your hMailServer’s hostname pointing to its internal (LAN) IP Address. You could have ‘hmailserver01.reinders.local’ point to 10.0.1.154.
This is the absolute simplest setup. You can do additional research on more sophisticated DNS configurations.
Firewall / Router ports
As I hinted at above, you will need a few ports open on your edge router or firewall to allow outgoing traffic to flow between your hMailServer and the Internet. Let’s assume you’re using only secure (SSL) traffic. In that case, you could ask your network team to open the following ports inbound from the Internet to the local (LAN) IP address of your hMailServer.
- 465 (Secure SMTP)
- 995 (Secure POP3 – If needed)
- 993 (Secure IMAP)
Specifying a public host name and SMTP relayer
To allow for inbound email traffic from the Internet, you need to specify a public hostname of the computer you installed hMailServer on. You do that via Settings -> Protocols -> SMTP.
Next, click on the Delivery of e-mail tab.
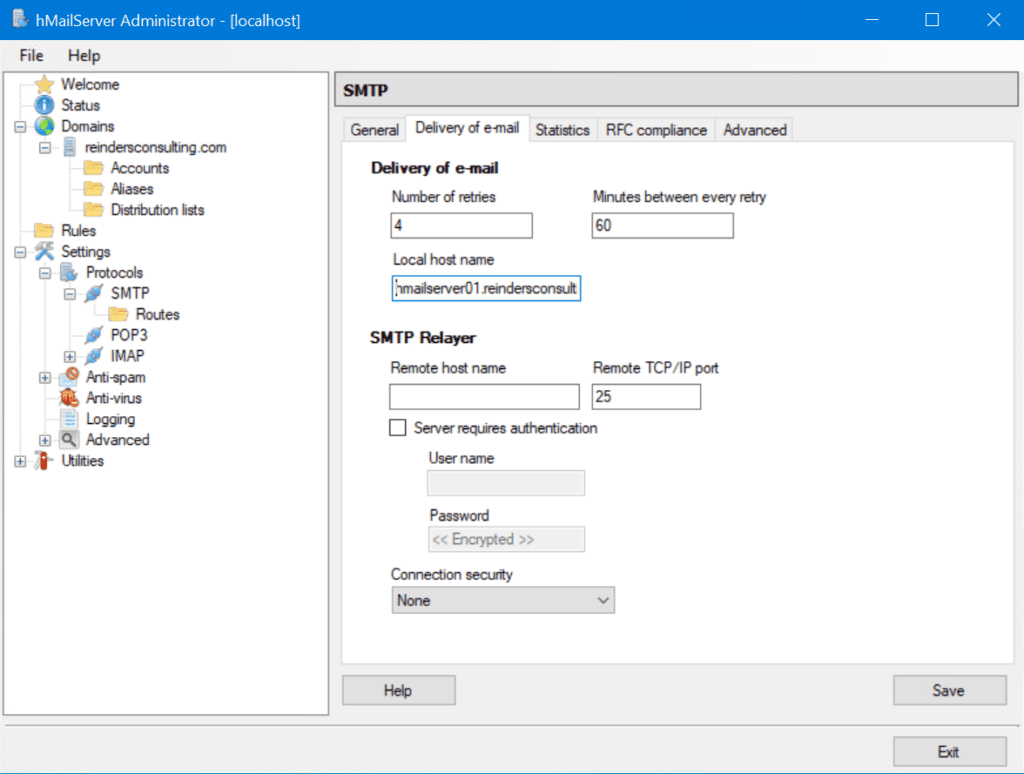
In the ‘Local host name’ field, I could enter ‘hmailserver01.reindersconsulting.com. Now, in order for that to work, I would need to make sure I had an external (Internet) DNS A record for that hostname to point to the external IP address of my server.
In terms of outbound email, it’s typical for company networks to block port 25 outbound directly from a server to the Internet. This is done for security purposes. However, you can check to see if your server has the ability to send on port 25 or not.
Go to a command prompt/Terminal and enter this command:
telnet mail.hmailserver.com 25

This means you can’t send email directly from the server you’re on. It helps to alleviate rogue SMTP servers from spamming the Internet and blocking out one or more of your external (public-facing) IP addresses.
So, we can use an SMTP relay to send emails to your ISP’s email server. Letting internet service providers handle this task is very wise and efficient. They can then handle the task of determining where the emails should go (based on DNS and MX record lookups) and deliver the emails. You can specify these SMTP settings on the same page as above.
Under the ‘SMTP Relayer’ field, enter the server in the ‘Remote host name’ field and the TCP/IP port. For example, the company that provides my Internet connection (ISP) is AT&T. I looked up online what their email settings are for email applications:
- For sending email, the DNS name is smtp.mail.att.net. So, I would enter that in the Remote host name field, enter port 465 or 587 (for Secure SMTP or SMTP Submission), and then check the box for ‘Server requires authentication’.
- Next, I would enter my main AT&T account details, username and password in the respective fields.
Adding a new domain and accounts
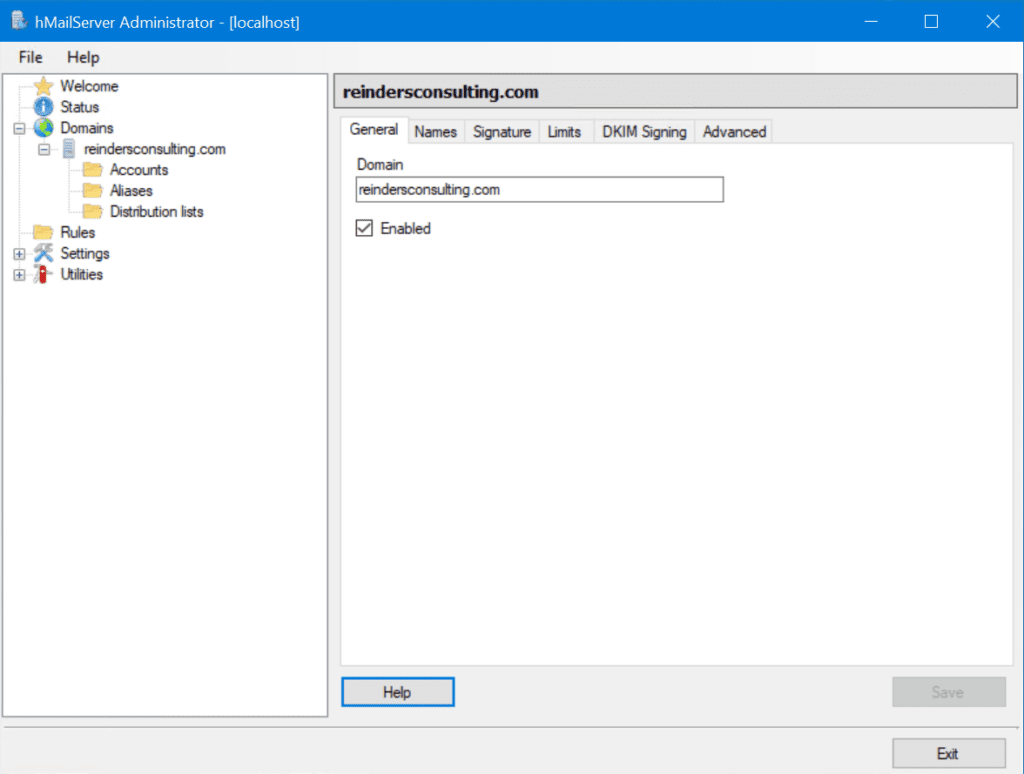
Alright, let’s add our domain name to the system. We can do this by clicking the ‘Add domain’ button on the Welcome page, or by clicking on Domains and clicking the ‘Add…’ button.
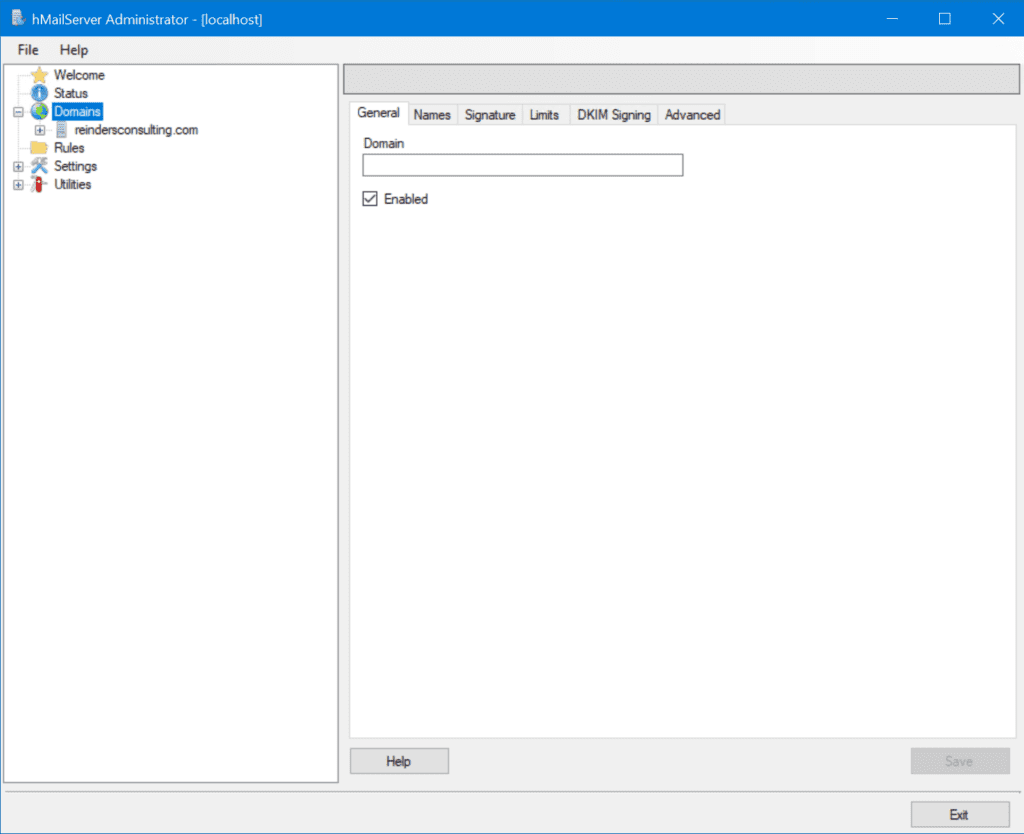
I’ll go ahead and enter an example domain and click ‘Save’.
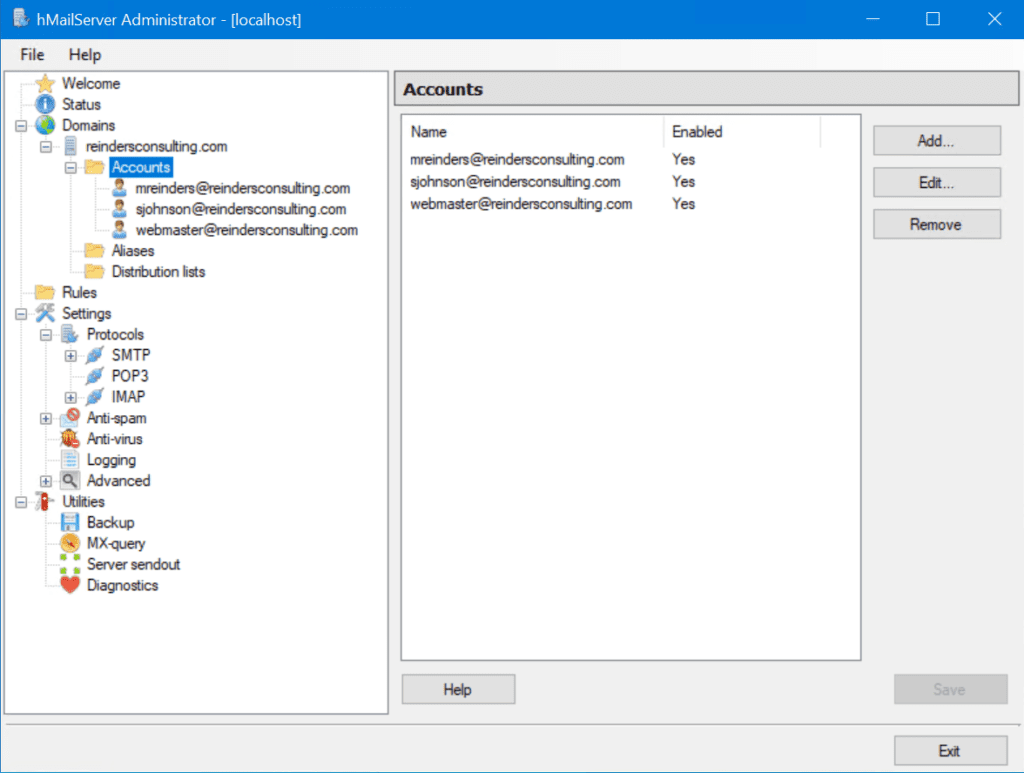
Next, we’ll add a few users. Under our domain name, click Accounts, then on the ‘Add…’ button. I’ll add a few users here by adding the email address, the password, a maximum size for messages (in MB), and any other features required.
Connecting hMailServer with Active Directory
To help ease the administrative burden around managing accounts and passwords, you can integrate hMailServer with your local Active Directory (AD). You can modify users or create new users using the ‘Active Directory’ tab.
The first scenario is if you have an existing account and want to integrate it with AD. To do so, click on the account and click the ‘Active Directory’ tab. Then, click the checkbox next to ‘Active Directory account’, enter the AD domain in the Domain box, and the username (SAMAccountName) in the ‘User name’ box. Then, click Save.
This will facilitate the credentials when the user checks for emails in their email application. They will be able to enter their AD username and password to retrieve their email from hMailServer.
The other main scenario allows you to add an existing AD user into hMailServer. To do this, right-click on the ‘Accounts’ folder, and choose ‘Add AD account’. Next, you choose your AD domain from the ‘Domain:’ dropdown, then select your account from the ‘Accounts:’ field.
Encrypting emails with SSL certification
As you’ve noticed thus far, the initial setup and configuration of the server does not include secure email traffic. In order to button up your new email server, you’ll need an SSL certificate for authentication and encryption from a trusted Certification Authority (CA) like DigiCert, SSLS.com, or CheapSSLSecurity.com to name a few.
You can follow the instructions from the SSL cert provider to obtain your certificate. Be sure to get the SSL cert in the PEM format, compatible with hMailServer. You’ll need the file and the private key files available.
To import your new certificate, go to Settings -> Advanced -> SSL Certificates. Click ‘Add…’
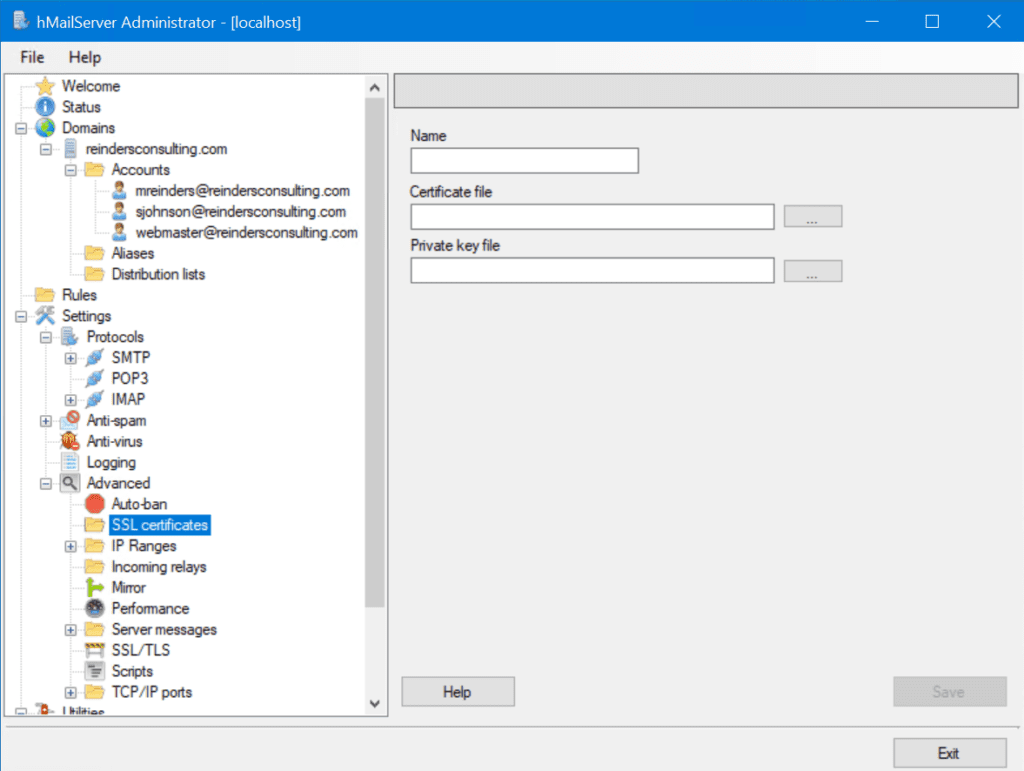
Type in what you want the Name to be. It’s probably best to use your certificate’s ‘Subject Name’. Then, browse to the ‘Certificate file’ and the ‘Private key file.’ Next, click Save.
Now that the SSL certificate is added, you need to ‘bind’ it to your secure ports. In the Advanced section, browse to ‘TCP/IP ports’.

Because we are using secure ports, we need to add one. Click ‘Add’ and enter the SMTP information per the screenshot.
The only other step you would take, of course, is to choose your new SSL certificate from the ‘SSL Certificate’ dropdown. You can perform the same steps for POP3 and IMAP by using the same essential fields, the same certificate, but use ports 995 for POP3 and 993 for IMAP. Easy as pie!
Setting up an account in Outlook or other email clients
There are many email client programs compatible with IMAP/POP3/SMTP including Microsoft Outlook, even Outlook Express. Let me try another alternative, Mozilla Thunderbird, to at least verify the server settings get discovered correctly. After downloading and installing Mozilla Thunderbird from this link, I launched it and entered some of the basic information.
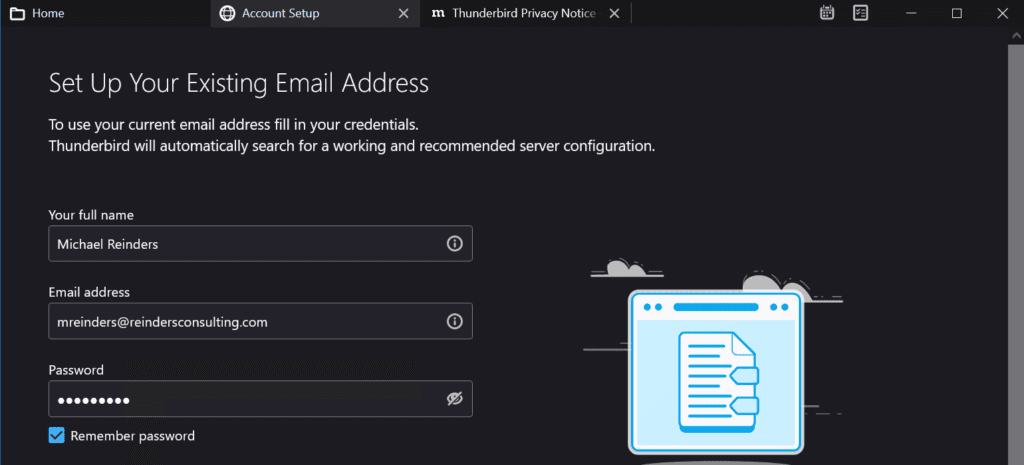
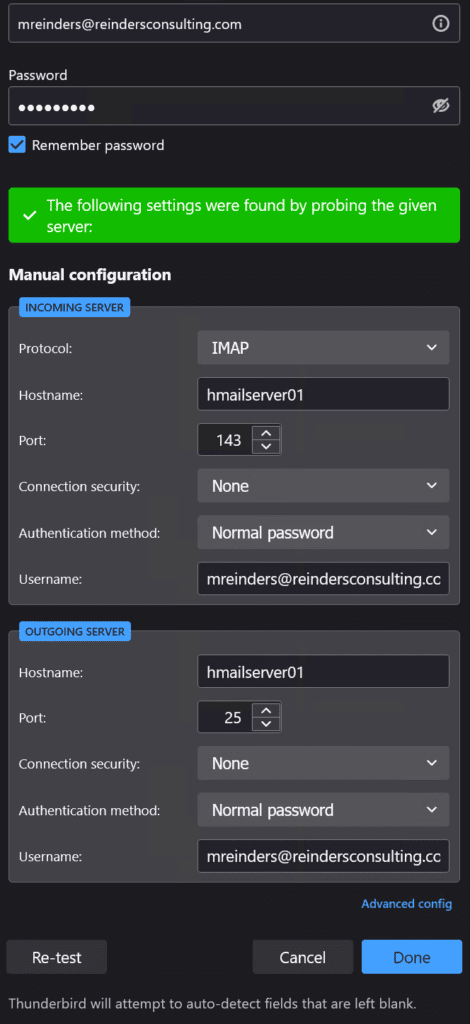
Although not everything worked during the first test, I went ahead and clicked the Re-Test button at the bottom after entering the hostname as ‘hmailserver01’, my email address – ‘[email protected]’, and IMAP as the protocol. It then ‘probed’ the server and filled in the rest of the information correctly.
After I clicked ‘Done’, I got the following warning message.
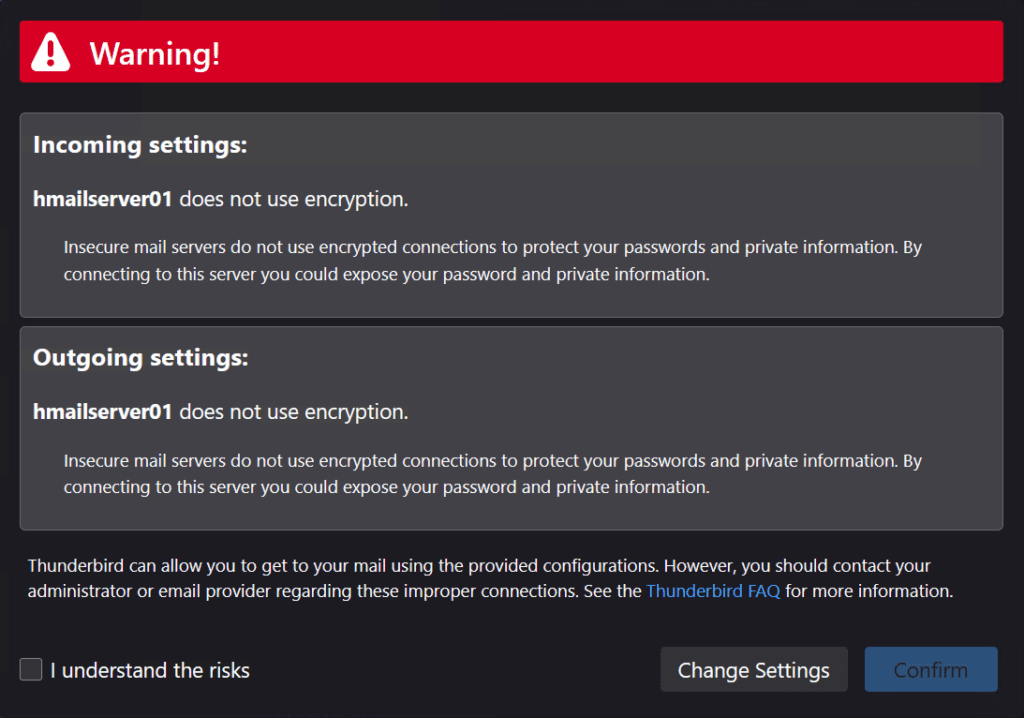
This confirms that we are not using encryption to make the connection to the email server. It’s outside the scope of this article to go through all the necessary steps to enable SSL encryption on our hMailServer.
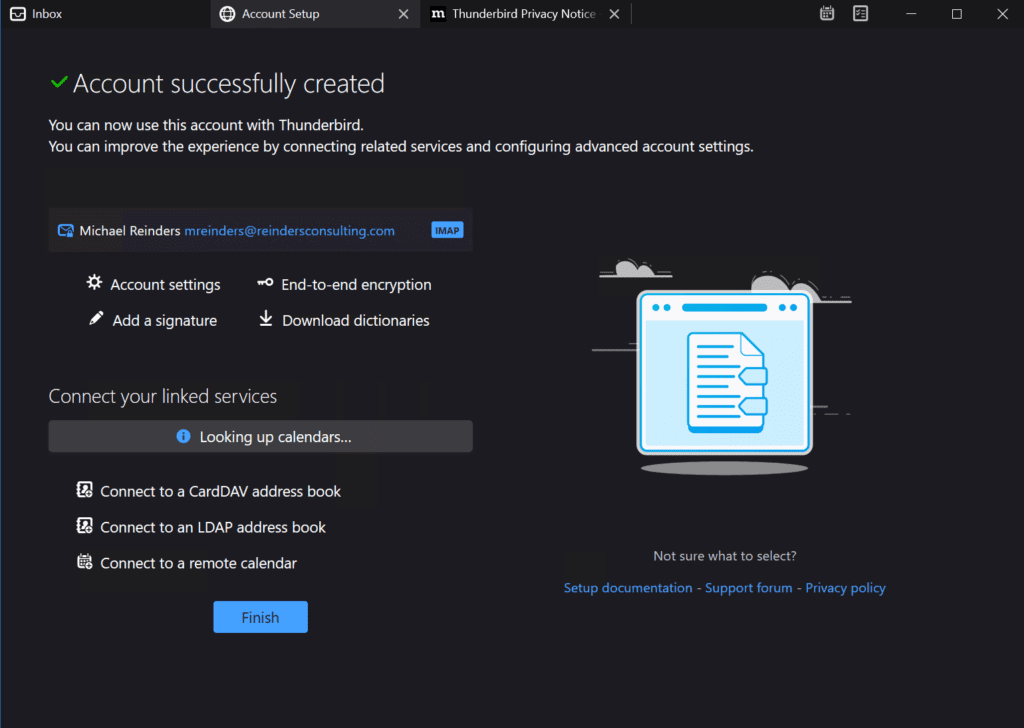
Anyway, we have Thunderbird configured with our email account!
And, just to confirm that checking emails is working, I went to Settings -> Logging, checked the ‘Enabled’ box at the top, also checked ‘Application’ and ‘IMAP’, and clicked Save.
I then went to Thunderbird and clicked the ‘Get Messages’ at the top. I went back to hMailServer, clicked on ‘Show logs’, and saw our successful IMAP connection attempt.

Conclusion
As you can see, setting up hMailServer is considerably less daunting than setting up Microsoft Exchange Server. You only really need some external DNS records and an SSL certificate for secure encryption and email traffic, and you can have this solution up and running in only an hour or two with the info provided here.
As a reminder, these are only the basics of what you can do with hMailServer. There are integrations with 3rd-party webmail solutions like RoundCube and SquirrelMail. There are different hMailServer services, too, including Spam protection, built-in backup, server-side rules, and more.

Michael has been an IT Pro since 1998. He has worked predominantly in the Windows world including client and server operating systems, on-prem systems engineering (AD, DNS, etc.), and over the last ten years or so has embraced and immersed himself in...