How to Disable the Windows 10 Lock Screen
In Windows 10, you’ll encounter the sign-in window if you’ve recently booted your computer or have been away from the machine for a while. For many, the Windows lock screen seems to be an unnecessary extra step that they need to do every time they boot or wake their computer.
To unlock the computer, the user not only needs to enter his or her password or PIN, but they also need to dismiss the lock screen as well. In this article, I’ll show you how to eliminate a step by disabling the lock screen to save you some more time.
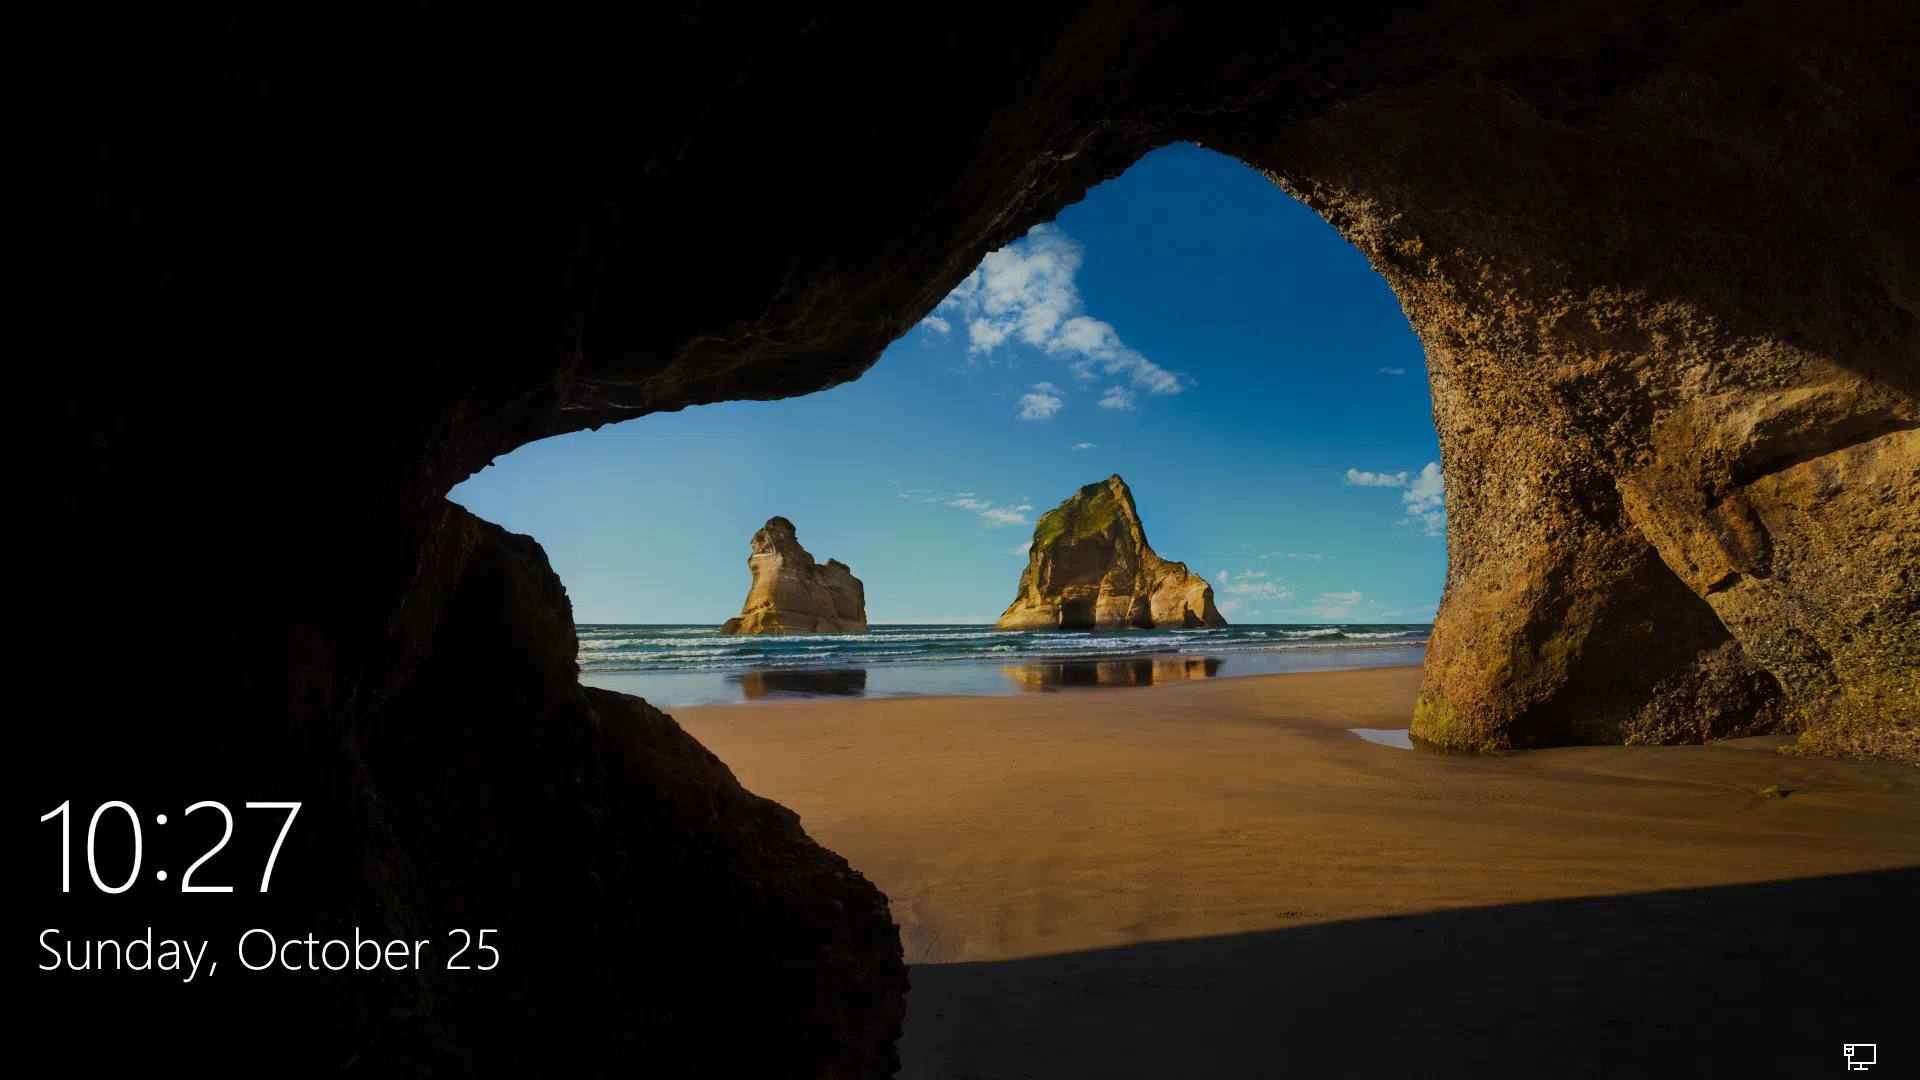
As a reminder, here’s the log on screen using a PIN:

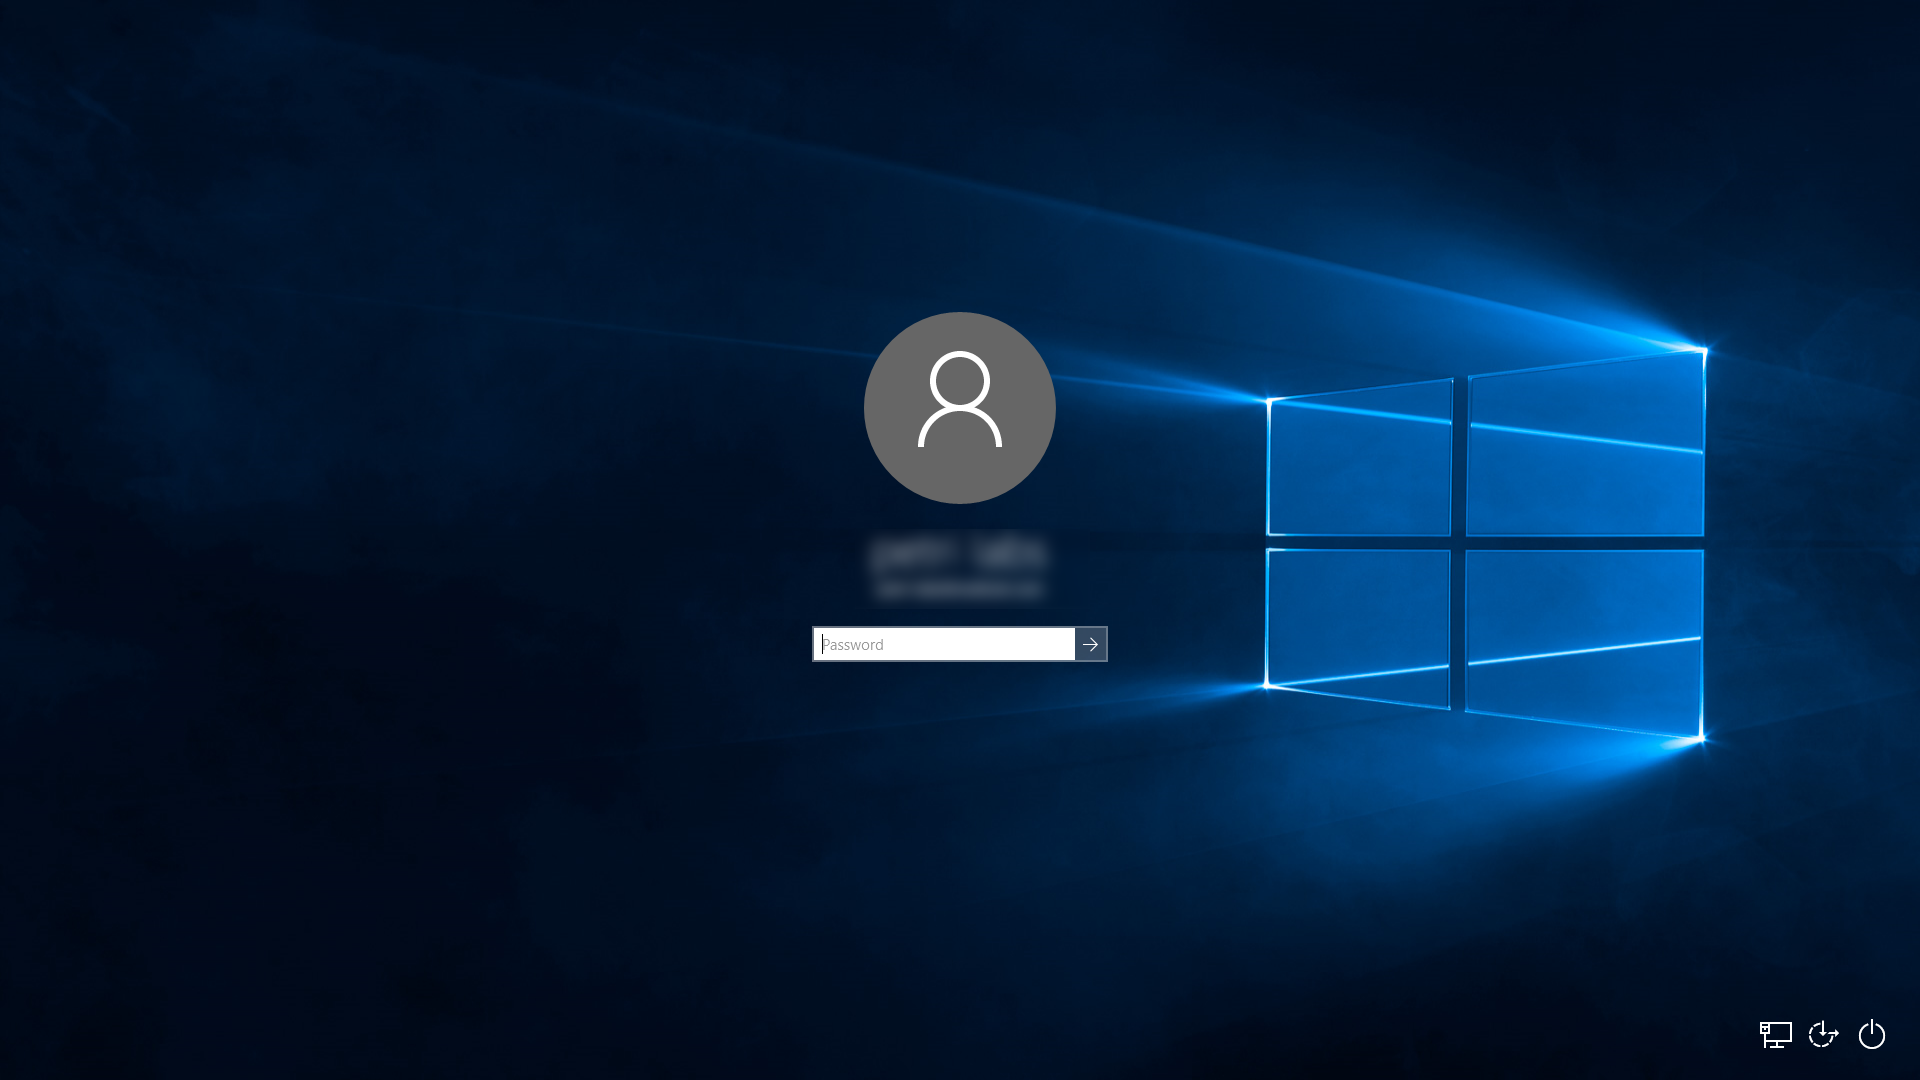
And here’s the log on screen using a password:
Note: If you or an administrator has enabled the secure sign-in option for users, which requires them to hit the CTRL + ALT + DELETE keys on the keyboard before signing in, the lock screen cannot be disabled.
The actual reason for having the Windows lock screen in the first place is to prevent devices that have touch screens from accidentally getting to the user credential login page, where any accidental touch on the screen may cause characters or numbers to be entered by mistake, where this by itself may lead to false user login attempts, and in turn may lock the user’s account or even cause the device to be wiped in extreme cases. Therefore, the lock screen is just another extra measure that a human needs to take in order to get to the login page. By itself, it does not have any security benefits as anyone can simply bypass it.
There are two methods of enabling or disabling the Windows lock screen: The first one is using the Windows registry, and the second would be by using Group Policy, either the local policy, or a Domain-based GPO.
Method 1: Using the Registry
Before proceeding, please read carefully:
Warning: This document contains instructions for editing the registry. If you make any errors while editing the registry, you can potentially cause Windows to fail or be unable to boot, requiring you to reinstall Windows. Edit the registry at your own risk. Always back up the registry before making any changes. If you do not feel comfortable editing the registry, do not attempt these instructions. Instead, seek the help of a trained computer specialist.
1. Open the Registry Editor. You can do this by clicking on Start and typing regedit. Click Enter. You may be prompted with a UAC prompt, click Yes.
2. Navigate to the following path:
HKEY_LOCAL_MACHINESOFTWAREPoliciesMicrosoftWindowsPersonalization
If it doesn’t exist, create the Personalization key under Windows.
3. Create a new DWORD value named, NoLockScreen.

Double-click on the new value and enter one of the following:
0 or delete = enable lock screen
1 = disable lock screen

4. When finished, close the Registry Editor window.
5. To verify, press the Windows + L keys to lock the computer.
Method 2:
Disable the Windows 10 Lock Screen Using Group Policy
Group Policy (GPO) settings allow the administrator to centrally control various operating system computer and user settings. These can be done locally, on each computer, or centrally using Group Policy Objects (GPOs) in an Active Directory environment. Although this article focuses on local Group Policies, you can easily do the same using GPOs and assign these settings to multiple computers.
1. Open the local Group Policy editor. You can do this by clicking on Start and typing gpedit.msc. Click Enter. You may be prompted with a UAC prompt, click Yes.
2. Navigate to the following path:
Computer Configuration > Administrative Templates > Control Panel > Personalization
3. In the right pane, double click on the Do not display the lock screen policy.
Note: This is a double-negative setting, meaning Enabled will actually remove the logon screen, while Disabled will show it. Also Not Configured is the default setting.

4. Close the Group Policy Editor window when you’re finished.
5. To verify, press the Windows + L keys to lock the computer.
FAQs
Can I use GPO to disable lock screen settings on Windows 11?
Yes. You can use GPO disable lock screen settings on Windows 11 using the same methods as Windows 10. The Group Policy path and registry settings remain identical, making it a seamless process across both operating systems.
Will disabling lock screen settings via GPO affect remote desktop connections?
When you use GPO to disable the lock screen on your system, it won’t affect remote desktop connections as they use a different authentication mechanism. The lock screen settings only apply to local machine access.
Does using GPO to disable the lock screen impact Windows Hello authentication?
No. Implementing GPO disable lock screen doesn’t interfere with Windows Hello functionality. You can still use fingerprint, facial recognition, or PIN authentication methods after disabling the lock screen.
Can I use GPO to disable the lock screen during specific hours?
While basic GPO disable lock screen settings don’t include scheduling, you can create custom scripts and combine them with Task Scheduler to enable/disable the lock screen during specific time periods.
Related Article:

Renowned as the creator of the acclaimed Petri IT Knowledgebase back in 1999 Daniel Petri has become a distinguished figure in the IT realm, recognized for delivering reliable, expertise-driven content. This website - www.petri.com - not only embodie...
