Easily Change Windows 8.1 Edition Without Reinstalling
Like previous Microsoft Windows versions, Windows 8.1 has several editions: Windows 8.1 RT (form ARM-based devices), Windows 8.1 (called just “8.1“), Windows 8.1 Pro, and Windows 8.1 Enterprise. Each edition of Windows has several enhancements when compared to a lower-costing edition, and while the entire list of enhancements is beyond the scope of this article, you can read the following link to get some more information on the topic, “Compare Windows 8.1 Editions.”
Change Windows Versions Without a Reinstall
When I asked one of our IT people at my current workplace to order a new computer for me and make sure it has Windows 8.1 on it, I did not think I had to specify what exact edition of Windows 8.1 I wanted. However, as it turned out, when I got the computer and I attempted to add it to the corporate network Active Directory domain, I couldn’t. The option simply was not there. At first I couldn’t think of a reason why this would happen, but I am not used to working with lower-end editions of Windows, and simply forgot that Windows 8.1 (not Pro) did not have the option to join to a domain.
The problem is that by the time I found out that what I got was not the Pro edition, I’ve already installed Office and various other line of business applications, and I was kind of pissed off by the thought that I had to reinstall Windows just to get to the right edition level.
So I searched a bit and found a solution. Obviously, those of you that are used to working with OEM and other type of installation environments may already be familiar with this trick, but for the sake of my other readers, I will share it with you now.
During the installation process of Windows 8.1 (or previously – Windows 8 or Windows 7), the entire DVD content is in fact extracted and copied to the local C: drive, where only the relevant bits and parts of the Windows version you chose are used. The right edition (or SKU) of Windows is determined by the product ID or key that you enter at the beginning of the installation process.
Solution
To switch between the editions of Windows you need to use a tool called Windows Anytime Upgrade, which is installed on your computer. You will also need the right product key.
Note: During this process your computer will reboot once automatically. Close any programs and documents you have open in order not to lose anything when it reboots.
- To run it, in the Start page, begin typing Windows Anytime Upgrade, and when the result appears on the right hand side search results, either click Enter or click on the result.

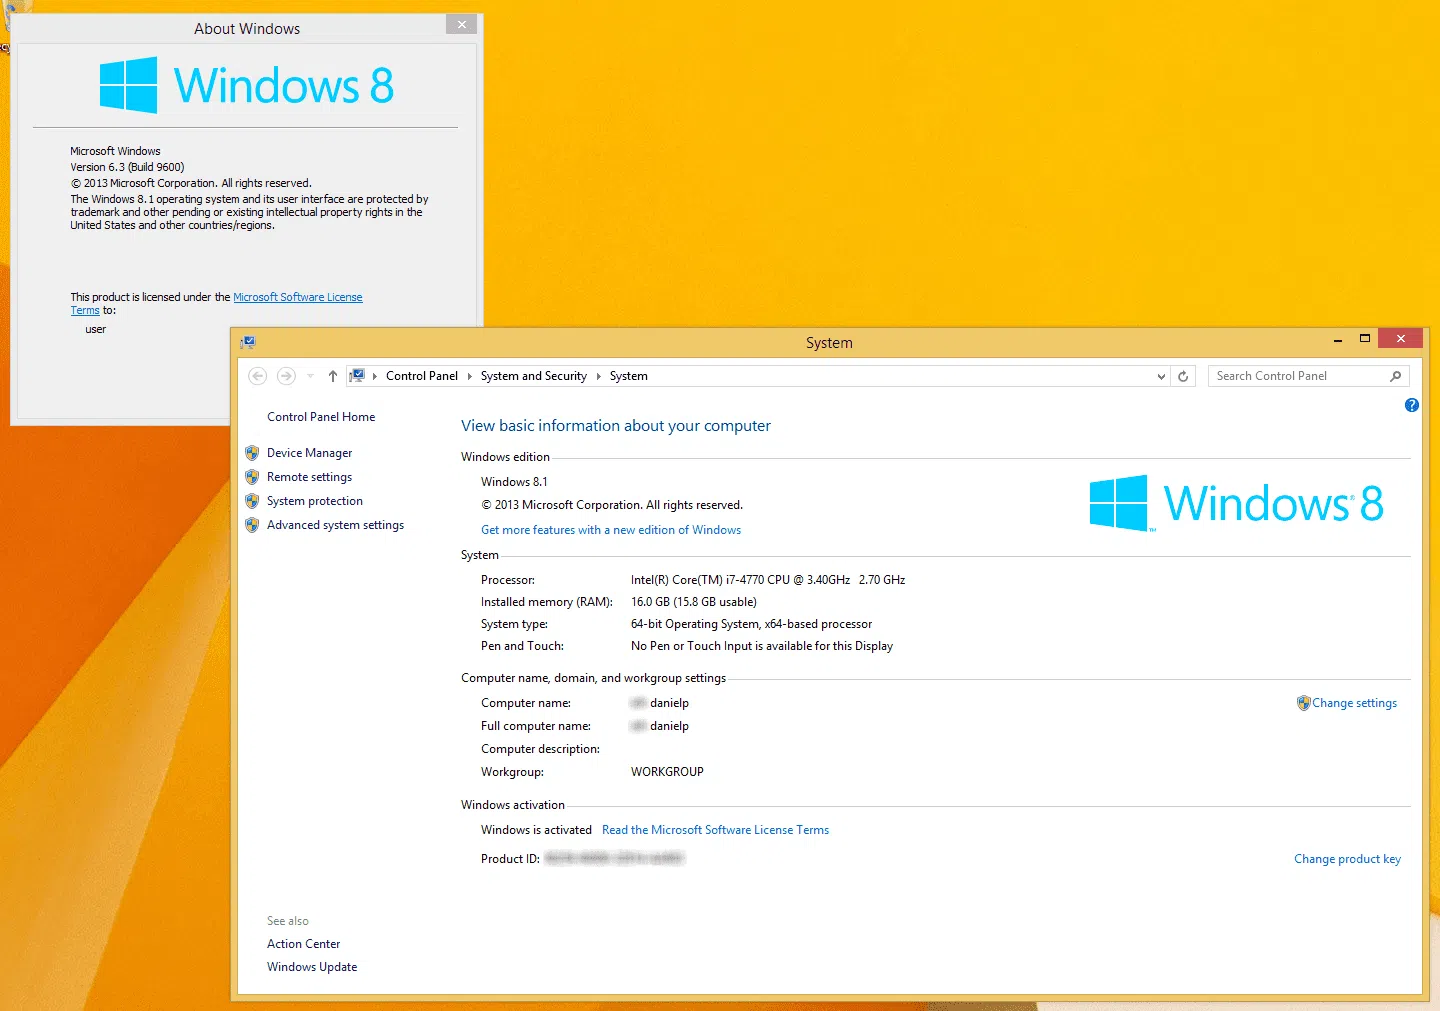
- In the result page, click on Get more features with a new edition of Windows. You could also simply type WindowsAnytimeUpgradeUI.exe in the Run command.

- If a User Account Control window appears click Yes.
- In the Add features to Windows 8.1 window click I already have a product key (assuming, of course, you have one; if not, purchase one).

- Enter your product key and wait for a second. If it’s correct, you will see a message saying “Your key works. Continue when you’re ready”. If it’s not correct, you’ll see a message saying “This key won’t work. Check it and try again, or try a different key”.

- Accept the license terms and click Add features. The progress bar should move around for a few moments.
- The computer will reboot automatically. Do not do anything, as it will add the relevant features and when it’s done, log on normally. You will see the Add features to Windows 8.1 window and it should tell you all is okay. Click Close.
- Check to see that you have the right edition by looking at the computer properties.

Done.

Renowned as the creator of the acclaimed Petri IT Knowledgebase back in 1999 Daniel Petri has become a distinguished figure in the IT realm, recognized for delivering reliable, expertise-driven content. This website - www.petri.com - not only embodie...