Using Remote Desktop Connection Manager
This tool is so cool I thought I’d take the time to tell you all about it.
We as IT experts, are usually required to handle the task of performing a lot of administration and configuration tasks on many servers and workstations. In most cases, these tasks can and should be performed remotely instead of having to actually walk over to that machine. Remote connection mechanisms exist to allow us to perform these tasks. While there are some nice 3rd-party tools such as VNC and its variants, NetOP, Dameware and others, Remote Desktop Connection (also known as RDC) is already built into 99% of Windows systems. Therefore, it is both free to use and provides you with many useful features that are directly related to Terminal Services. It’s easy to configure, only requiring the click of a mouse. Furthermore, it’s pretty secure. In the most recent versions of Windows, it can be used easily over WAN links by deploying both regular TS-based encryption or connecting through a Terminal Server (Remote Desktop) Gateway by using SSL (similar to what’s used when connecting your Outlook client to your Exchange servers with Outlook Anywhere – or RPC over HTTPs).
So, we’ve got the capability to remotely connect to our systems, but what tool shall we use for that task? The built-in RDC client – mstsc.exe – is all we need, and it’s already installed by default on all modern versions of Windows. Updates for the client are being made available through Windows Update. However, the mstsc.exe client is limited in capability when you need to connect to many remote machines. In order to remember the proper credentials and settings for each connection, you’ll need to create many shortcuts to many mstsc.exe instances, each with its settings and even saved credentials. This makes management of multiple connections a bit cumbersome.
I’ve used some 3rd-party tools that allow saving of multiple remote desktop session shortcuts and settings. However, most tools that were once freeware are no longer free, and others have grown into big, bulky and sometimes uncomfortable to use applications.
Enter Microsoft Remote Desktop Connection Manager. Currently (as of June 2010) it’s running version 2.2, and it’s an uber-cool tool that you MUST use! RDCMan, as it’s known for short, manages multiple remote desktop connections. It is useful for managing server labs where you need regular access to each machine. It is similar to the built-in MMC Remote Desktops snap-in, but much, much more flexible.
First, download it from here:
Remote Desktop Connection Manager
Download Microsoft Remote Desktop Connection Manager (RDCMan)
Supported Operating Systems: Windows 7; Windows Server 2003; Windows Server 2008; Windows Server 2008 R2; Windows Vista
Users using Windows XP or Windows Server 2003 will need to obtain version 6 or newer of the Remote Desktop Connection client software:
Download details: Remote Desktop Connection 7.0 client update for Windows Vista (KB969084)
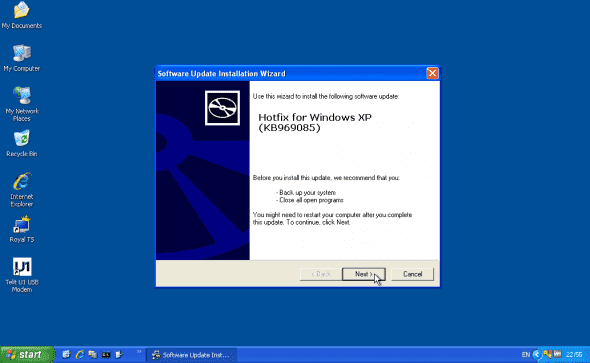
Download details: Remote Desktop Connection 7.0 client update for Windows XP (KB969085)
(The Windows XP version requires Windows XP Service Pack 3)
After downloading, if you’re running Windows XP (like I am in this example), make sure you’ve got RDC 7. If not, you need to install it from the above link.
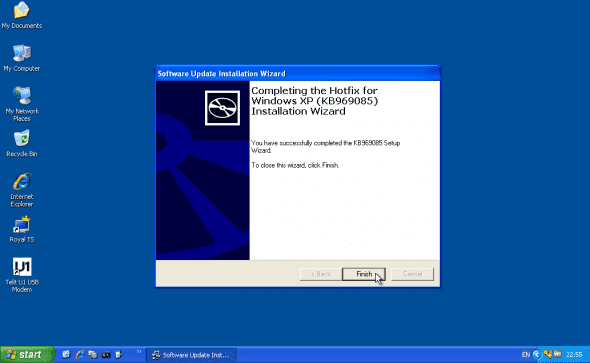
This does not require a reboot.
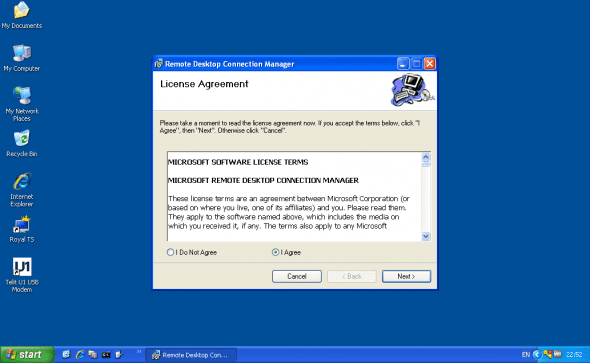
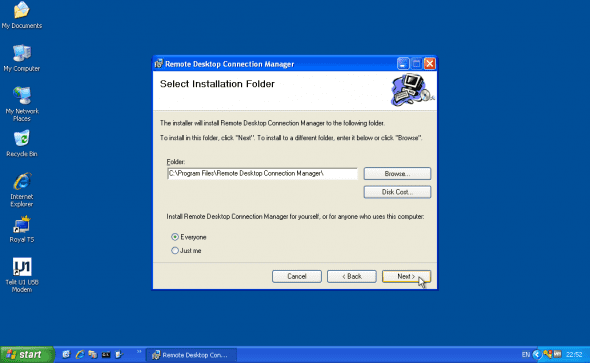
Now we can install RDCMan.
Click Next and then Finish.
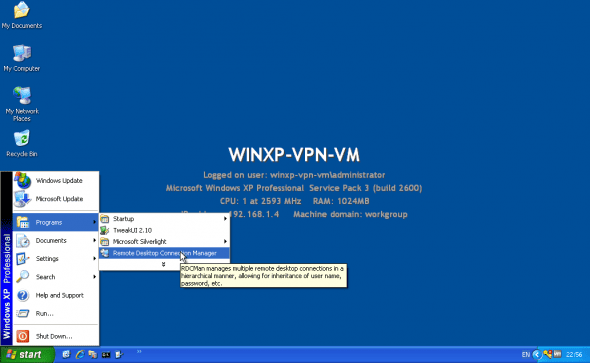
Now, run RDCMan from the Start menu.
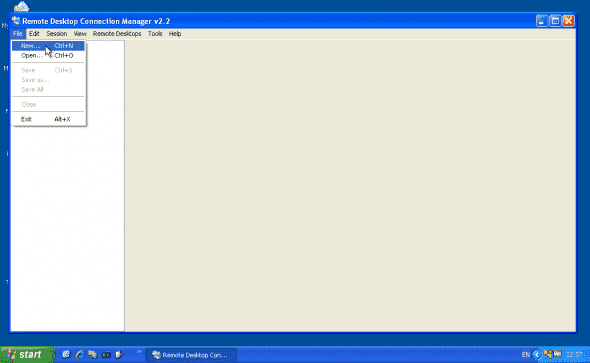
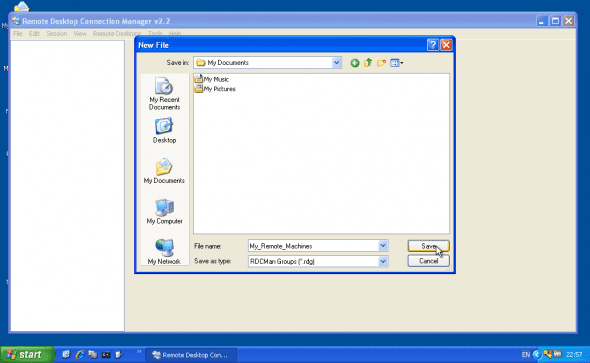
First thing you want to do is to create a new connection file. Click on “File” > “New” and select the name and location of the file. You can later take this file from one computer to another.
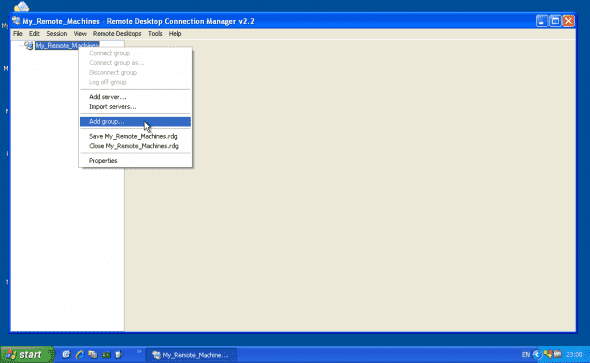
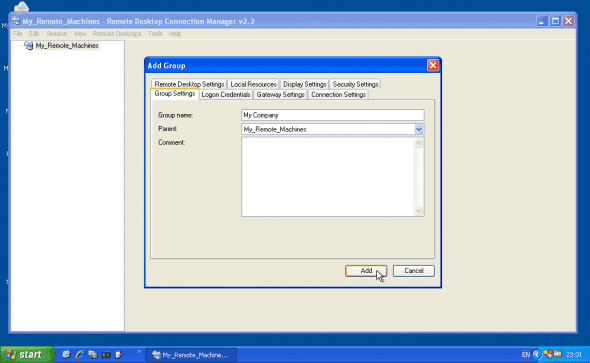
Once the connection file is in place, create a new group by right-clicking on the connections icon and selecting “Add group”.
Enter a name for the group. This name can later be changed.
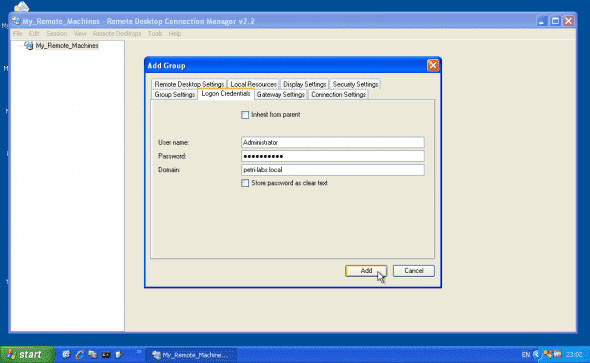
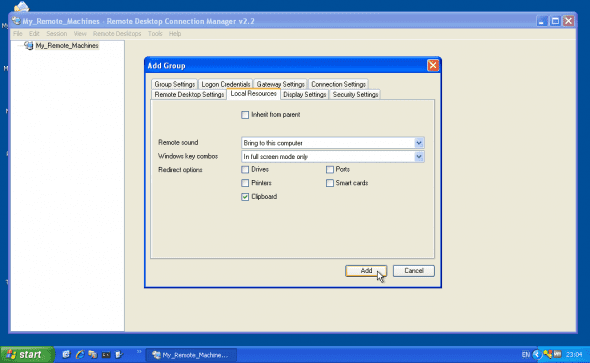
What’s nice about RDCMan is that the parent connection file can be configured with master properties such as logon credentials. Once configured, these settings are automatically inherited to the child objects, in this case to the group. The group then passes on these settings to the individual machines. In this case, I wanted to configure my group to have other credentials than the default ones. Therefore, I unselected “Inherit from parent” in the “Logon Credentials” tab and filled in my details.
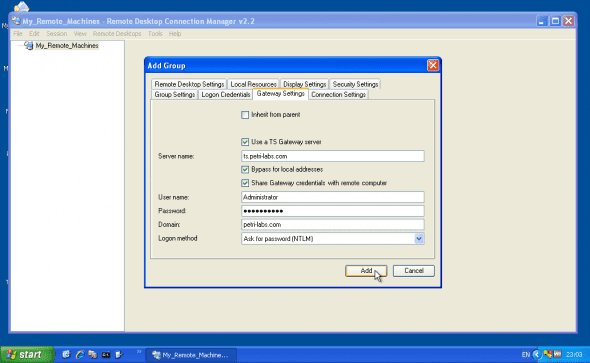
Take a moment to look at the other tabs. We’ve got TS (or RD) Gateway settings, which allows you to connect to internal machines by using one externally available TS (or RD) Gateway.
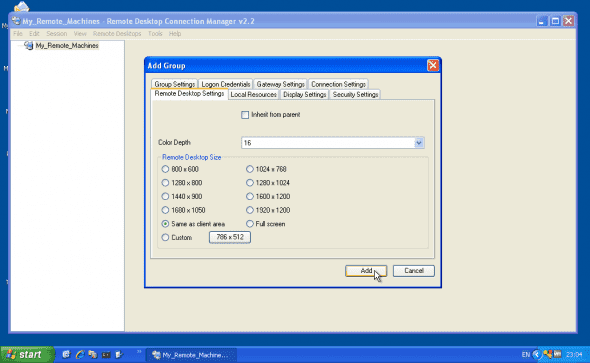
We’ve got screen resolution settings:
We’ve got remote disk, printer, ports and clipboard settings. By default, only the clipboard is enabled.
And so on.
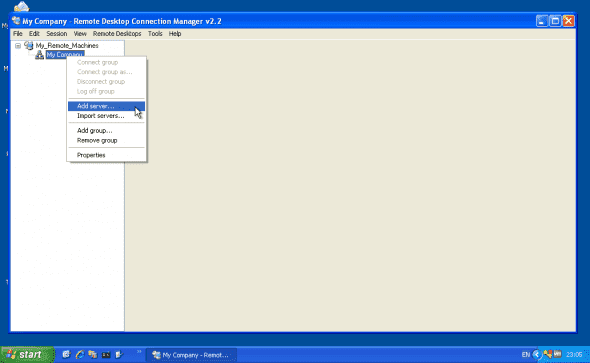
Next, add the machines you want to connect to. Right-click the group and select “Add server”.
You can also import the server list from a text file.
Enter the server’s name, IP, and any other setting you need which you do not want to be inherited from the parent group.
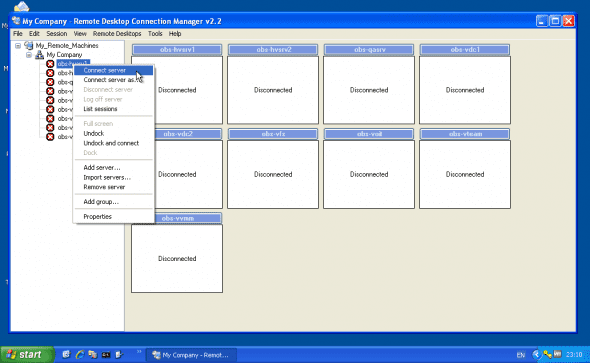
Once all servers are added, you can right-click a machine name and select “Connect server”. You can also double-click it’s thumbnail in the main pane.
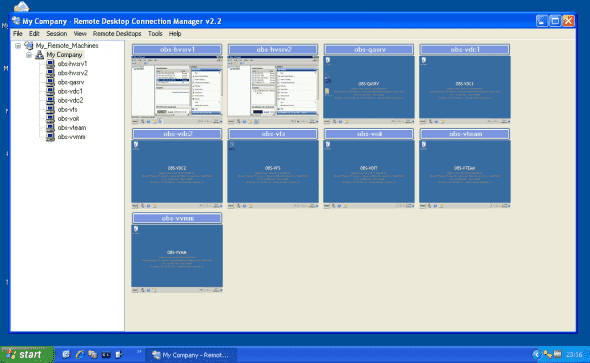
The server’s thumbnail is now updated and it shows a realtime image of what’s seen on that server’s desktop.
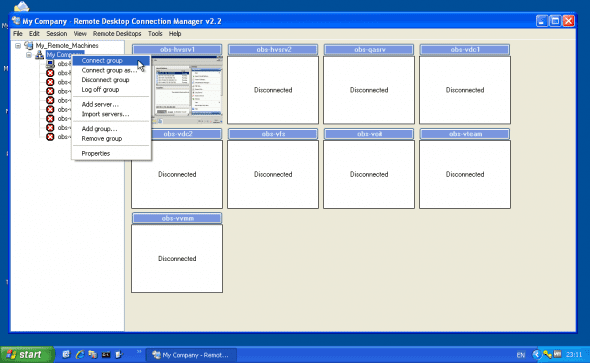
You can also connect to the entire group at once. Right-click the group name and select “Connect group”.
Immediately, all machines are now connected.
You can double-click on a thumbnail to expand the connection, or even go into full-screen.
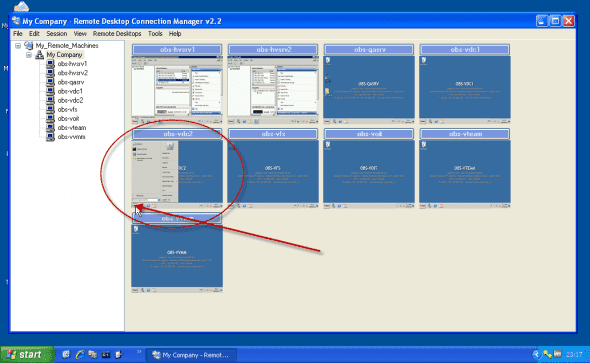
It turns out that the thumbnails are view-only, and can actually be clicked upon. See how I opened one of the server’s Start menu by clicking on the miniaturized Start button.
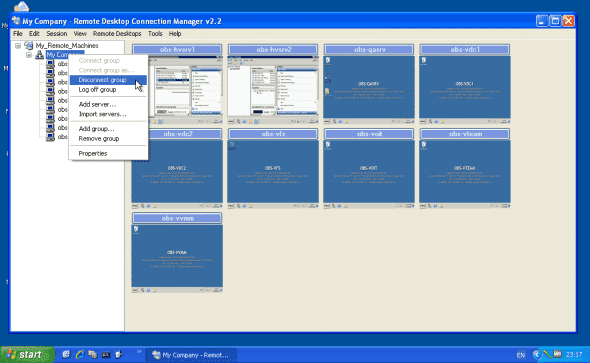
When done, you can disconnect each machine, or the entire group at once.
Don’t forget to save the connection file before closing RDCMan!
Cool!


