How to Join Windows Server 2022 Core to Active Directory
In this post, I will show you how to join Windows Server 2022 Core to an Active Directory (AD) domain. So, if you are you looking for more wholesome Windows Server 2022 goodness, you came to the right place!
Joining Windows Server Core to an Active Directory domain lets you manage the security of the server centrally. Instead of creating local accounts and managing them on your Server Core device, you can use a directory services solution like Active Directory, to manage user access and security settings for all the resources on your network.
There are several methods you can use to accomplish joining Windows Server Core to an AD domain. Microsoft…remember? Here are the high-level options:
- Log in locally and use Sconfig
- Use Windows Admin Center (Remote)
In my previous post, How to Install Windows Server 2022 Core, I described and demonstrated how to create a new Hyper-V virtual machine (VM), install Windows Server 2022 using the Server Core setup option, and perform a few ‘post-setup’ tasks.
Because it’s relatively straightforward to join and disjoin Windows Server from an AD domain, I’ll show you how to accomplish the task using each of these methods. Let’s start with SConfig.
Windows Server Core AD domain join using SConfig
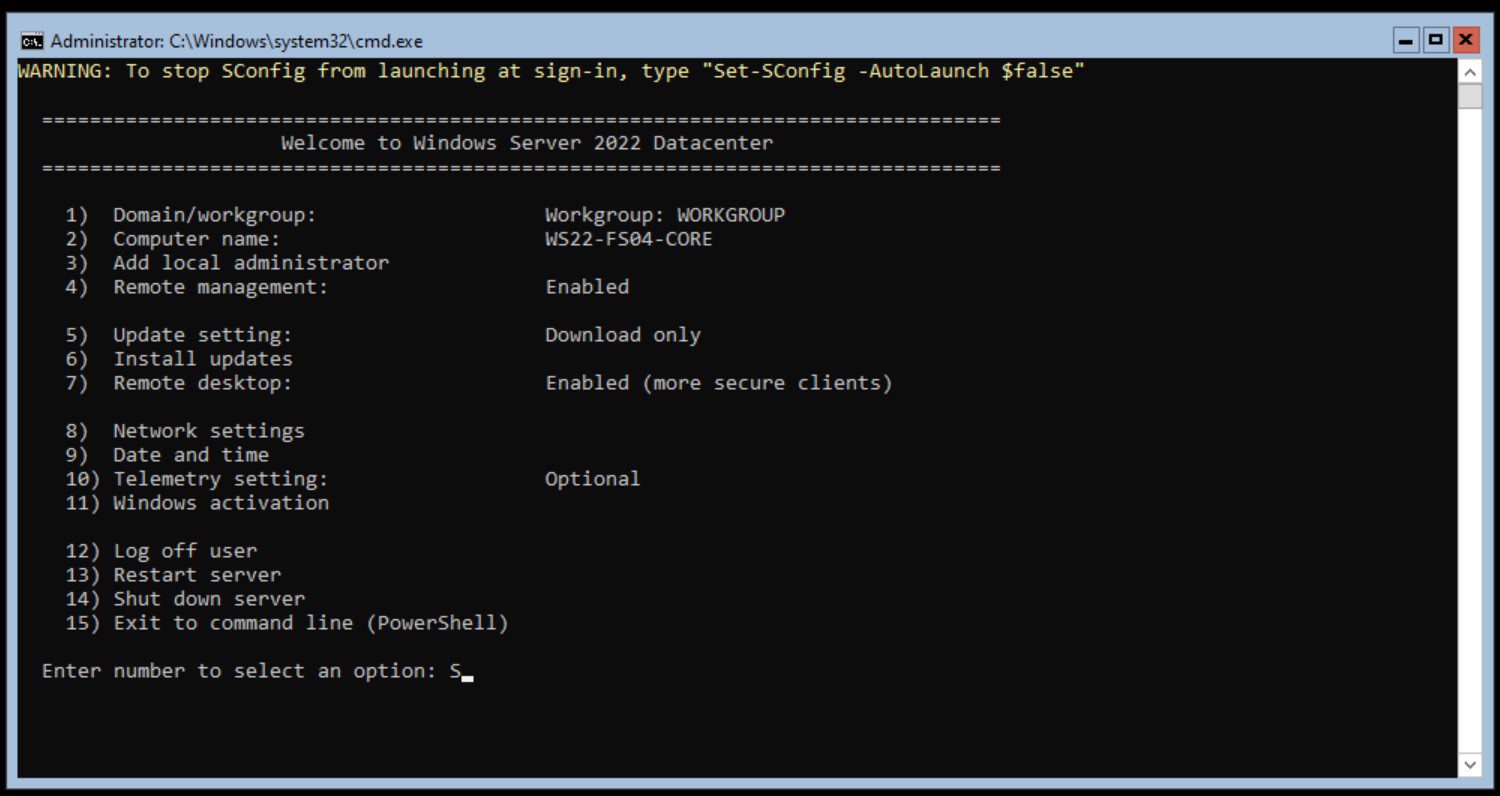
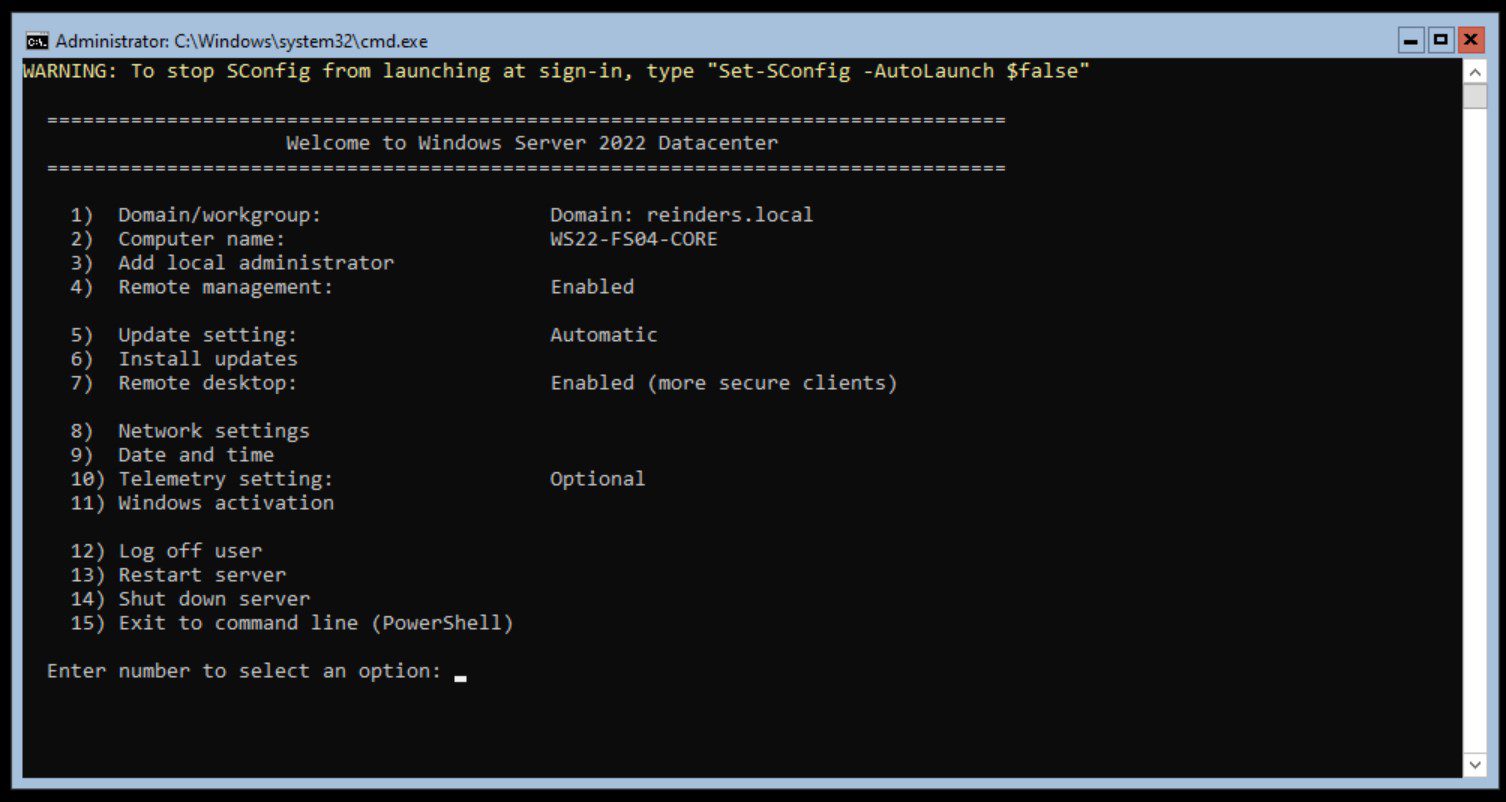
SConfig is installed automatically when you set up any recent Windows Server operating system using the ‘Core’ option. (Actually, SConfig is installed in Windows Server even with the ‘Desktop Experience.’ Try it out!) By default, in Windows Server 2022, it will load automatically when you log in interactively on the server, or via Remote Desktop.
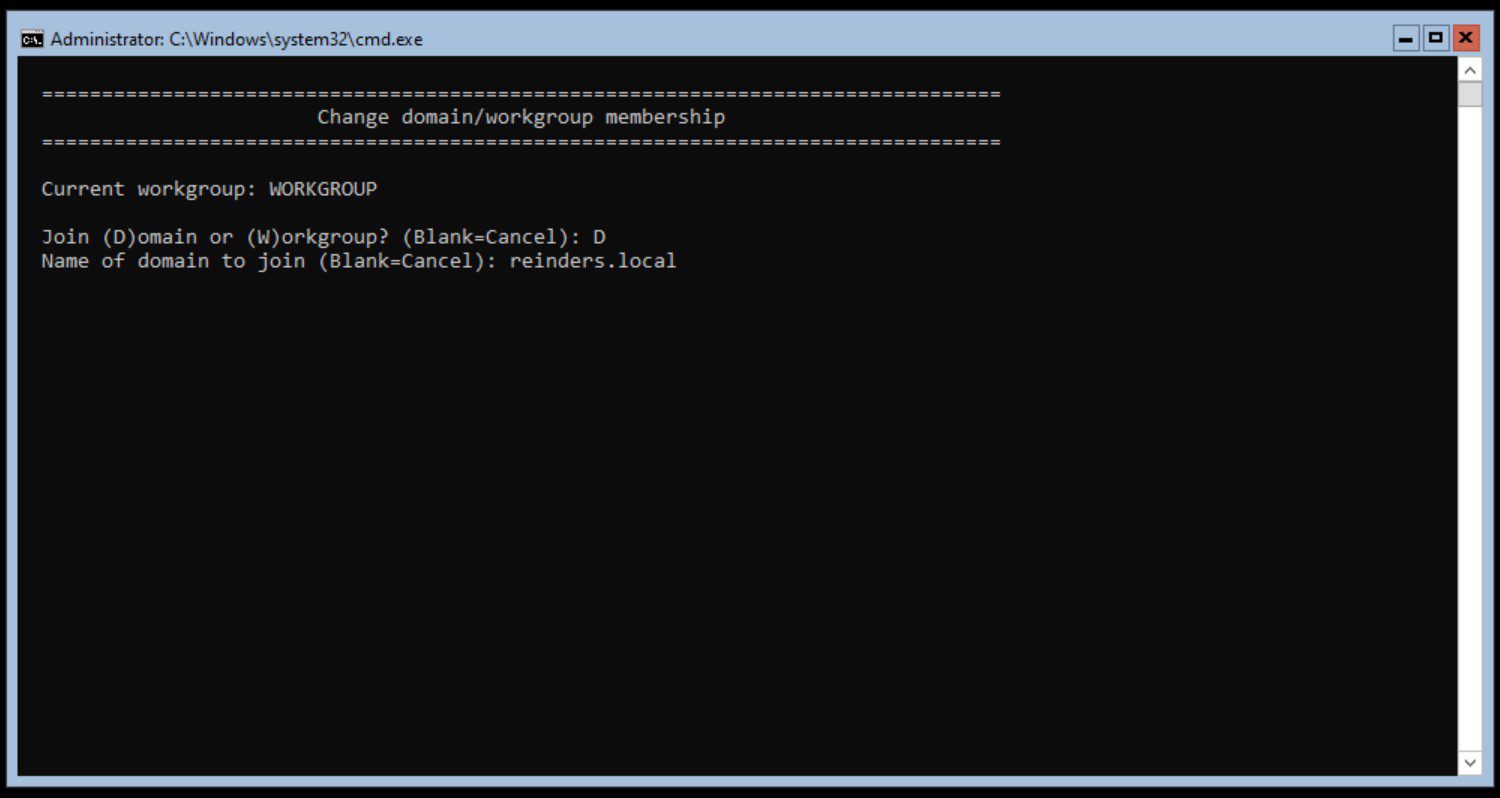
We can start this process by choosing option 1) Domain/workgroup. Then, ‘D‘ for Domain, and then enter your fully-qualified domain name (FQDN) (reinders.local).
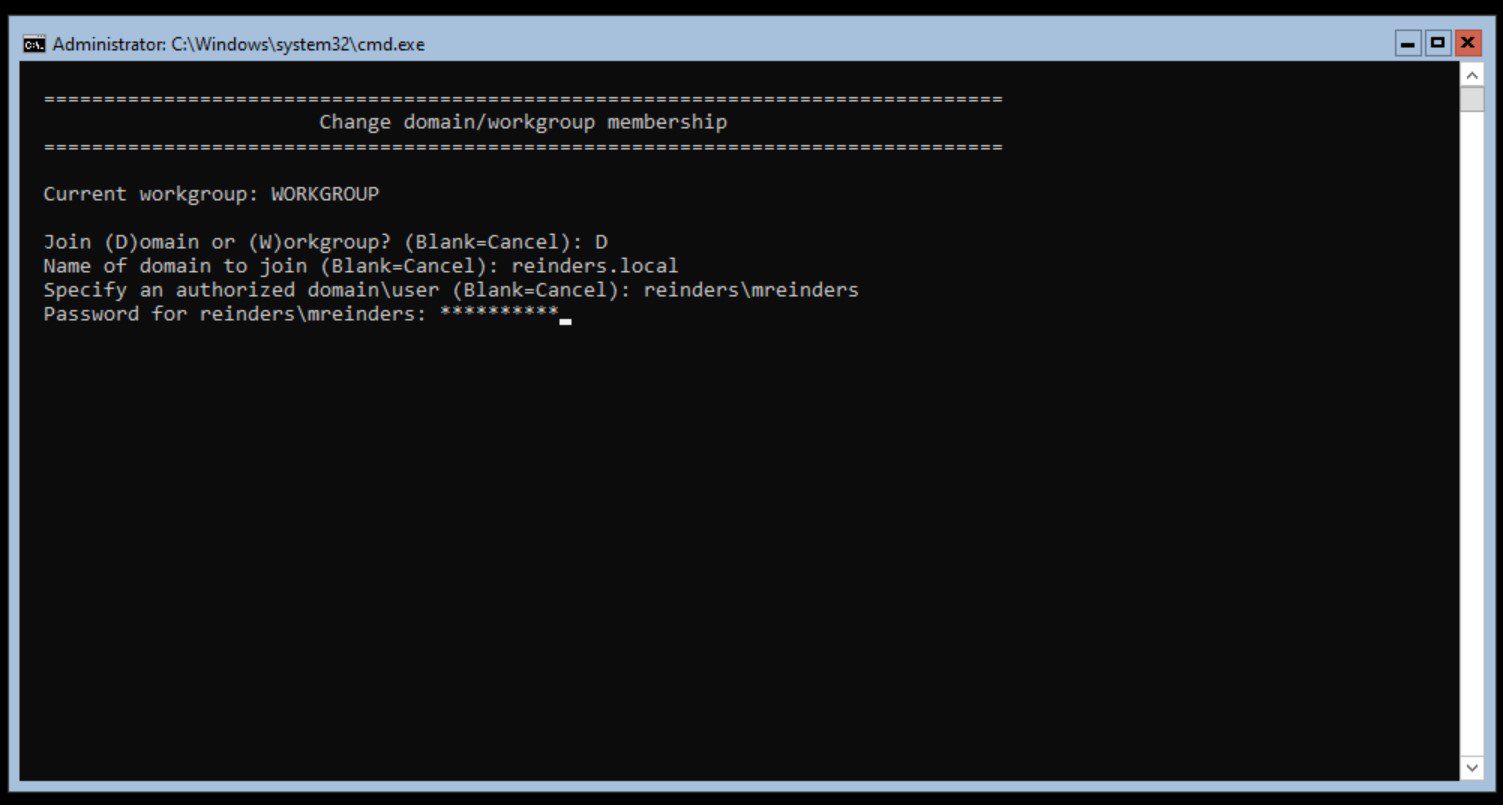
Sconfig will then prompt for a user account with permissions to join a computer to the domain. Enter the info as appropriate.
We’ve joined! It asks us if we want to rename our computer. Because ours is a good name, I’ll say (N)o.
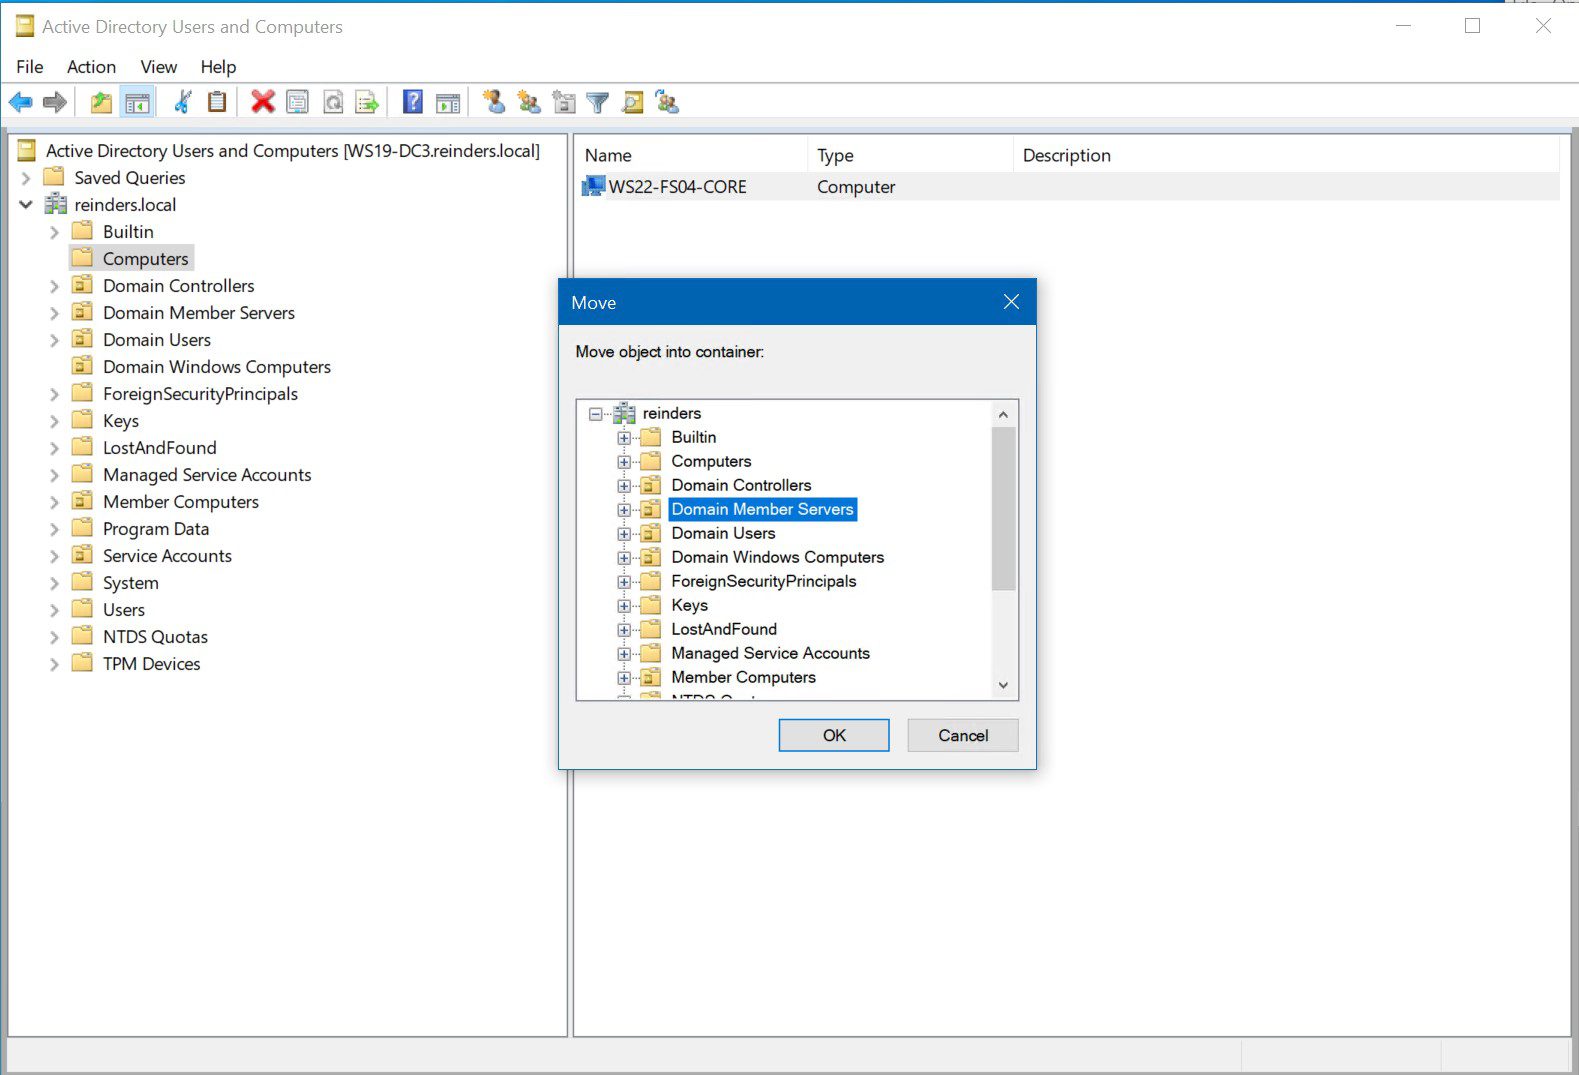
Now, before we reboot, I’m going to move the computer object from the default ‘Computers’ OU in AD to my ‘Domain Member Servers’ OU. That way, it will receive any and all appropriate Group Policy and config information when it reboots.
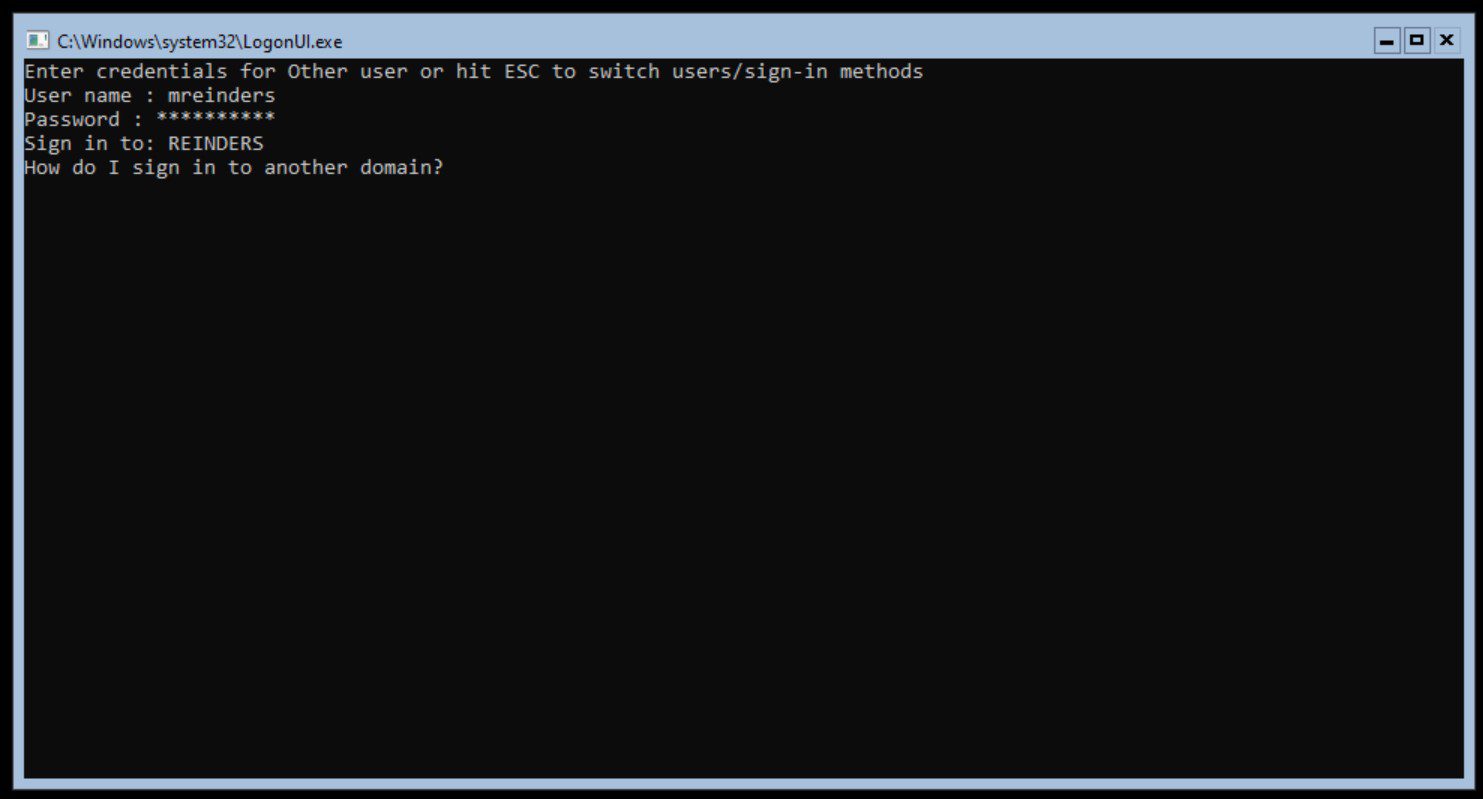
After the reboot, I pressed Esc twice to engage the option to log into the server as a domain user. I then chose Other user and entered my domain credentials.
It worked and SConfig now shows we’re joined to the domain!
Join Windows Server 2022 Core to AD using Windows Admin Center
So, we’ll do things a little differently here – utilize a different flow. I will use Windows Admin Center to disjoin the server from my domain. Then, I’ll show you how to rejoin the domain. So, we’ll catch a glimpse of each tool performing a different part of the join/disjoin process!
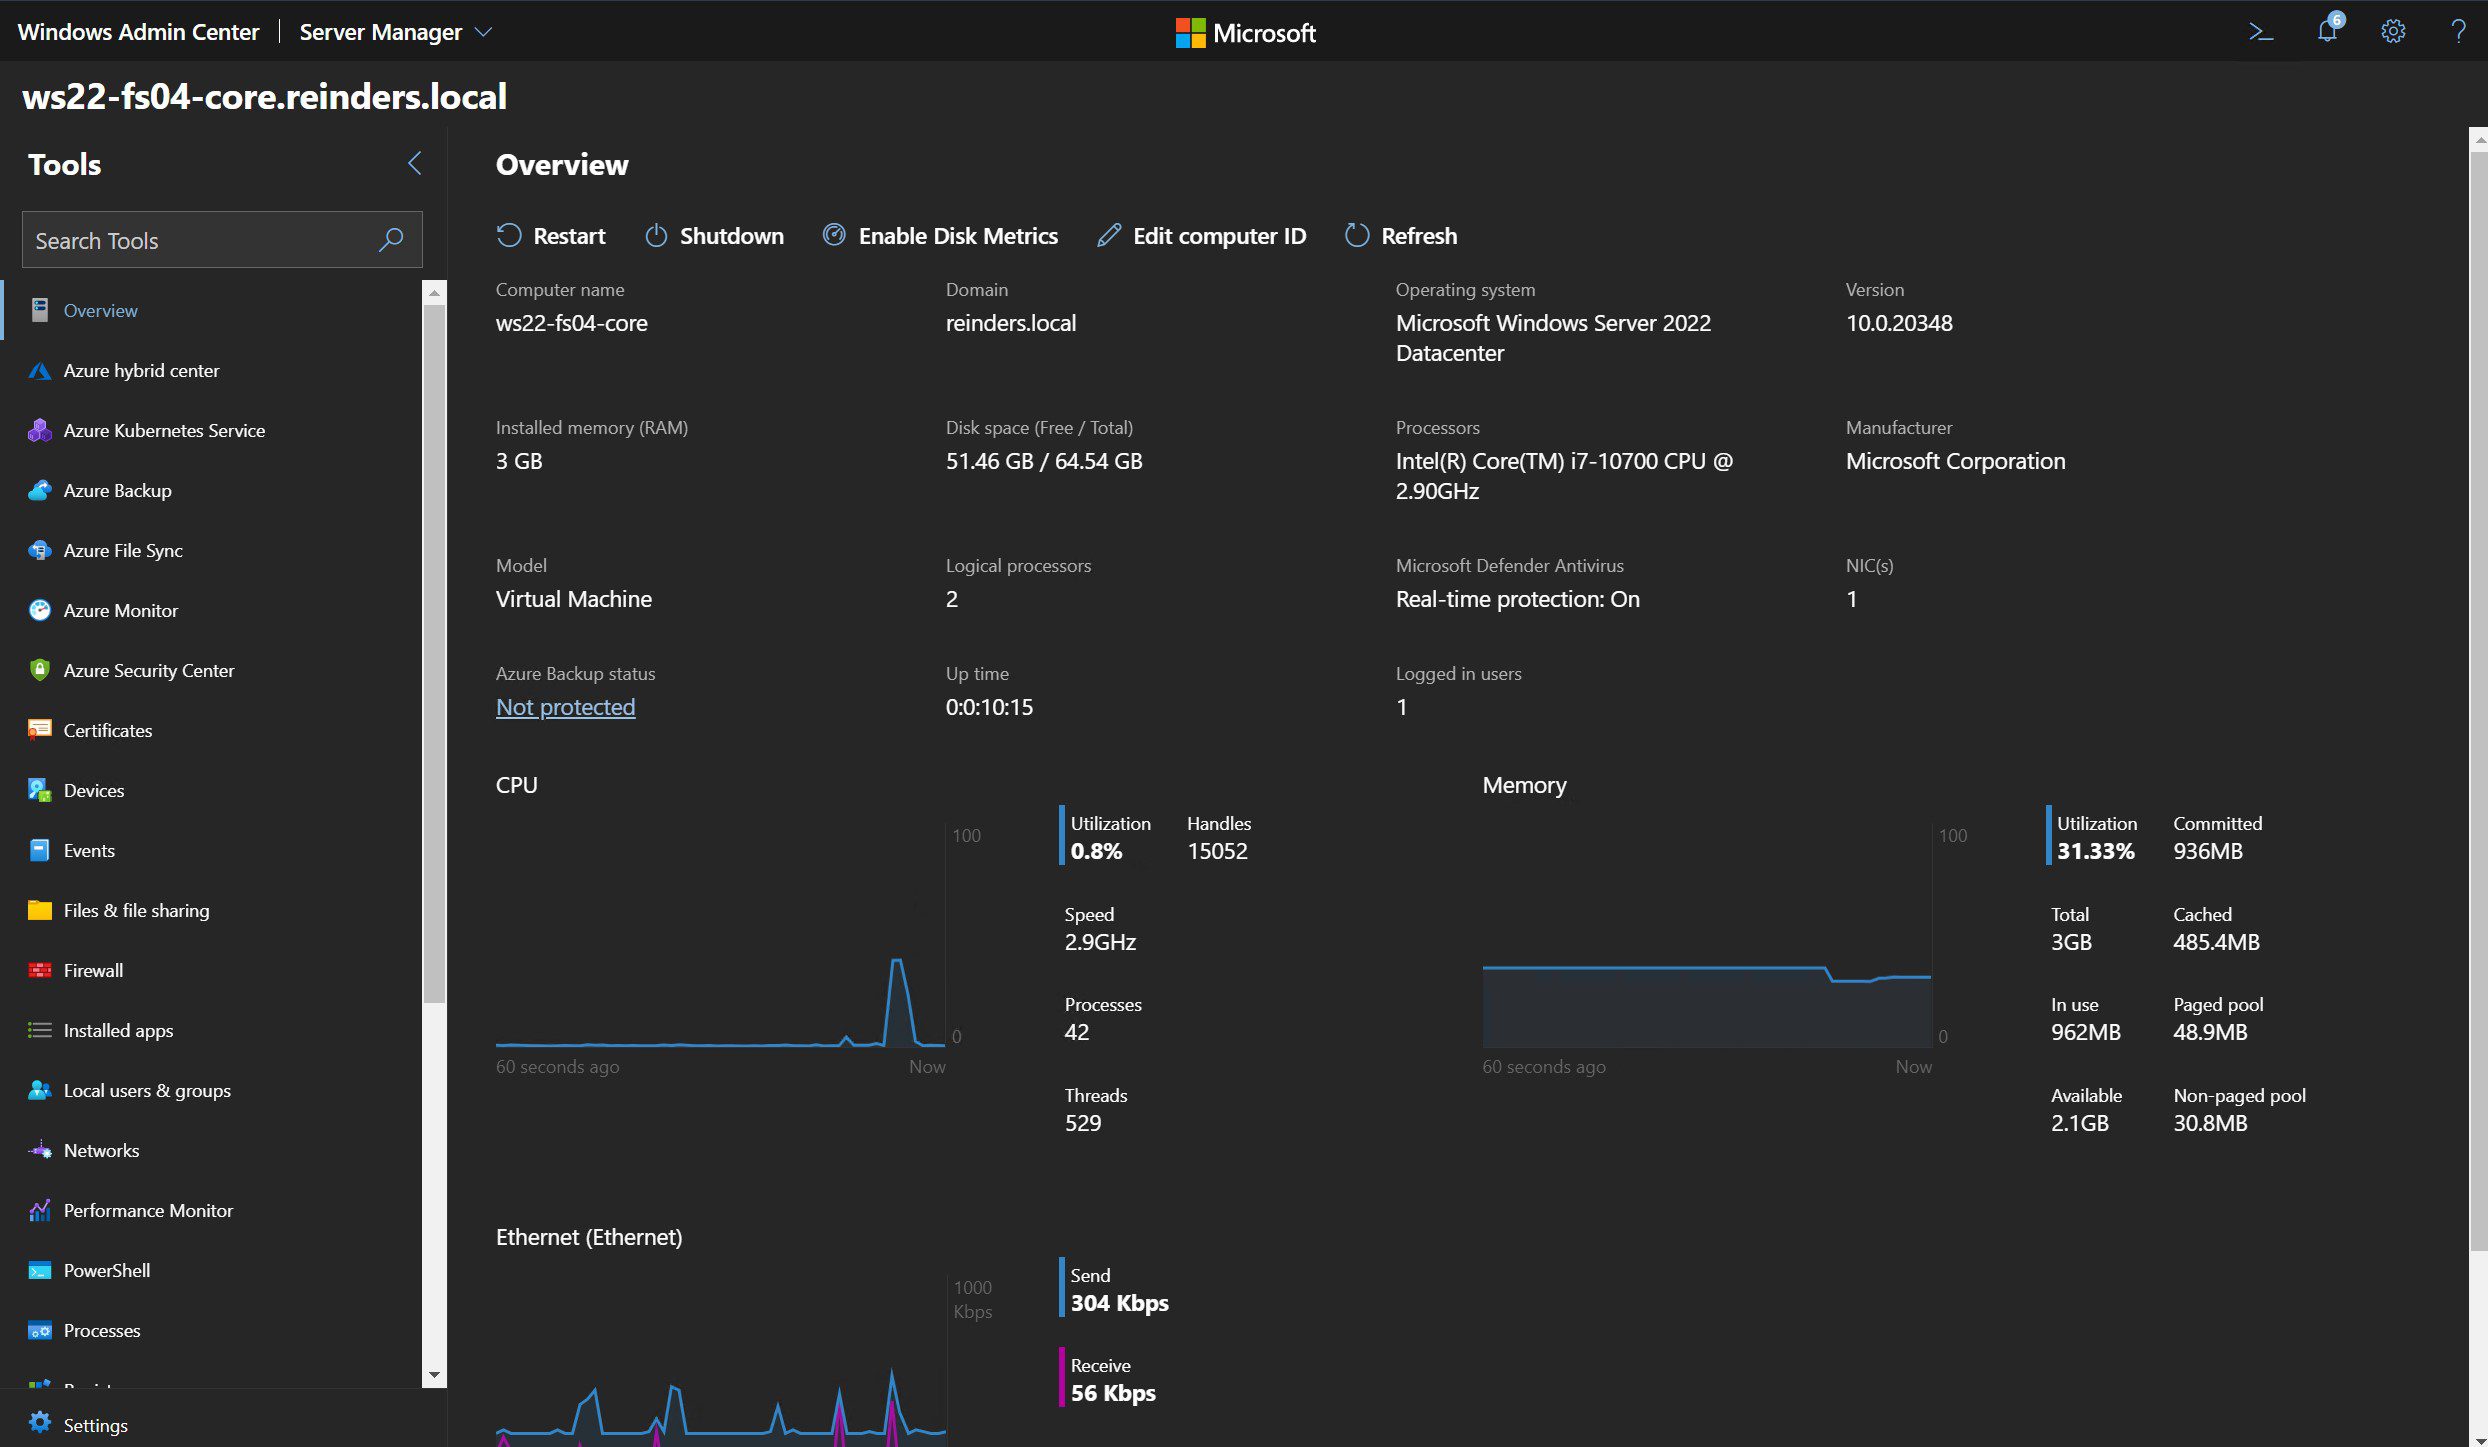
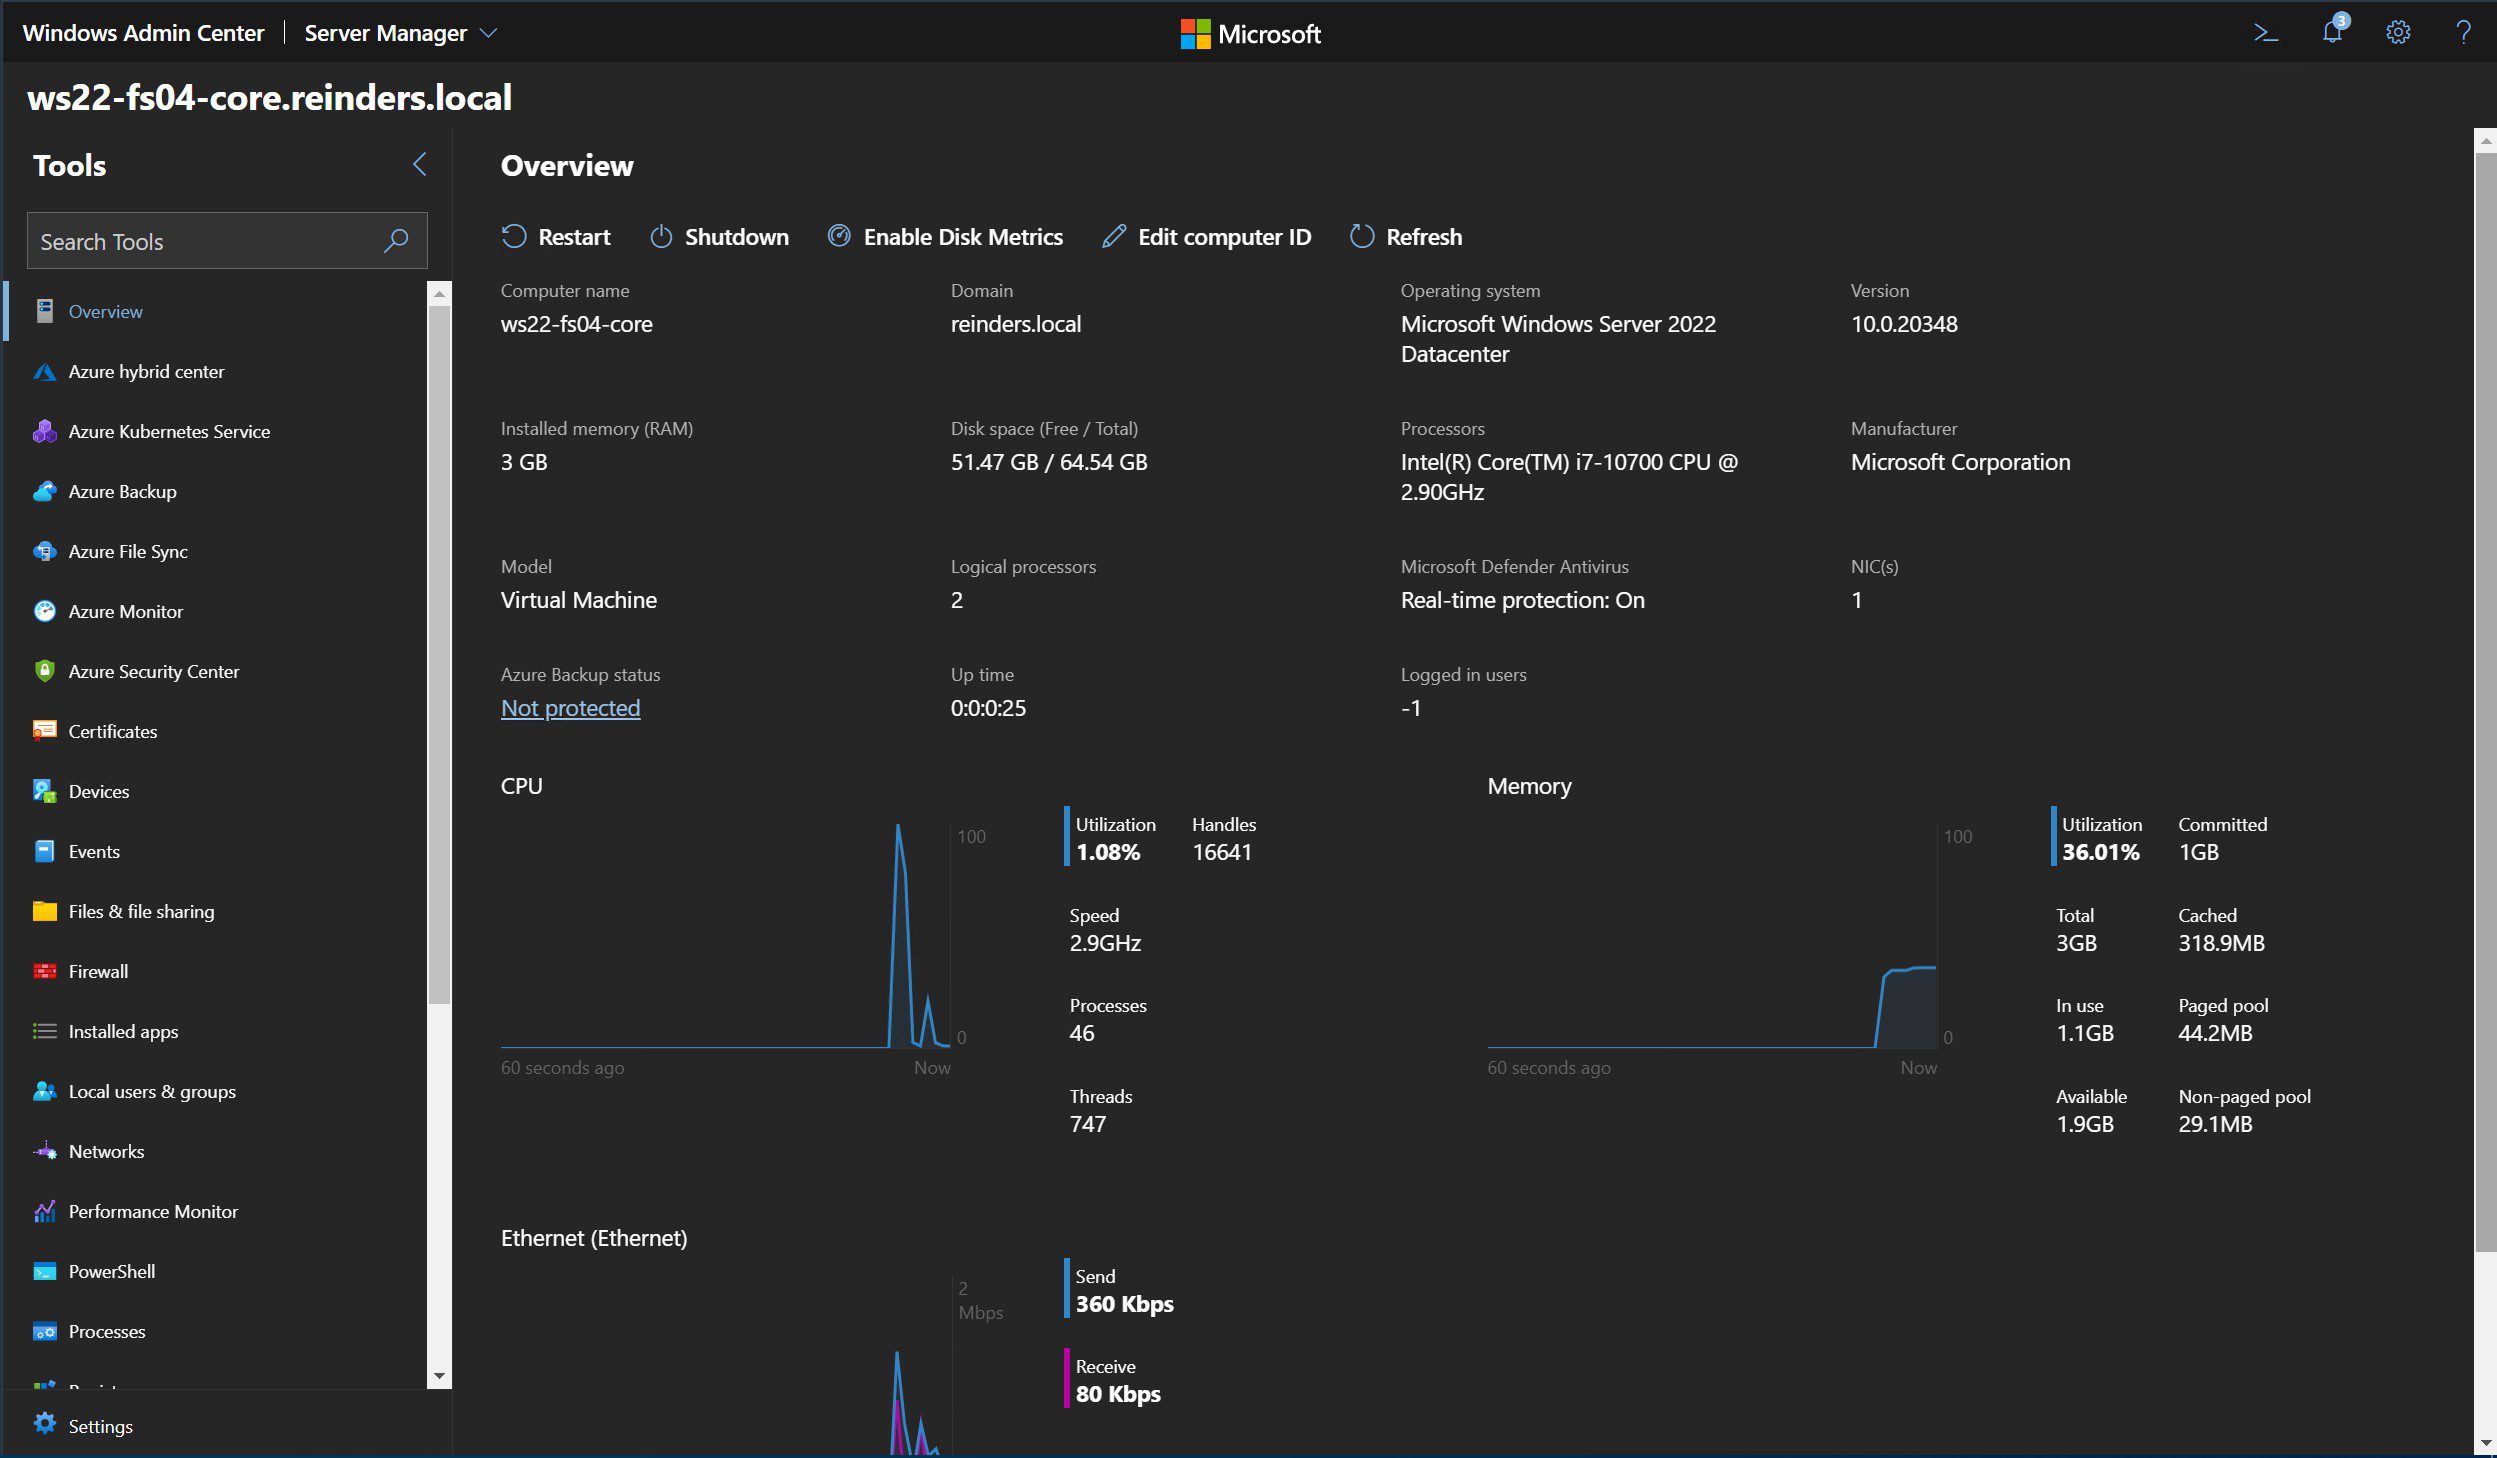
On my Windows 10 client PC, I’ve launched WAC and clicked on our new server.
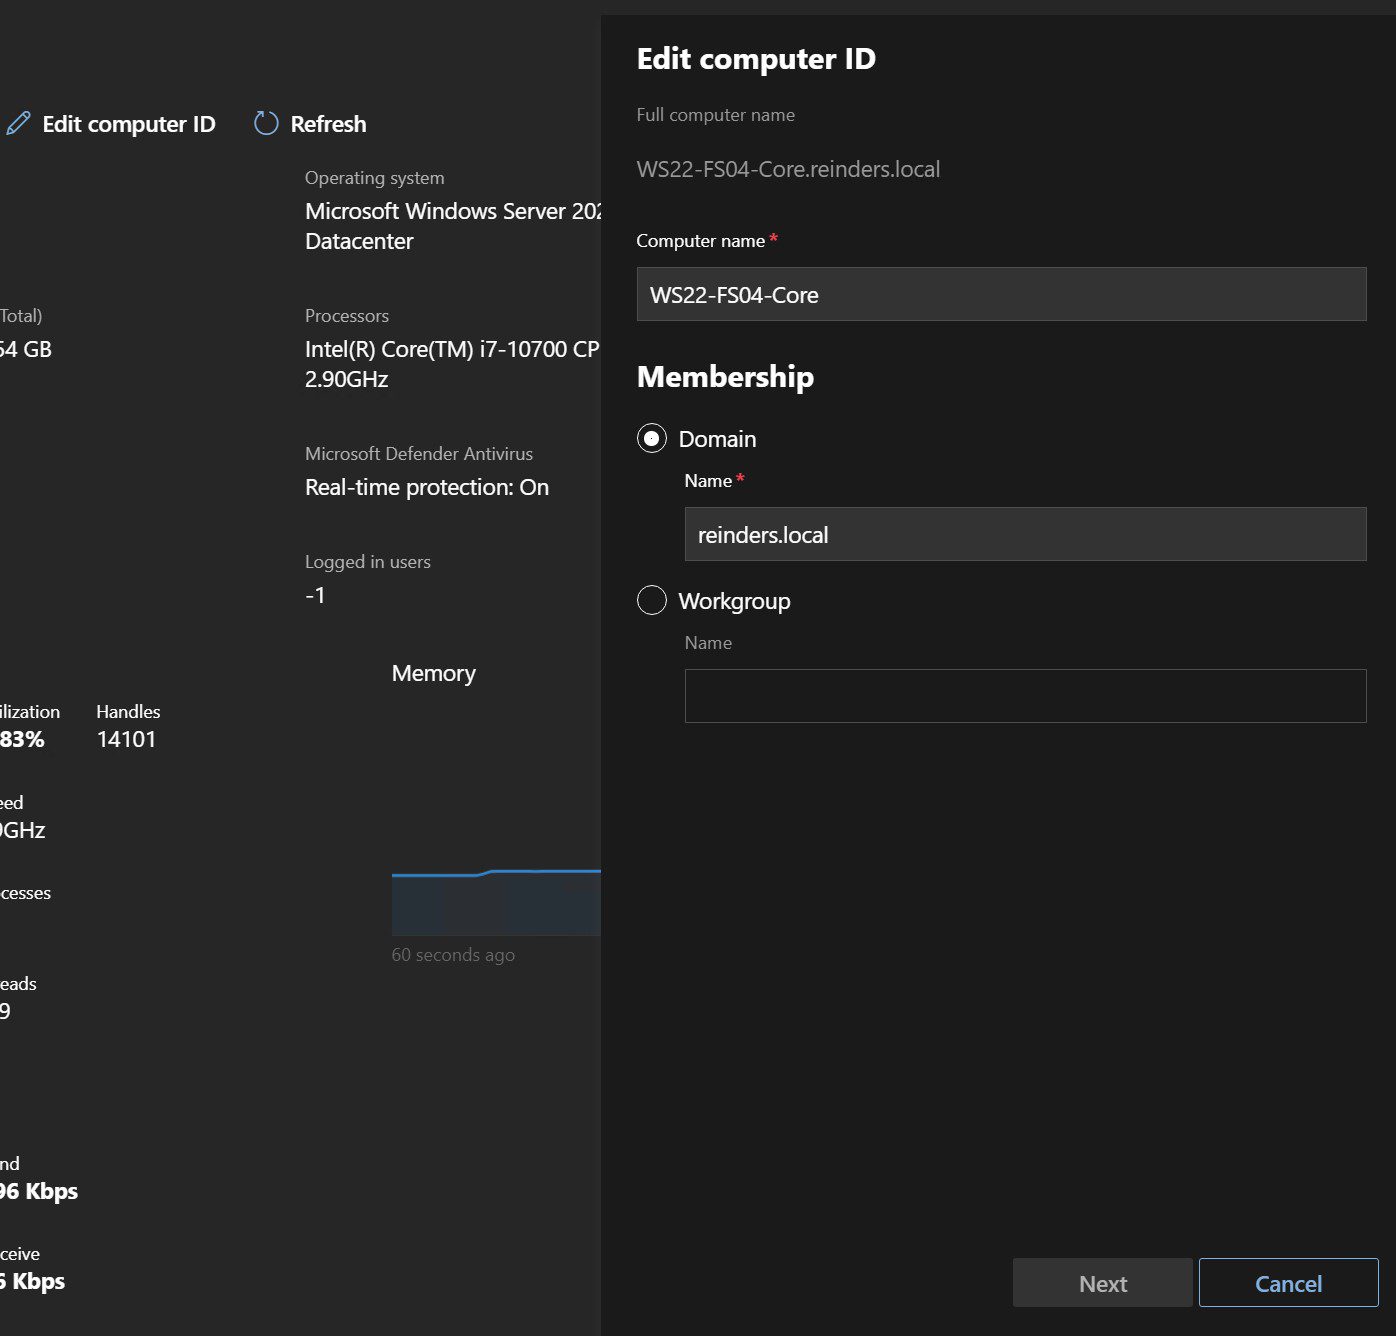
So, not completely intuitive wording (I should file feedback on this one), but if you click ‘Edit computer ID‘ across the top, a new sidebar will open on the right.
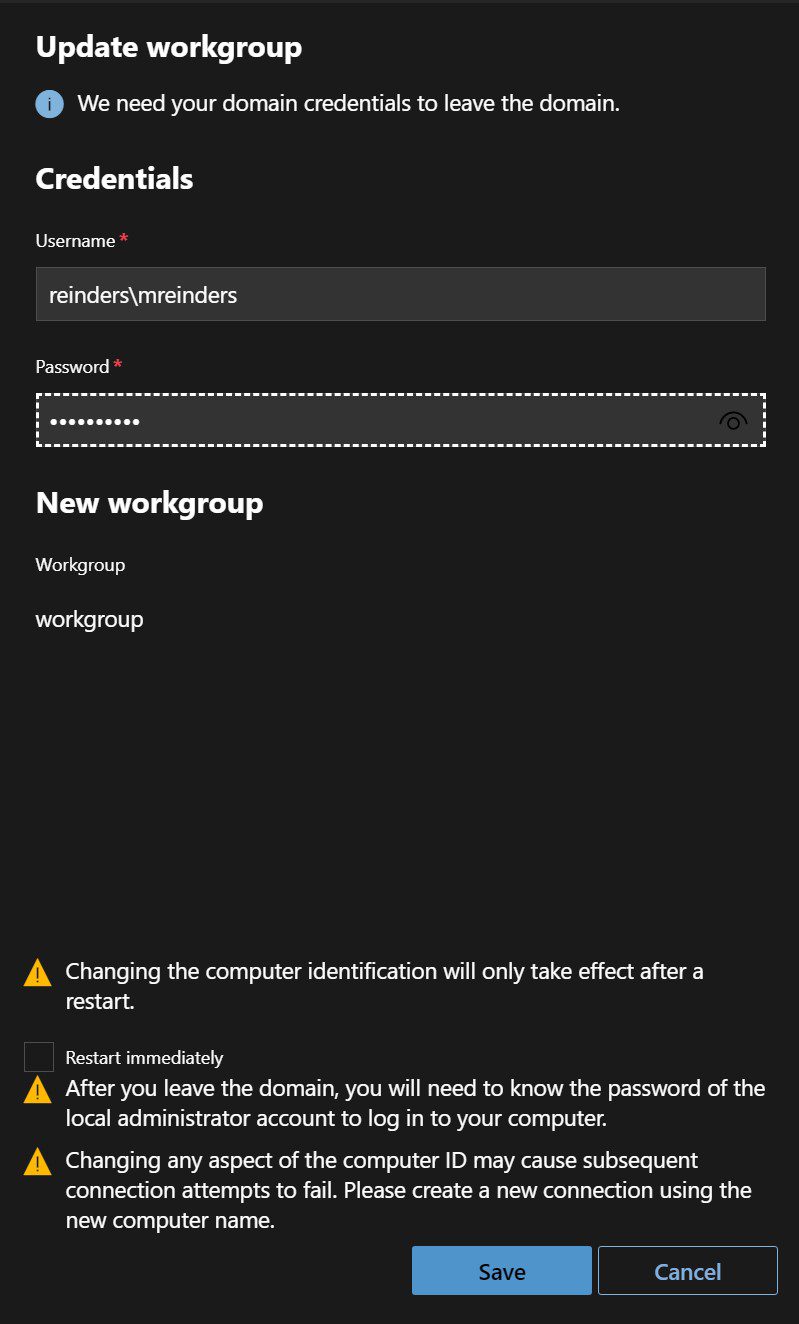
I chose the Workgroup option, entered the name of ‘workgroup‘. I pressed OK and it prompted me for permissions to leave the domain. I entered the credentials and clicked Save. I then rebooted the server.
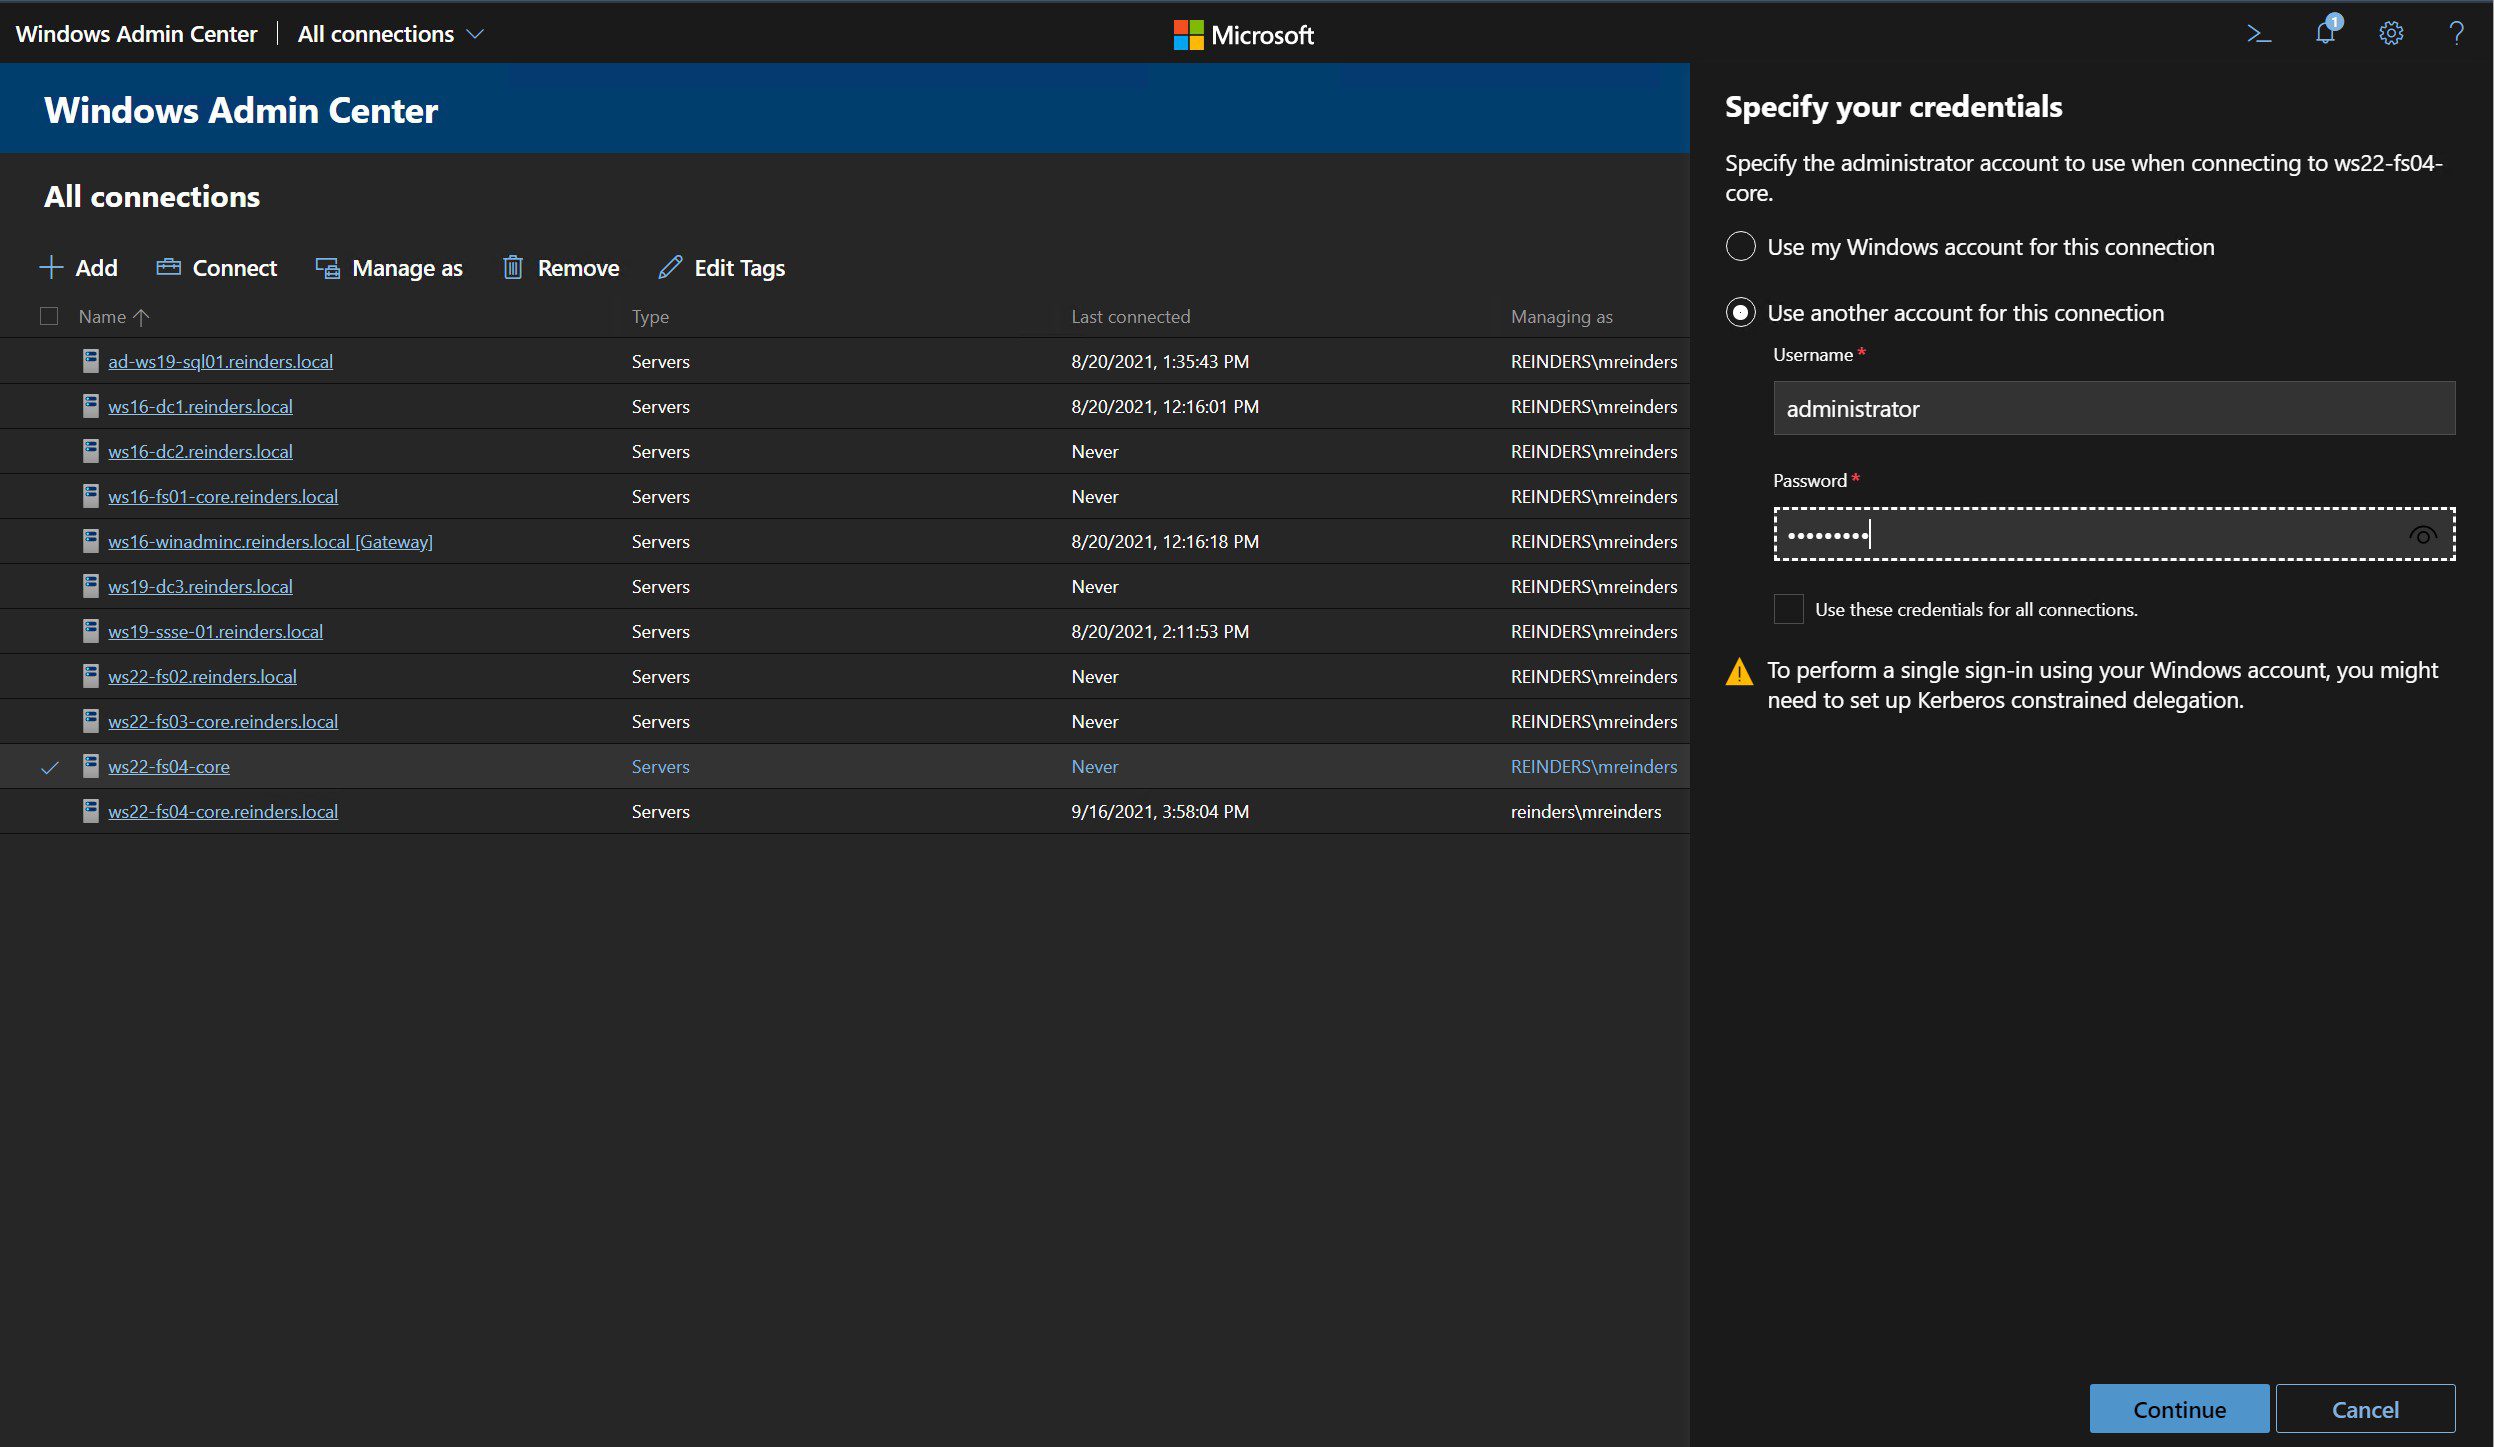
Alright, the server is now back in Workgroup mode. I am going to create a new Server connection in Windows Admin Center because I need to use the local Administrator credentials to talk to this server. I manually added the server’s hostname, then selected it on the left in the list of connections, clicked ‘Manage as‘ on top, and entered my local Administrator credentials.
After that was completed, I went through the same motions by clicking ‘Edit computer ID’, chose Domain, entered all the pertinent info, rebooted the server, and voila, we are back!
You can see there are several methods for joining your shiny new Windows Server 2022 Core server to your domain. There are also PowerShell commands that allow you to perform similar steps. Maybe another post is in the works…


