How to Install the Windows 10 Technical Preview
So you came here because you want to learn how to install Windows 10. We’ve already posted articles on how to run the Windows 10 Technical Preview in a VMware Workstation virtual machine, as well as in a Hyper-V virtual machine. But we haven’t posted a detailed how-to on the installation itself, so enter this how-to guide.
Note: This article was written in November 2014. At this point, Windows 10 is in pre-beta technical preview format, meaning that it is just a conceptual demo of how some of the new OS features and interface will look like. It likely will change between what it is now and what the released to manufacturing (RTM) version will look, feel, and how it will work. Therefore, whatever we write in this article may likely be void once we approach the official Windows 10 OS release date sometime in mid-2015.
Windows 10 Technical Preview: Install at your own risk
It is also important to note that at this point of writing, the Windows 10 technical preview is not for everyone. Although everyone may join, download, and install it, you must know your way around a PC, know how the OS works, know what to expect and how to troubleshoot issues if they don’t work as expected to really benefit from the technical preview. Microsoft clearly states that this is a buggy version, and you need to be prepared in case something stops working.
You should not install this version on production computers or on computers that you don’t feel comfortable about losing the data on. Unexpected computer crashes could damage or even delete your files, so you should back up everything before starting, unless you’re installing on a brand new test machine.
Bottom line is if you care about your computer, it’s data and settings, then do not install this version. Finally, while upgrading an existing Windows 7 or 8 computer can be accomplished, you may not want to upgrade your production computer because of all the reasons noted above. Use a different computer — either physical or virtual — and play with the new OS.
Finally, a big warning about security and privacy. In this build, Microsoft can and probably will inspect your files, and even gather keylogger data and application usage statistics and other information. This is clearly listed in the end-user license agreement (EULA). If the privacy of your system files is a concern, then do not install this build on a production or personal computer.
The good part is that with each operating system, Microsoft streamlines the installation process to be much easier and faster. It’s likely that on a decent computer, installing the Windows 10 Technical Preview will take you less than five minutes.
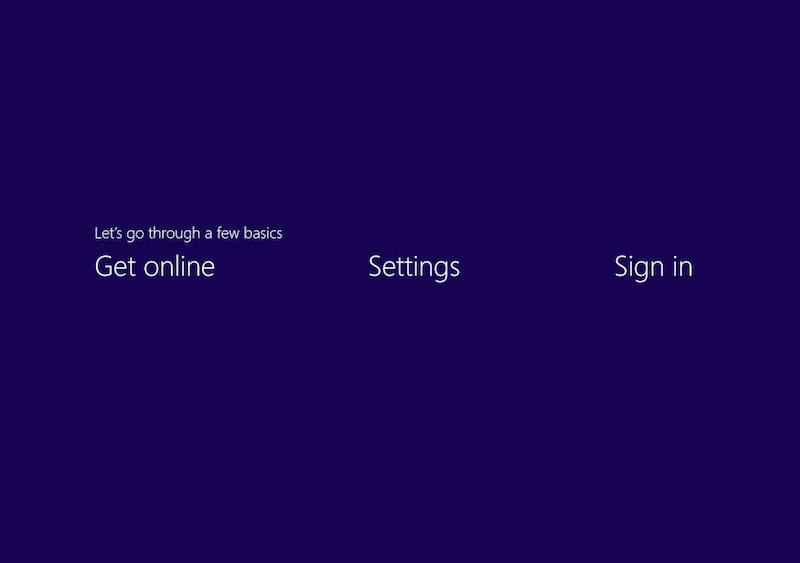
So let’s get going.
Download the Windows 10 Technical Preview ISO
1. First, you need to download the ISO file for this build. The file size is about 4 GB in size. This is the download link:
Download Windows Technical Preview ISO – Microsoft Windows
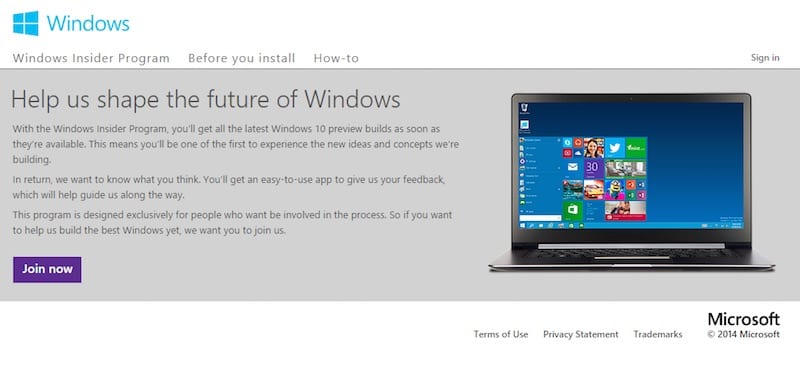
To download, you must first sign up for the Windows Insider Program, if you haven’t done so already.
Install the Windows 10 Technical Preview
2. Next, let’s assume that you’ll be installing the technical preview on a virtual machine (VM). Connect the ISO file to the VM and boot it.
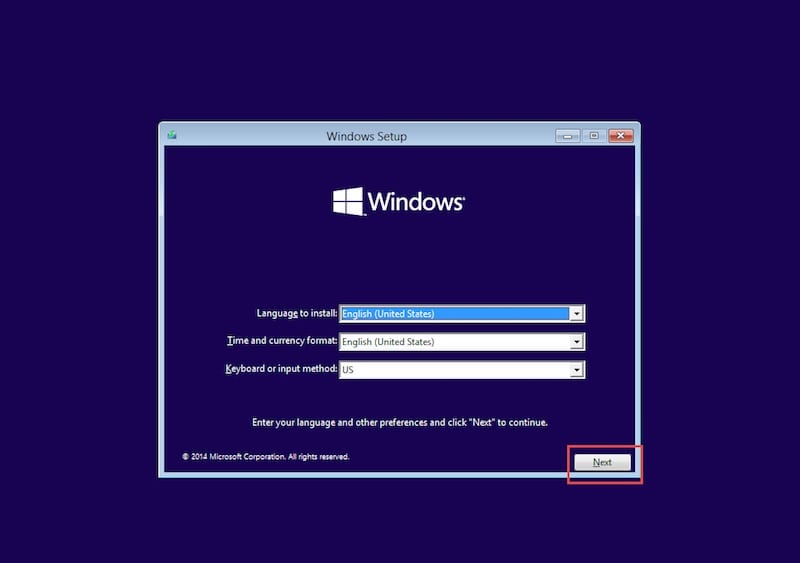
3. The setup program loads, where you can select a language. Click “Next.”
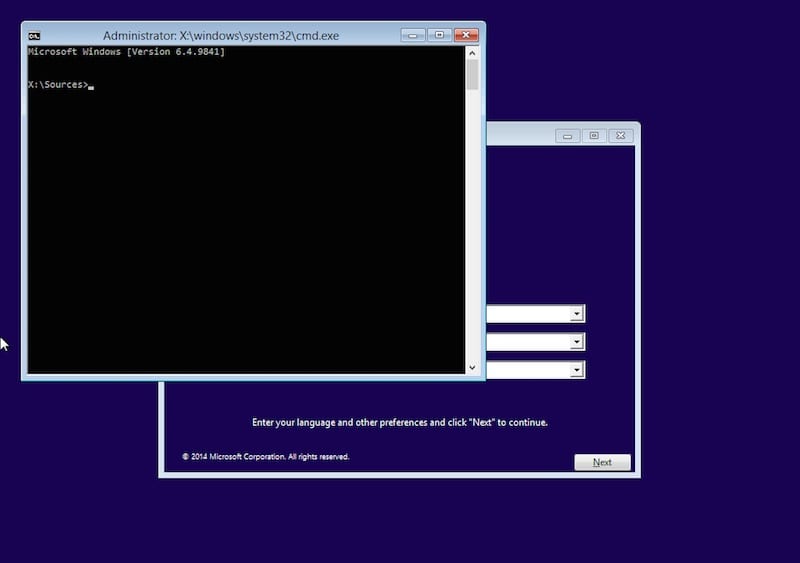
4. At this point, like in previous Windows operating systems, you may press SHIFT+F10 to access the Command Prompt, from which you can perform various tasks such as assigning an IP address, creating partitions and more.
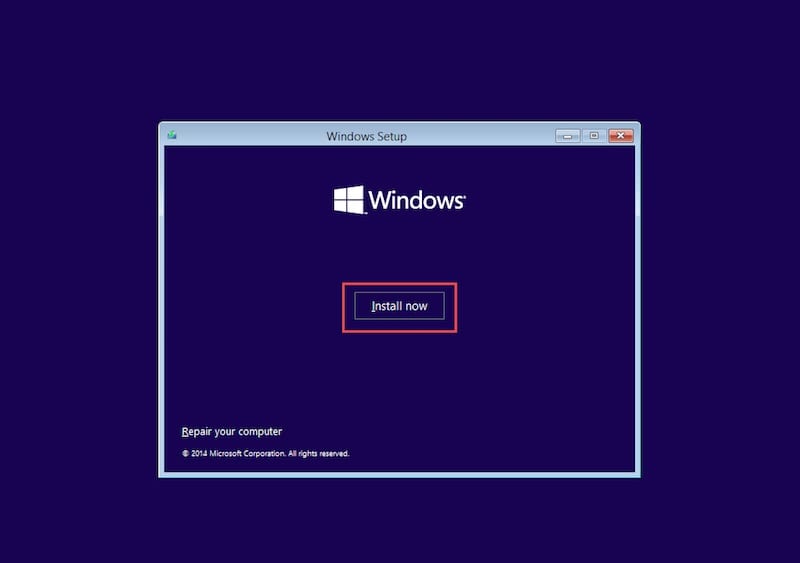
5. Assuming you don’t need to make any changes to the computer, let’s move on. Click “Install Now.”
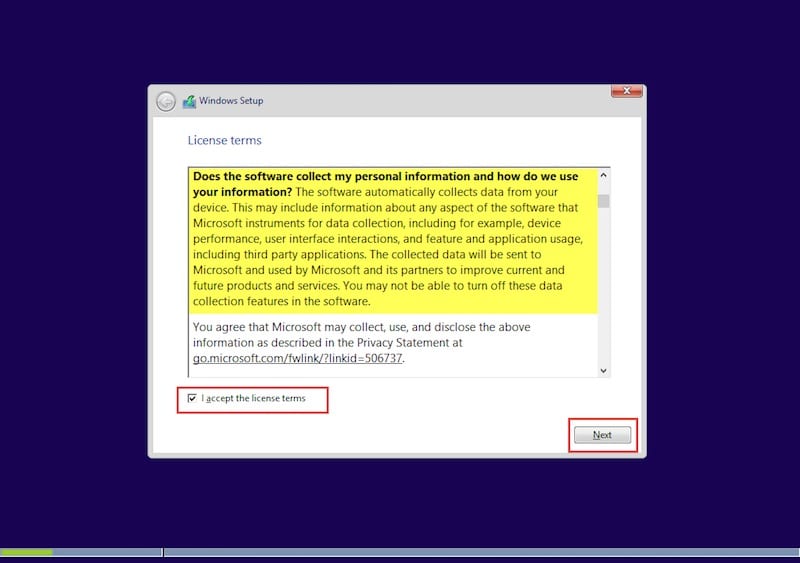
6. Read the EULA. Pay close attention to specific areas, such as the one marked in this screenshot. If you accept it, click to select “I accept the license terms,” and click “Next.”
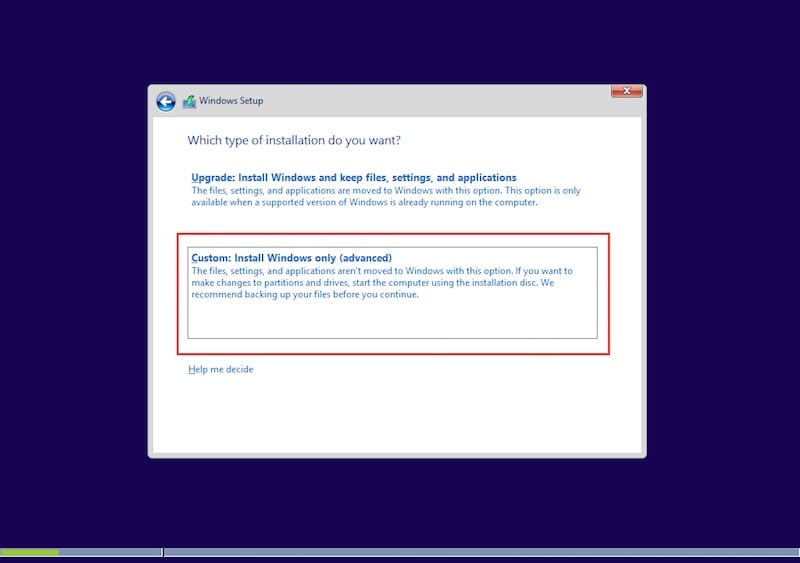
7. Since this is a brand new installation, you must click “Custom.”
8. If you want to make change to your hard disk configuration, such as creating specific partitions and so on, you can do so by clicking the “New” option. We won’t, so just click “Next.”

9. The installation will now start writing to disk. The file copying process will take anywhere from around two minutes on a fast computer, to about five or so on a slower computer.

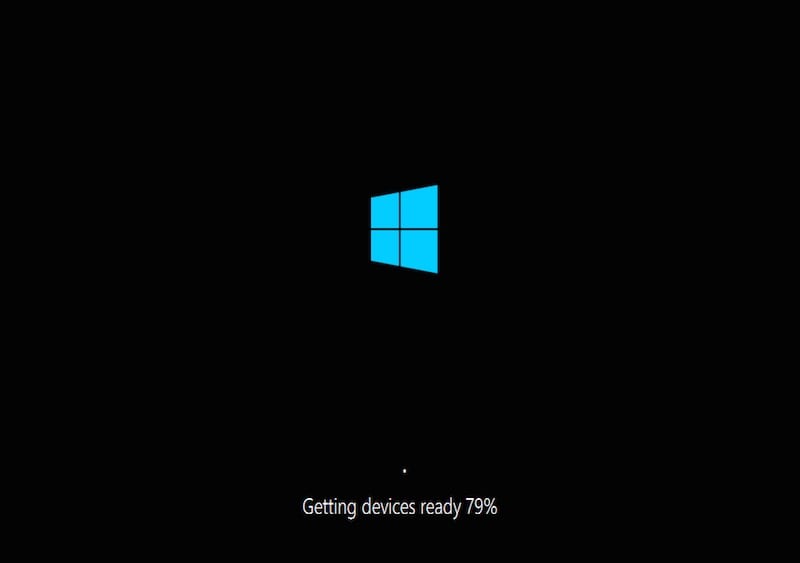
10. The computer will perform a fast reboot that you may not even notice, where it will continue with some basic device installation. You don’t need to do anything here, just sit back and look at it. This should take less than one minute.
11. Another fast reboot and we’re ready to proceed.
12. If you want to use the default settings, press “Use express settings.”
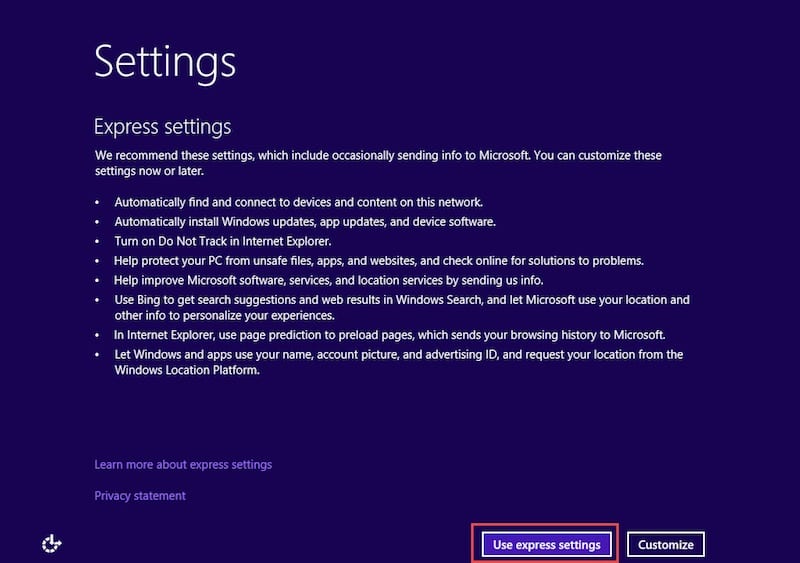
13. If you want to customize the settings, click “Customize.”
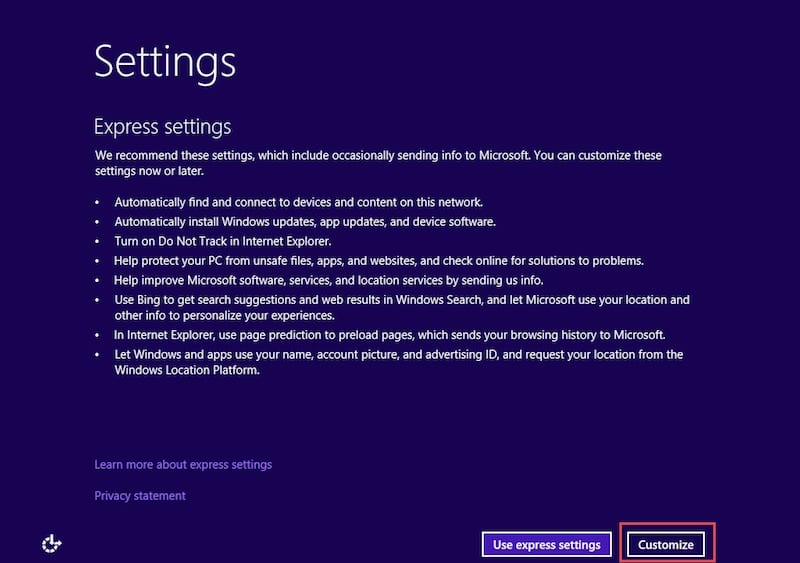
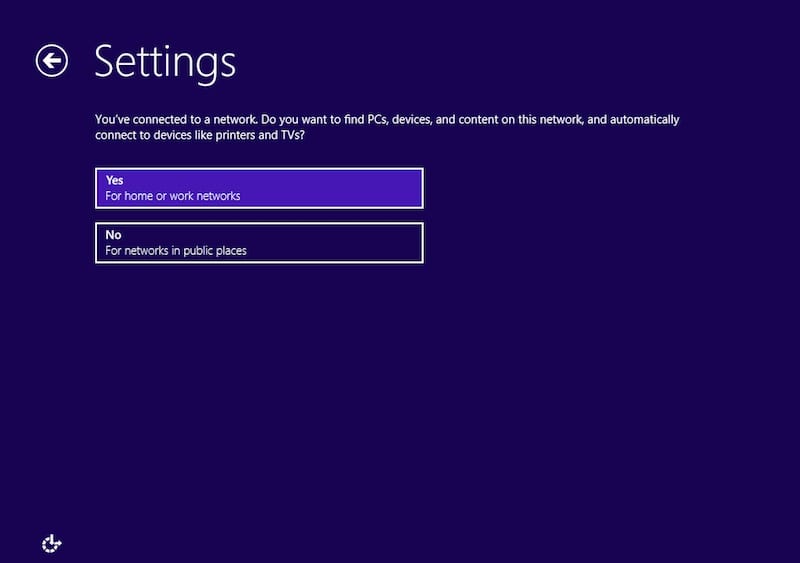
14. You may change network discovery settings (default is on).
15. You can change Windows update and some basic protection settings. Click “Next.”
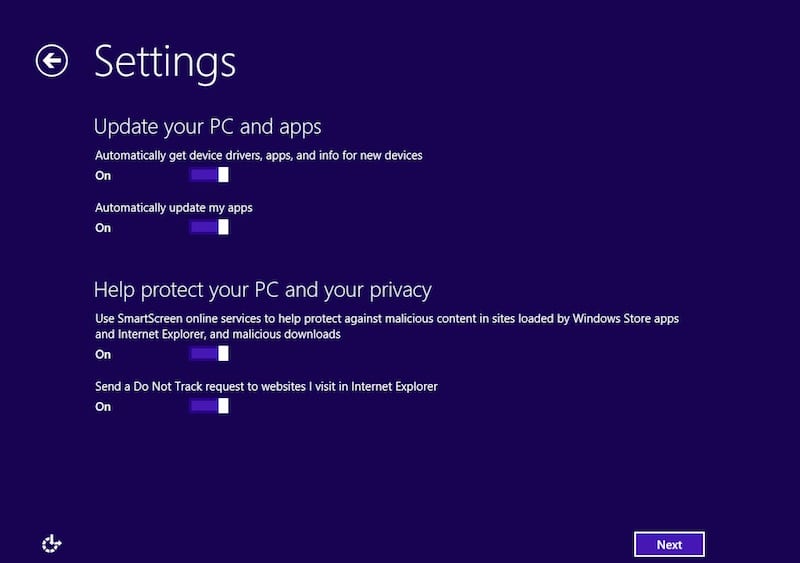
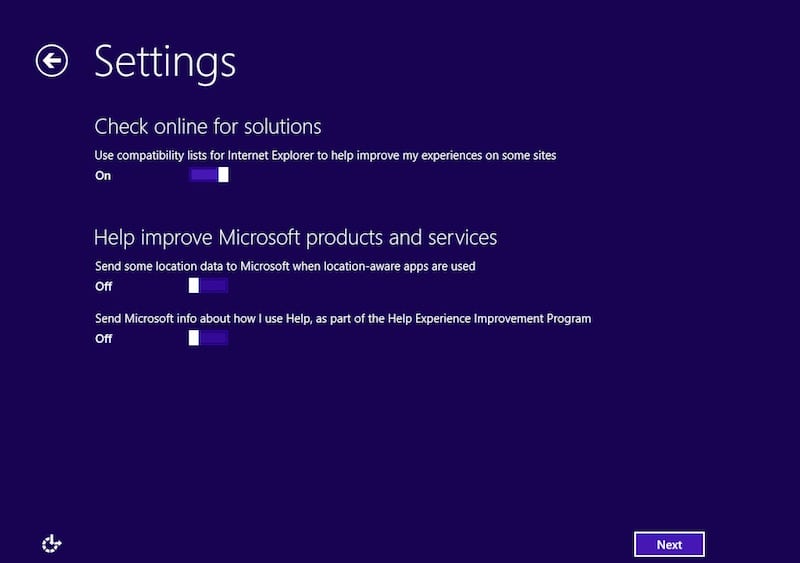
16. You can change other settings related to solution checks and feedback. Click “Next.”
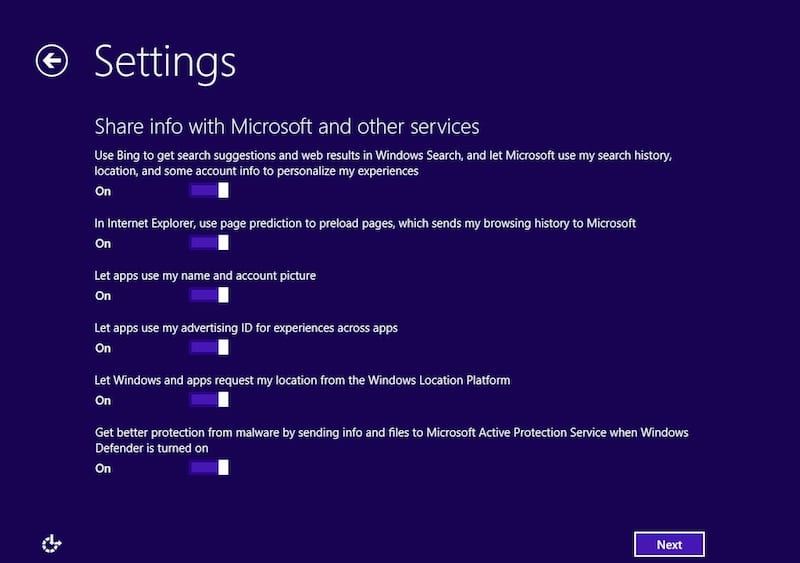
17. Next, you can change information sharing settings. Click “Next.”
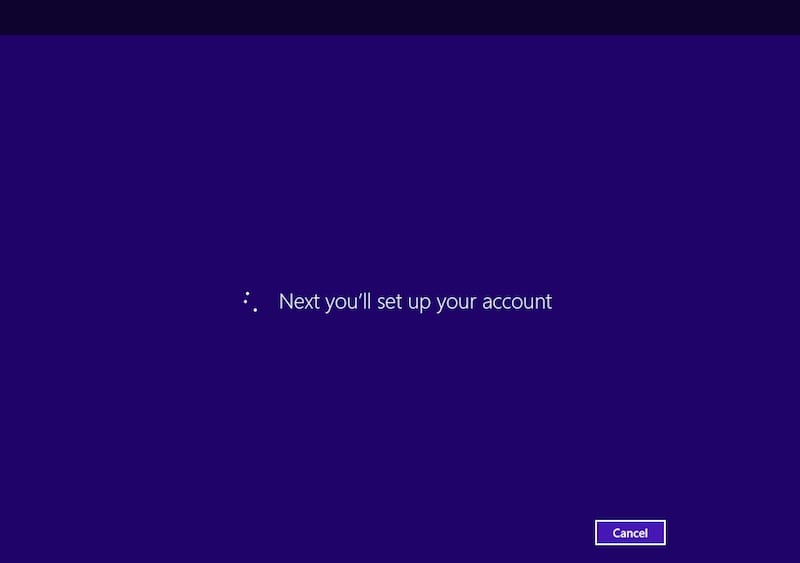
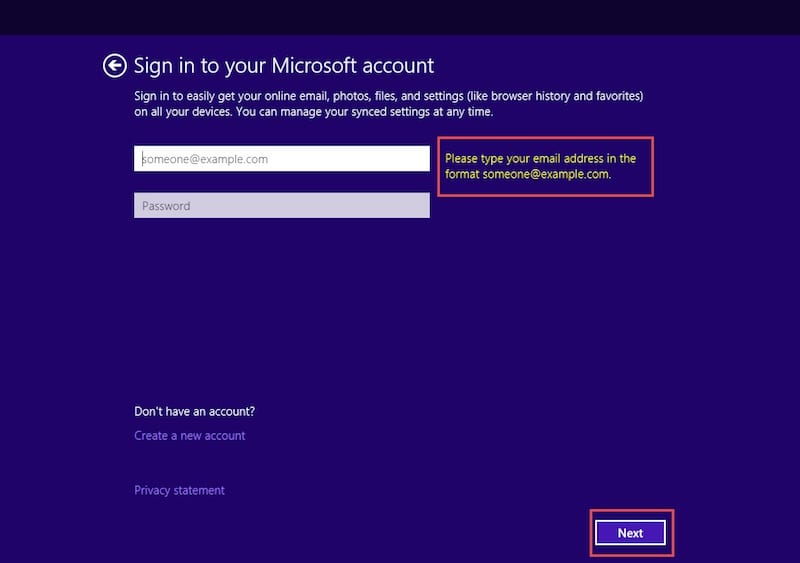
18. Next, you can configure the Microsoft account that you’d like to use. Because of some restriction, I cannot say anything about this feature right now, but let’s say that there may be some changes to the way the OS will use this feature.
If you chose Express settings, then you will get to this screen.
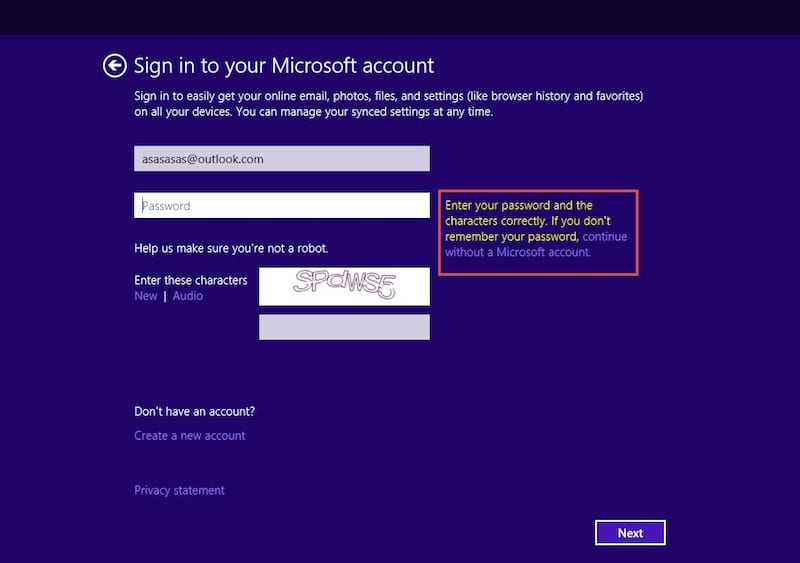
19. Enter your Microsoft account credentials and click “Next.”
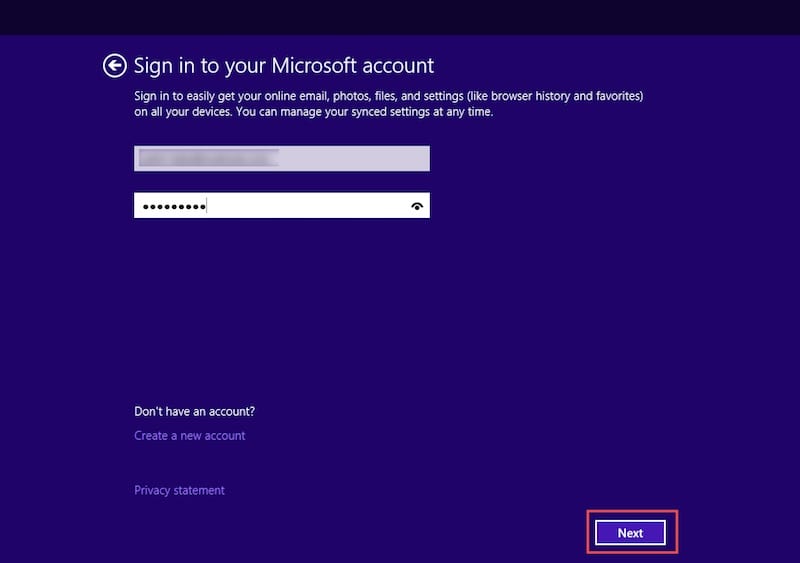
20. If you don’t want to use one, or if you don’t have one and do not want to create one, if you click “Next” without entering an account you will be prompted to do so.
21. If you fail to enter the right credentials, you cannot proceed with the setup.
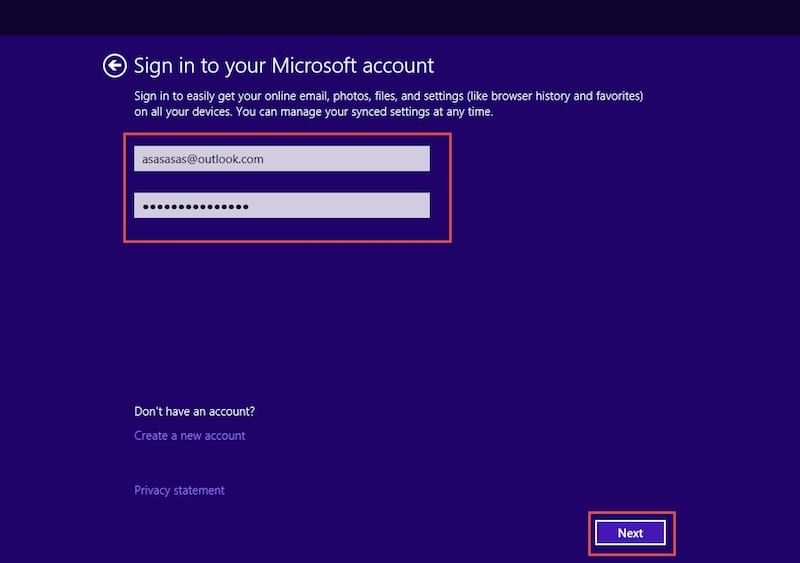
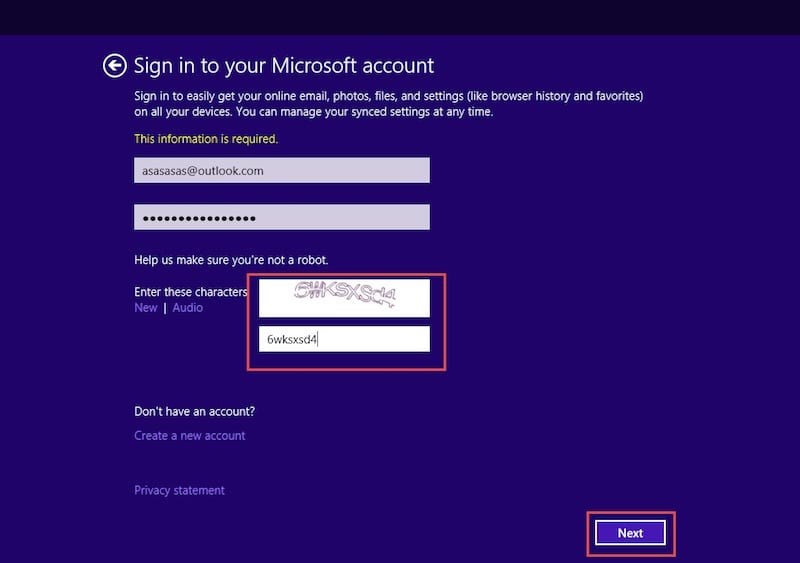
However, if you want to install and use Windows 10 without a Microsoft account and use a local account instead, we need to enter a wrong Microsoft account email and password. Click “Next.”
22. You will be prompted to enter a captcha code.
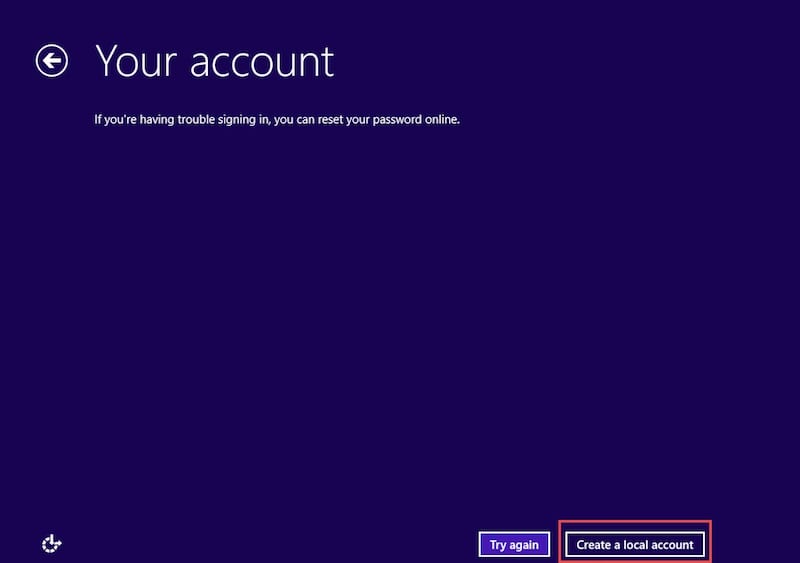
23. Only now you will get an option to skip the Microsoft account user. Click “continue without a Microsoft account.”
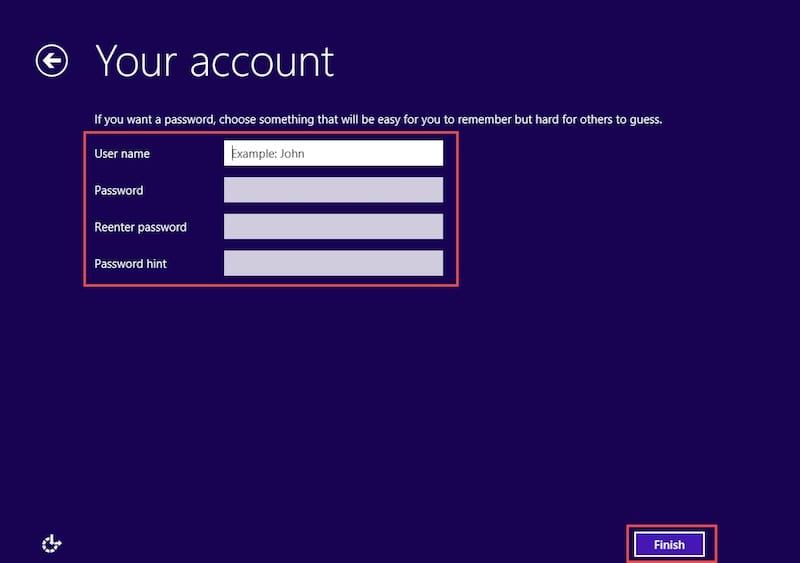
24. Click “Create a local account.”
25. Note: You can also get to the local account creation by clicking on the “Create a new account” link.
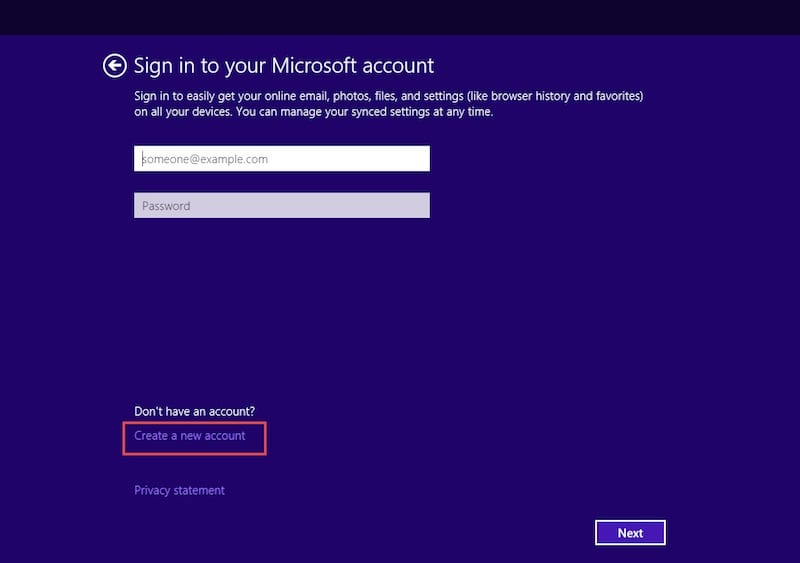
26. In the next screen you can either fill the form to create a new Microsoft account or click “Sign in without a Microsoft account.”
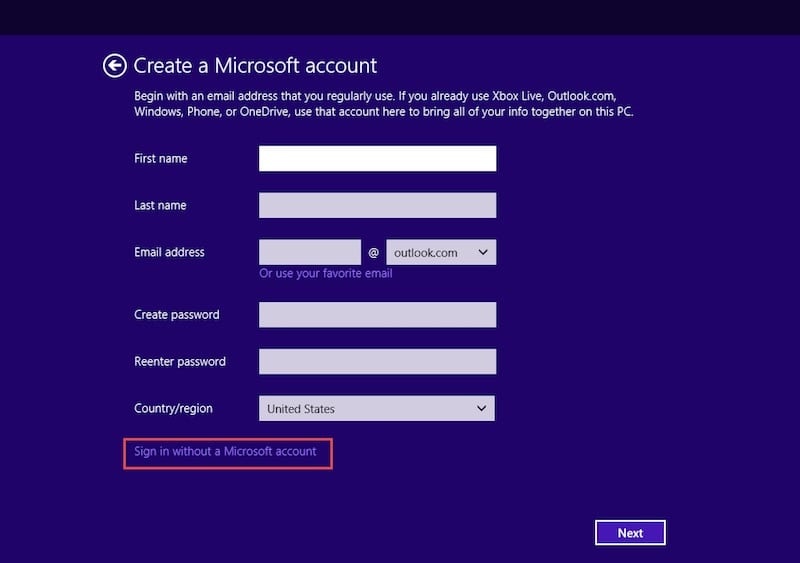
27. Either fill in the fields to create a new local user and click “Finish” or go back and use a Microsoft account. Assuming you’ve used a Microsoft account, click “Next.”
28. What happens now is a security validation using multi-factor authentication. If you’ve downloaded and installed the Microsoft Account application on your smartphone and properly configured it against your Microsoft account, then you will be prompted to accept this request on your smartphone.
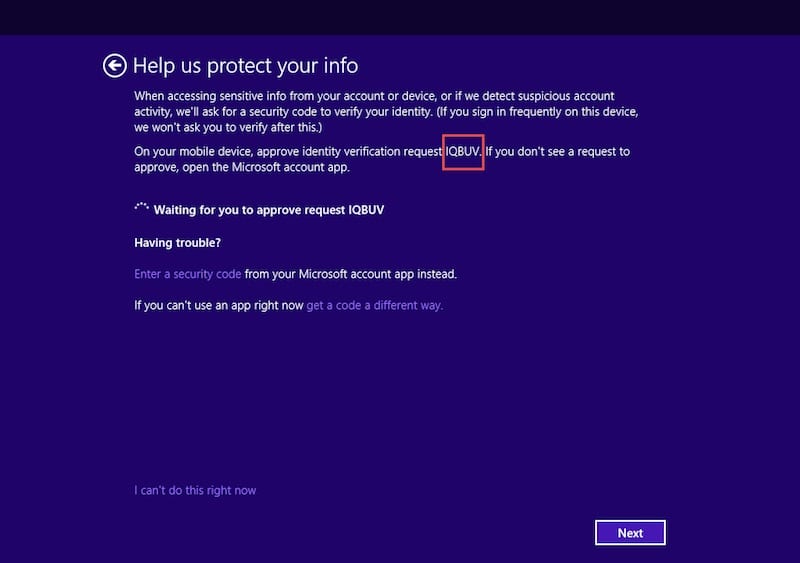
Note the security code and make sure it matched what you see on the screen. Click “Approve.”
Back in Windows 10, if needed, click “Next”.
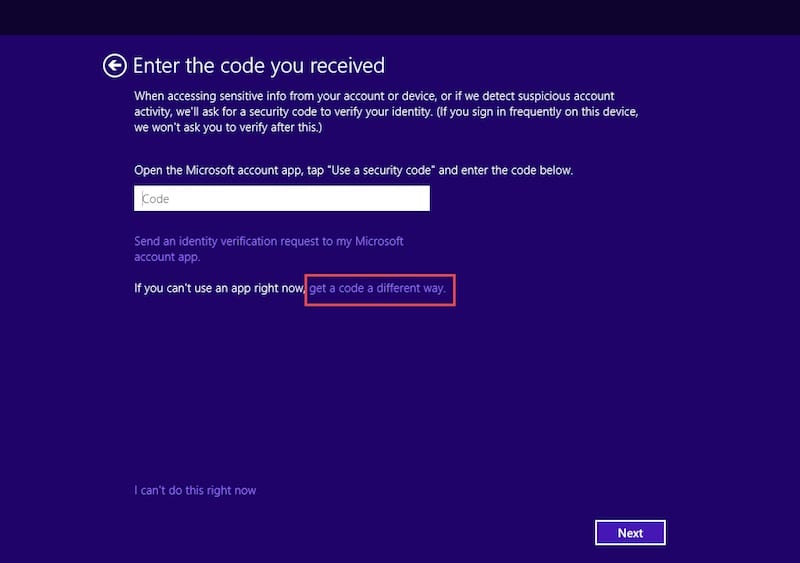
If you don’t have the app, then you can still enter a manual code using email or an SMS text message to your phone. Click “Get a code a different way.”
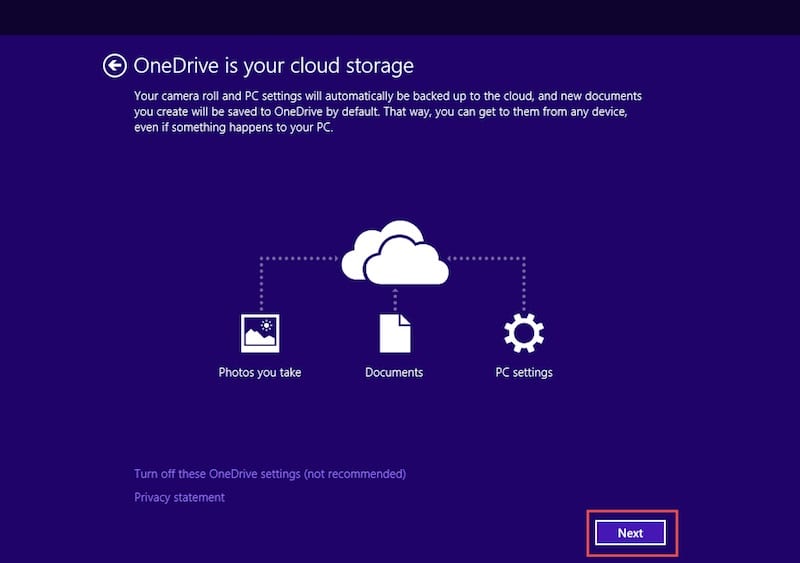
29. Once approved, you can disable OneDrive sync, if you really want to. Click “Next.”
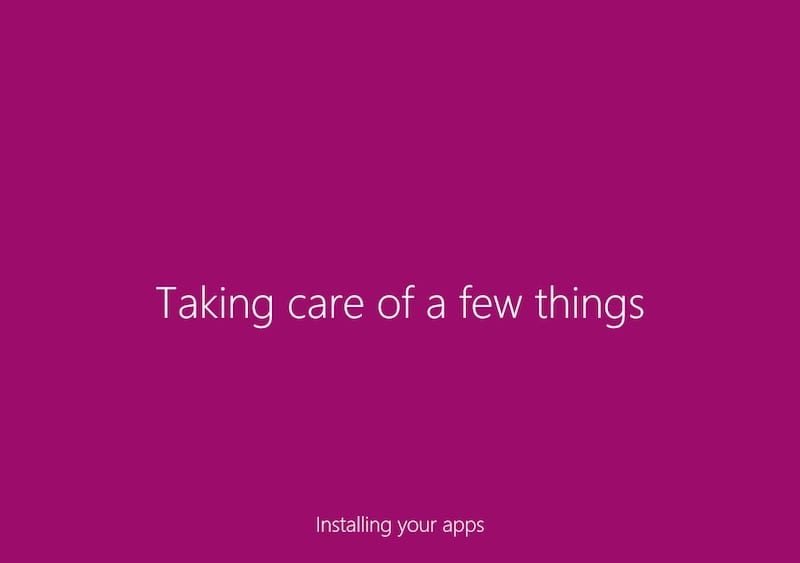
30. Windows will take a couple of minutes to complete some additional configuration and application installation. Wait for it.
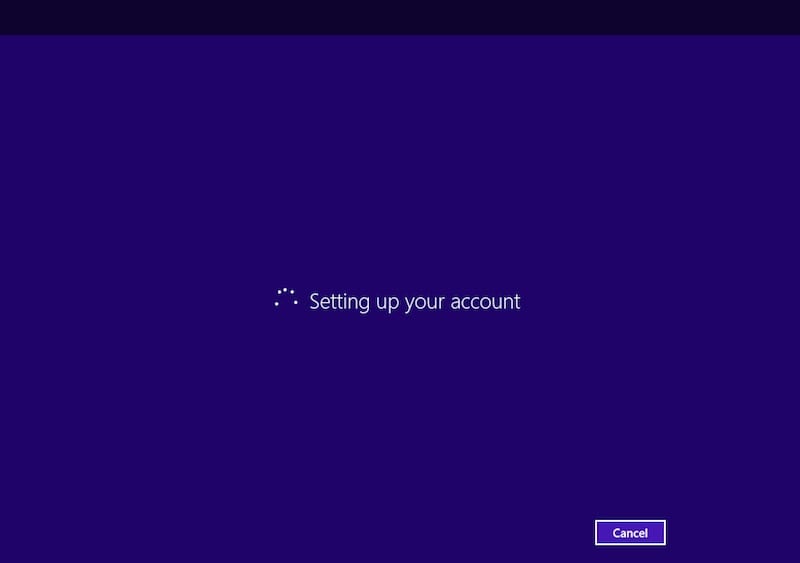
31. The account setup may take several minutes, but you should eventually see:
32. Finally, it will be ready to use…
33. The desktop will appear, and you can start playing with the new installation.
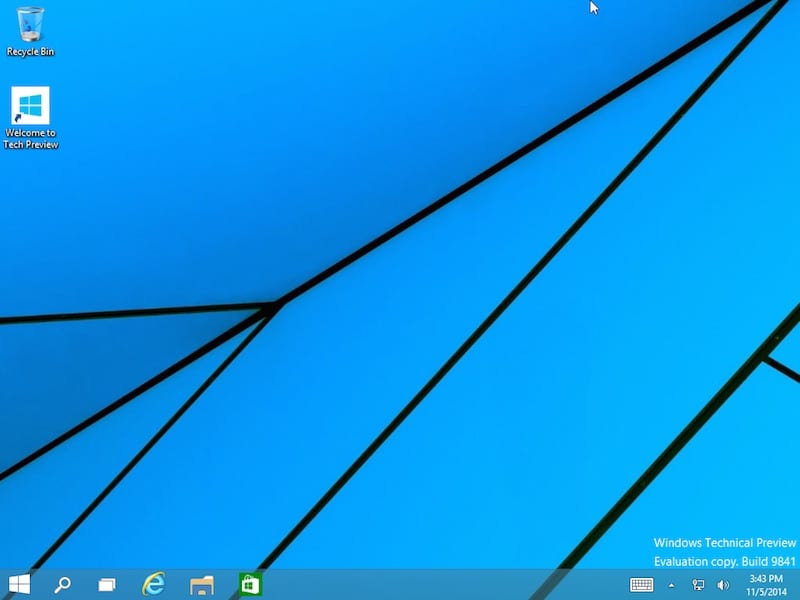
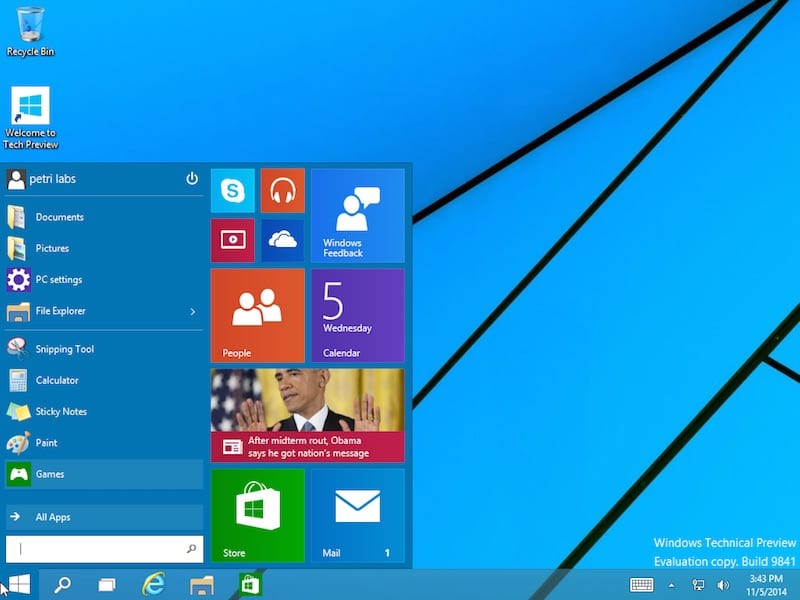
34. Clicking on the Start button in the lower-left corner will show you how the new Start menu looks in Windows 10. I’m sure this is why you all installed it, didn’t you?
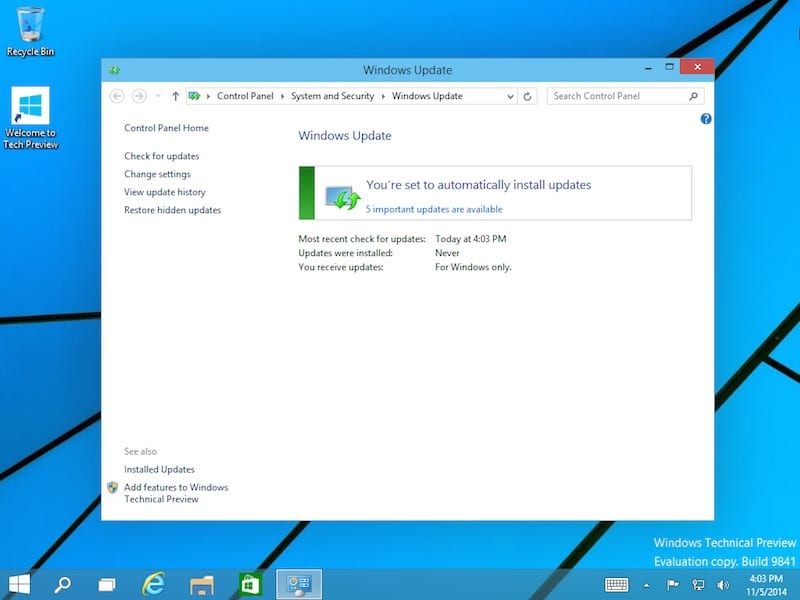
35. Next thing you’d want to do, especially if you’ve installed Technical Preview a while after it was released, is to update Windows.
Stay tuned for more articles about Windows 10 on the Petri IT Knowledgebase.

Renowned as the creator of the acclaimed Petri IT Knowledgebase back in 1999 Daniel Petri has become a distinguished figure in the IT realm, recognized for delivering reliable, expertise-driven content. This website - www.petri.com - not only embodie...
