Installing the DNS Server Role on Windows Server 2008 R2
For a long time the Domain Name System (DNS) protocol has been the foundation of a useable network (and Internet) experience. With the introduction of Microsoft’s Active Directory (AD), the use of DNS became even more important. This article is the first part in a multi-part look at DNS. Today I’ll walk you through how to install the DNS server role in Windows Server 2008 R2.
DNS Server Role Installation
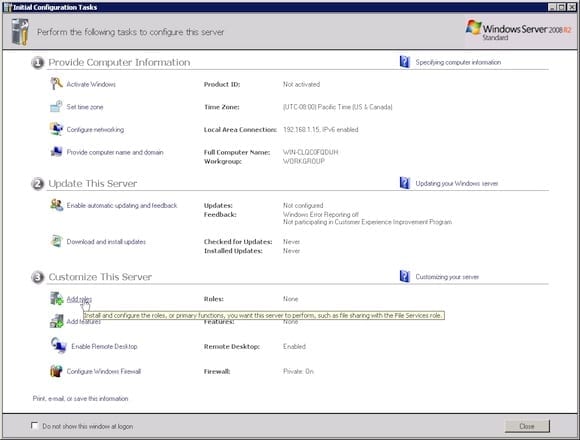
Depending on the way that a server is set up, the initial step of installing the DNS Server role can begin from one of two main places: within the Initial Configuration Tasks wizard (run by default on all new installations) or from Server Manager. In figure 1, you can see the location within the Initial Configuration Tasks wizard from which the installation would begin.
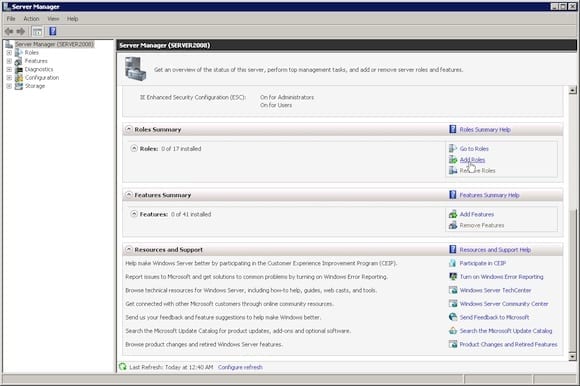
Conversely, this image shows the location within Server Manager from which to begin the installation.
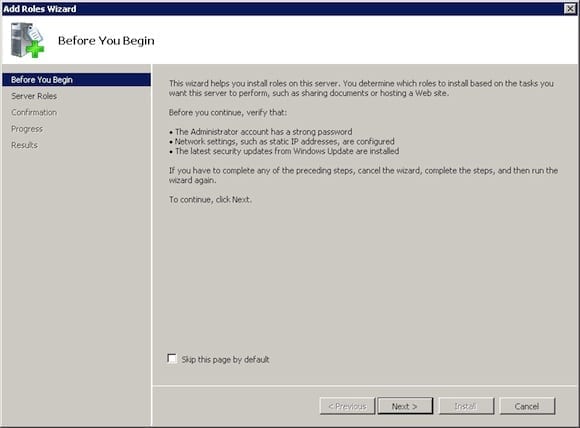
- Select the Add Roles button and the Add Roles Wizard will be launched, as seen in Figure 3. From this window select Next to get to the next window.
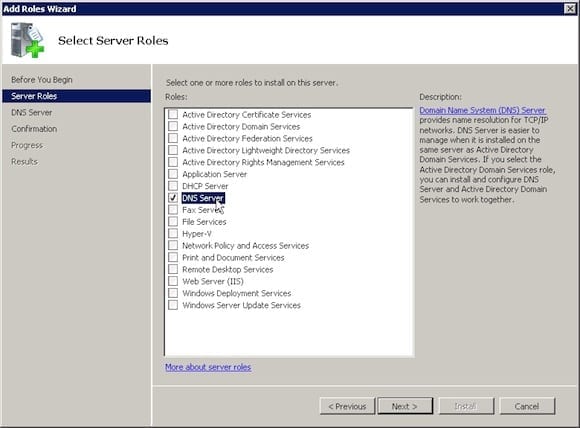
- The next window allows the user to select the roles that are to be installed. Select the DNS Server role, then select Next.
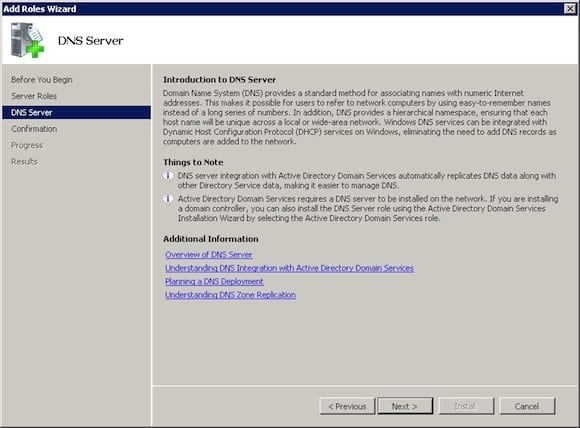
- The next window (as shown below) will provide some introductory DNS information, such as how it is used and how it integrates into AD if that is the intention of the engineer. Select Next to continue to the next window.
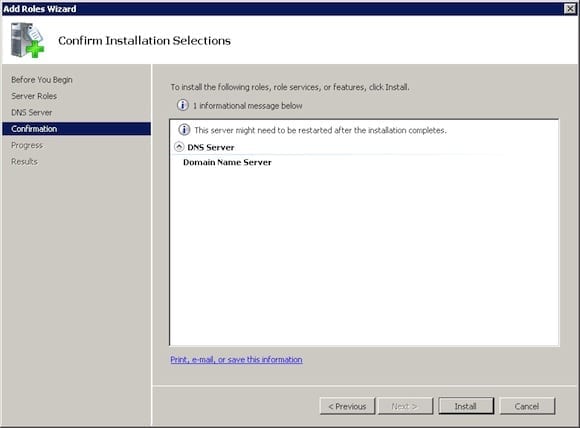
- The next window shows a review of the selected options. Review this screen and select Install.
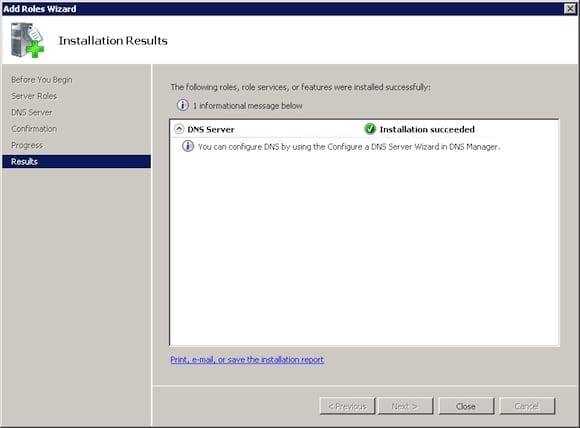
- Assuming there are no unforeseen circumstances, the installation results window should be displayed. Once complete, select Close.
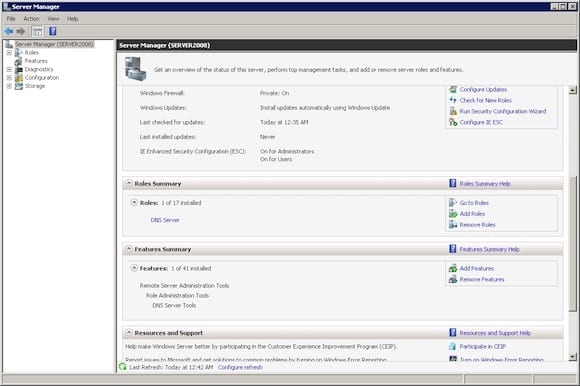
Once the DNS Server role has been successfully installed on the device it will show up under the Server Manager roles (Roles Summary).
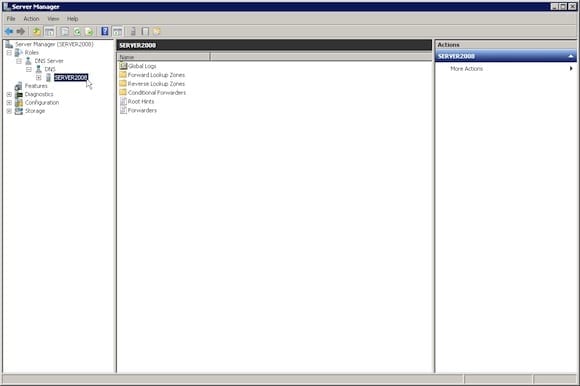
Now that the DNS Server role has been installed, the DNS Manager will become available through both the Start menu and the Server Manager console.
The installation of the DNS server role on Windows Server 2008 R2 is not overly complex and should be easy for any junior level engineer to complete. The next step, which I’ll cover in a future article, is to become familiar with the various records that can be created within the DNS Manager which will be covered in a later article.


