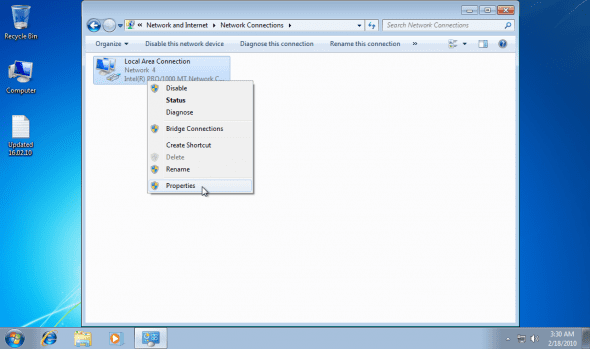
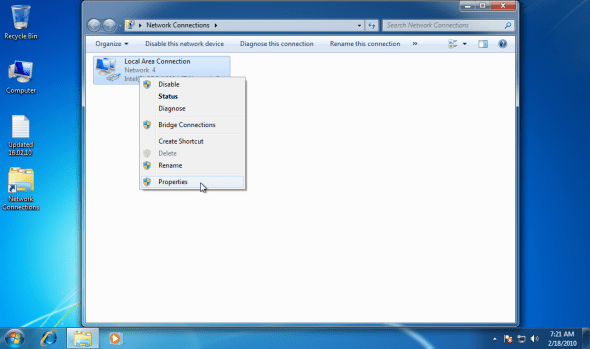
One of the nasty annoyances in Windows Vista, Windows 7 and Windows Server 2008 operating system was and still is, for me, the lack of ability to easily access the computer’s network interface cards’ properties.
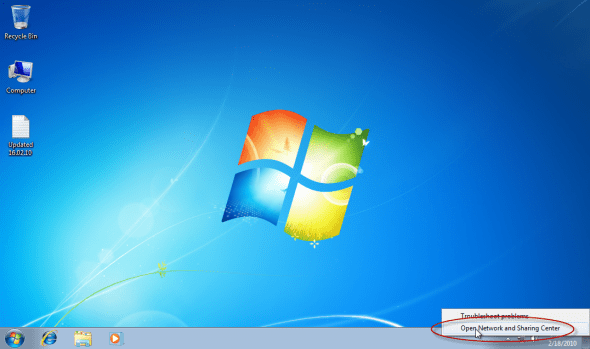
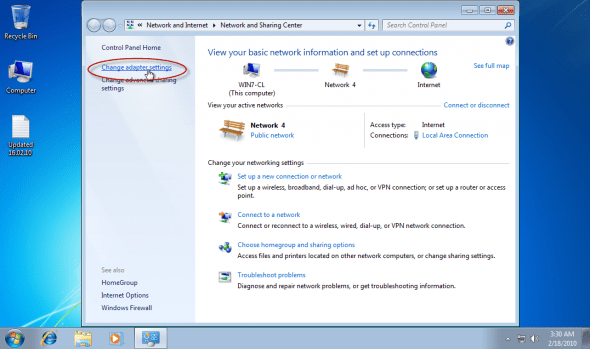
True, you *could* right-click the network connection icon in the tray area, select “Open Network and Sharing Center”, then click on the “Change Adapter Settings” link. But that’s just too many clicks away.
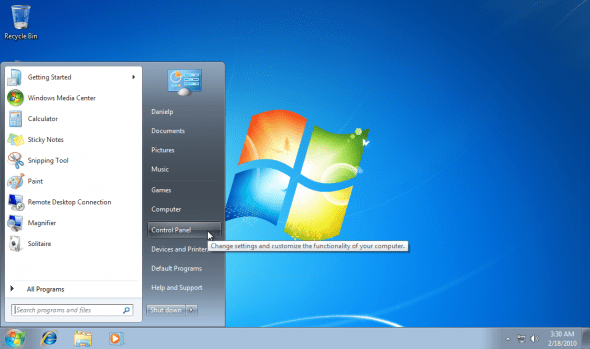
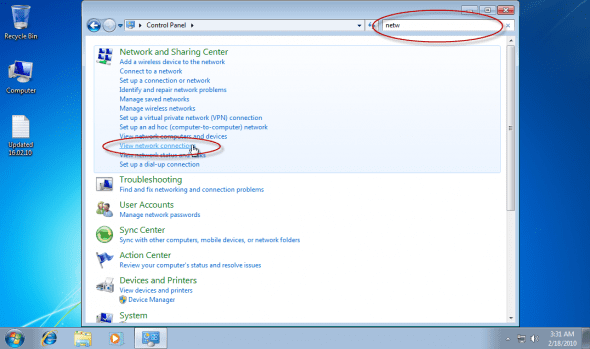
True, you *could* do it through the Control Panel, type “netw” or something similar in the Search box, then click on “View Network Connections” link. Again, just too many clicks away.
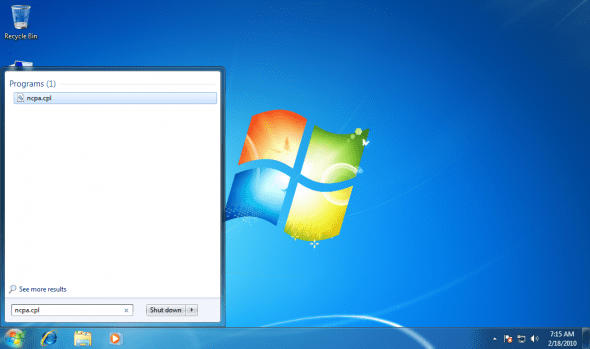
True, you *could* do it by running ncpa.cpl from the run command. But again, too much typing.
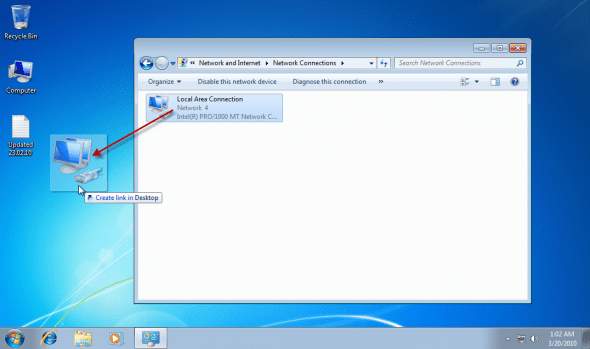
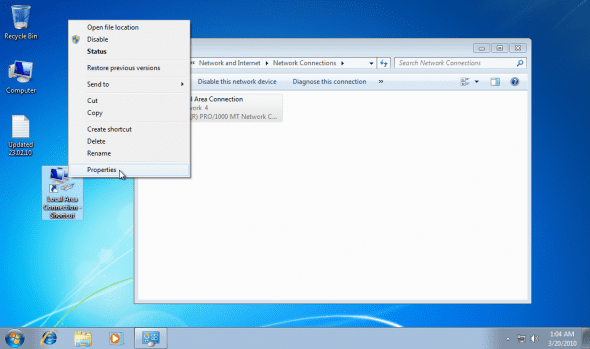
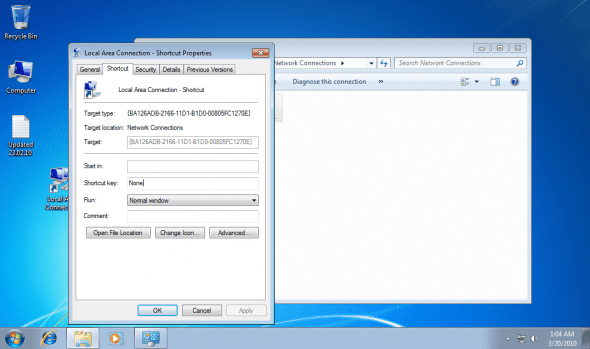
True, you *could* simply drag the icon of one of the network interface cards to the desktop and create a shortcut, but that’s only a shortcut, and it does not have the regular “properties” options that the NICs should have. So that’s no good.
So, how do I get the “Network Connections” icon on my desktop?
To get the “Network Connections” icon on your desktop follow these steps:
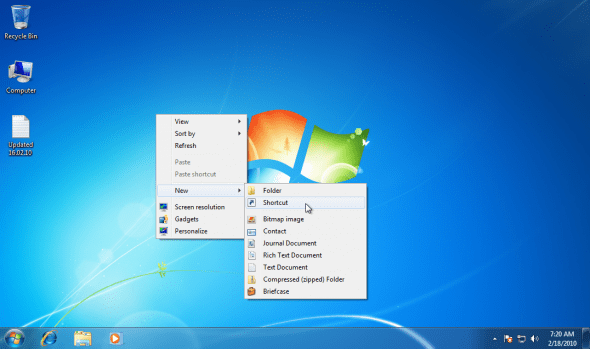
1. Right-click an empty spot on your desktop and select “New” > “Shortcut”.
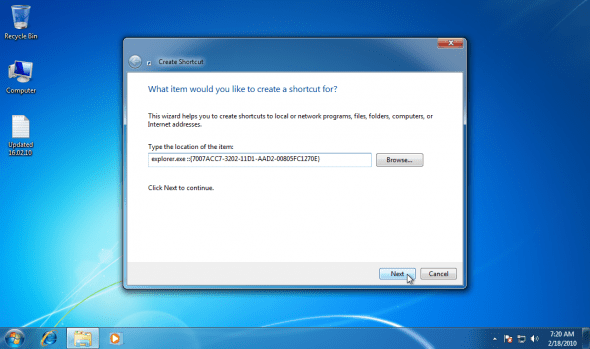
2. When prompted to type in the location, enter the following line:
explorer.exe ::{7007ACC7-3202-11D1-AAD2-00805FC1270E}
Note: Just copy the above string. Note there’s a space after the “explorer.exe”.
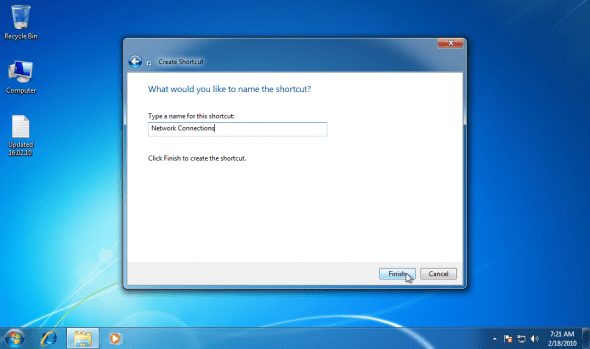
3. In the name type “Network Connections”.
4. Click on “Finish”.
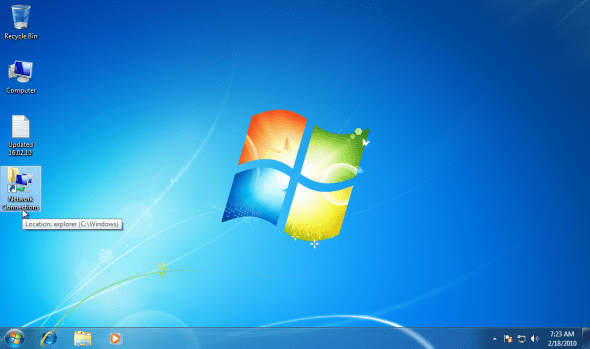
Now, double-click the new icon and you’ll be sent straight into the Network Connections folder.
Bingo!
BTW, the icon which the shortcut uses is taken from explorer.exe. However, you can easily attach the default icon to it. To do so:
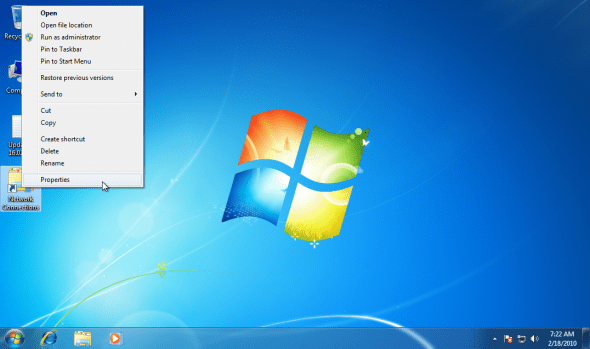
1. Right-click the shortcut and select Properties.
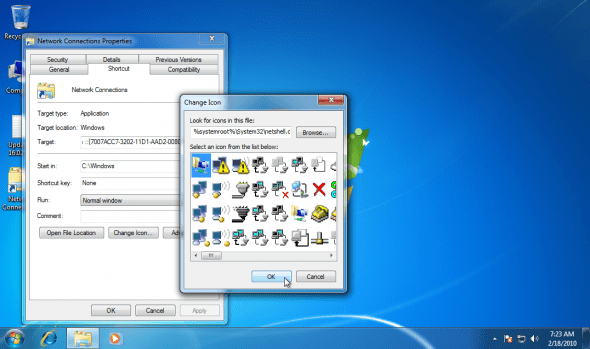
2. Next click on “Change Icon”.
3. Navigate to %systemroot%\System32\netshell.dll. This file contains many network-based icons.
4. Pick on and click “Ok” all the way out.
Note: This tip also works for Windows Vista.


