Windows 10 Tip: Working with RAW Image Files
If Santa Claus brought you a new smartphone or professional camera for Christmas, or you’re already lucky enough to own one, saving your holiday season memories as RAW images opens up a world of possibilities for making the best of your pictures.

All digital cameras save images as JPEG files for convenience, but much of the original detail is lost because the camera processes photos to make them look better, and then compresses them to save space. RAW image files on the other hand contain all the unprocessed light data captured by your camera’s sensor and are sometimes referred to as a digital negatives.
Although JPEG files are convenient for most amateur happy snappers, there’s a limit to what you can do with your photos after the event because much of the image data is no longer available. For example, the ability to bring out details in the shadows or sharpening the photo might be quite restricted after the camera has processed the image and stripped it of the original detail.
Pocket cameras and low-end smartphones don’t usually provide the option to save images in RAW format, but most professional digital SLRs and high-end smartphones, including Apple iPhone and Lumia 950, allow images to be saved in JPEG format, RAW, or both. One additional complication is that many camera manufacturers save RAW image data in propriety file formats, such as Canon (CRW, CR2), Nikon (NEF), and Pentax (PEF); with Adobe DNG file format being the one open source exception to the rule.
Does Windows 10 support RAW image files?
Yes, and no. In previous versions of Windows, you needed to download the Microsoft Camera Codec Pack, which provides support for viewing RAW image file format thumbnails and image information in Windows Explorer (Windows 7 and Vista). The links for Windows 8.1 (32-bit) and Windows 8.1 (64-bit) can be found here and here, respectively.
The codecs available in the Microsoft Camera Codec Pack are built-in to Windows 10, but if you want to add support for Adobe’s DNG format, or other propriety formats not supported by Windows, you’ll still need to download a codec.

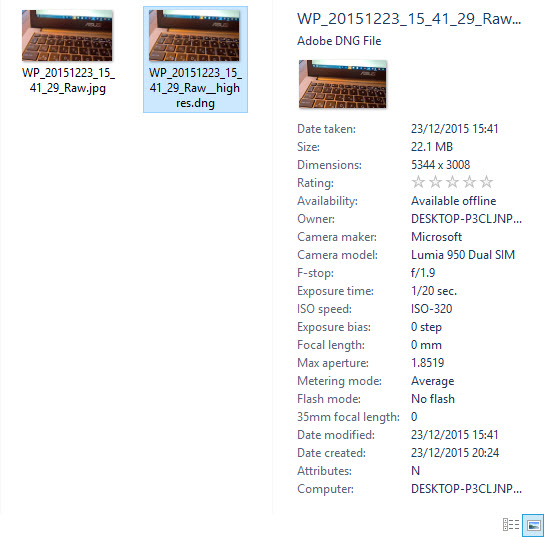
It’s rather odd that support for Adobe’s DNG format isn’t included in Windows 10 out-of-the-box, considering it’s the format of choice for Lumia smartphones. But if you want to work with Adobe DNG files, you can download the codec here. And while there’s no official support for anything post Windows 7, I’ve found the codec to work fine in Windows 10. There’s also a DNG converter that you can use to convert from propriety RAW formats to DNG.
Opening RAW image files
The default app for opening RAW image files in Windows 10 is Windows Photo Viewer, again rather strange since this is a legacy win32 program. The Windows Store Photos app doesn’t support RAW images at this time.
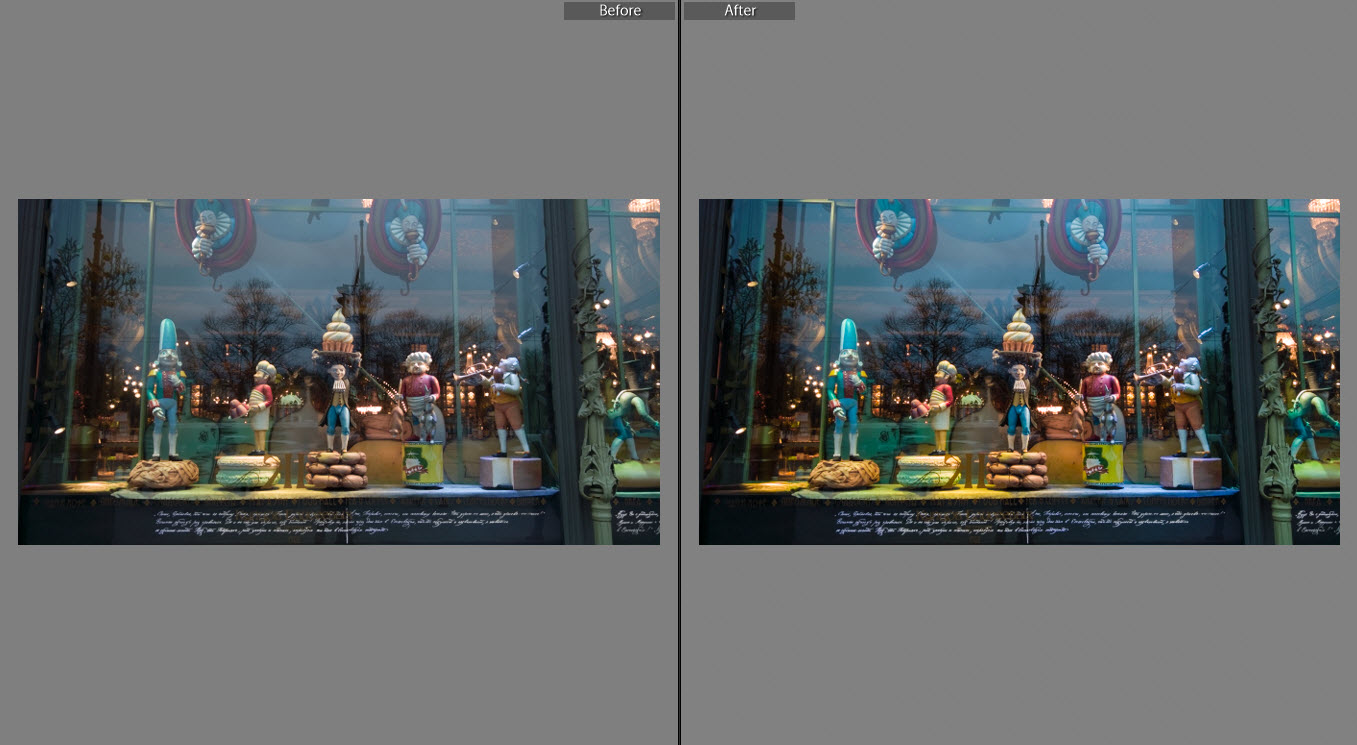
When opening a RAW image, you’re first presented with a JPEG preview that’s embedded in the RAW file. Only after a few seconds of processing will the actual RAW image be shown, and you’ll notice that it looks quite different from the JPEG preview, even quite dull and washed out in comparison, because it hasn’t had any of the camera processing applied to make it look good, that’s now your job.
Editing RAW images
As you might expect, not all photo editing applications support RAW images. But nevertheless, there are plenty of options available. The default solution for most photographers is Adobe Lightroom, which is available as a subscription ($9.99/month), or you can buy the product outright ($149). If you want a cheaper solution, but with more limited RAW editing support, Adobe Photoshop Elements is also worth a look.

Google’s Picasa editor supports opening RAW images files, but isn’t a real RAW processor as it automatically converts the 12 or 16 bit RAW data to 8-bit so you can work with the image as if it were a JPEG. GIMP is an open source editor that handles RAW images with the UFRAW plug-in, or if you already have a favorite editor, RawTherapee is an open source standalone RAW image processor.
Despite the price tag, if you’re serious about powerful editing capabilities that are both quick and easy, Adobe Lightroom is the best choice. RawTherapee is perfectly capable too, but has a steeper learning curve and the default import settings for RAW images in Lightroom produce better looking images in my experience.
Color profiles
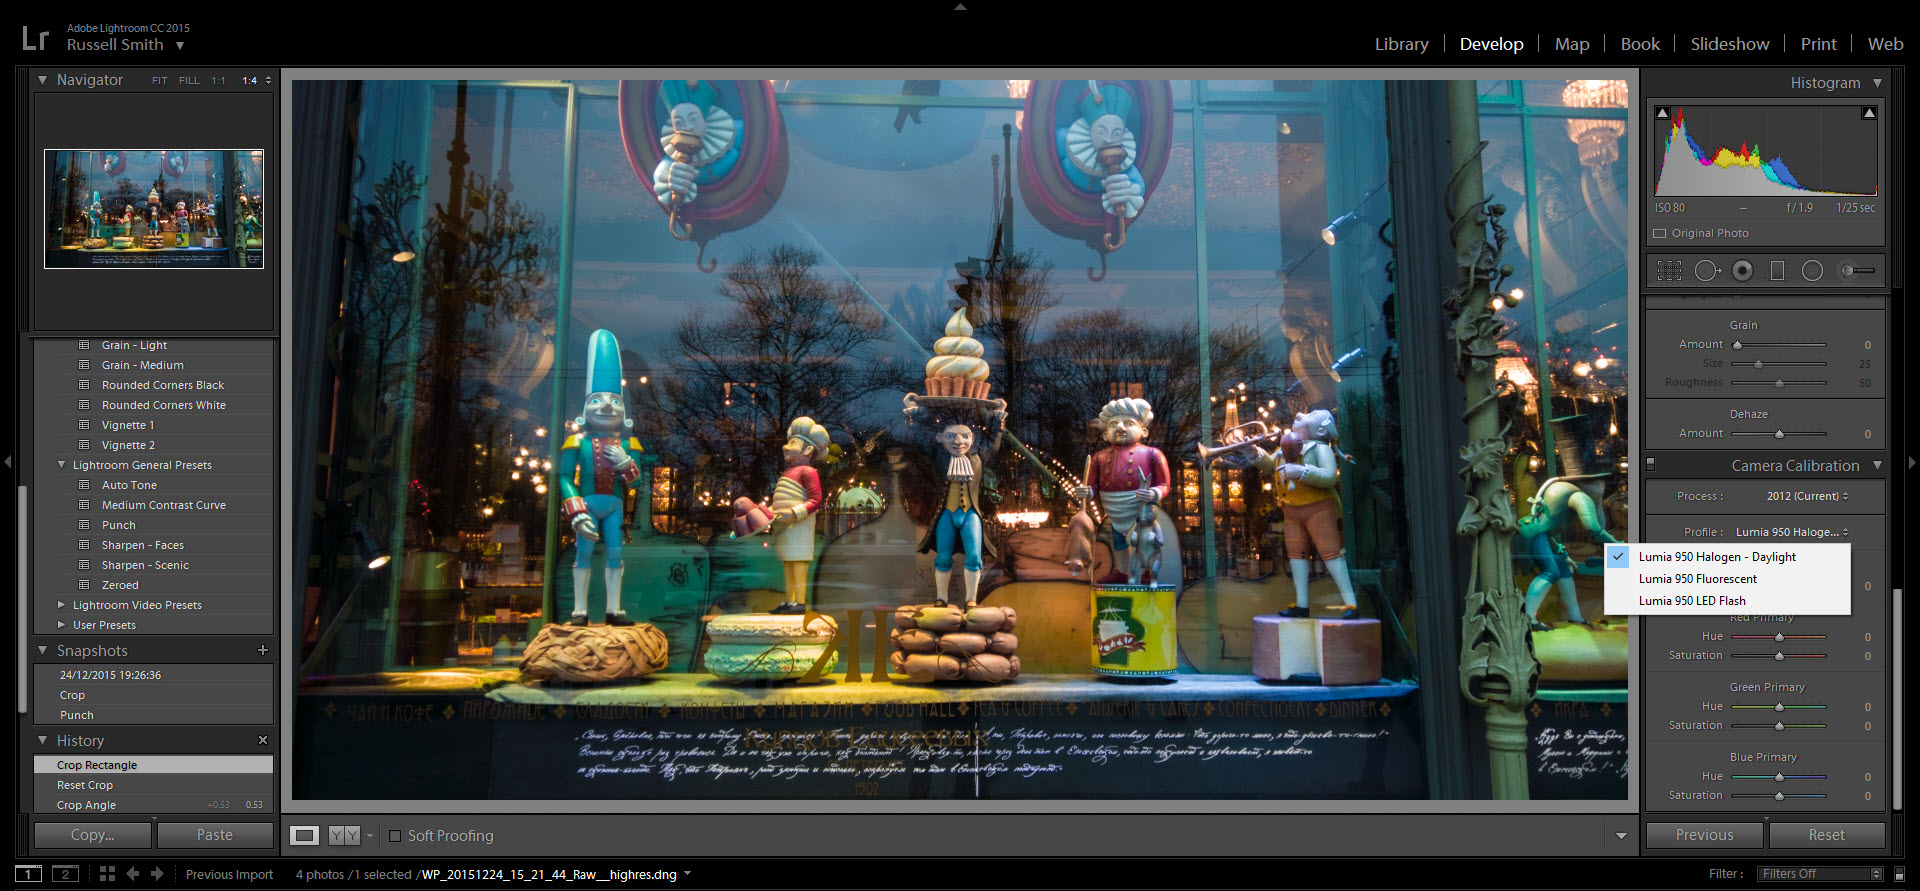
Lightroom, Photoshop Elements 14, and RawTherapee support loading color profiles provided specifically for these apps by camera manufactures. By selecting a color profile, you can correct the image automatically to look more like the processed JPEG version of the image generated by the camera. It’s by no means necessary to download and select the color profile provided by your camera’s manufacturer, you can select any color profile pleasing to the eye.
Lightroom
Once you’ve imported your RAW images into Lightroom or your chosen editor, all you need to do is either apply some presets to get the desired effect. If you’re feeling a little more adventurous, there’s a plethora of controls allowing you to change the exposure, contrast, brightness and many other advanced options.

Unlike in RawTherapee, I was able to get results quickly by applying a preset to the image and then increasing the contrast a little. The resulting photo is a world away from the washed out original RAW image. Interestingly, the JPEG automatically generated by the camera is somewhere in between the washed out RAW original and my modified image in Lightroom.


