What are Microsoft Azure Resource Groups?
In this Ask the Admin, I’ll introduce you to Microsoft Azure resource groups, and how you can put them to good use.
Since the introduction of the Azure preview portal in 2014, resource groups are automatically created for virtual machines, databases, and other assets, no matter how they are added to the cloud fabric. Resource groups provide a way to monitor, control access, provision and manage billing for collections of assets that are required to run an application, or used by a client or company department. Azure Resource Manager (ARM) is the technology that works behind the scenes so that you can administer assets using these logical containers.
Resource groups can only be managed using the preview portal or PowerShell, and as you might expect, there are no plans to add support to the old management portal. If you haven’t yet discovered the preview portal, click the user icon in the far top-right corner of the old portal, and select Switch to new portal from the menu. You can log in directly to the new portal.
Resource Groups in the Preview Portal
Let’s have a look at viewing and managing resource groups in the preview portal:
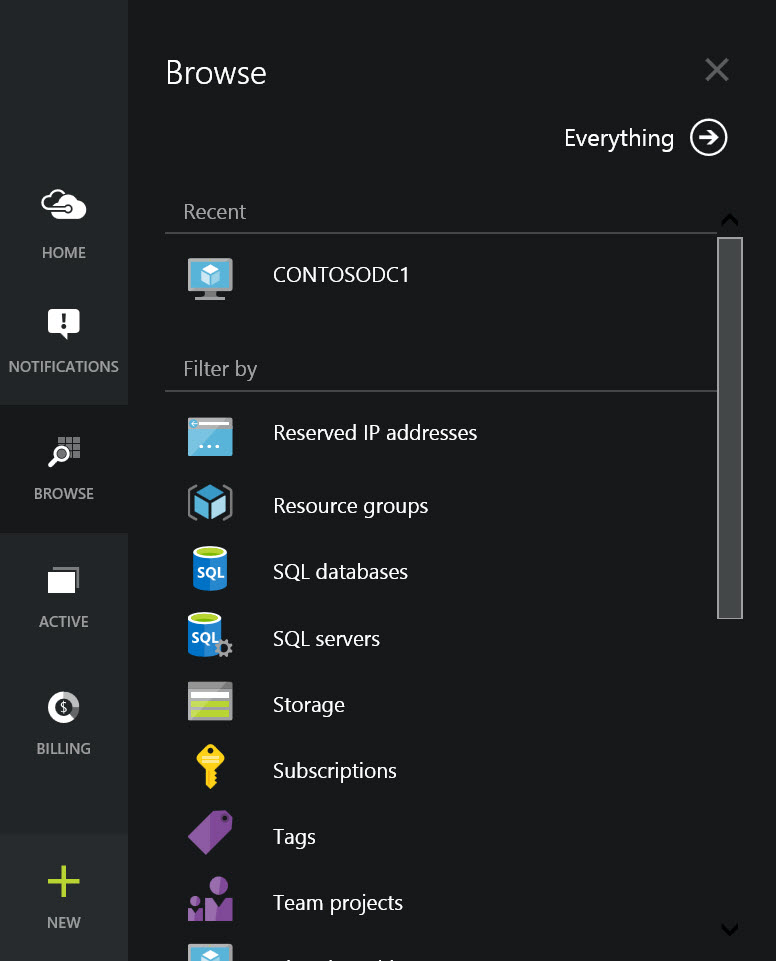
- Click BROWSE in the column on the left.
- In the Browse panel, click Resource groups under Filter by.

In the list of resource groups, assuming you have some applicable assets in your Azure subscription, you should see a list of resource groups.
If you create a new VM in a new cloud service using the portal, the domain name, virtual machine and virtual network will be placed in a new resource group. At the time of creating the new VM, you have the option to override this default behavior and add the resources to an existing resource group.
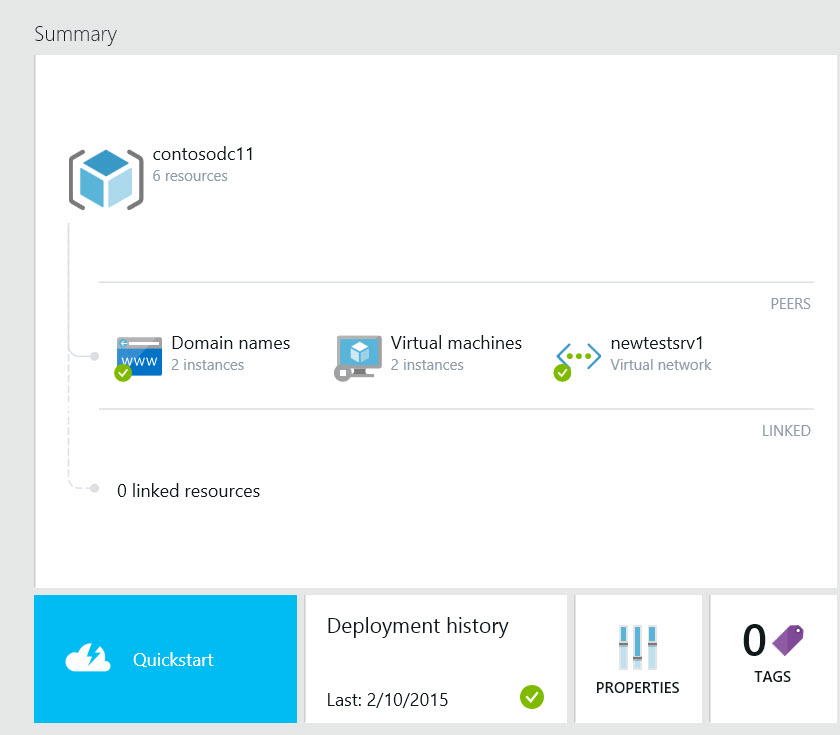
- In the Resource groups panel, click on any group to see the assets that it contains.

In the Resource group panel, you can add a new resource to the group, or delete the resource group using the Add and Delete icons at the top of the panel, respectively. In the Summary section, you’ll see the peer and linked resources. Below that, the Quickstart button takes you to the resource group help panel, and Deployment history shows when assets were provisioned to the group. Properties allows you to copy some technical details about the group to the clipboard, and Tags provides another way for you to organize your Azure resources.
In the bottom half of the Resource group panel, you have access to Monitoring and Alert rules for all the assets combined, and the ability to control role-based access to assets in the group, which is one of the most valuable reasons to start using resource groups.
Resource Groups and PowerShell
As with most Azure functionality, the advanced feature set can only be accessed using PowerShell. The Azure Resource Manager cmdlets, available in the Microsoft Azure PowerShell module, can be used to download Azure gallery templates as JSON files, which define configurations made up of Azure resources using a declarative language so that new environments can be deployed quickly. The gallery templates can be edited or created from scratch. Additionally, creating empty resource groups can only be done using PowerShell. For more information on setting up PowerShell management, see Setup Windows Azure PowerShell Management on the Petri IT Knowledgebase.
If you want to create your own templates, download the Azure SDK 2.5 for Visual Studio 2012, 2013 and 2015 Preview, which includes the Azure Resource Manager Tools, allowing you to generate JSON templates and parameter files using the new Cloud Deployment Project type.


