A Tip to Free Disk Space in Windows 10
Running out of disk space isn’t a new problem to IT pros. Since the introduction of Windows XP, Microsoft’s Disk Cleanup utility helps users free disk space that’s eaten up by system settings, temporary files, and more. The tool can be used both manually or automated by using the command line and Windows Task Scheduler.
Running Microsoft’s Disk Cleanup Utility
To manually run the Disk Cleanup utility, do one of the following:
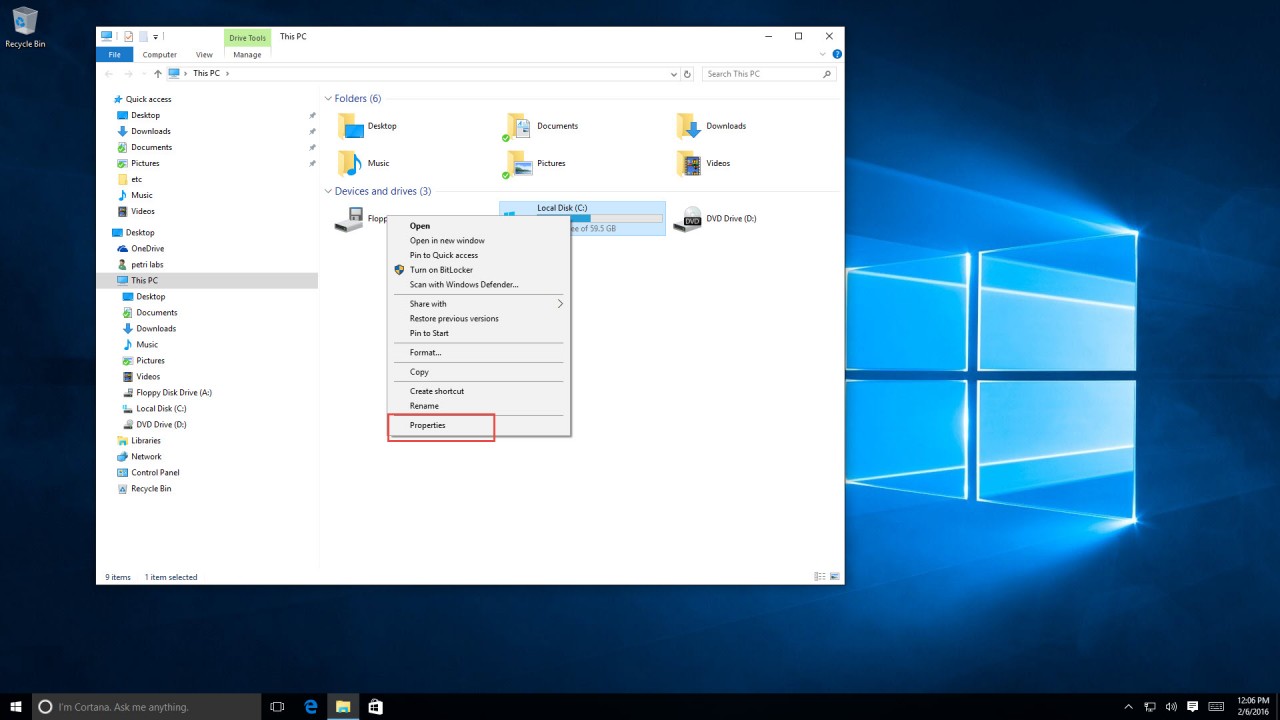
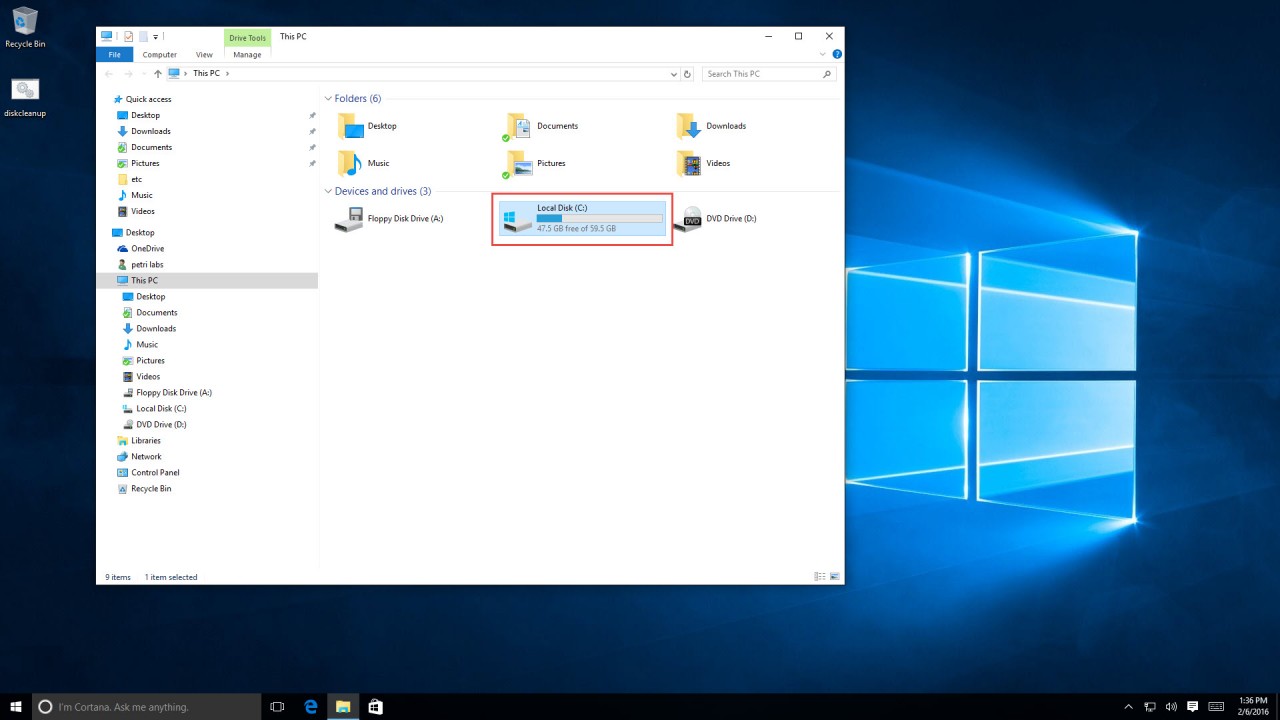
1. Open Windows Explorer, right click on the C:\ drive, and select Properties.
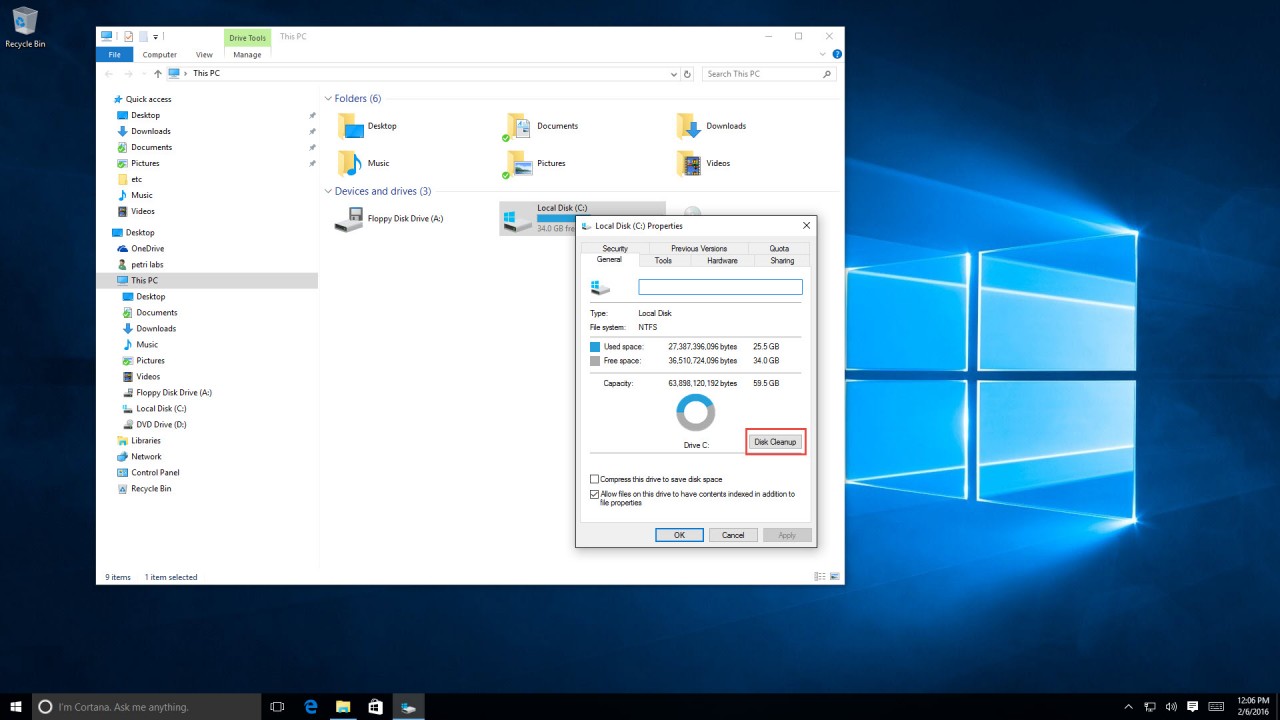
2. In the Properties window, click “Disk Cleanup.”
Or:
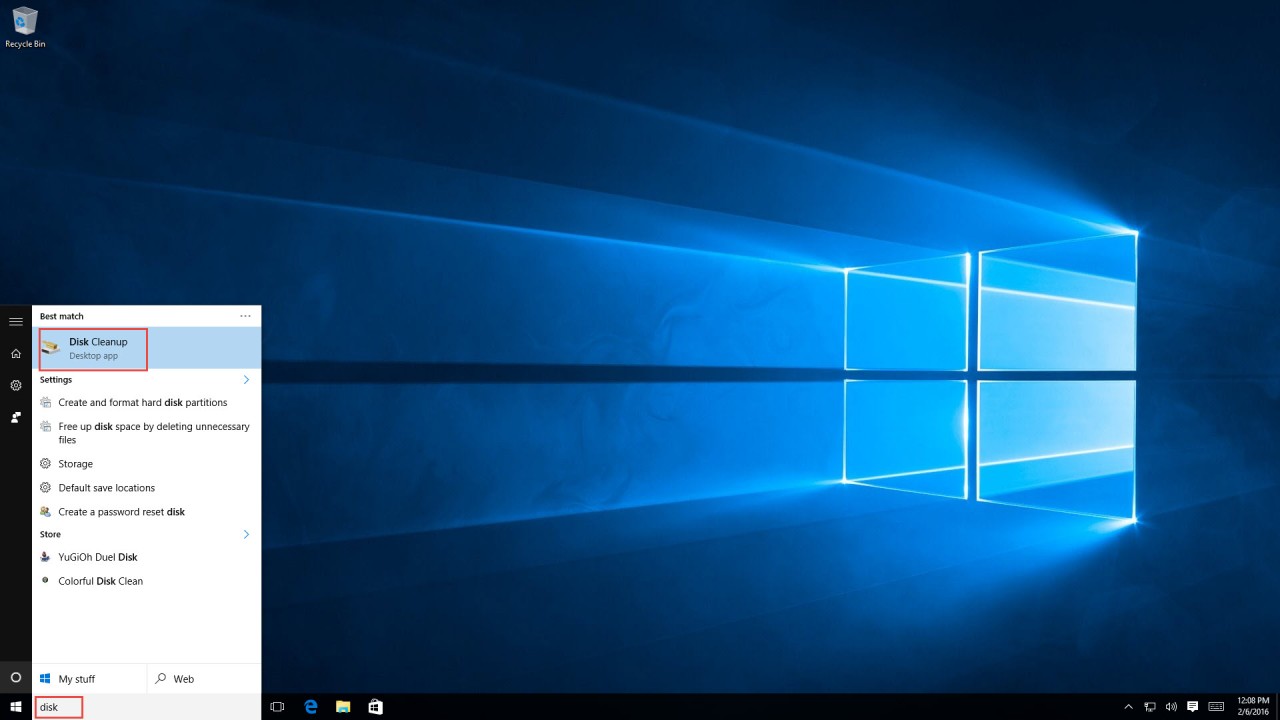
1. Click on Start and type “disk” with no quotes. The first result should be “Disk Cleanup.” Click Enter.
Or:
1. Open Command Prompt with administrative permissions.
2. Type the following line, and press Enter:
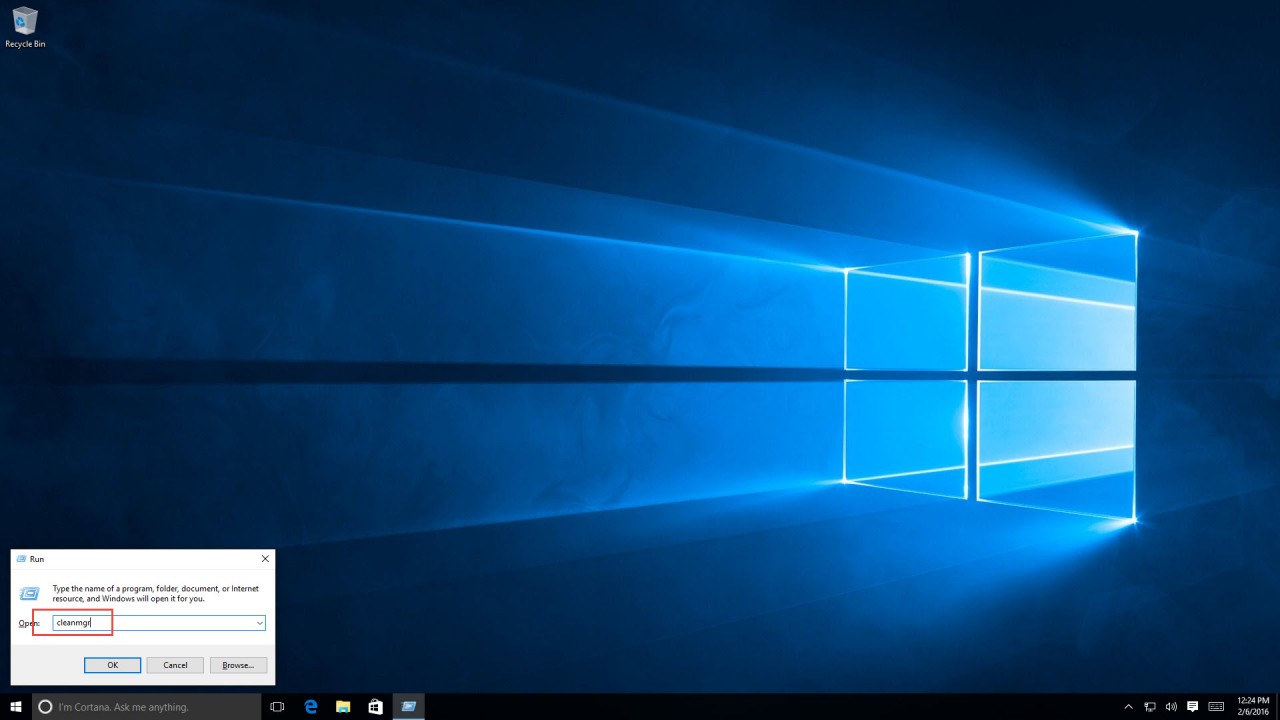
Cleanmgr.exe
If your computer has more than one drive, then you will be prompted to select the drive to inspect. The System drive, typically C:\, is the default.
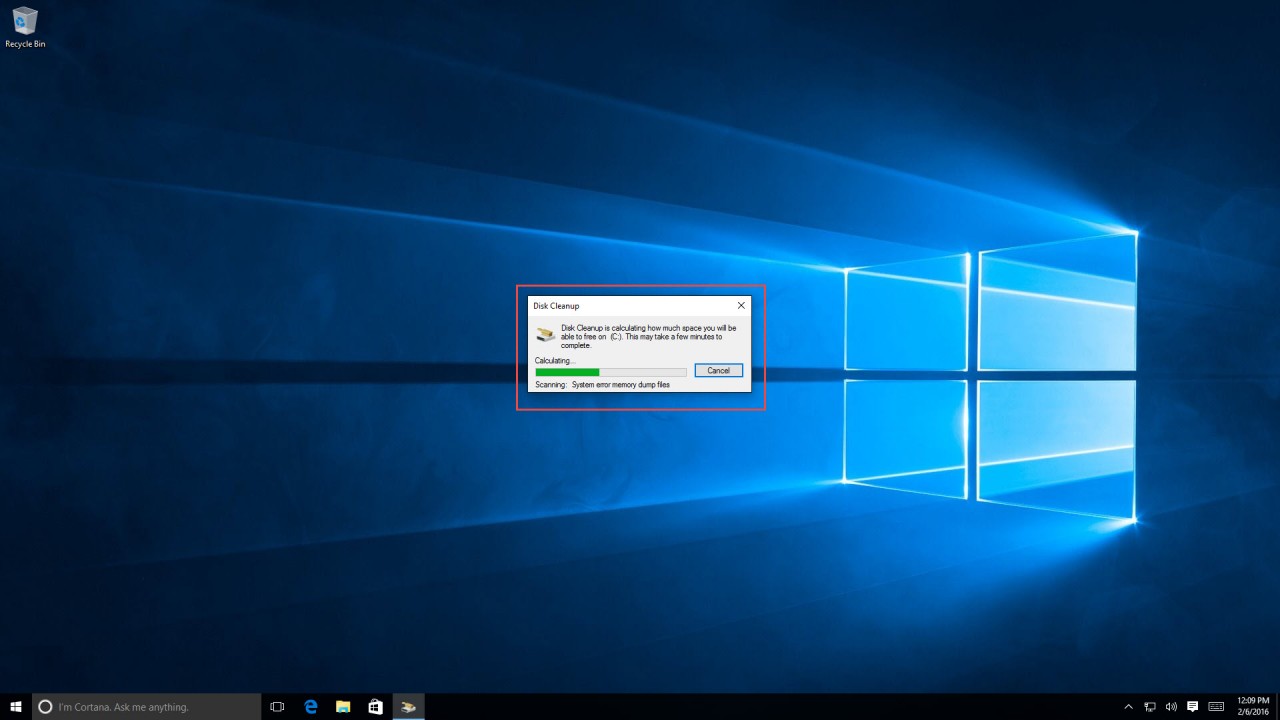
Once the tool starts, the first thing we see is the size calculation window, which might take a few seconds to complete.
Disk Cleanup Options in Windows 10
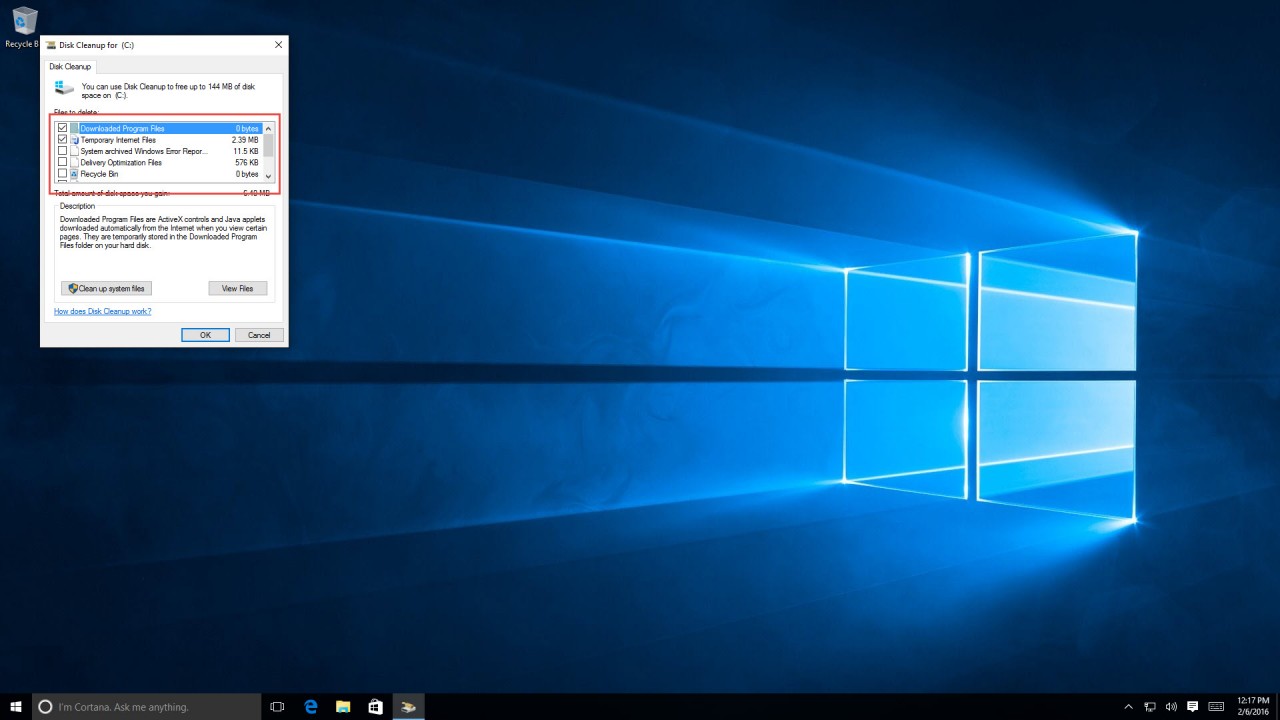
Disk Cleanup utility can be used to remove a number of items. In Windows 10, Disk Cleanup offers eight cleaning options.
- Downloaded program files
- Temporary internet files
- System archived Windows error reporting files
- Delivery Optimization Files
- Recycle Bin
- RetailDemo Offline Content
- Temporary Files
- Thumbnail Cache
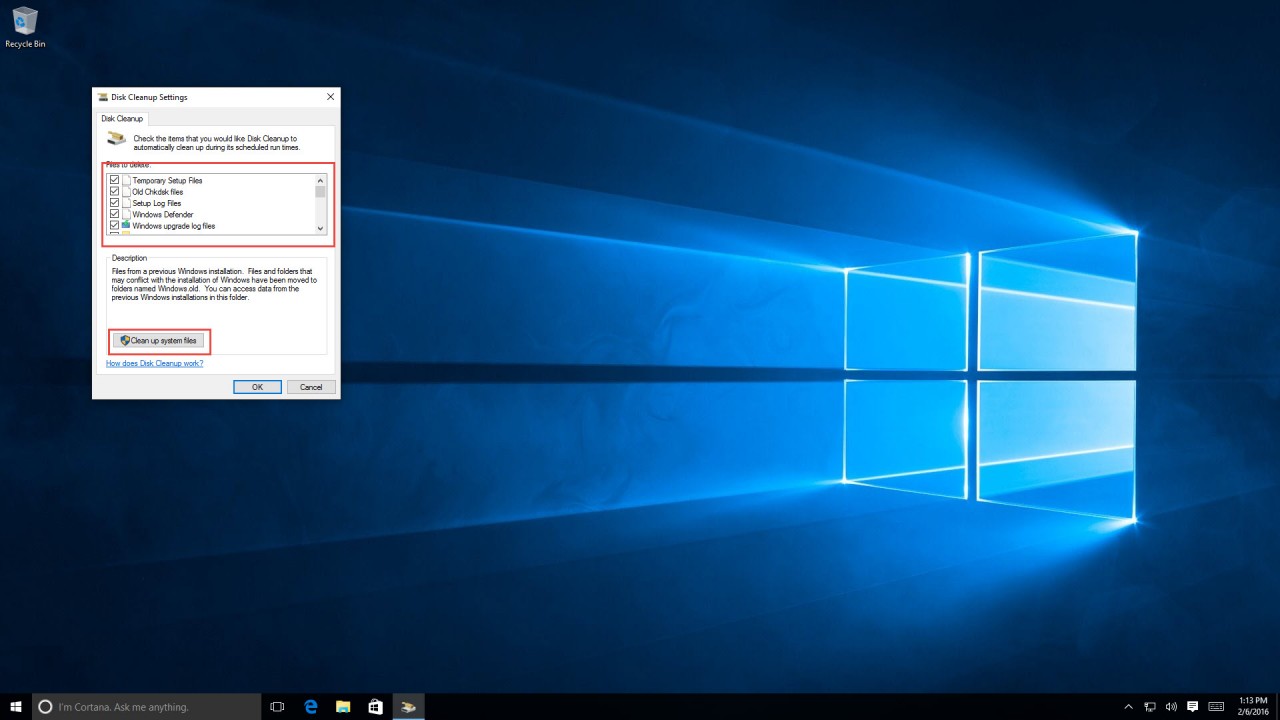
There are many more options you can choose from. If you click on the “Clean up system files” button, you get these additional cleanup options:
- Windows Defender
- Windows Upgrade Log Files
- Downloaded program files
- Temporary internet files
- System archived Windows error reporting files
- Delivery Optimization Files
- Device Driver Packages
- Previous Windows Installations
- Recycle Bin
- RetailDemo Offline Content
- Temporary Files
- Temporary Windows installation files
- Thumbnails
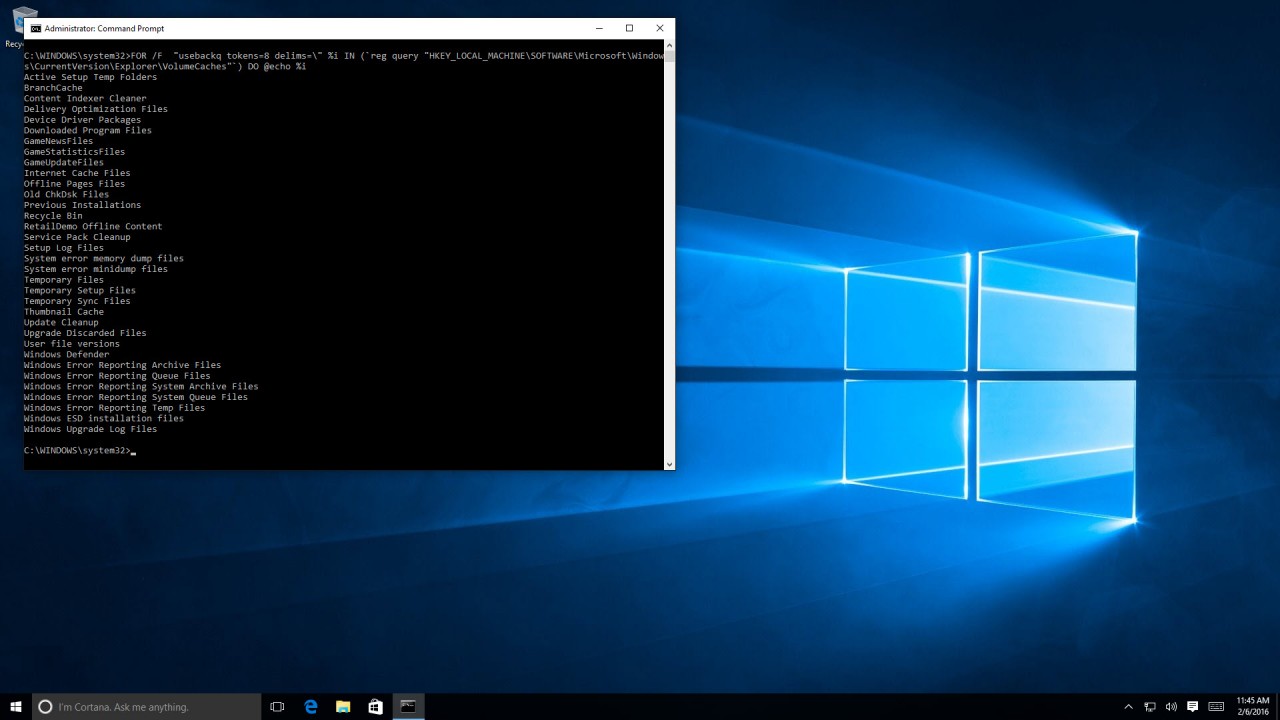
And even then there are more options, but some of them are not available through the regular UI. To see a full list of Disk Cleanup option:
1. Open Command Prompt with administrative permissions.
2. Type in the following line (just copy and paste), then press Enter:
FOR /F "usebackq tokens=8 delims=\" %i IN (`reg query "HKEY_LOCAL_MACHINE\SOFTWARE\Microsoft\Windows\CurrentVersion\Explorer\VolumeCaches"`) DO @echo %i
Running Disk Cleanup via Command Prompt
Now, if we want to run the Disk Cleanup from the Command Prompt and have it run the cleaning process without any user intervention, we need to prepare the system first.
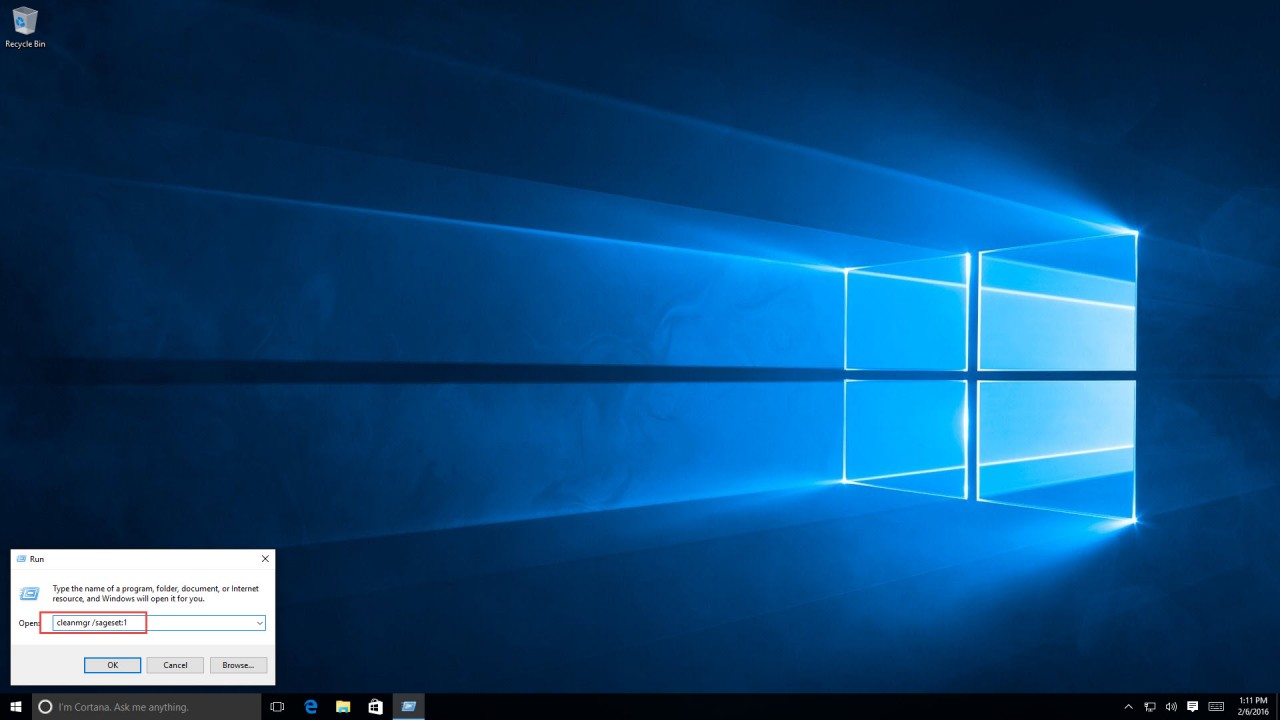
1. In the Run command, type the following line, and press Enter:
cleanmgr /sageset:1
Note: You can choose any number from 1 to 255, and once used, it will store the selected options in the Windows Registry in the following path:
HKEY_LOCAL_MACHINE\SOFTWARE\Microsoft\Windows\CurrentVersion\Explorer\VolumeCaches
Now, manually select any option, and you can click on the “Clean up system files” button to get even more options.
Note: Unlike my previous example, running Disk Cleanup via the command prompt does not show you how much disk space it’s going to free. This is the setup stage, no calculation is done.
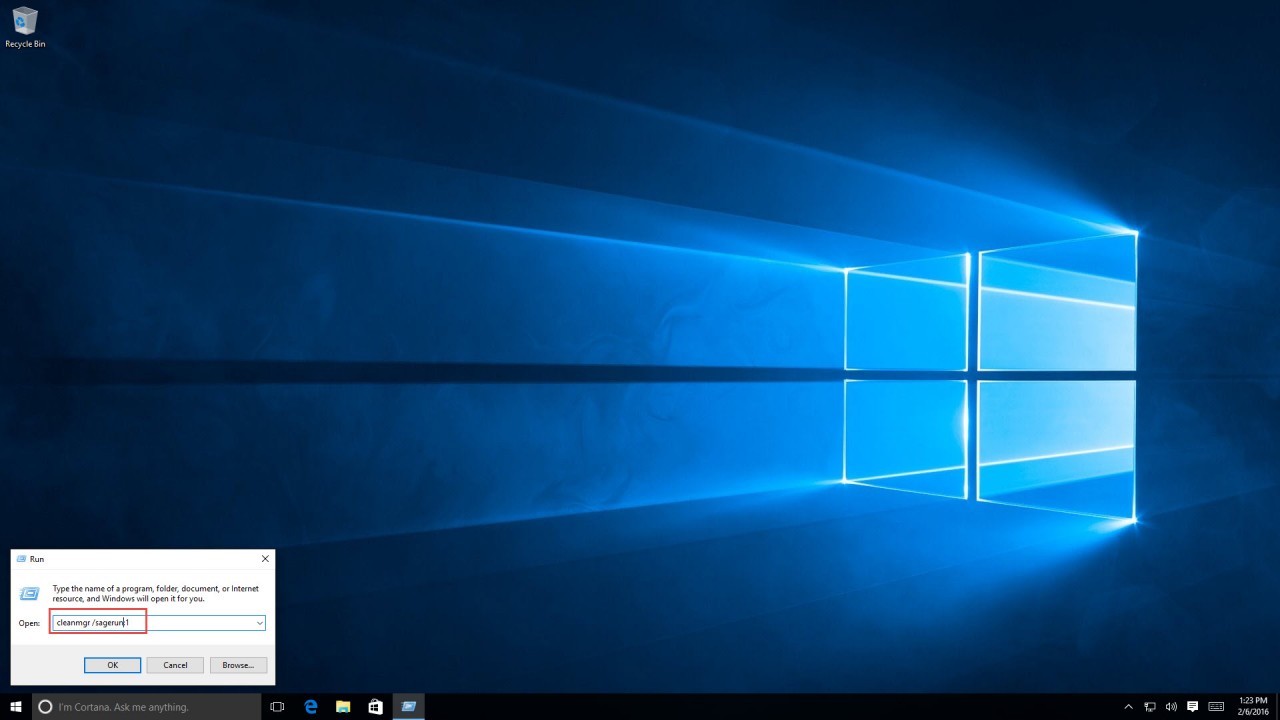
If you execute cleanmgr /sagerun with the same number, it will perform the tasks defined in the “sageset” command.
1. In the Run command, type the following line, and press Enter:
cleanmgr /sagerun:1
Before running the command, I had 33.9 GB free space on the C:\ drive. After running the command, I had 47.5 GB free space on the C:\ drive.


