Synchronize OneDrive for Business Using the Next Generation Sync Client
In today’s Ask the Admin, I’ll show you how to synchronize OneDrive for Business using the Next Generation Sync Client in Windows 10.
Microsoft’s OneDrive cloud storage solution for consumers and businesses is a bit of mess, and the story of the sync clients even more convoluted. But if you’re using Windows 10 or Office 2016 (Click-To-Run), there’s some good news: you already have the OneDrive Next Generation Sync Client (NGSC).
The built-in OneDrive client in Windows 8 synchronized with Microsoft’s consumer OneDrive service that’s associated with the Microsoft account used to sign in to the PC, but it couldn’t be used to synchronize OneDrive for Business — for that a separate client was required based on technology Microsoft purchased from a company called Groove in March 2005 (not to be confused with Microsoft’s ‘Groove’ music player and online streaming service).
Not that the sync client for consumer OneDrive is perfect, but the Groove client for OneDrive for Business was beset with problems that made it hard to recommend. Microsoft started working on a combined sync client for consumer and business OneDrive known as the Next Generation Sync Client (NGSC), which is installed by default for Windows 10 and Office 2016 (Click-To-Run) users. If you’re not using one of those products, you can download NGSC here.
For more information on OneDrive, see OneDrive versus OneDrive for Business on the Petri IT Knowledgebase.
Synchronize OneDrive for Business
If you’re already using Windows 10 or Office 2016, it might not be immediately obvious that you can sync OneDrive for Business without installing an additional client. In the rest of this article I’ll show you how to sync OneDrive for Business, in addition to consumer OneDrive, using NGSC.
- Log in to Windows 10
- Locate the white cloud icon in the system tray, right click it, and select Settings from the menu
- In the Microsoft OneDrive dialog box, switch to the Account tab and click Add an account
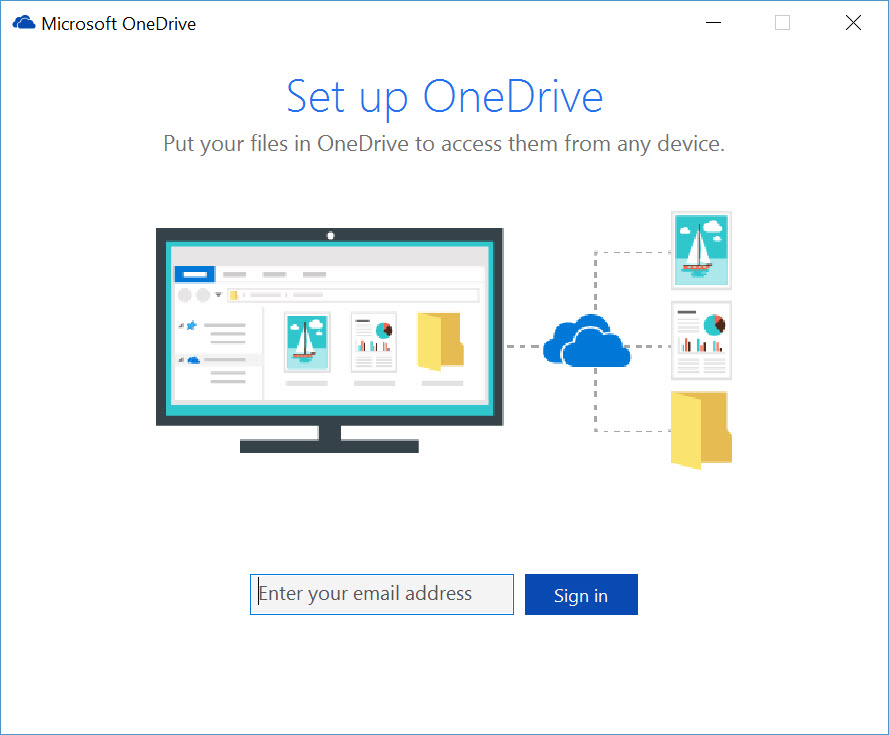
- In the Set up OneDrive dialog box, enter the Microsoft work or school account email address associated with OneDrive for Business and click Sign in
- On the next screen, enter your password and click Sign in again
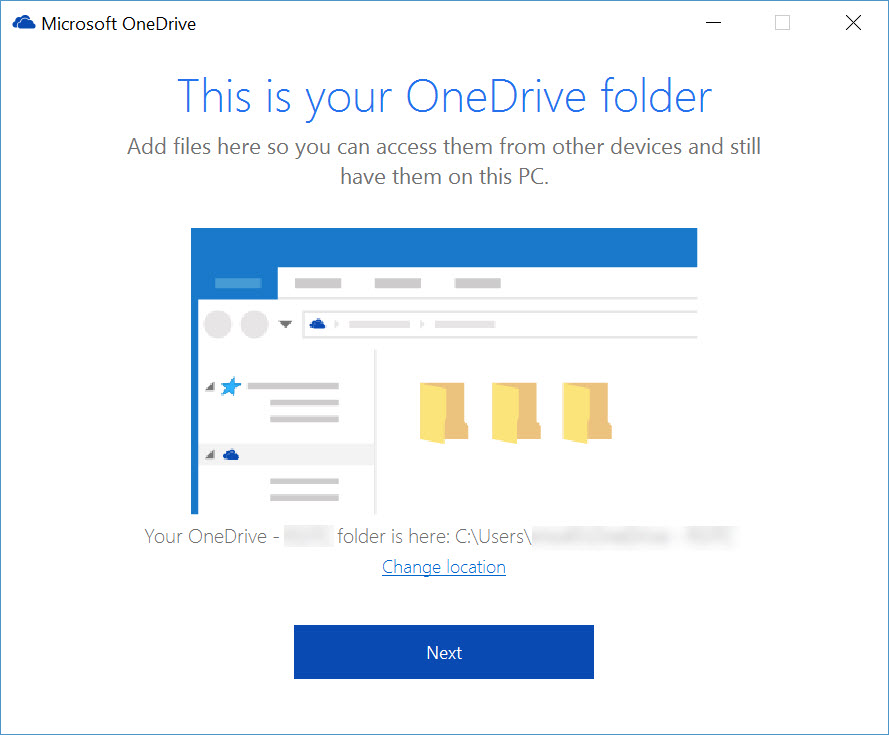
- In the This is your OneDrive folder dialog box, click Next to confirm the default location for synchronized files
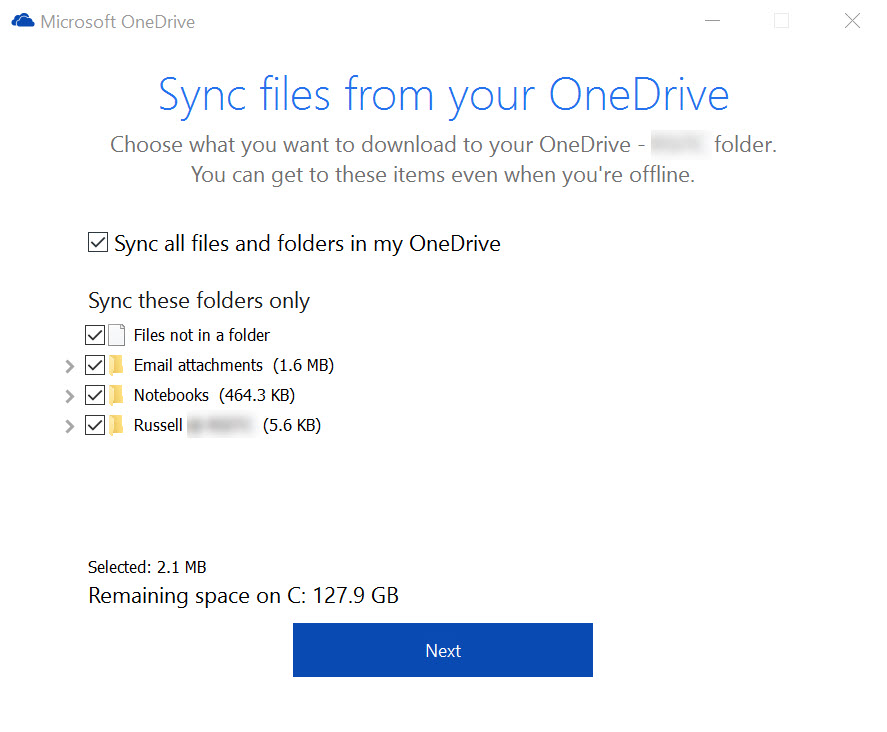
- On the Sync files from your OneDrive screen, select the folders that you’d like to sync to your local PC, and then click Next.
- On the Your OneDrive is ready for you screen, click Open my OneDrive.
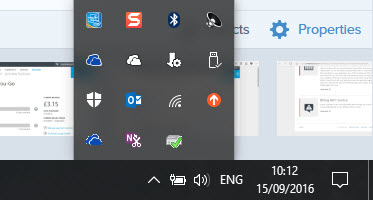
In the system tray, you’ll now see an additional OneDrive icon, but now the icon is blue to differentiate it from consumer OneDrive. Eagle-eyed readers will notice two blue OneDrive icons in the image. That’s because the second is the old Groove client, which is still required to sync SharePoint team sites.
Related article:


