SQL Server Essentials: Using SQL SELECT and the WHERE and HAVING Clauses to Retrieve Data
- Blog
- SQL Server
- Post

In this article, I’ll cover the basics of using the SQL SELECT statement to retrieve data from one or more SQL Server tables. I’ll also detail how to retrieve selected columns, as well as how to use the SQL WHERE and HAVING clauses to filter rows.
The samples in this article all use the AdventureWorksLT2019 sample database. In the previous article of this series, I explained how to populate SQL Server tables using the INSERT, UPDATE, and DELETE statements. These Structured Query Language (SQL) statements modify the contents of a table, but the SQL SELECT statement has a different purpose.
How to use a simple SQL SELECT statement
The SQL SELECT statement is used to query data from a table. The following code illustrates the most basic syntax of the SELECT statement.
SELECT columns FROM schema_name.table_name;
As you should know, table data is organized in a row-and-column format. Each row represents a unique record in a table, and each column represents a field in the data set.
The first agreement of the SELECT statement is a list of the column names that will be retrieved. Here, you specify a list of comma-separated columns from which you want to retrieve data.
Next, the FROM clause specifies the source table and its schema name if that’s required. SQL Server uses schemas to logically group tables and other database objects. The default schema for every database is dbo, and because it’s the schema that’s being used here it can be omitted.
The following listing shows an example of a simple SELECT statement:
- The first USE command sets the current database to AdventureWorksLT2019.
- The SELECT statement supplies a column list for the result set that will be retrieved from the SalesLT.Customer table.
- In this case, the AdventureWorksLT2019 sample database uses the schema name of ‘SalesLT’ (amongst others), so you need to include the schema name, a dot, and then the table name, which is ‘Customers’.
- The ‘FirstName’ and ‘LastName’ columns retrieve the first name and the last name of the customer.
USE AdventureWorksLT2019
SELECT FirstName, LastName from SalesLT.Customer

As a shorthand, you can use an asterisk (*) to retrieve all of the columns in the table regardless of the number of columns. You can see an example of that below:
USE AdventureWorksLT2019
SELECT * from SalesLT.Customer
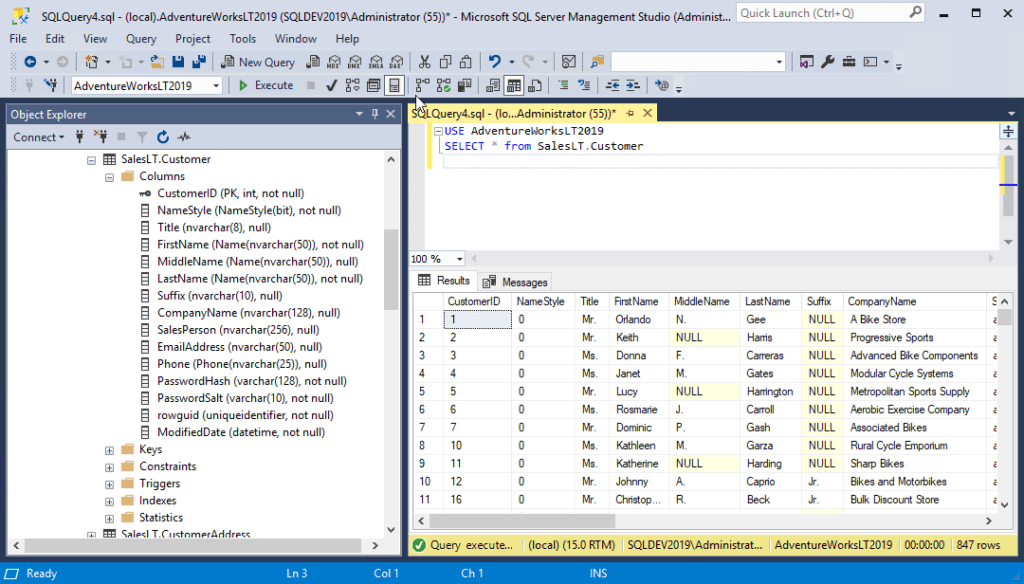
The SELECT * statement is useful for ad-hoc queries or for examining the columns and data of a table that you are not familiar with. However, you should not use this statement for production code – It typically retrieves more data than your application needs, and you don’t want to increase your SQL Server workload.
How to filter rows with the SQL WHERE clause
The real power of the SELECT statement is found in its filtering and joining capabilities. The SELECT query can use an optional WHERE clause to filter the data that will be returned.
The WHERE clause uses one or more Boolean conditions to select the desired table data. The WHERE clause always comes after the FROM clause and before the GROUP BY, HAVING, and ORDER BY clauses.
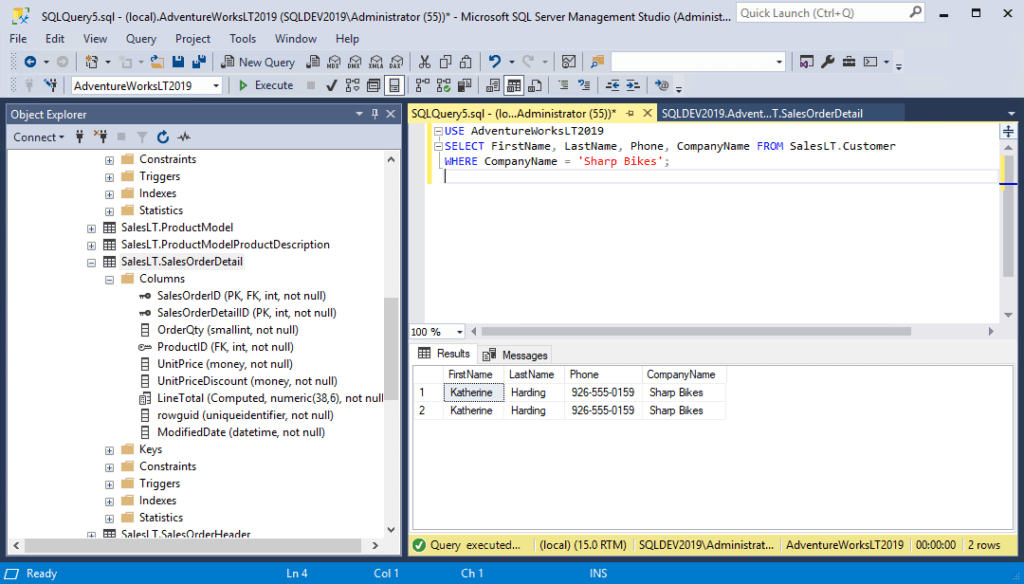
You can see an example of using the SQL WHERE clause below. Here, the WHERE clause is used to filter out a select list containing the ‘FirstName’, ‘LastName’, ‘Phone’, and ‘CompanyName’ columns from the rows that contain the value ‘Sharp Bikes’ in the ‘CompanyName’ column.
USE AdventureWorksLT2019
SELECT FirstName, LastName, Phone, CompanyName FROM SalesLT.Customer WHERE CompanyName = 'Sharp Bikes';
Filtering rows that contain a value as part of a string
The power of using the WHERE clause with the SELECT statement lies in its flexibility. The WHERE clause goes far beyond the simple equality, “greater than” and “less than” comparison operators. Let’s take a closer look at some of the things you can do with the WHERE clause, starting with using the SQL LIKE operator.
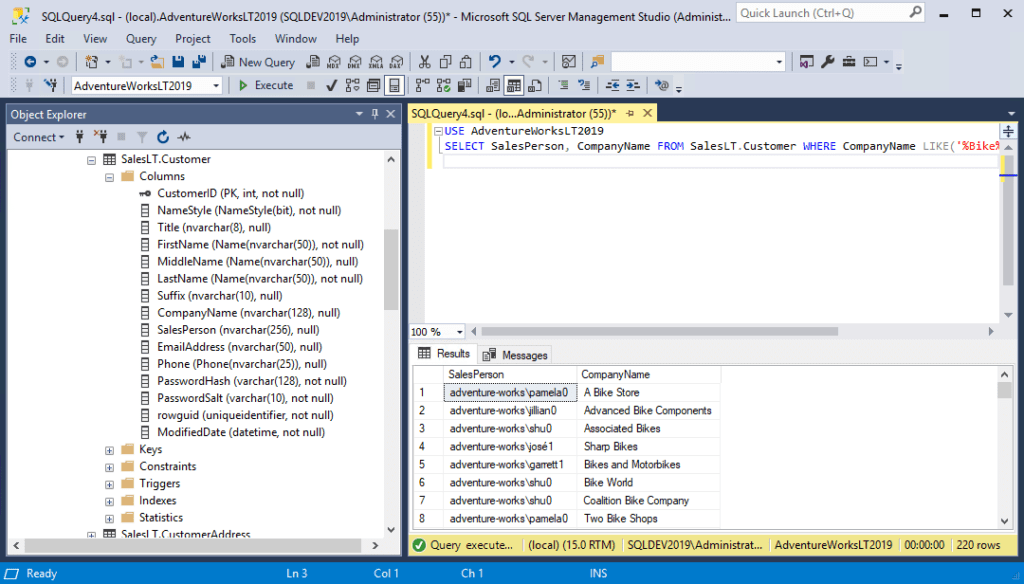
The LIKE operator is used to determine whether a specific character string matches a specified pattern. In the example below, we retrieve all of the rows from the Customer table that contains the word ‘Bike’ anywhere in the ‘CompanyName’ column. Here, we need to use the % wildcard character both before and after the word ‘Bike’.
USE AdventureWorksLT2019
SELECT SalesPerson, CompanyName FROM SalesLT.Customer WHERE CompanyName LIKE('%Bike%');
Filtering rows that meet any of three conditions
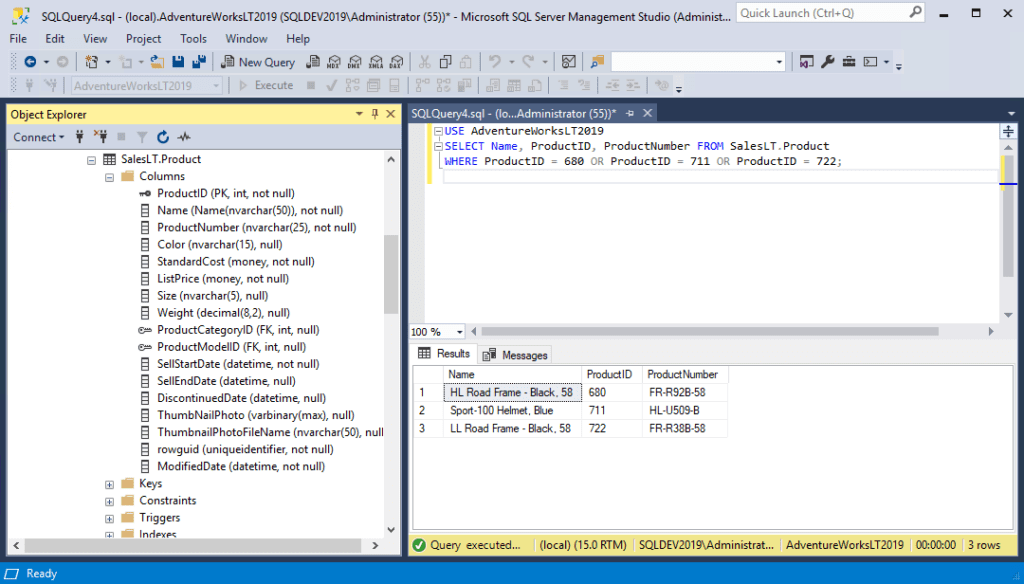
You can also use the WHERE clause to filter rows based on multiple different values. The following code listing shows how to use the SELECT statement with a WHERE clause to select three different values from the Product table. In this example, the WHERE clause is used with the OR operator to select rows where the ‘ProductID’ is equal to 680, 711, or 722.
USE AdventureWorksLT2019
SELECT Name, ProductID, ProductNumber FROM SalesLT.Product
 WHERE ProductID = 680 OR ProductID = 711 OR ProductID = 722;
Filtering rows that are in a list of values
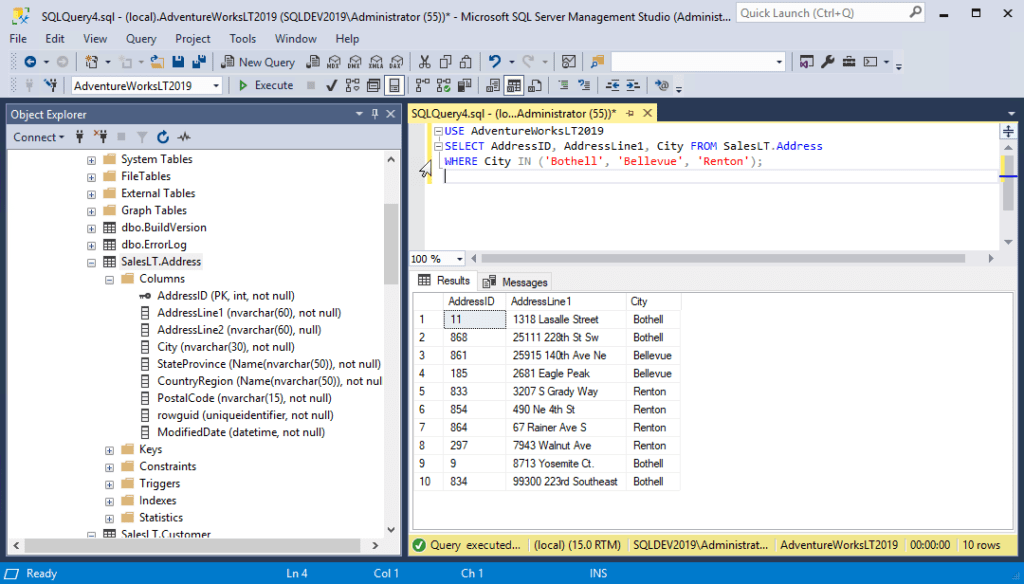
Likewise, you can use the WHERE clause to select rows that are contained in a list that is defined by using the IN operator. In the following example, the SELECT statement will return the rows that contain the values of ‘Bothell’, ‘Bellevue’, or ‘Renton’ in the ‘City’ column of the SalesLT.Address table.
USE AdventureWorksLT2019
SELECT AddressID, AddressLine1, City FROM SalesLT.Address
WHERE City IN ('Bothell', 'Bellevue', 'Renton');
Filtering rows that have a value between two values
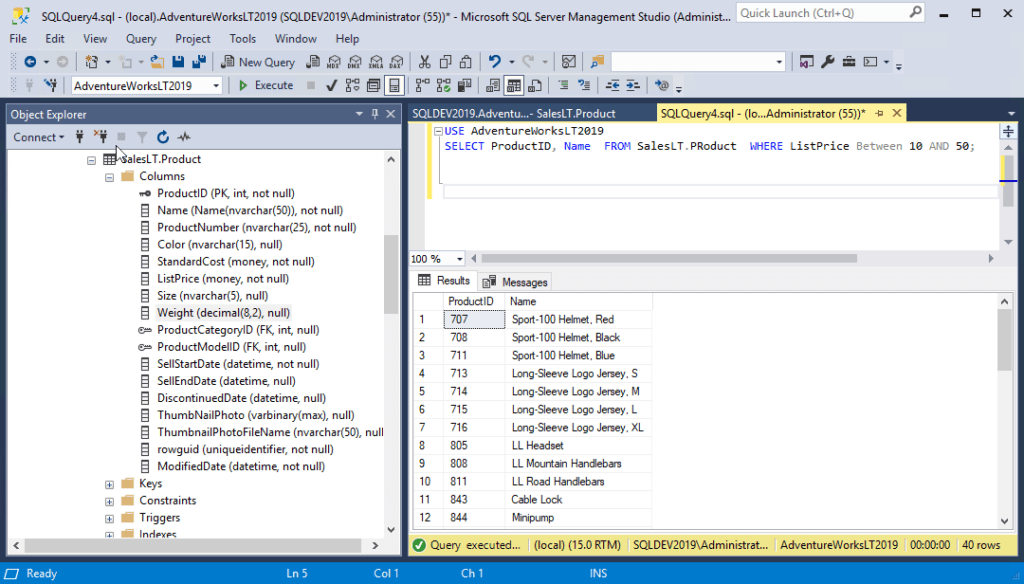
You can also use the SELECT statement’s WHERE clause with the BETWEEN operator to select row values that fall inside of a certain predefined range in a specific column. The following example shows how you can use BETWEEN to just return the rows in the Product table that have a value in the ‘ListPrice column’ that’s greater than 10 and less than 50.
USE AdventureWorksLT2019
SELECT ProductID, Name  FROM SalesLT.Product  WHERE ListPrice Between 10 AND 50;
Filtering rows with the HAVING clause
You can also filter rows in a result set by using the HAVING clause. The HAVING clause was added to SQL Server because the WHERE keyword cannot be used with aggregate functions such as GROUP BY. It’s used to specify a search condition for a group or an aggregate that includes one or more conditions that are true for different groups of records.
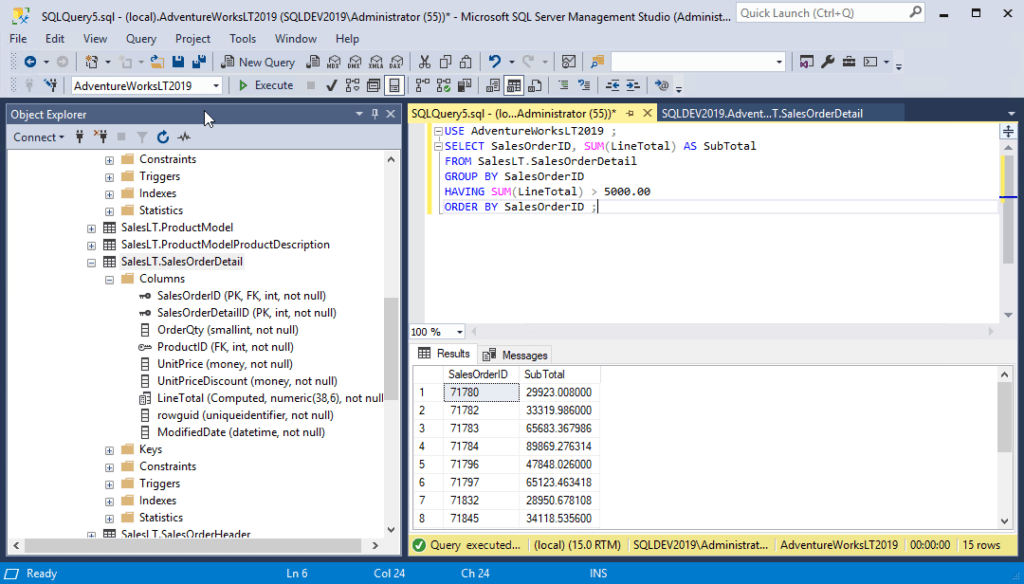
The HAVING clause always comes after the GROUP BY clause and before the ORDER BY clause, as you can see in the following SQL statement. In this example, the result set consists of the ‘SalesOrderID’ and the column alias ‘SubTotal’. The order is asc (ascending) and the rows are aggregates grouped by the ‘SalesOrderID’.
USE AdventureWorksLT2019 ;
SELECT SalesOrderID, SUM(LineTotal) AS SubTotal
FROM SalesLT.SalesOrderDetail  GROUP BY SalesOrderID
HAVING SUM(LineTotal) > 5000.00
ORDER BY SalesOrderID ;
Summary
In this tutorial, I explained the basics of using the T-SQL SELECT statement to filter out rows in a number of different ways. The WHERE clause provides an extremely flexible set of operators that enable you to select rows based on a number of different conditions. Likewise, the HAVING clause enables you to select groups of rows that meet a certain condition. Thanks for reading and stay tuned for my next article in this SQL Server Essential series.
Related Article:


