Managing Exchange Online Mailbox Size Limits with PowerShell
An important part of managing any Microsoft Exchange deployment, whether on-premises or online, is the appropriate allocation of storage space. An important task related to that is monitoring and limiting the size of user mailboxes. Thankfully, you’ll find that these tasks in Exchange Online are easily done with a just few simple PowerShell commands. In this article I’ll walk you through managing Exchange Online mailbox size limits with a handful of useful Windows PowerShell cmdlets.
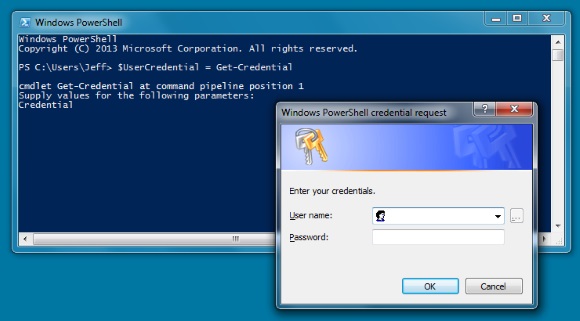
PowerShell can be a useful tool to help you manage Exchange Online Mailbox Size Limits.
(Image: Jeff James)
Setting Mailbox Size Limits for a Single User
1. Let’s start with setting limits. We can do this for one user at a time or groups of users. First the command for changing the size limit for a single user using the following PowerShell command:
Set-Mailbox <UserID> -ProhibitSendQuota <Value> -ProhibitSendReceiveQuota <Value> -IssueWarningQuota <Value>
2. Here is the command we would use if we wanted to limit Robert Williams’ mailbox to a size of 24 GB with a warning at 20 GB and a limit on sending messages at 22 GB:
Set-Mailbox [email protected] -ProhibitSendQuota 22GB -ProhibitSendReceiveQuota 24GB -IssueWarningQuota 20GB
Setting Mailbox Size Limits for Multiple Users
1. To make the same change for multiple users we will add the Get-User cmdlet along with a filter. If we wanted to set a specific quota for the Customer Service department we might use a command like this:
Get-User | where {$_.Department -eq "Customer Service"} | Get-Mailbox | Set-Mailbox -ProhibitSendQuota 18 GB -ProhibitSendReceiveQuota 20GB -IssueWarningQuota 16GB
2. To apply a size limit for your entire organization simply use a command with this syntax:
Set-Mailbox -ProhibitSendQuota <Value> -ProhibitSendReceiveQuota <Value> -IssueWarningQuota <Value>
Reporting Exchange Online Mailbox Storage Statistics
Now that you know how to quickly change size limits and quotas for users in Exchange Online, let’s learn how to use the Get-MailboxStatistics cmdlet to gather information about mailbox storage. To start off we will take a look at the quota we just assigned to Robert Williams as well as the total size of all mailbox items:
Get-MailboxStatistics [email protected] | Format-List StorageLimitStatus,TotalItemSize
We do not need to limit ourselves to single users. You can also use Get-MailboxStatistics to review the usage statistics for your entire organization:
Get-Mailbox -ResultSize Unlimited | Get-MailboxStatistics | Format-List DisplayName, StorageLimitStatus, TotalItemSize
You can refine your results by looking only for those mailboxes that are not below their limit:
Get-Mailbox -ResultSize Unlimited | Get-MailboxStatistics | where-object {$_.StorageLimitStatus -notlike "BelowLimit*"}
Export Mailbox Size Data to Excel
You can even export your results to a Microsoft Excel .CSV file with the following PowerShell cmdlet:
Export-Csv "C:NotBelowLimit.csv"
Managing mailbox size limits and quotas is an essential part of any Exchange administrator’s job, but when you learn how to use PowerShell with Exchange Online it does not have to be a tedious time-waster. Now you can quickly finish simple tasks — such as assigning limits and gathering data on organization-wide Exchange Online usage — with only a few simple PowerShell cmdlets.
To see additional PowerShell resources for managing Microsoft Exchange Online, check out the following:
- View Mailbox Sizes Using PowerShell – Outlook Support
- How to Find Out Which Exchange Mailboxes are Over Quota Limits– PowerShell Magazine
- How to Increase the Attachment Size Limit in Microsoft Outlook


