To install Hyper-V on Windows Server 2008 R2 you can use one of the following approaches. Note that all methods require a reboot after completion.
Important note: This article does NOT deal with the tasks required to pre-configure the Hyper-V host itself. For that, please read my Prepare Your Windows Server 2008 R2 for Hyper-V Role article.
Method #1 – Through the GUI
Probably the easiest for this specific role. I would use this method.
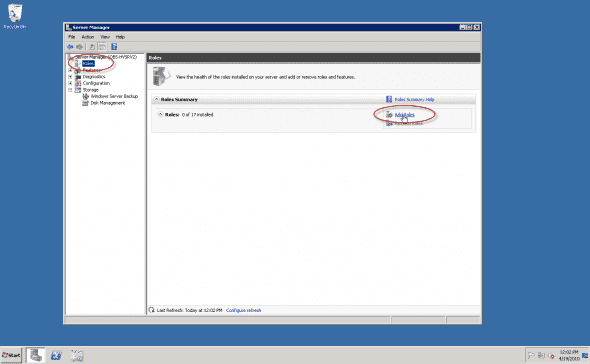
1. Open Server Manager, wait for it to load.
2. Click on “Roles”, wait for it to load.
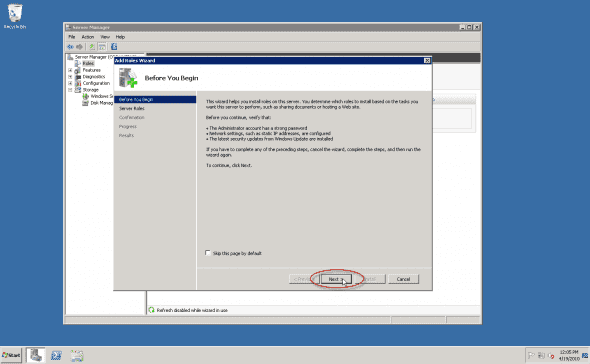
3. On the “Before you begin” page, click “Next”.
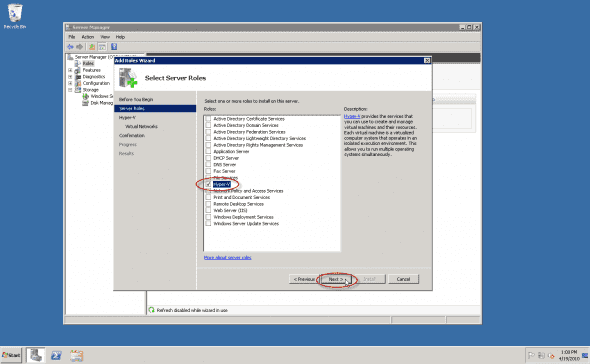
4. In the “Select Server Roles” page, click to select the Hyper-V role. Click “Next”.
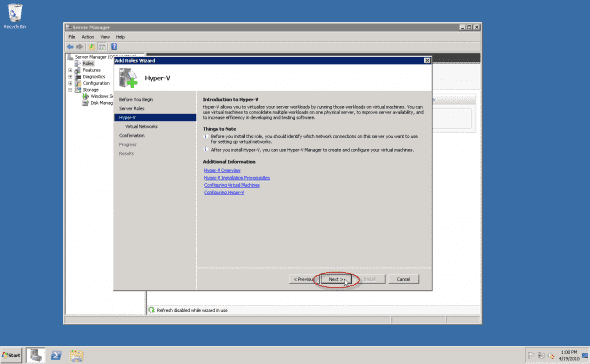
5. Click “Next”.
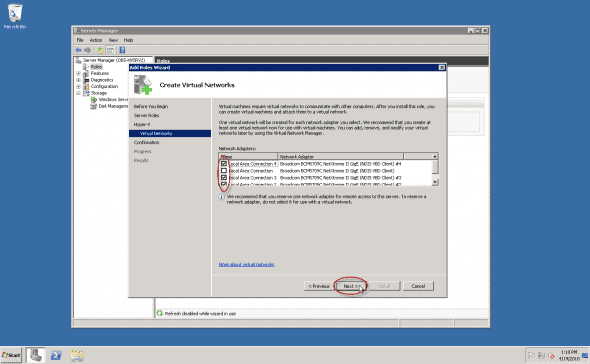
6. Select all the Network Interface Cards (NICs) that you wish to assign for the Virtual Machines. Make sure you leave one NIC un-selected for host management. If you only have one NIC, select it, but make a note that it is best to have at least 2 NICS – one for the host and one for the VMs. These settings can be changed later.
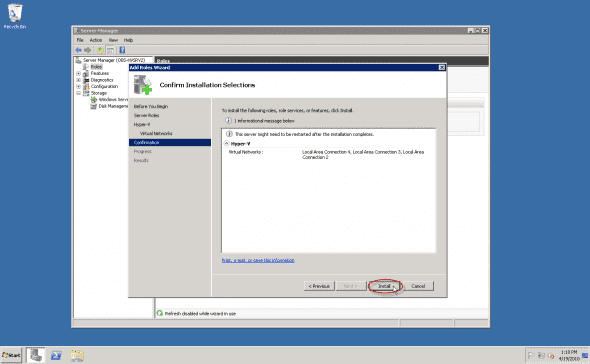
7. In the “Confirm Installation Selections” page click “Install”.
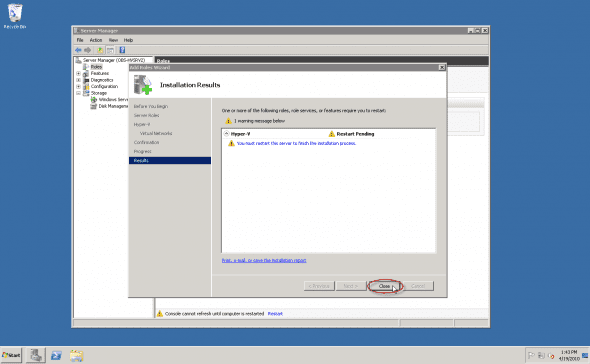
8. One finished, you will need to reboot the server. Click on the “Close” button, and then click “Yes” when you are prompted to reboot the server.
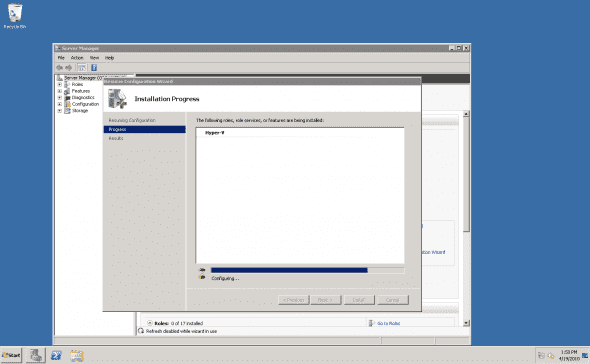
9. When the server reboots, log back into the server and the Server Manager should automatically load and resume the installation process.
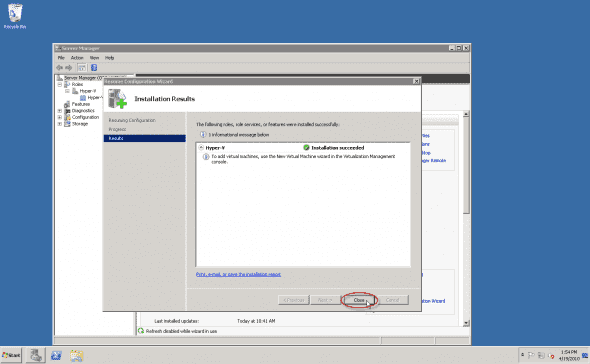
After about a minute, you should see a message telling you that Hyper-V has installed successfully. Click “Close” to complete the wizard.
Note: Make sure you do not forget to enable the CPU Virtualization Mode and the Execute Disable bit. Again, read my Prepare Your Windows Server 2008 R2 for Hyper-V Role article. If you fail to do so, you will receive an error when attempting to start a VM.
Method #2 – Using the Command Prompt
Using the servermanagercmd.exe command is easy, and only requires 3 words… A reboot is required at the end of the installation (which can also be added to the command, making it 4 words…). However, Hyper-V network connections will need to be changed after the installation.
1. Open a Command Prompt window with elevated permissions.
2. Type:
servermanagercmd -i Hype-V
If you want to automatically reboot the server when the installation is finished, type:
servermanagercmd -i Hyper-V -restart
Easy and simple. This is probably why Microsoft decided to deprecate the usage of servermanagercmd.exe… 🙁
Method #3 – Using PowerShell
In Windows Server 2008 R2, PowerShell is installed by default. However, in order to install roles with it, you need to import the Server Manager module.
1. Open a PowerShell window and type:
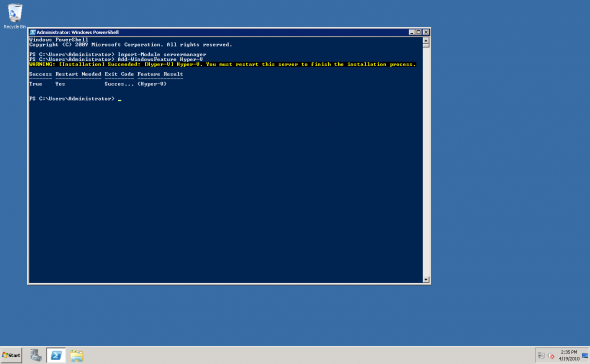
Import-Module servermanager
2. Once imported, type:
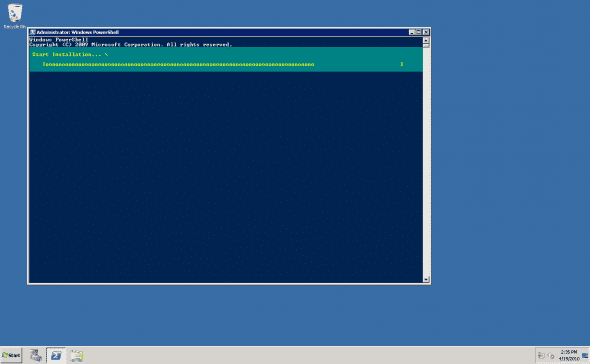
Add-WindowsFeature Hyper-V
If you want to automatically reboot the server when the installation is finished, type:
Add-WindowsFeature Hyper-V -restart
Easy and simple, but here too, Hyper-V network connections will need to be changed after the installation.


