Installing RightFax Connector on Exchange Server 2010 Hub Transport Servers
Rightfax is an Enterprise Faxing solution that enables you to send and receive faxes either through the Rightfax client or through Outlook on a user’s local desktop. The Rightfax server can manage fax queues, routing of faxes, customized cover letters and templates, and it can even synchronize users with Active Directory. A component of the RightFax server called Email Gateway is the link that connects the RightFax server and email system. This communication link allows the users to use their email clients (such as Outlook) to send and receive faxes, making it a seamless operation for users to fax.
There are many aspects to RightFax, but this article will focus only on the installation and configuration of the RightFax connector module on the Exchange Hub server.
RightFax Exchange Connector Requirements
In order to use the RightFax Exchange connector you must have the proper license installed and activated on your RightFax server. Prior to installation you will need to ensure that you have created a service account that has View-Only Organization Management permissions to your Exchange environment. You will also need to make sure that the service account is mail enabled and has rights to run services on the Hub transport server on which you are installing the connector.
The Exchange connector is a service that runs on the Hub Transport server that is installed as a Foreign Connector to Exchange. The RFaxGate folder is created during the installation of the connector, which holds the IN and OUT subfolders. These subfolders are used by the connector service to process the faxes. Both the IN and the OUT folders contain a file called pulse.txt, which serves as the “heartbeat,” ensuring the service is running and is syncing to the RightFax server. The connector requires Microsoft .NET Framework 4.0 or later; if this is not installed, you will need to do it prior to the RightFax installation or the setup will not continue.
Installing RightFax
First, log into the Exchange Hub Server using an account that has Exchange Organization Management Rights and run setup.exe.
If you have not pre-installed Microsoft .NET Framework 4.0, the setup will not continue and you will need to download and install to continue the process.
Accept the License terms and click Next.
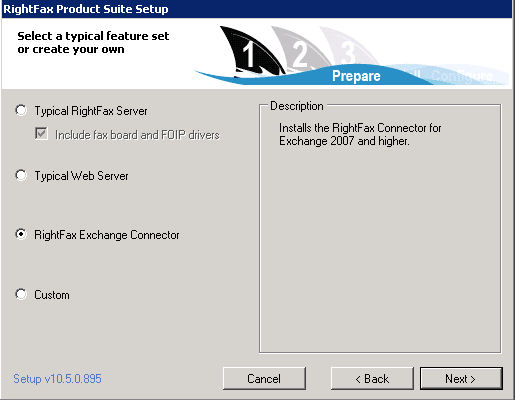
Choose the Rightfax connector setup and click Next.
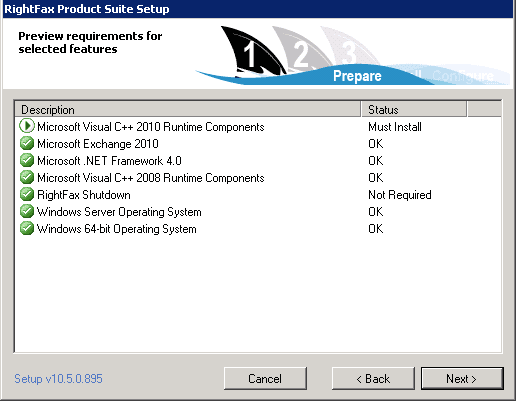
Review the Preview Requirements, then click Next. If there is something that is missing it will list as NOT installed.
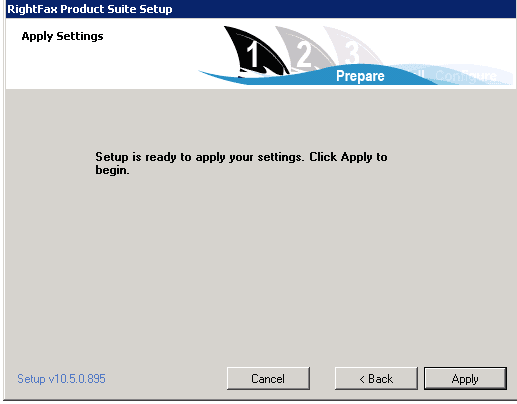
Click Next to apply the settings and install any components.
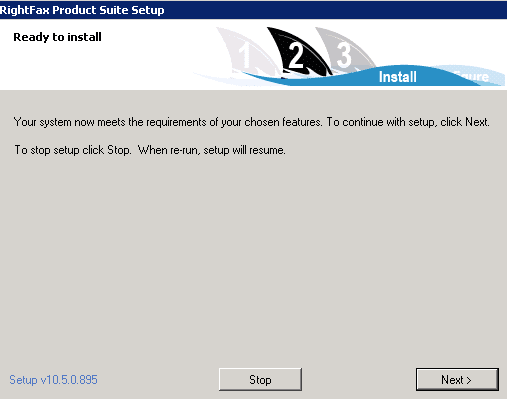
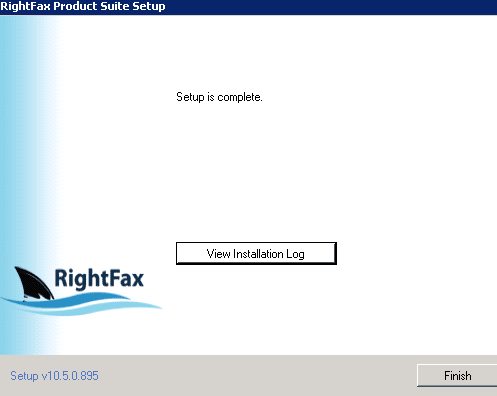
Click Next to begin the Installation of the connector.
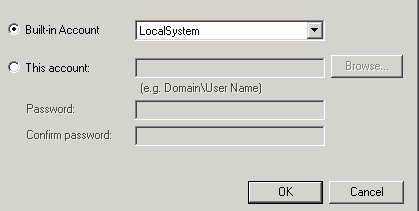
Enter the service account that you previously created to run the service. This account needs to have local administrator rights to the Hub transport server so that it can run the services.
Click OK when finished.
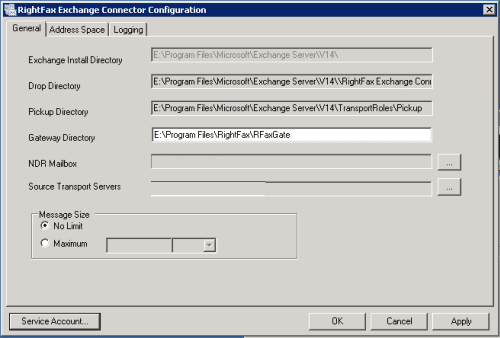
When the configuration window pops up you will need to enter the NDR mailbox. You will need to enter a mailbox to receive the NDR messages. I would suggest using the service account mailbox to ease in management of the NDRs.
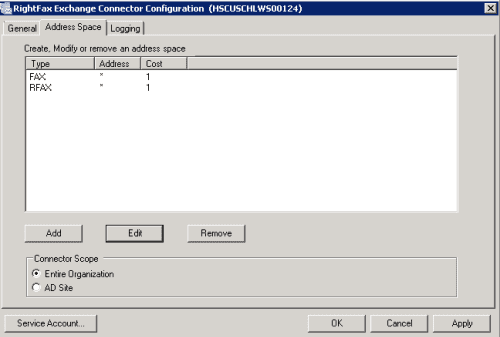
Click on the Address Space tab to configure the RightFax Address space and scope of the connector. The default is Fax and RFax and they can use a cost fact of 1-100. If you are using RightFax for just a certain routing group site, select AD Site. If this is for ALL Exchange servers, select Entire Organization.
Click OK to finalize the configuration of the connector.
Navigate to the directory where you installed Rightfax and share out that directory. The default installation directory is \Program Files\RightFax\RFaxGate.
The service account should be given access to the share with the permissions to Change and Modify. Click OK once set.
Configure RightFax to Work with the Hub Transport Server Connector
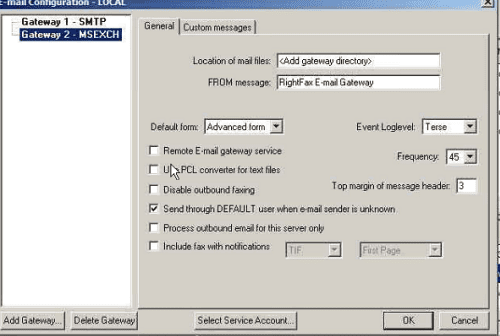
Log into to the RightFax server and run the RightFax Email Gateway Module from the control panel.
In the General tab, enter the location of the mail files. This will be the directory that was previously shared out. If you did not customize your installation, the directory should be similar to \\hubserver\RightFax\RFaxGate.
Click OK to apply the settings.
These are the basic default installation settings for the RightFax connector. If you need to customize the setup you can go back into the Connector settings and make changes. The Connector setting allows customization of the address space, Logging Messages and General options such as install directory, pickup directory, and NDR mailbox. You also have the ability to change the service account that is being used to run the service. To allow users to fax using Outlook, you will also need to install the RightFax Form for Outlook on the user’s local machine.
Overall the install and setup of the Exchange connector is pretty simple, but if you should still run into issues, I recommend you contact your vendor.


