How to Manage Tasks and Approvals in Teams with Adaptive Cards
Adaptive Cards are a great way to share information into Microsoft Teams in a formatted card. Adaptive Cards are available to use within Power Automate, and they’re a low-code solution to creating cards that share information in an organized way. In this guide, we’re going to explain how to leverage Adaptive Cards to manage tasks and approvals in Microsoft Teams without having to manually post messages in Teams Channels.
What are Adaptive Cards?
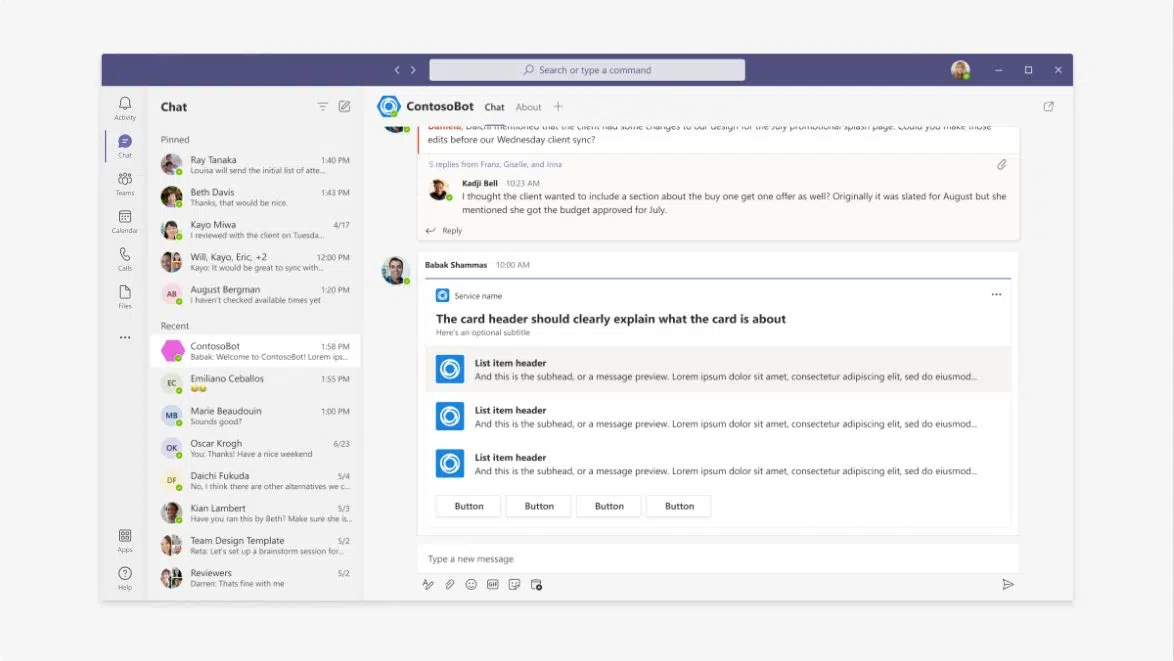
Adaptive Cards allow you to share, display, and distribute information in a professional and formatted manner. These cards adapt to their hosts and are a great way to share data between Microsoft Teams and other services.
Adaptive Cards use the JavaScript Object Notation (JSON) file format, which contains the information that defines a card and its associated data in a human-readable format.
Adaptive Cards use cases
Adaptive Cards have many uses across various Microsoft apps and services including Microsoft Teams, Windows notifications and Timeline, Cortana, Microsoft’s Bot Framework Webchat component, and Outlook’s actionable messages. Adaptive Cards are all about sharing or collecting information, and they can be used to share expenses, travel information, polling, images, video and more. Power Automate, Microsoft’s platform for creating automated processes, can also use Adaptive Cards to share information blocks or collect data from a given data source via forms.
News
Adaptive Cards can share news articles posted in SharePoint Online to a Teams Channel. The card usually contains an image, title, and a short blurb about the article. You can add a button so users can click to view the article in SharePoint.
This Adaptive Card can be automated with a trigger, meaning every time a user adds a news article to SharePoint, it sends the card to the specified Channel. Using Adaptive Cards in this way is helpful to help streamline communications from SharePoint into Teams and increase the views of news articles.

Tasks
Managing tasks via Adaptive Cards offer teams a better user experience than using the standard post in a Teams Channel. Users can complete and view tasks assigned to them from Planner, right from an Adaptive Card in the Channel.

Document approvals
Document approvals with Adaptive Cards enable documents that require approval in SharePoint to be approved or rejected in Microsoft Teams. Using document approvals, organizations can streamline approvals into Teams, where users work, reducing the number of tools employees need to use to get their work done.
Input forms
Input forms are a great way to gather information from your employees. Input forms have many uses, including employee onboarding, polling, gathering feedback, or even inputting sales lead information. You decide what happens with the data collected from the form, sending that data into a SharePoint list or Excel file.

How to create an Adaptive Card
One of the advantages of leveraging the Adaptive Card framework is the extensive tools and documentation available to developers to assist them in designing and implementing these cards in their applications.
Adaptive Cards use Power Automate. The easiest way to see what Adaptive Card actions you have is to search for a card in the actions within Power Automate. First, you need to choose a trigger, which could be manual or automatic, then you can add an action.

Once you have chosen the action, you will need to add the Adaptive Card JSON in the appropriate box within the action.

There are a few different ways to get the Adaptive Card JSON.
Microsoft Documentation
The Microsoft docs website includes excellent documentation on creating an Adaptive Card and provides the JSON required. You will find instructions on how to create, edit and test Adaptive Cards, and there are various samples to help you get started. Although the docs website is helpful, I don’t find it the most straightforward option to build an Adaptive Card from scratch and customize it.
Adaptive Cards Studio
Adaptive Cards Studio is a Visual Studio Code Extension enables you to create cards directly from Microsoft’s code editor. When customizing the Adaptive Card, you can view a live sample of the changes and what the result will look like for end-users. You can easily edit the card template and sample data with the extension and automatically detect all Adaptive Cards in your workspace.

Adaptive Card Designer
Adaptive Card Designer is a free online tool to help you create your card and provide the JSON needed for the Power Automate workflow. The Adaptive Card sample is at the top of the page, enabling you to drag and drop different card elements to customize your card. The card elements include text, images, actions, and input items on the left. On the right-hand side, you can customize the card properties, for example, the title of the card element.

The designer uses a drag and drop method, and each time you customize the card, the JSON file underneath updates.

The Card Payload Editor is the JSON you need to copy and paste into Power Automate, displaying the Adaptive Card you have customized.
Manage tasks with Adaptive Cards
Managing tasks with Adaptive Cards is a more manageable workflow to create, as there is a template available in Power Automate that pre-populates the JSON into the workflow. The template is “Post Adaptive Card when task status changed to complete in Planner”, which only requires you to sign in to Office 365, Teams, and Planner, then add the group plan and Team you want the card to use.

Once you have added the plan and team information, click submit to create the workflow. Each time someone completes a task in that plan, it will update Teams via an Adaptive Card.

There is a button to view the task in Planner, task information, and the task’s completion time.
Manage document approvals in Teams
With the new Approval application, you can quickly approve multiple use cases. A significant advantage is that the approval process is carried out directly on Teams, where the users are.
In this example, we are looking at approving documents added to a SharePoint document library through Teams and tracking the status in the Approvals app.
To start, let’s look at the Power Automate workflow to create this process.

There is a template that you can use which will help create the workflow steps. The trigger we want to use is automatic; “When a file is created” in SharePoint. Paste the site URL and document library name of the SharePoint location you wish to create approvals.

Because we are using a template, the approval action is pre-populated with dynamic content taken from the SharePoint site. For example, we want to create an approval but include the title, who created it, the file name, and a link to the requested file so the approver can view it.

Then, use the “Apply to each” action to take a particular action depending on the properties of our approval. So, in this case, we will apply each action to send an Adaptive Card to the approver using the “Post Adaptive Card in a Chat” action.

Power Automate adds a condition to decide what happens on each outcome. In this scenario, whether the item is approved or not, the action will inform the requestor via Microsoft Teams.

In this template, we added an action if the approval fails, informing the creator via email that the workflow has not worked.

Once you have completed the workflow, hit save, and we can test it out. I will add a file to the specified site in our workflow to kick off the automatic trigger.

As soon as someone adds the file to the SharePoint document library, a notification appears in Teams with the approval Adaptive Card, asking me to approve or decline the request. The card has the information I defined in the workflow: The file, who created the request, when, and actions to approve or reject.

When I click approve, the workflow will have run successfully and Teams will notify the requestor via a Teams chat message.

I can track any approvals in the Microsoft Teams Approvals hub, which shows requests, status, and who approved the items.

Summary
Adaptive Cards are a great way to share formatted information with users instead of posting a Channel message in Teams. They are customizable, and there are many resources available online to help non-developers create Adaptive Cards quickly and easily. To get started, I would highly recommend starting with the Adaptive Card Designer to get some experience with the card customization options, and then start with the Power Automate templates if you have limited experience with that.
Related Article:

Kat Beedim is Head of Modern Workplace at CPS, the UK's leading provider of business solutions delivered on Microsoft Cloud Technology. She specialises in helping customers deploy collaboration and productivity tools in Microsoft 365. Kat is a fre...